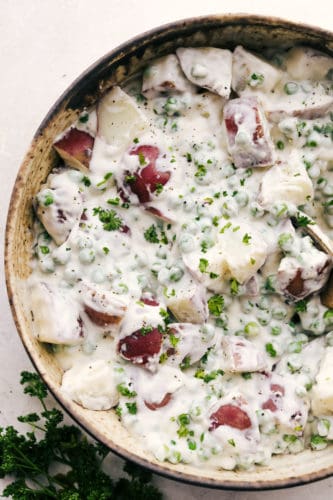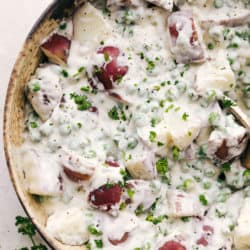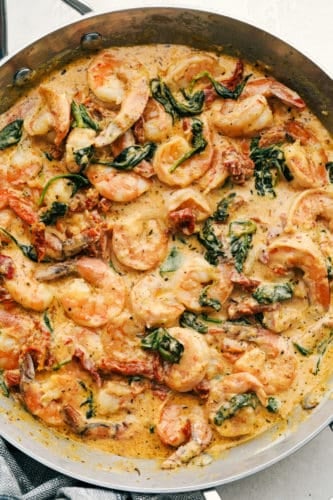
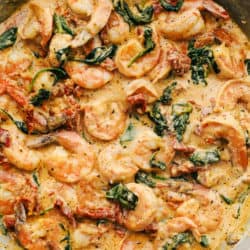
Tuscan Garlic Shrimp is the most amazing creamy shrimp dish. A creamy garlic parmesan sauce with spinach and sun-dried tomatoes creates an unforgettable restaurant quality meal right at home!
This delish dish comes together in about 30 minutes. Make a full meal and serve it with a Salad, Green Beans and Bread.

Creamy Garlic Shrimp
If you love shrimp and a creamy garlic parmesan sauce then this recipe is going to become your new favorite! It comes from one of my top recipes, the original Creamy Tuscan Garlic Chicken. The sauce is absolute perfection. Every single time I make it I am reminded of how good it is. This is a tried and true recipe that I use again and again!
The best part about this meal is that it is made in under 30 minutes and tastes like it came out of a five-star restaurant. The shrimp cook in just a matter of minutes and the creamy sauce on top is to die for. The addition of sun-dried tomatoes and spinach makes this sauce more unique and is perfect served over a heaping pile of pasta! This dish is absolutely fantastic. The creamy sauce in this recipe is going to blow your family away. You are going to love this meal just as much as we did!
What is Tuscan Style Food?
Tuscan food is based on the idea of poor cooking. This means simple meals that are inexpensive and could easily be made in large amounts. It is not elaborate or complicated and uses high quality ingredients and natural flavors. Lots of garlic and herbs and spinach and sun-dried tomatoes. This Creamy Tuscan Garlic Shrimp is just that. Simple, fresh, full of flavor and can feed a lot. It is easy to double and feed any more as well. This sauce and type of cooking are so incredible, if you love this you are going to love these others. Creamy Tuscan Italian Sausage, Tuscan Garlic Scallops, Tuscan Pasta Salad, Stuffed Tuscan Garlic Chicken, and Insanely Good Creamy Tuscan Garlic Salmon. This is only the beginning, check my blog for more Tuscan inspired dishes.
What You Will Need For Tuscan Shrimp
You can use frozen or fresh shrimp and have an impeccable results. I like to buy them already peeled and deveined for faster prep.
- Shrimp: Use large shrimp that are peeled and deveined.
- Garlic: Minced garlic cloves.
- Olive Oil: Adds flavor and cooks the shrimp beautifully
- Heavy Cream: Totally worth the few extra calories. It provides a smooth rich sauce.
- Chicken Broth: Gives flavor and breaks up the heaviness of the cream.
- Garlic Powder: Helps provide that extra punch of garlic flavor.
- Italian Seasoning: The Best combination of seasonings. Make your own here, and keep it handy, it goes with everything.
- Parmesan Cheese: Freshly grated for flavor and a bit salty tang.
- Spinach: Adds color, texture and flavor.
- Sun-Dried Tomatoes: Use jarred sun-dried tomatoes that have been drained.
How To Make Creamy Tuscan Garlic Shrimp
This comes together in 30 minutes and then dinner is ready! Perfect for busy nights and lazy weekends.
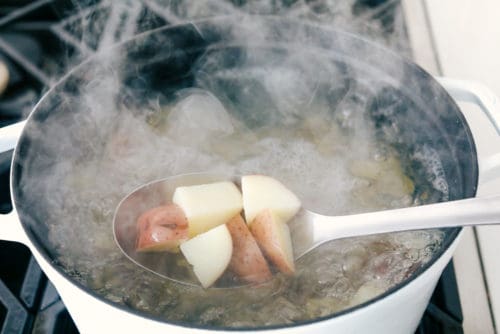
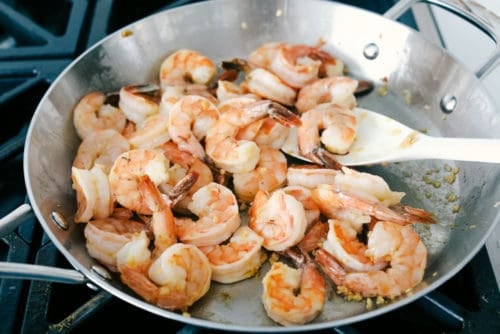
- Shrimp: In a large skillet add olive oil and cook the shrimp and garlic on medium high heat for 2-3 minutes or until pink. Remove shrimp and set aside on a plate.
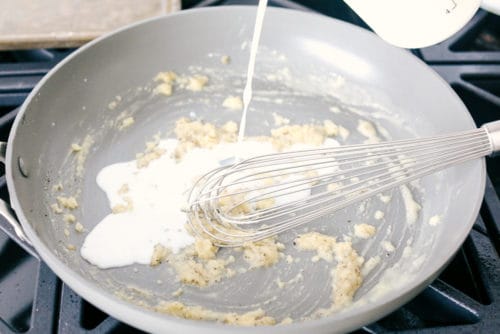
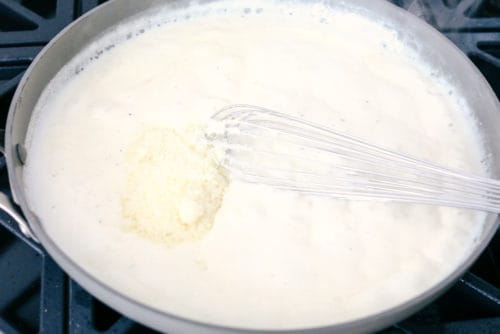
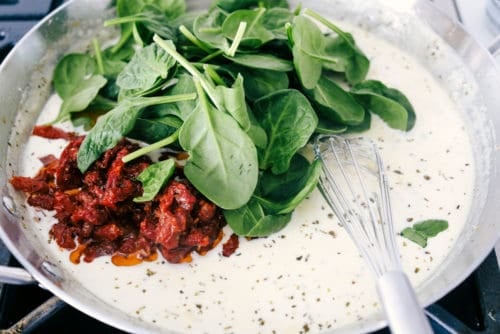
- Sauce: Add the heavy cream, chicken broth, garlic powder, Italian seasoning, and parmesan cheese. Whisk over medium high heat until it starts to thicken.
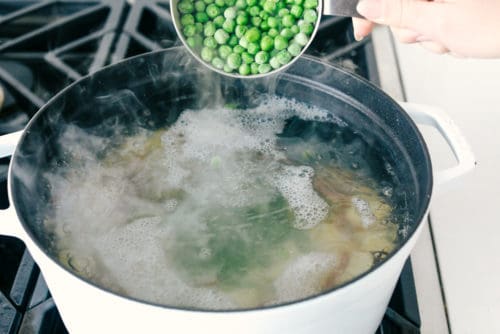
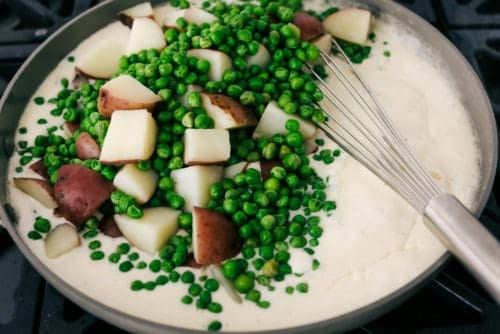
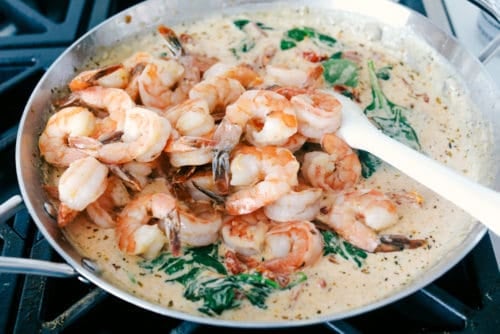
- Add: Add the spinach and sun-dried tomatoes and let it simmer until the spinach starts to wilt.
- Combine: Add the shrimp back to the pan and serve over pasta if desired.

Pro Tips for The Best Creamy Tuscan Garlic Shrimp
Shrimp is easy to cook with and this sauce is to die for, so what are you waiting for, make this tonight!
- Shrimp: I like to use fresh shrimp as much as I can, it brings the best flavor. You can take the tails off before you cook them so that the tuscan shrimp is easier to eat. Remember to cook the shrimp just till it’s pink all over. You do not want to overcook it, it can become rubbery. Another reason I don’t like to use precooked shrimp. It can be easily overcooked. If you do use frozen, let it thaw in the fridge or use the quick thaw method that is printed on the back of the package.
- Heavy Cream: You really do not want to trade out the heavy cream for half and half in this dish. Half and half has added sugar for one. And it will create a thinner sauce that you will have to add a thickener too. Your creamy tuscan sauce will not be as creamy. Truly the heavy cream is the best way to go.
- Saute: If you want a richer flavor to your shrimp sauté the shrimp in butter instead of olive oil. Oh my!
- Spinach: I like to cut or break off the stems from the spinach so I don’t have any of the hard stem parts in my sauce. This is an extra step that you do not have to do. Just a personal preference.
- Sun Dried Tomatoes: Use the jarred sun dried tomatoes , drain them but do not rinse them.
- Serve: This incredible on its own but we love it served over a bowl of freshly cooked noodles.

Storing Leftover Tuscan Shrimp
This Garlic shrimp dish is best fresh, but leftovers are just as good. They will keep in the fridge for up to 4 days in a tightly covered container. Warm up slowly on the stove. Microwaving can make the shrimp rubbery if it is overheated. I do not recommend freezing this as the cream sauce will not reheat well.

More Delicious Shrimp Pasta Recipes
Shrimp is super easy to cook and cooks up fast, making it a great option when you need dinner quick. It pairs super nicely with all sorts of different spices and flavors making it very versatile. Shrimp has a mild flavor that does not over power or taste fishy. It can be a bit tricky to cook in the fact you do not want to over cook it and make it rubbery. But try these tried and true recipes and you will have success every single time!
- Creamy Parmesan Garlic Shrimp Pasta
- Lemon Garlic Shrimp Pasta
- Shrimp Scampi
- Perfect 10 Minute Air Fryer Shrimp
- Sweet and Sour Shrimp
- Homemade Sticky Honey Garlic Butter Shrimp
Creamy Tuscan Garlic Shrimp
Ingredients
- 1½ pounds large shrimp peeled and deveined
- 3 garlic cloves minced
- 2 Tablespoons olive oil
- 1 cup heavy cream
- ½ cup chicken broth
- 1 teaspoon garlic powder
- 1 teaspoon Italian seasoning
- ½ cup parmesan cheese
- 1 cup spinach chopped
- ½ cup sun-dried tomatoes
Instructions
-
In a large skillet add olive oil and cook the shrimp and garlic on medium high heat for 2-3 minutes or until pink. Remove shrimp and set aside on a plate.
-
Add the heavy cream, chicken broth, garlic powder, italian seasoning, and parmesan cheese. Whisk over medium high heat until it starts to thicken.

-
Add the spinach and sundried tomatoes and let it simmer until the spinach starts to wilt.
-
Add the shrimp back to the pan and serve over pasta if desired.
Video
Notes
Nutrition
from The Recipe Critic https://ift.tt/2KEUYrZ
https://ift.tt/3lZEMSn