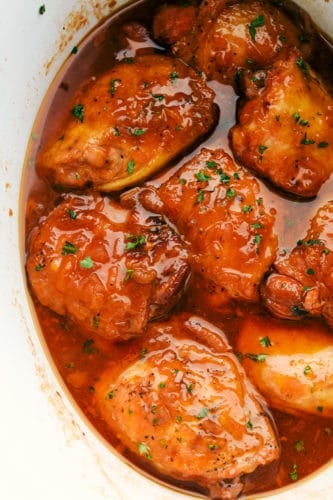
Apricot Chicken is a super easy and incredibly delicious dinner your whole family is going to love! Sweet and savory and full of flavor the chicken is tender and juicy.
I love meals that are easy but taste amazing! Make this a complete dinner and serve with Broccoli, Rice or Potatoes.

Apricot Chicken Recipe
A friend made this for all of us last summer. I was a little unsure about it because of the apricot jam in it. But I loved it! It gives the perfect balance of flavor between the apricot jam and Russian salad dressing. Trust me on this flavor combination, it is the best. The sauce has a sweetness but a spicy savoriness to it from the dressing. They combine in the most magical way.
Apricot chicken makes my busy day become stress free. It is one less thing I have to worry about and my family is happy that they get dinner! I love slow cooker set it and forget it dinners. And a miracle happened, my extremely picky eater even ate it. This child does not like anything it seems and he had seconds. If he likes it, you are going to love it!
What You Need For Easy Apricot Chicken
With ingredients that are easy to have on hand, you can throw this together on a busy day and have a delicious dinner ready when you are.
- Apricot Preserves: You can use a low sugar apricot jam too, this creates that bit of sweet.
- Russian Dressing: Use your favorite brand, I used Wishbone brand.
- Dry Onion Soup Mix: This adds spices and the savory flavor. Make your own mix for incredible results.
- Chicken Thighs: Use bone in chicken thighs, boneless or even chicken breasts.
- Oil: Good quality high smoke vegetable oil such as canola.
How To Make Apricot Chicken in the Crockpot
The only extra step you have is to quickly brown the chicken. Remember this isn’t to cook it, just to give the skin some texture and flavor.
- Combine: In a medium bowl mix together the preserves, dressing and soup mix.
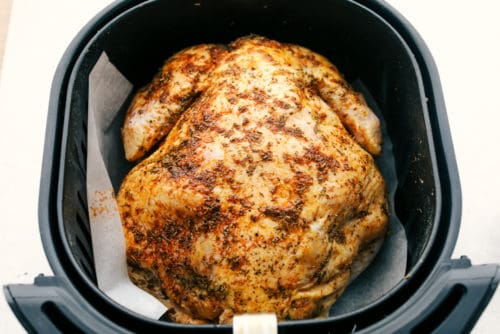
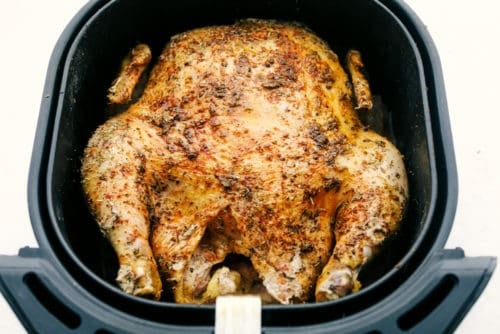
- Brown: This is optional but I highly recommend it. Generously salt and pepper the chicken. Place in a skillet that has been heated to medium high that has a good Tablespoon of oil in the bottom. Cook each side for 1-2 minutes or till good and golden.
- Crockpot: Place the chicken in the bottom of the slow cooker and pour the mixture over the chicken.
- Cook: Cook on low for 3-4 hours or till internal temperature reaches 165 degrees.

Tips and Variations For the Best Apricot Chicken
The wonderful thing about this chicken recipe is that it is forgiving and can be adjusted to your liking or needs. Slow cooking is just that way.
- Chicken: Using bone in and skin on chicken thighs will give you the juiciest chicken. You can use chicken breasts or skinless boneless chicken thighs it may not be as moist. Thighs contain the darker part of the chicken and darker meat is naturally juicer. Keeping the bone in and skin on will add even more moisture. Chicken breasts are known for being more dry and over cooking, even in sauce, can cause it to be dry.
- Browning: Similar to searing beef, searing chicken can lock in juice and add immense flavor. It is an extra step that you do not have to do, but I highly recommend it. The chicken is just that much more divine.
- Preserves: If you do not have apricot jam or cannot find it, there are options. You can use pineapple, mango, orange or peach instead. Also try a mixture of apricot and peach or pineapple for a nice twist in flavor.
- Dressing: There are times when I cannot find Russian dressing. It isn’t very often but it happens. Substituting Catalina or French Dressing will give you the same results.
- Onion Soup Mix: Do not leave this out. It adds the flavor and savory you need in this dish. I also recommend making your own. It is super easy and simple and tastes way better than store bought!
- Extras: To add oomph to your dish try sautéing onions and adding them to the apricot chicken. For more zip throw in fresh grated ginger, a Tablespoon of soy sauce or Dijon mustard.
- Potatoes: For an all in one crock pot meal add baby Yukon or red potatoes with the chicken.
- Different Protein: This slow cooker apricot chicken recipe works really well with pork chops too!
Freezing and Storing Apricot Glazed Chicken
I love dishes that make great leftovers and this chicken recipe make amazing leftovers
- Store: If you do have leftovers place in a tightly sealed container and place in the fridge for 4-5 days. Warm up leftovers in the microwave or the stove top.
- Freeze: Let the chicken cool and place leftovers in a freezer safe bag. Tightly seal. Freeze for up to 3 months. Let it thaw overnight in the fridge. Reheat in the microwave or on the stove top.

More Slow Cooker Recipes to Try
Slow cooker or crockpot recipes are favorites that will never go out of style. Slow cooking infuses flavor into your meal and cooks it to tender juicy perfection. Sauces are rich and luscious, spices, herbs and ingredients create remarkable dishes, the whole family will love.

Crockpot Apricot Chicken
Ingredients
- 1 1/2 cups apricot preserves
- 1 cup Russian dressing I used Wishbone brand
- 1 envelope dry onion soup mix
- 6 bone in chicken thighs can use breasts, and boneless thighs
Instructions
-
Mix together the preserves, dressing and soup mix.
-
Place chicken in bottom of slow cooker; pour mixture over chicken.
-
Cook on Low and continue cooking for 3-4 hours.
Notes
Nutrition
from The Recipe Critic https://ift.tt/3rB48HJ
https://ift.tt/3szPQs8