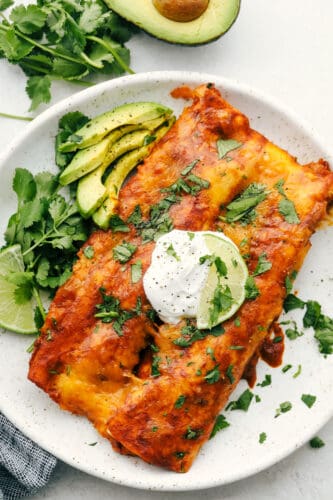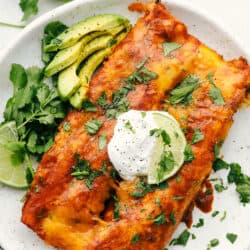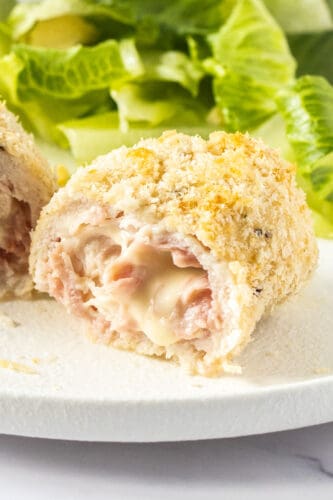
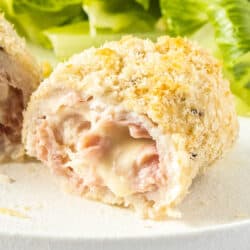
Chicken Cordon Bleu has layers of ham and cheese wrapped inside succulent crumbed chicken breast and with a crunchy breadcrumb crust. This one is oven-baked making it healthier too.
Chicken is an easy and favorite dish! For more succulent chicken, try this Chicken and these Chicken Nuggets too.

Homemade Chicken Cordon Bleu
This crunchy breadcrumb coated chicken cordon blue has it all. Flavor, juicy chicken and gooey cheese, it’s all topped with a rich and creamy mustard sauce that’s so simple to make.
After loads of testing with different filling and cooking methods, I can now share all the tips for the perfect cordon bleu recipe.
What is Cordon Bleu?
Traditionally, cordon bleu is some form of schnitzel filled with ham and cheese, then rolled and pan fried.
This one is oven baked making it a little healthier and also easier to make. Once they’re ready to cook, then go straight into a hot oven and bake for around 30 minutes. No babysitting necessary.

Ingredients in Classic Chicken Cordon Bleu
One of the greatest things about this recipe is it uses minimal ingredients and they’re all very common.
- Chicken breast: use cutlets / schnitzel or cut them yourself from scratch.
- Ham: Use very thinly sliced or shaved ham and ham cut off the bone has the best flavor.
- Cheese: Gouda is wonderful, if you can get it, but Swiss or Provolone work well too. Even cheddar. You want a creamy semi-hard cheese in either slice or block form – not shredded.
- Plain flour, salt, onion powder and pepper: This makes up the first of the 3 dredging / breading stages, perfectly seasoning the chicken at the same time.
- Egg: Just one egg for this recipe will coat 4 cordon bleus.
- Panko bread crumbs: I like panko as they’re light and super crispy but other types will work too.
- Olive oil: Just a touch is mixed with the breadcrumbs, which helps them to get crunchy and get a touch of color too.
Ingredients for the Sauce
This cordon bleu recipe comes with it’s own super simple creamy mustard sauce too. Don’t feel like creamy mustard sauce? Try this Homemade Cheese Sauce or even this Easy Homemade Tomato Sauce.
- Chicken stock / broth: Use a low sodium, good-quality stock. Qualities vary greatly but a good one will be flavorful before you add anything else.
- Dried thyme: You can use other dried herbs too – sage, basil, oregano will all work well.
- Single / Light Cream: You can also use heavy cream if that’s what you have on hand.
- Dijon mustard: Dijon is definitely best here – it gives a light tang and good mustard hit. You can use the same quantity of mustard powder, or use wholegrain mustard for something different.
- Cornstarch and water: This simple mix will thicken your sauce without the need to make a roux. You only need a little and it doesn’t alter the texture or flavor of the sauce in any way.
How to Make Chicken Cordon Bleu
Here’s the quick step by step details for making chicken cordon blue but make sure to check out my tips below this section for all the tips to make them perfect.
- Pound the chicken out to an even thickness all over (about ¼ to ⅓ of an inch).
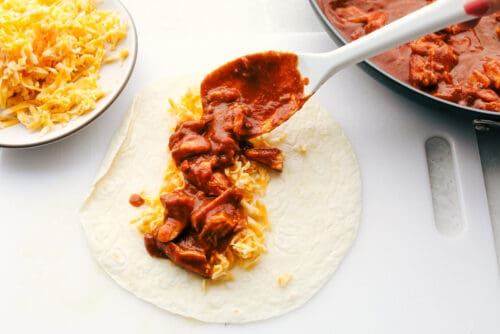
- Place ham then cheese on top of the chicken.
- Roll it up tightly pulling in the sides as you go.
- Wrap in plastic wrap and freeze for 40-60 minutes.
- Unwrap and coat first in a flour mixture, then egg, then breadcrumbs.
- Bake for 30-35 minutes – cooking time will depend on the size of your chicken breasts.

Cordon Bleu Tips and Tricks
- Pound the chicken: This does three things – it tenderizes the meat, makes it larger (easier to fit in filling and roll) and it makes the meat even thickness all over (so it cooks evenly too). Don’t be too rough though.
- Cover the chicken: Cover the meat with plastic wrap before pounding to stop any bits spraying off all over your kitchen.
- Ham first: Place a thin layer of ham all over the chicken first.
- Cheese second: Cut the cheese so that it sits at least 1 inch from both sides of the chicken. The ham is then folded over it creating a little parcel. This locks the gooey cheese in so there’s less chance of it escaping.
- Roll it up tightly: Using a piece of plastic wrap under the chicken will help you roll it. Pull in the sides as you go. Make sure not to roll the plastic wrap inside the chicken. Once rolled up, wrap it tightly in plastic wrap.
- Bread quickly: Remove the plastic wrap and work quickly when you bread the parcels. The heat from your hands can heat them up too much which may cause them to unroll.
- Use a rack: Place the chicken on a rack, on top of a baking tray to bake. This will allow the air to circulate around the whole chicken parcel meaning crispy breadcrumbs all over. No soggy bits and no need to turn them.

What to Serve with Chicken Cordon Bleu
Chicken cordon bleu is a rich dish with bold flavors so simple sides work best. Try this Perfect “Roasted” Air Fryer Asparagus or Panzanella Salad.
This Amazing Pear and Beet Salad is a lovely side in addition to some Amazing Air Fryer French Fries.
How to Freeze it
Freezing the chicken parcels for 40-60 minutes before cooking will assist in the chicken holding it’s shape making it easier to handle and again making sure that cheese can’t escape once it starts baking.

More Amazing Chicken Recipes
- How to Make Chicken Schnitzel
- Creamy Peppercorn Chicken
- Air Fryer Whole Chicken
- Perfect Garlic Roasted Chicken with Vegetables
- Grilled BBQ Chicken
Chicken Cordon Bleu
Ingredients
FOR THE CHICKEN
- 4 chicken cutlets / un-crumbed schnitzels (notes)
- 5 ounce thinly sliced or shaved ham
- 4 ounce sliced or block cheese (Gouda, Swiss or Provolone)
- 2 ½ tablespoons all purpose flour
- 1 teaspoon salt
- ½ teaspoons onion powder
- ½ teaspoon cracked black pepper
- 1 large egg
- 1 cup panko bread crumbs (notes)
- 1 teaspoon olive oil
FOR THE MUSTARD SAUCE
- 1 cup low sodium chicken stock
- 1 teaspoon dried thyme
- ⅔ cup cream
- 2 tablespoons dijon mustard
- 4 teaspoons cornstarch
- 4 teaspoons water
Instructions
FOR THE CHICKEN
-
One at a time, place a chicken cutlet on a chopping board, cover with plastic wrap, then gently bash out to about ¼ inch thick with the flat side of a meat mallet (or bottom of a heavy based pan).
-
Sit one cutlet on a clean piece of plastic wrap. Cover all over with ¼ of the ham. Place ¼ of the cheese in the centre, making sure it's at least 1 inch from the edges. Fold the ham over the cheese on the sides and the part closest to you.
-
Roll the chicken up tightly away from you, pulling in the edges as you go. Use the plastic wrap to help but don't let the plastic wrap end up inside the chicken.
-
Wrap the chicken tightly in the plastic wrap, then place on a plate. Repeat with the other 3 cutlets.
-
Freeze for 40-60 minutes - just until a little firmer, not frozen (this will help them keep their shape) as you coat and bake them.
-
Preheat the oven to 400F. Line a large baking tray with baking paper then sit an oven proof rack on top. Set aside.
-
In a medium bowl, combine the flour, salt, onion powder and pepper. Beat the egg in a second bowl. To a third bowl, add the crumbs and oil, then mix well so the crumbs are evenly coated.
-
Unwrap the chicken then roll in the flour mix, making sure it's well coated all over. Repeat with the rest, placing them back on the plate.
-
Coat 1 piece of chicken in the egg then let the excess drip off, before coating well in crumbs, making sure to press them on. Place on the prepared rack and repeat with remaining chicken parcels.
-
Bake for around 30 minutes, until starting to turn golden and cooked through.
FOR THE MUSTARD SAUCE
-
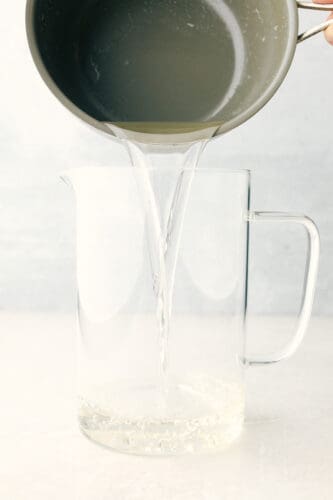
While the chicken bakes, heat the stock and thyme together in a small saucepan over medium heat. Bring to a simmer and cook until reduced by half.
-
Add the cream and dijon and stir to combine. Bring back to a simmer.
-
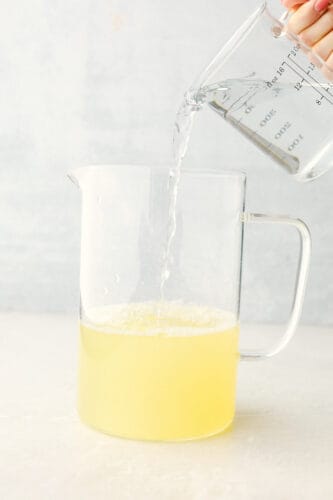
Combine the corn starch and water then pour half into the sauce while constantly whisking. Add more until its the consistency you like. If it gets too thick, just add a little water or stock.
-
Season with salt and pepper.
Notes
- Chicken cutlets are chicken breasts that have been sliced in half through the thickness making 2 thinner breasts. You can do this yourself using large chicken breasts.
- Place the chicken breast on a chopping board and place one hand on top to press down lightly.
- Use a sharp knife to slice through the centre, starting at the thickest end and working towards the thin tip.
- Panko bread crumbs are light and very crispy Japanese bread crumbs. They're available in most grocery stores.
Nutrition
from The Recipe Critic https://ift.tt/3t8bP9J
https://ift.tt/2Rn0V1Z