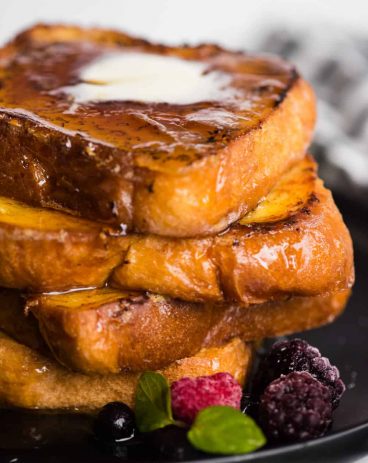
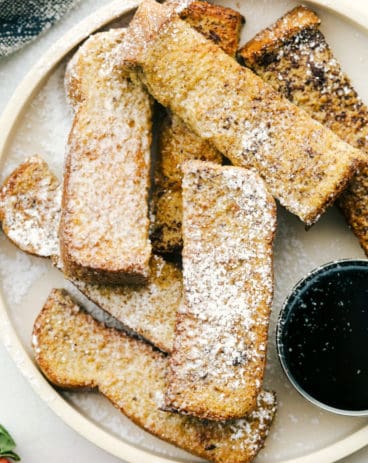
मंगलवार, 27 अप्रैल 2021

English Muffins

English Muffins are soft pillowy round morsels of absolute heaven. This is such an easy recipe you will be making them on a weekly basis!

We love making bread, there’s nothing like homemade loaves that fill the house with the best aroma! Whether you are making Parker House Rolls, Naan, or Texas Rolls, your family is going to love it!
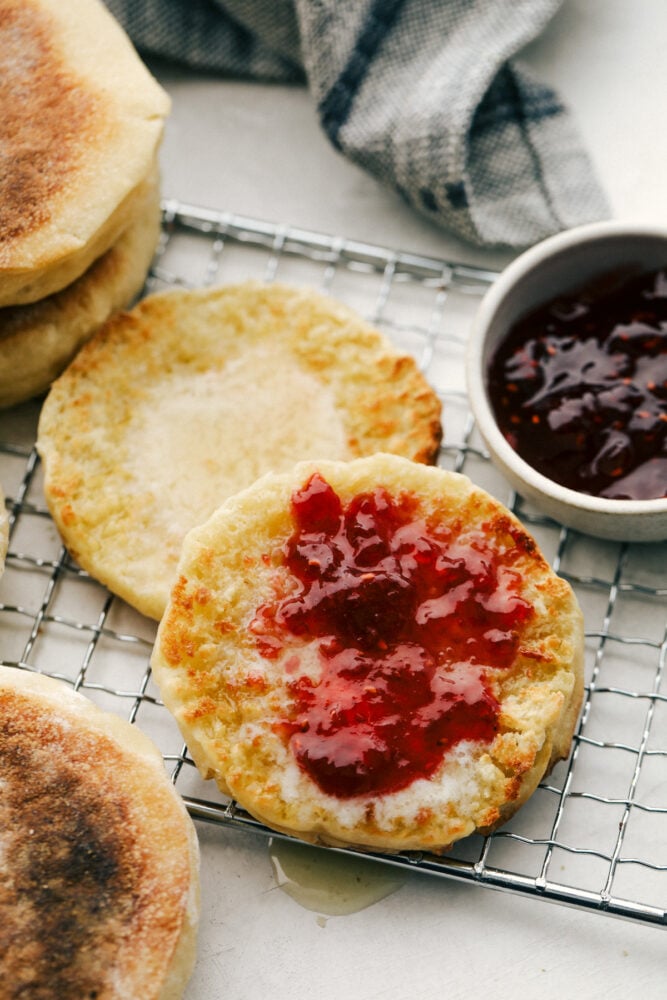
Toasted english muffins on a cooling rack with butter and jam.

Incredible English Muffins

English muffins are the best! They have these incredible nooks and crannies that are perfect for holding your favorite toppings. The pockets are definitely the best part. Toasted to perfection then smothered in butter, it makes for the best addition to your breakfast, or snack routine. These are so simple and easy you are going to wonder why you haven’t tried them before. And trust me y/’our family is going to think you are a superhero for making English muffins at home!

English muffins are not muffins at all, but bread. And they are the basis for many of the best meals around. Including Eggs Benedict and Easy English Muffin Pizzas, among other things. Top English muffins with jam, avocado, and eggs, through in some bacon or sausage and cheese for the best English muffin breakfast sandwiches. English muffins make great sandwiches and even burger buns. However you eat them, just make them!

Ingredients for Homemade English Muffins

You will be surprised by how simple these English muffins truly are. Your loved ones will be impressed, and you may never buy english muffins again.

  • Instant Yeast: Instant yeast is different from Active Yeast, they will both work but you will have to treat the active yeast a bit differently.
  • Warm Water: This is to help the yeast grow, not too hot and not too cold.
  • Milk: Gives richness to the dough.
  • Sugar: This feeds the yeast and helps it bloom.
  • Butter: Melt the butter to help it mix up better.
  • Eggs: Have your eggs at room temperature.
  • Salt: Salt creates the flavor and balance for your bread.
  • Flour: All-purpose flour or bread flour will both work.

Let’s Make English Muffins

These will come together quickly in bread terms. The hardest part is waiting for them to cool enough to eat.

  1. Bloom the yeast: Mix together warm water and yeast. Set aside until frothy, about 10 minutes.
  2. Dissolve The Sugar: Heat milk in the microwave for about 1 minute. Add sugar and stir to dissolve.
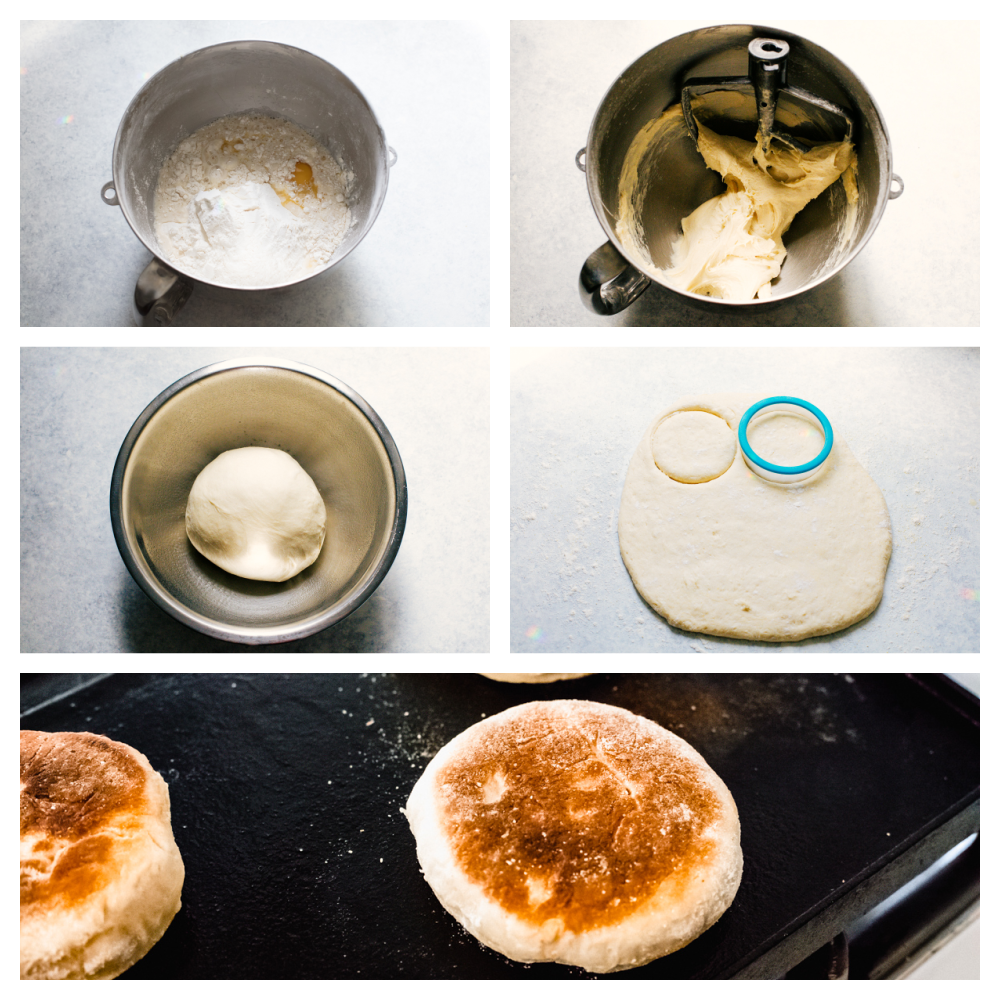
  3. Add: In the mixing bowl of a stand mixer, add salt, flour, yeast mixture, milk mixture, melted butter, and eggs. Using the paddle attachment mix on medium-high speed for 5 minutes or so, until a smooth dough has formed. The dough is a soft one and will be sticky, but it does not need any more flour.
  4. Prepping the dough for rising: Dust your fingers with flour to prevent the dough from sticking to them and dump the dough on a very lightly floured surface. Gently form dough into a ball and place in an oiled bowl. Cover with plastic wrap and set in a warm place. Allow to rise for 1-2 hours, until doubled in size.
  5. Cornmeal dusting: Once the dough has doubled in size, remove onto a surface that is lightly dusted with flour and cornmeal or semolina flour. Add a light dusting of flour and cornmeal on top of the dough.
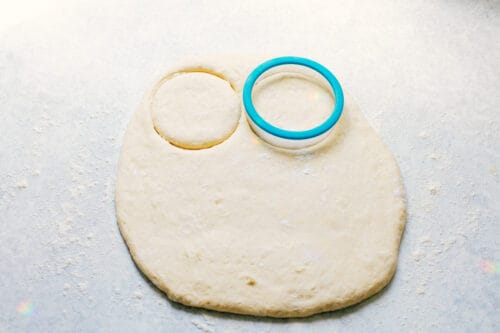
  6. Cutting the Dough: Roll the dough to about ½ inch thickness. Using a biscuit cutter, cut into circles. The scrap dough can be very gently kneaded back together and more circles cut. Cover with a cloth and allow to rise for 30 more minutes.
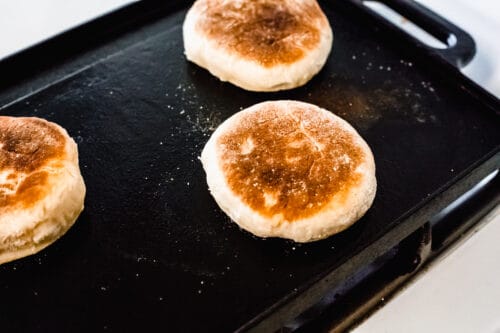
  7. Bake: Preheat your oiled griddle to low heat. Cook muffins for 7-10 minutes on each side, until golden brown.
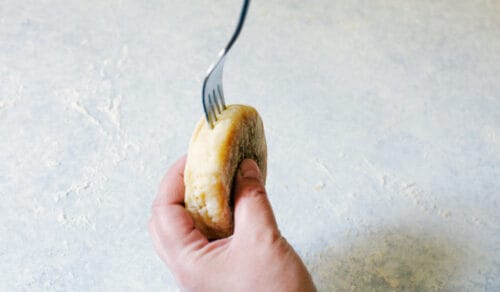
  8. Poke the Holes: Once removed from the heat, use a fork to poke around the center of the muffin to make it easy to split in two.
  9. Cool: Allow to cool completely. Serve toasted with butter, jam, or honey and enjoy!
The Best English Muffin Tips

Soft and tender inside, and golden outside, the perfect english muffin is definitely within reach.

  • Water for Yeast: The hardest part about yeast is getting it to bloom, or rise. To do this you need the water to be at optimal temperature. The temperature should be between 95 and 115 degrees. You do not want it 120 or higher, the yeast will begin to die off because it will be too hot.
  • Active vs Instant Yeast: Active dry yeast needs to be dissolved in water before using, while instant yeast can be mixed right into dry ingredients.
  • Dough: Do not worry if the dough is sticky, it should be. Resist the temptation to add more flour.
  • Milk: You can substitute buttermilk for the milk to give it a bit of tang, similar to the ones from the store.
  • Eggs: Eggs should be at room temperature before adding to your dough. Set them out about an hour before needing.
  • Underbaked on the inside, but done on the outside: This can be a problem if your griddle cooks hot. One of the worst things is to have a doughy underbaked English muffin. To remedy this, bake the English muffins on a cookie sheet in a 350-degree oven for 10-12 minutes.
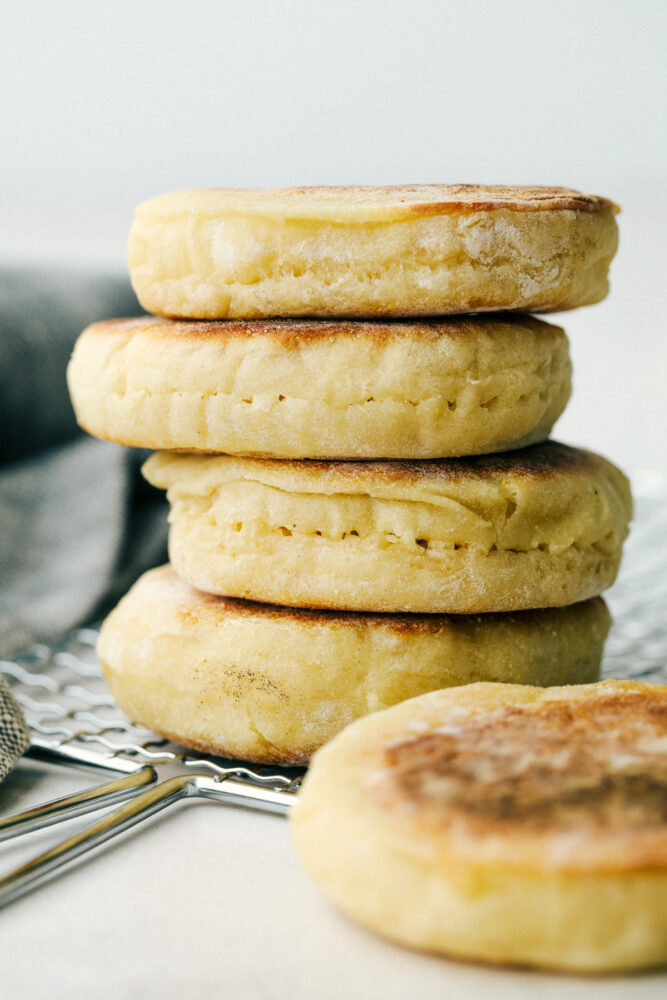
Stacked English muffins with the poke holes for easy cutting.

How To Store English Muffins

English muffins are great for quick breakfasts and when you need a side of bread in a pinch.

  • Store: Keep the English muffins in a tightly sealed container or bag for up to a week. The more airtight the better. I save old bread bags to store them in.
  • Freeze: Double bag these English muffins and keep them in the freezer for up to 3 months. Thaw on the counter when ready to use.
Print

English Muffins

English Muffins are soft pillowy round morsels of absolute heaven. This is such an easy recipe you will be making them on a weekly basis!
Course Bread
Cuisine American, English
Keyword english muffins
Prep Time 25 minutes
Cook Time 30 minutes
Rising 1 hour 30 minutes
Total Time 2 hours 25 minutes
Servings 16 Muffins
Calories 193kcal
Author Alyssa Rivers

Ingredients

  • 1 packet instant yeast
  • 1 cup warm water
  • 1 cup milk
  • 2 tbsp sugar
  • ¼ cup butter melted
  • 2 large eggs
  • 1 teaspoon salt
  • 5 cups flour

Instructions

  • Mix together warm water and yeast. Set aside until frothy, about 10 minutes.
  • Heat milk in microwave for about 1 minute. Add sugar and stir to dissolve.
  • In the mixing bowl of a stand mixer, add salt, flour, yeast mixture, milk mixture, melted butter, and eggs. Using the paddle attachment mix on medium high speed for 5 minutes or so, until a smooth dough has formed. The dough is a soft one and will be sticky, but it does not need any more flour.
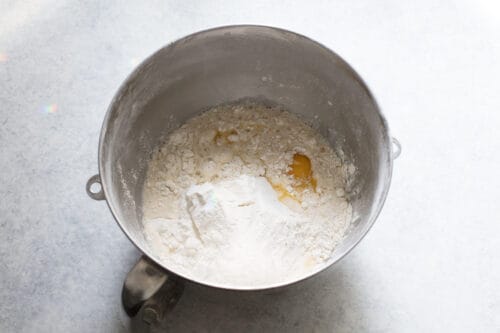
  • Dust your fingers with flour to prevent the dough from sticking to them and dump dough on a very lightly floured surface. Gently form dough into a ball and place in an oiled bowl. Cover with plastic wrap and set in a warm place. Allow to rise for 1-2 hours, until doubled in size.
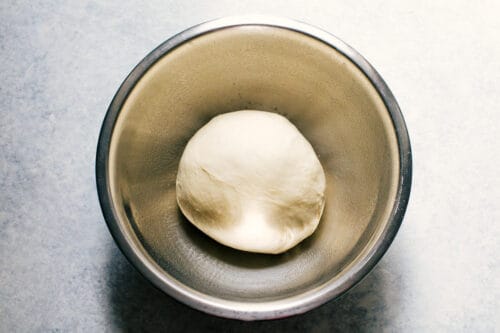
  • Once the dough has doubled in size, remove onto a surface that is lightly dusted with flour and cornmeal or semolina flour. Add a light dusting of flour and cornmeal on top of the dough.
  • Roll the dough to about ½ inch thickness. Using a biscuit cutter, cut into circles. The scrap dough can be very gently kneaded back together and more circles cut. Cover with a cloth and allow to rise for 30 more minutes.
  • Preheat your oiled griddle to low heat. Cook muffins for 7-10 minutes on each side, until golden brown.
  • Once removed from the heat, use a fork to poke around the center of the muffin to make it easy to split in two.
  • Allow to cool completely. Serve toasted with butter, jam, or honey and enjoy!

Nutrition

Calories: 193kcal | Carbohydrates: 32g | Protein: 6g | Fat: 4g | Saturated Fat: 2g | Trans Fat: 1g | Cholesterol: 32mg | Sodium: 188mg | Potassium: 76mg | Fiber: 1g | Sugar: 2g | Vitamin A: 147IU | Vitamin C: 1mg | Calcium: 28mg | Iron: 2mg


from The Recipe Critic https://ift.tt/3eB4hWR
https://ift.tt/3nqzgsH
सोमवार, 26 अप्रैल 2021

Strawberry Smoothie

Strawberry Smoothie is creamy, refreshing, and the perfect way to satisfy your sweet tooth! It tastes just like a milkshake, but more nutritious!

Smoothies make a great quick breakfast! Pair them with Cinnamon Rolls, German Pancake, or Breakfast Casserole for a breakfast worth waking up for.

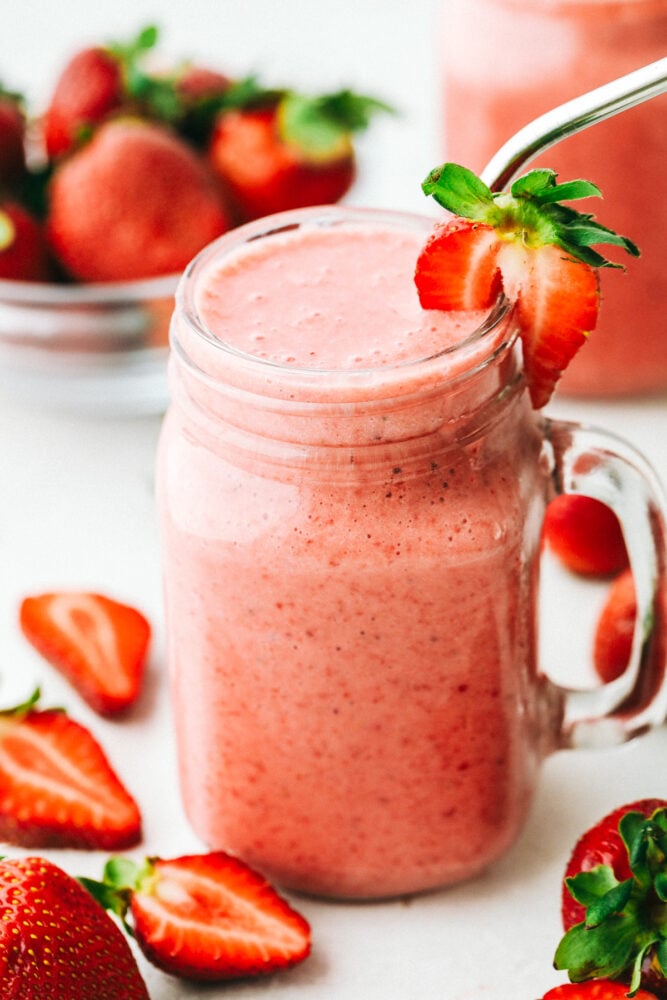
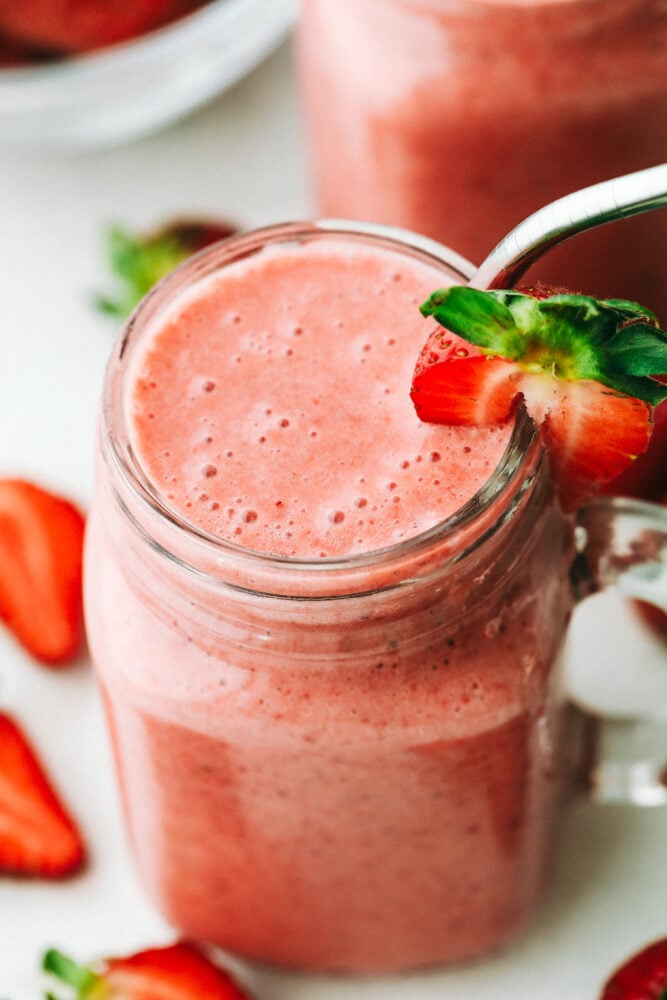
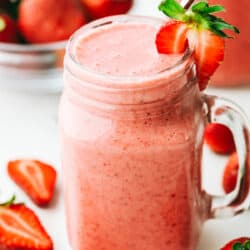
Strawberry smoothie in a glass mason jar with a metal straw.

Perfect Strawberry Smoothie

Keeping it simple is almost always best, and this strawberry smoothie is as simple as they come. With just four ingredients, it comes together quickly and is bursting with strawberry flavor. Sweet, luscious strawberries, and nothing else. It does not get much better than this. And that color! Do me a favor and make sure you have something clear to pour this smoothie into, so you can show off that beautiful shade of pink. The pretty color appeals to kids and adults of all ages, meaning it will disappear fast!

Strawberry smoothies are a delicious way to get your vitamins and protein! Your loved ones won’t even know that it is so good for them! Strawberries are packed with vitamin C and antioxidants. Greek yogurt not only adds creaminess and tang but protein and calcium. It tastes and seems like you are sipping a strawberry milkshake, but it is so much better for you. So let’s get back to basics and make a classic strawberry smoothie.

Ingredients for the Best Strawberry Smoothie

Simple and easy, these ingredients combine to make a refreshing drink ready for any occasion.

  • Frozen strawberries: Using frozen strawberries thickens and cools the smoothie to be more like a milkshake.
  • Greek Yogurt: Adds creaminess, and calcium. Use non-fat Greek Yogurt for less fat.
  • Honey: Natural sweetener that has antioxidants in it as well.
  • Apple Juice: Also adds a bit of sweetness, but minimal flavor.

Let’s Make a Strawberry Smoothie!

Super fast and easy, this is a great idea for a grab-and-go breakfast or snack when you are short on time. In a blender add the frozen strawberries yogurt, honey, and apple juice. Blend until smooth.

Strawberry smoothie in a jar and ready to drink.

Variations of Homemade Strawberry Smoothie

This recipe is basic, which means it is very customizable. Get creative and make this strawberry your own.

  • Juice: Instead of apple juice use orange juice, almond milk, milk, or even water.
  • Bananas: Frozen bananas add even more creaminess, and can add the extra sweetness you want.
  • Protein: Add a scoop of your favorite protein powder. They come in so many fun flavors, you can really get creative with them. I personally like good vanilla with my strawberry.
  • Nut Butter: A spoonful of peanut butter or almond butter for texture and flavor. It will taste like a sandwich in a straw.
  • Greens: Of course you can add kale or spinach to your smoothie for iron and nutrients. I do have to warn you the color will be a little unappealing, but still delicious.
  • Chocolate: Add in a scoop of cocoa powder for a chocolate-covered strawberry smoothie.

Tips For The Ideal Smoothie

This is one of those basic recipes that you just cannot get wrong, but there are things you should always keep in mind whatever kind of smoothie you are making.

  • Order Matters: To get that perfectly smooth creamy texture you want to layer your greens and liquid closest to the blades. Then add your frozen fruit and add-ins. So if your blade is on the bottom layer the liquid then greens, then the rest. If your blade is the lid, place half the liquid in the bottom, add in the frozen fruit and add-ins, place the greens last and add the rest of your liquid.
  • The Mixer is Vital: You want to make sure your blender is up to the task. If you are a smoothie addict, it is worth investing in a powerful blender that can get the job done and not burn out.
  • Leave The Ice Out and Opt for Frozen Fruit: Adding ice to make your smoothie cold actually just dilutes your smoothie. Using frozen fruit will create a thick smooth cold smoothie with all the flavor intact.
  • Sneak in Those Greens: Smoothies are a great way to add greens to your diet without having to actually taste them. Adding spinach and kale are two of the favorites which add nutrients without a ton of flavor. Use baby kale and spinach for sweeter flavors which are easier to blend.
  • Protein and Fats: Smoothies are a great way to add in protein and healthy fats that can help you feel fuller longer. Nut butter, chia seeds, hemp, flaxseed, and even frozen avocado. Trust me avocado creates the smoothest creamiest smoothie you’ll ever have.
Print

Strawberry Smoothie

Strawberry Smoothie is creamy, refreshing, and the perfect way to satisfy your sweet tooth! It tastes just like a milkshake, but more nutritious!
Course Breakfast, smoothie
Cuisine American
Keyword strawberry smoothie
Prep Time 10 minutes
Total Time 10 minutes
Servings 2 Smoothies
Calories 201kcal
Author Alyssa Rivers

Ingredients

  • 3 cups frozen strawberries
  • 1/4 cup greek yogurt
  • 1 Tablespoon Honey
  • 1- 1/2 cup apple juice

Instructions

  • In a blender add the frozen strawberries yogurt, honey and apple juice. Blend until smooth.

Nutrition

Calories: 201kcal | Carbohydrates: 47g | Protein: 4g | Fat: 1g | Saturated Fat: 1g | Cholesterol: 1mg | Sodium: 19mg | Potassium: 559mg | Fiber: 5g | Sugar: 38g | Vitamin A: 29IU | Vitamin C: 129mg | Calcium: 78mg | Iron: 1mg


from The Recipe Critic https://ift.tt/3nqDVef
https://ift.tt/3tV1le6

रविवार, 25 अप्रैल 2021

Grilled Huli Huli Chicken

Grilled Huli Huli Chicken is a five star recipe! The marinade is quick and easy and full of such amazing flavor! You will make this again and again!

Grilling season is coming and I could not be more excited! Grilling can bring out the best in foods, try these favorites, Chicken, Asparagus, and Shrimp!

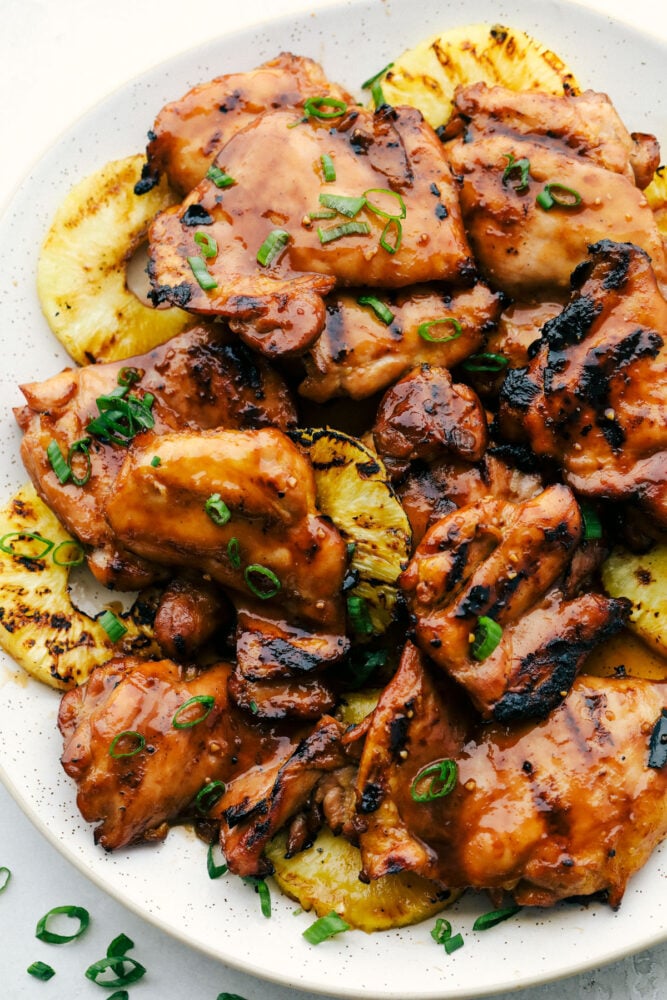
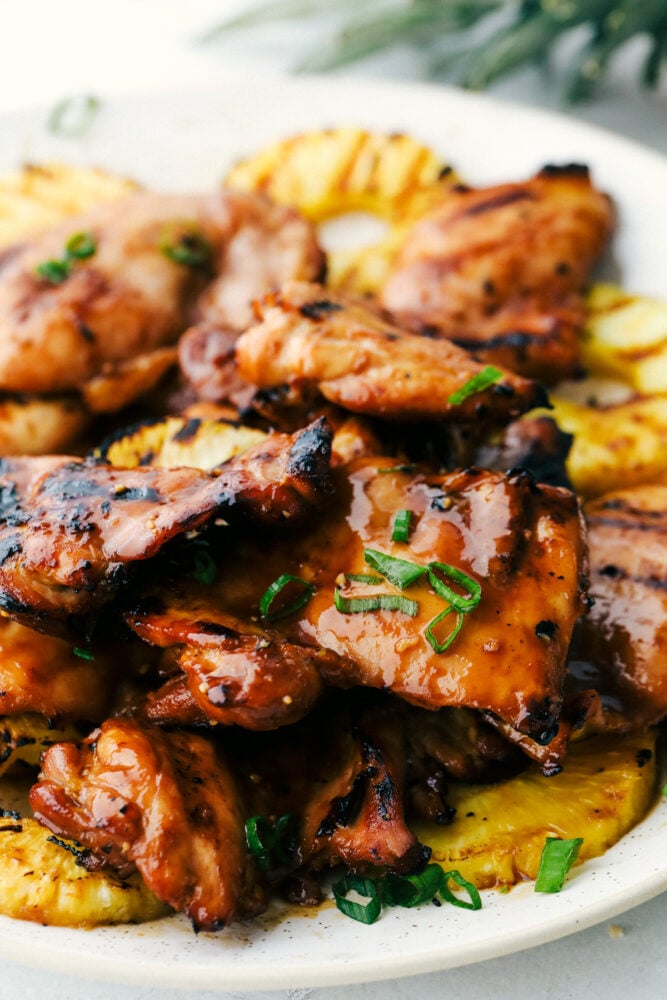
Grilled Huli Huli Chicken on a plate with grilled pineapple and garnished with green onions.

Huli Huli Chicken Recipe

This Huli Huli Chicken has been on my list of things to make for years now. I am kicking myself for not making it until now. We loved it so much we grilled it three nights in a row. Huli Huli originated in Hawaii and has quickly become a restaurant staple. Now you can make this at home. When my hubby took his first bite of this chicken he said it tastes exactly like our favorite restaurant. It is honestly one of the best things that we have grilled to date.

The marinade is quick and easy with a few ingredients and the flavor will blow your mind. I marinaded the chicken overnight so that it could soak up all that delicious flavor. You reserve some of the sauce to baste the chicken with while it grills. The sauce is thick and delicious and coats the chicken perfectly as it grills. We love to grill at our house and this recipe needs to be at the top of your list! It was incredibly grilled with our favorite grilled pineapple recipe. This recipe is easily a five-star recipe that you will make again and again. We already can’t wait to make it again!

What You Need for Grilled Huli Huli Chicken

Everything can be found at your local grocery store, look for fresh ginger in the produce section.

  • Boneless Skinless Chicken Thighs: You can use chicken breasts but they can dry out and not be as flavorful.
  • Unsweetened Pineapple Juice: You can find this in the canned fruit section sometimes as well as the juice section of your grocery store.
  • Soy sauce: Low Sodium soy sauce will work here too.
  • Brown Sugar: The sugar will caramelize the chicken and gives it a beautiful flavor.
  • Ketchup: This will add flavor and richness.
  • Chicken Broth: Adds flavor to the marinate, look for low sodium if you desire.
  • Fresh Ginger Root Grated: I can often find the ginger in the produce section of my grocery store.
  • Minced Garlic: Fresh minced garlic is best but you can used jarred to save a bit of time.
  • Green Onions: Sliced for garnish.

Let’s Make Some Grilled Chicken!

Super simple and easy, but big on flavor, this is going to become a staple in your grilling rotations.

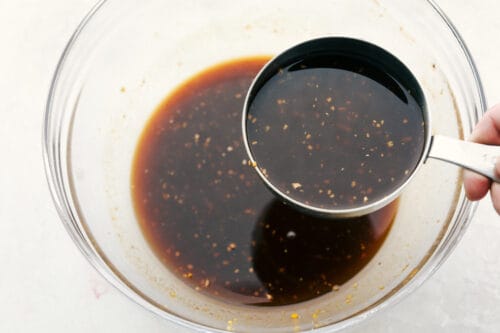
  1. Marinate: In a medium-sized bowl, whisk together pineapple juice, soy sauce, brown sugar, ketchup, chicken broth, ginger, and garlic. Reserve 1 cup sauce for basting. Add the chicken thighs and sauce to a ziplock bag and marinate for at least 3 hours or overnight.
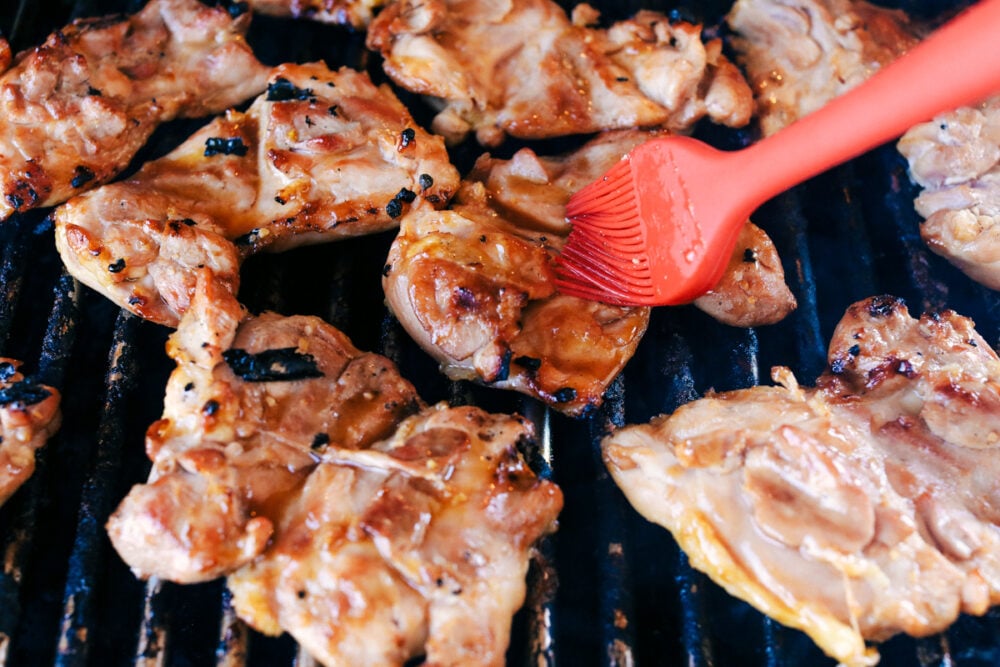
  2. Grill It: Grill chicken, covered, over medium heat for 6-8 minutes on each side or until no longer pink. Baste occasionally with reserved marinade during the last 5 minutes. Garnish with green onions if desired
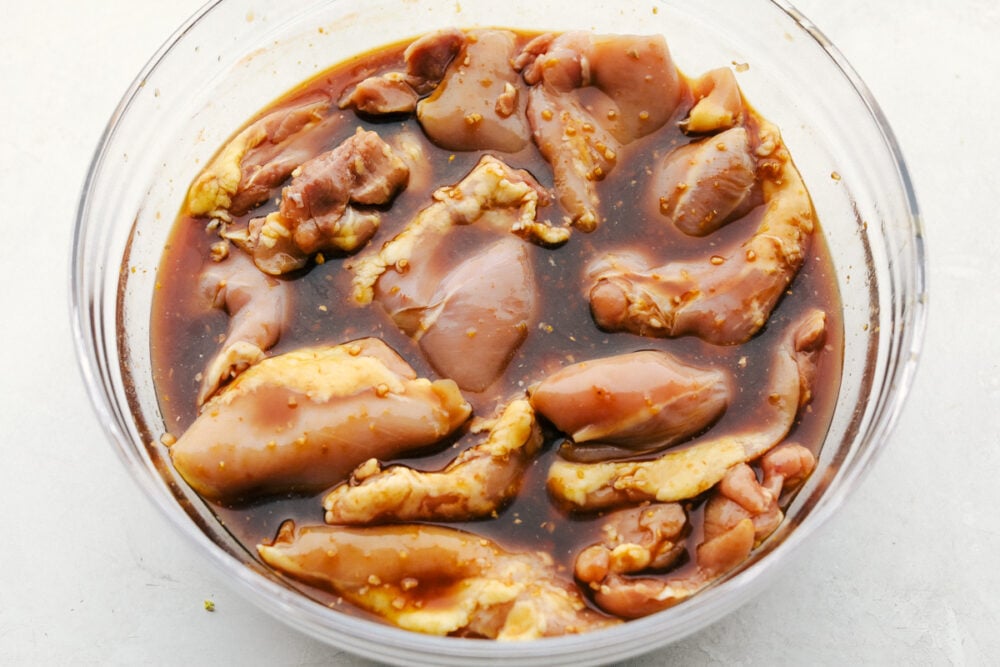
Chicken thighs sitting in a bowl of marinade.

The Best Huli Huli Chicken Tips

With all grilled foods there are some do’s and don’ts to make sure it is the best tasting chicken you have ever had.

  • Chicken: What kind of chicken you use matters. When you are grilling the possibility of losing moisture is more likely. You want to cook your chicken to 165 degrees without drying it out. It is best to use chicken thighs because they have dark meat which is naturally moister and has a bit more fat. You can use breasts but you want to pound them out the same thickness so they cook evenly and pull them off the grill when they are about 162, they will continue to cook while resting.
  • Rest Your Chicken: To help the chicken retain its moisture and flavor you want to let your chicken rest after it is done cooking. This gives the chicken time to redistribute the juices, leaving more inside than on your plate. This is true for any meat you grill. Let it rest covered with foil for about 10 minutes.
  • Marinade: Make sure you reserve marinade to baste the chicken once on the grill. Do not use the marinade the raw chicken sat in. It will spread bacteria and possible food poisoning.
  • Do Not Have A Grill? No worries, you can still enjoy this incredible dish by cooking the chicken in the oven at 400 for 20 min or in a pan on the stovetop.
Basting chicken as it grills.

Popular Sides For Huli Huli Chicken

Grilled main dishes are a great spring and summer staple. Add sides that compliment your dish and highlight the season. Here are some tried and true recipes to try when serving your Huli Huli Chicken.

Grilled Huli Huli chicken and pineapple on a plate.

Storing and Using Your Huli Huli Leftovers

I love this recipe, because you make a lot and they make the best leftovers! It is like it tastes better the next day.

  • Store leftovers tightly covered in the fridge for up to 4 days. You can freeze the chicken in a freezer-safe bag for up to 3 months. Thaw overnight in the fridge.
  • Use leftovers to top some of your favorite salads, like Broccoli Ramen Salad, or add to a Buddha Bowl.
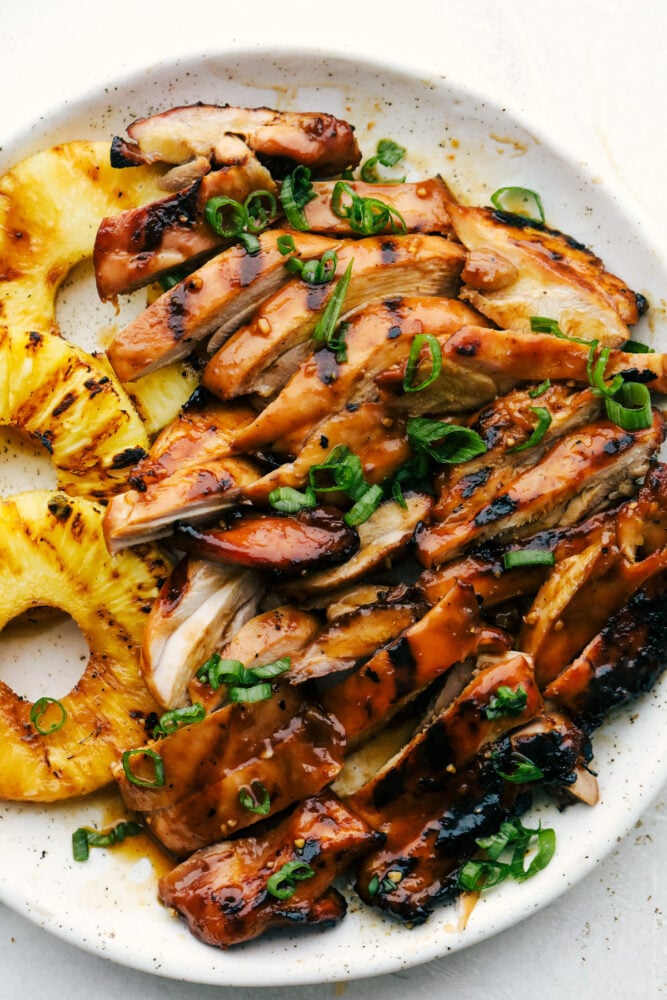
Diced grilled chicken ready to eat.

Print

Grilled Huli Huli Chicken

Grilled Huli Huli Chicken is a five star recipe! The marinade is quick and easy and full of such amazing flavor! You will make this again and again!
Course Dinner, Main Course
Cuisine American
Keyword grilled huli huli chicken, huli huli chicken
Prep Time 10 minutes
Cook Time 20 minutes
Total Time 30 minutes
Servings 10 Servings
Calories 288kcal
Author Alyssa Rivers

Ingredients

  • 4 pounds boneless skinless chicken thighs chicken breasts also work
  • 1 cup unsweetened pineapple juice
  • 1/2 cup soy sauce
  • 1/2 cup brown sugar
  • 1/3 cup ketchup
  • 1/4 cup chicken broth
  • 2 teaspoons fresh ginger root grated
  • 1 1/2 teaspoons minced garlic
  • green onions sliced for garnish

Instructions

  • In a medium sized bowl, whisk together pineapple juice, soy sauce, brown sugar, ketchup, chicken broth, ginger and garlic. Reserve 1 cup sauce for basting. Add the chicken thighs and sauce to a ziplock bag and marinate at least 3 hours or overnight.
  • Grill chicken, covered, over medium heat for 6-8 minutes on each side or until no longer pink. Baste occasionally with reserved marinade during the last 5 minutes. Garnish with green onions if desired

Notes

Updated on April 25, 2021
Originally Posted on May 1, 2016

Nutrition

Calories: 288kcal | Carbohydrates: 17g | Protein: 36g | Fat: 8g | Saturated Fat: 2g | Cholesterol: 172mg | Sodium: 907mg | Potassium: 544mg | Fiber: 1g | Sugar: 15g | Vitamin A: 85IU | Vitamin C: 3mg | Calcium: 33mg | Iron: 2mg

A Reader’s Review

“Absolutely delicious! Easy and many ways to eat it. Last evening we skewered the chicken!” -Tricia


from The Recipe Critic https://ift.tt/2txJMCU
https://ift.tt/3gz4SLz

शुक्रवार, 23 अप्रैल 2021

Challah French Toast

Challah French Toast is beyond unbelievably amazing! Made with an enriched loaf of Challah, it creates one of the best tasting breakfasts EVER!

We love breakfast at our house, we even have it for dinner. Pair this incredible french toast with this incredible Breakfast Casserole, Bacon, or Eggs!

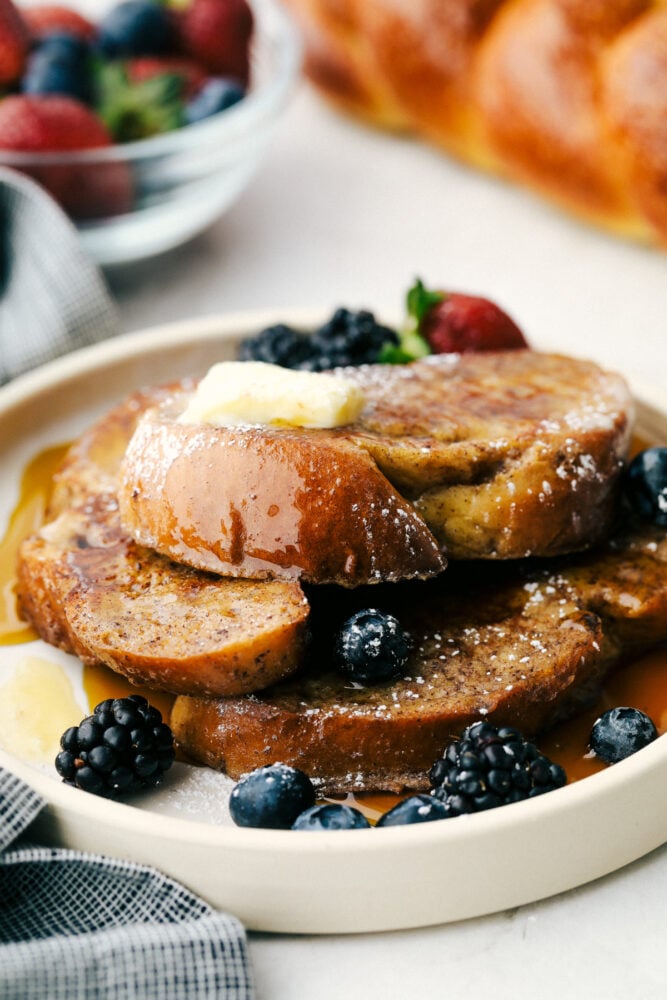
Challah French Toast on a plate with butter and berries.

Challah French Toast Recipe

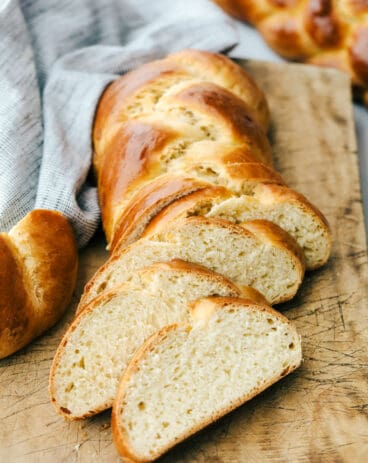
Challah is classic Jewish bread that is made for special occasions. When you make Challah, it makes two loaves, perfect for having leftovers for French toast. This is not your everyday french toast either. The richness and extra thickness of a Challah loaf make it perfect to hold on to the tasty eggy custard. You may never go back to using regular bread for your french toast after you have this decadent breakfast.

You will want your bread to be a bit on the stale side, which is why I love using Challah after I’ve made it. It is a buttery sweet bread that goes stale quickly and beautifully. This way the bread will really soak up all the flavors of the egg custard. It combines magically with the sweetness of the bread and then fried in butter in a hot pan for a taste beyond amazing. You have to try this one today! You won’t regret it

Ingredients for the Best Challah French Toast

Simple ingredients come together to make the most indulgent french toast ever!

  • Eggs: Use room temperature eggs for the best results.
  • Milk or heavy cream: If you use milk, use whole milk.
  • Cinnamon: Creates the best flavor for your french toast.
  • Vanilla: Use a good quality vanilla for a rich flavor.
  • Butter: this is for cooking the french toast in, it is a must!
  • Braided challah bread: Make sure your bread is stale.

How To Make Challah French Toast

  • Make the Custard: In a medium size bowl add eggs and milk and whisk together until smooth. Add in the cinnamon and vanilla and whisk.
  • Dip and Fry: Preheat the skillet to medium and add the butter. Once the butter has melted and pan is hot, add the French toast and fry until golden brown. Repeat on the other side.
  • Top and Eat: Top with your favorite toppings, fresh berries, powdered sugar, and syrup and enjoy!
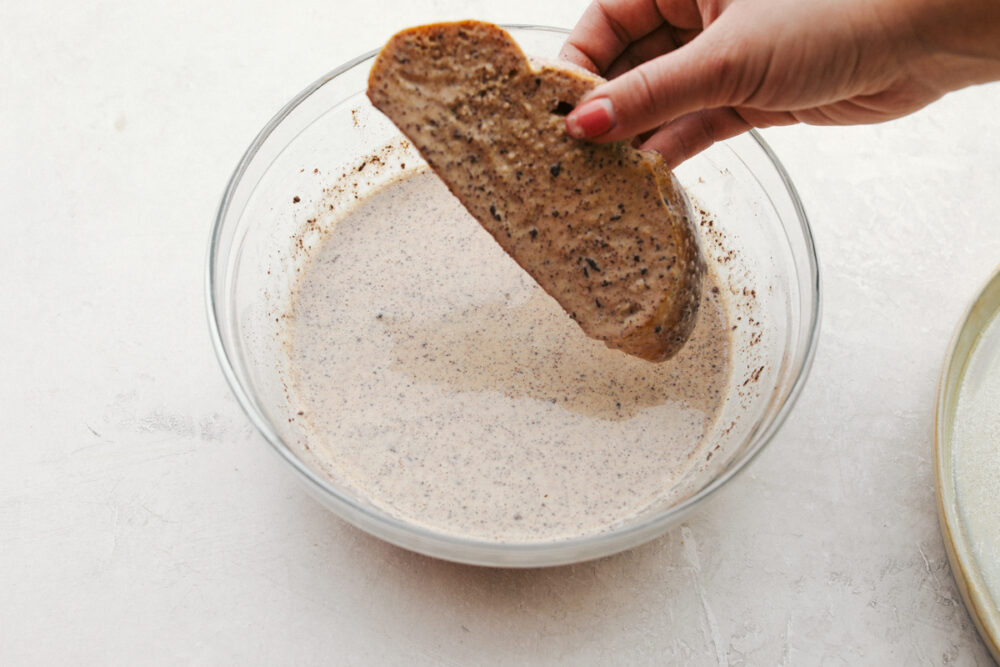
Challah bread being dipped in a bowl of egg mixture.

Homemade Challah French Toast Tips and Variations

When it comes french toast, it’s pretty flexible, but there are a few things that will help make it divine.

  • Bread Should Be Stale: For the bread to absorb the egg custard and not fall apart you want your challah to be dried out and stale. Cut the bread the night before at least and let it sit out. If you forget, do not panic. You can “dry” out your bread in a 300 degree oven for about 15 minutes, turning half way.
  • Cut it thick: Make sure you cut the bread into at least 1 inch slices. That way it can soak up more of the flavor and hold on to it.
  • Let it Soak: Let your challah soak up the egg mixture for 60 seconds, turning half way through to really absorb it.
  • Use Butter for Frying: Please do not use oil, You want that golden rich flavor of butter flavor on your french toast. It will taste so much better than oil.
  • When Done Cooking: French toast is best served immediately, but if you need to keep it warm, place it on a cooling rack that has been set inside a cookie sheet. Put the cookie sheet ina 200 degree oven to keep warm. Putting the french toast on a wire rack will keep it from getting soggy.
  • Add Flavor: If you want to experiment with the flavor of your egg mixture, you can try adding different extracts. Try almond, rum, or coconut for added fun.

Topping your Challah French Toast

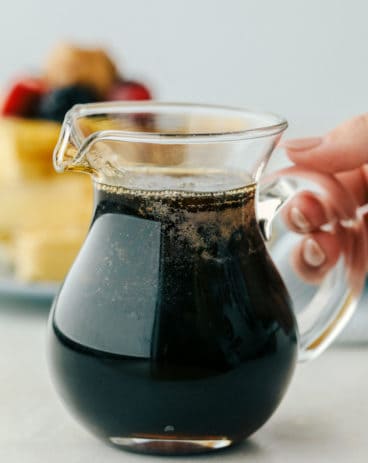
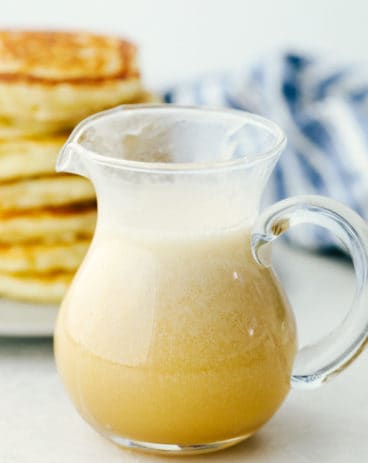
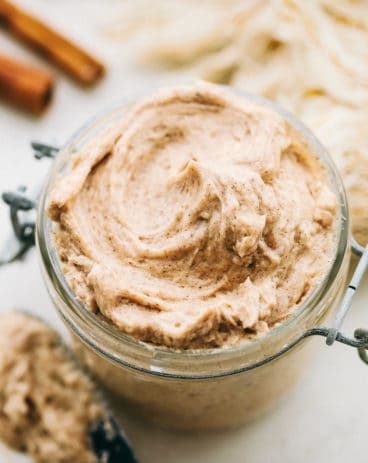
I love this full flavored french toast, it has so much flavor on its own. A simple topping of fruit and powdered sugar is all it needs. But there are times I really want to go all out and top this with a gorgeous syrup or jam. Here are some simple recipes that top your french toast absolutely perfectly.

Storing Leftover Challah Bread French Toast

This has to be one of my favorite things to do. I will make a huge batch of french toast. Let it cool completely and then freeze the leftovers for a quick breakfast any morning. Once the french toast has cooled, place on a cookie sheet and freeze for 30 minutes. Then remove and place in a freezer safe bag for up to 2 months. Thaw the leftovers in the microwave and then crisp in the toaster.

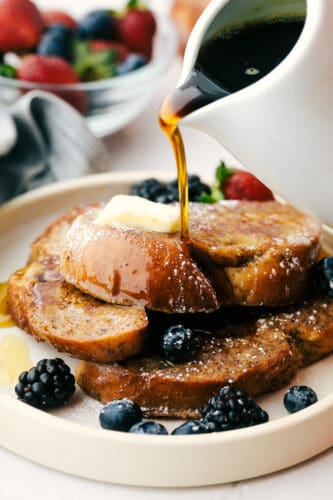
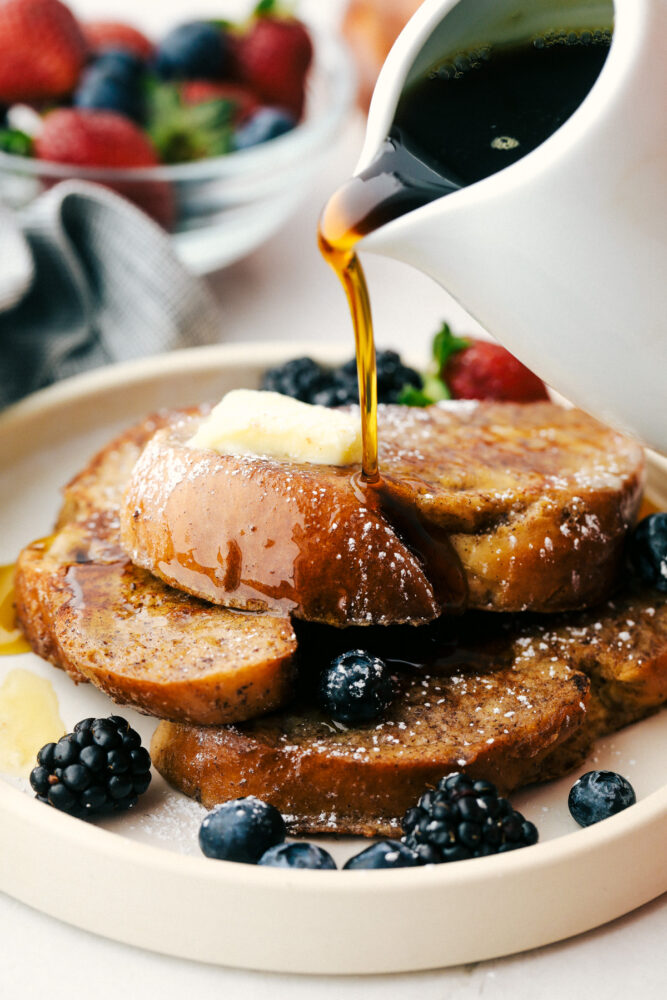
Challah French toast with maple syrup being over it.
Print

Challah French Toast

Challah French Toast is beyond unbelievably amazing! Made with an enriched loaf of Challah, it creates one of the best tasting breakfasts EVER!
Course Breakfast
Keyword challah french toast
Servings 4 People
Calories 158kcal
Author Alyssa Rivers

Ingredients

  • 4 large eggs
  • 2/3 cup milk or heavy cream
  • 1 1/2 teaspoon cinnamon
  • 1 Tablespoon vanilla
  • 2 Tablespoons butter
  • 6 slices braided challah bread

Instructions

  • In a medium size bowl add eggs and milk and whisk together until smooth. Add in the cinnamon and vanilla and whisk.
  • Preheat the skillet to medium and add the butter. Once the butter has melted and pan is hot, add the French toast and fry until golden brown. Repeat on the other side.
  • Top with your favorite toppings, fresh berries, powdered sugar, and syrup and enjoy!

Nutrition

Calories: 158kcal | Carbohydrates: 3g | Protein: 8g | Fat: 12g | Saturated Fat: 6g | Trans Fat: 1g | Cholesterol: 205mg | Sodium: 139mg | Potassium: 132mg | Fiber: 1g | Sugar: 3g | Vitamin A: 513IU | Vitamin C: 1mg | Calcium: 84mg | Iron: 1mg


from The Recipe Critic https://ift.tt/3xs99Xh
https://ift.tt/3dH6fWG