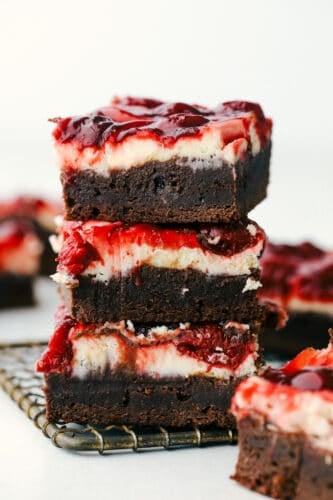
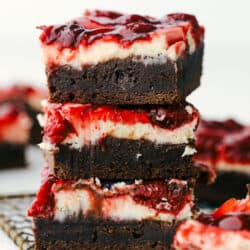
Cherry cheesecake brownies are fudgy brownies with cheesecake and premium cherry pie filling swirled on top! These brownies are rich and creamy and have three delicious desserts in one!
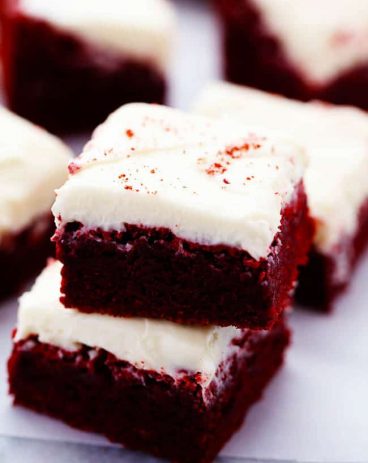
If you love brownies as much as I do, you have to try these other fan favorites. Red Velvet Brownies with Cream Cheese Frosting, The Best Caramel Brownies, and Gooey Oreo Brownies, YUM!

Cherry Cheesecake Brownies
I am so excited to be an ambassador this year for Lucky Leaf pie filling! I love working with companies that I love and that I am passionate about their product. Lucky Leaf is a high-quality and easy-to-use dessert product. I love thinking of delicious recipes to create with their premium pie filling. You are going to love lucky because it has no high fructose corn syrup and has more fruit inside and a bunch of different flavors to chose from. It is very convenient and versatile with a high-quality product to use to simplify your baking.
Cherry pie filling is one of my all-time favorite pie fillings. And Lucky Leaf’s is bursting with big and delicious cherries inside. You can truly see a difference in their pie filling. So when choosing a dessert to make, I knew that I wanted to use it. So then it came to me. Why don’t I combine three of my favorite desserts in one!? And that my friend, is how the Cherry Cheesecake Brownie was born!
What You Need To Make Cherry Cheesecake Brownies
These are not only rich and fudgy, but they are sweet, tart, and tangy. It is all the best flavors combined into one outrageously delicious dessert! This dessert turned out way better than expected. I could hardly wait for them to cool and set. My cherry-loving 7-year-old kept sneaking cherries from the top. Apparently, he couldn’t wait either!
- Cream cheese: Soften the cream cheese or at least have it at room temperature.
- Sugar: White sugar to sweeten the tang of the cream cheese.
- Egg: Should be a room-temperature egg.
- Vanilla: This adds a nice sweet flavor to the cream cheese.
Brownie Ingredients
- Butter: You will melt this butter with the chocolate
- Unsweetened chocolate: Use good quality cocoa for best results.
- Sugar: White granulated sugar adds moisture as well as sweetness.
- Vanilla: This adds one of the best flavors that combines beautifully with the cherries.
- Salt: Salt balances out the flavor and the sweetness.
- Eggs: Again, have these at room temperature, they will mix in the batter better.
- Flour: All-purpose flour works perfectly here.
- Lucky Leaf® Cherry Pie Filling 21 ounces: Look for it at your local grocery store or online.
How to Make the Best Brownies EVER!
My favorite part of these brownies was the cheesecake and cherry swirled on top. It looked so beautiful on top and it made these brownies look elegant and impressive. The best part about these brownies is that they are simple to make! They only take about 15 minutes to put together until they are baking in the oven. Heat oven to 350 degrees. Line a 13×9 inch pan with foil and spray lightly with cooking spray. Set aside. Beat together cream cheese, and sugar until smooth. Add in egg and vanilla and continue to beat until smooth.
How to Make the Brownies
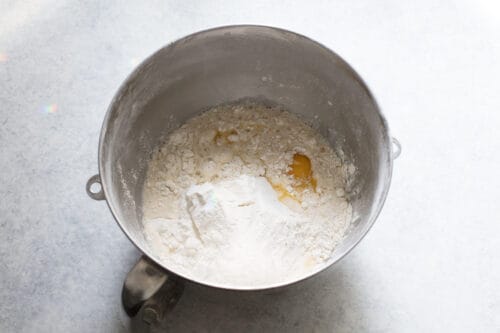
- Melt and Combine: In a microwave-safe bowl, melt butter and chocolate 30 seconds at a time until melted and smooth. Stir in sugar vanilla and salt. Add in eggs and flour. Mix until incorporated.
- Layer and Swirl: Spread brownie mix into the bottom of your 13×9 inch prepared pan. Drop Cheesecake mixture on top followed by the Lucky Leaf Cherry Pie filling. Run a knife through the top giving it the marbled look.
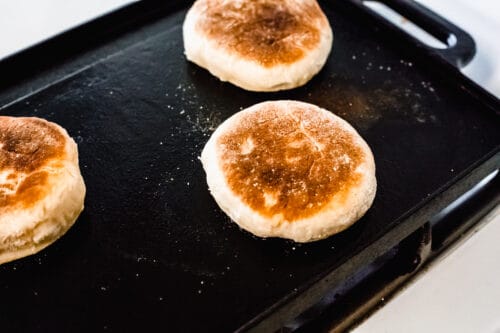
- Cook and Cool: Bake for 45-50 minutes until the cheesecake states to turn lightly brown on the edges. The cheesecake center will still jiggle a bit. Cool completely and chill for 4 hours before cutting.

Brownie Cheesecake Tips and Variations
As soon as the brownies were cooled and chilled I couldn’t wait to sink my teeth into them! The first bite seriously blew my mind. I could taste the creamy cheesecake and delicious cherries in my mouth followed by a fudgy brownie. These will go down in the history books as one of the best brownies that I have ever had! I think as soon as you try them you will agree.
- Room Temperature Ingredients: For those of you who follow me you know that this is a must when baking. When your ingredients are at room temperature they mix in better, meaning whatever you are baking will turn perfectly, without lumps or chunks.
- Add-Ins: To make this dessert even that much more decadent, stir in chocolate chips or chopped pecans into the brownie batter.
- Can I use a Box Brownie Mix: Yes, of course. Personally, I love homemade brownies better, but I also know that when I need to save time I reach for boxed mix every time. They will still taste amazing!
- Change up the filling: Not a fan of cherries? You can substitute with another pie filling you love. Try strawberry or raspberry.
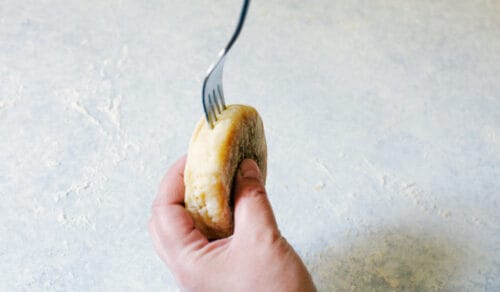
- Let them Cool: Before you cut them be sure to let them cool. If they are too warm you will end up with a gooey mess. I like to refrigerate them before I cut them.

How to Store Your Cherry Cheesecake Brownies
These brownies are rich and decadent, you want to make sure you keep them around as long as possible.
- Fridge: Because these cherry brownies are made with cream cheese for their cheesecake layer, they should be refrigerated. Do not cut them if you are storing them. They tend to dry out faster if you do. These will keep well covered for up to 5 days.
- Freeze: These Cherry Cheesecake Brownies are awesome frozen. Again leave them uncut if possible, wrap tightly in plastic wrap, and then with foil. These will keep for up to 1 month. Let thaw in the fridge.

More Cheesecake Recipes to Fall in Love With
Desserts
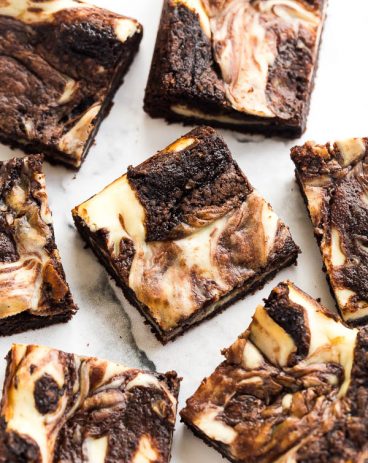
Cream Cheese Brownies
Desserts
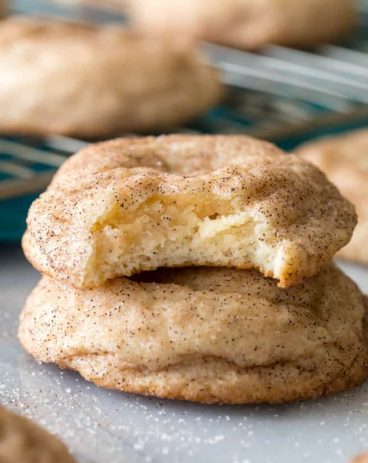
Cream Cheese Snickerdoodles

Desserts
Death by Chocolate Cheesecake
Cherry Cheesecake Brownies
Ingredients
Cheesecake Topping Ingredients:
- 2 packages cream cheese 8 ounces
- 1/2 cup sugar
- 1 large egg
- 1/2 teaspoon vanilla
Brownie Ingredients:
- 1 cup butter
- 6- ounce unsweetened chocolate
- 2 cups sugar
- 1 teaspoon vanilla
- 1 teaspoon salt
- 4 large eggs
- 1 1/4 cup flour
- 1 can Lucky Leaf® Cherry Pie Filling 21 ounces
Instructions
-
Heat oven to 350 degrees. Line a 13×9 inch pan with foil and spray lightly with cooking spray. Set aside.
To make the topping:
-
Beat together cream cheese, and sugar until smooth. Add in egg and vanilla and continue to beat until smooth.
To make the brownies:
-
In a microwave-safe bowl, melt butter and chocolate 30 seconds at a time until melted and smooth. Stir in sugar vanilla and salt. Add in eggs and flour. Mix until incorporated.
-
Spread brownie mix into the bottom of your 13×9 inch prepared pan. Drop Cheesecake mixture on top followed by the Lucky Leaf Cherry Pie filling. Run a knife through the top giving it the marbled look.
-
Bake for 45-50 minutes until the cheesecake states to turn lightly brown on the edges. The cheesecake center will still jiggle a bit. Cool completely and chill for 4 hours before cutting.
Video
Notes
Nutrition
from The Recipe Critic https://ift.tt/2LSGKVZ
https://ift.tt/3aLG27y