Overnight Cinnamon Rolls is a recipe you need in your recipe book. It is the best breakfast that is worth waking up to in the morning!
I love cinnamon rolls, they are sweet and spicy, light and fluffy, and completely satisfying! You have to try my other cinnamon roll recipes, like these 45 minute, Pancakes, or this Cinnabon Cinnamon Roll Cake.

Homemade Overnight Cinnamon Rolls
If I wanted comfort food first thing in the morning, cinnamon rolls would be my go-to choice! The dough is light, tender, and pillowy. Surrounding the bread are ribbons of butter, cinnamon, and sugar mixture that are all rolled up into swirls of goodness. Then to top it all off you have a rich sweet and tangy cream cheese frosting. Cream cheese frosting is the only frosting that should top cinnamon rolls, and this recipe is golden!
You do not have to get up early with this overnight cinnamon roll recipe to be able to have cinnamon rolls fresh from the oven, warm, and gooey. The aroma is going to fill the house waking everyone up. No need to drag the family out of bed when you are making these for breakfast. The best part is that they will be fresh from the oven. Slather on the rich, creamy, cream cheese frosting and you just created the best morning ever with these cinnamon rolls!
What you Need for Overnight Cinnamon Roll Dough
- Whole Milk: Whole milk makes this dough rich and flavorful.
- Instant yeast: Instant yeast is different from dry active yeast. This recipe is written using instant.
- Brown sugar: Helps to feed the yeast and make it do its job.
- Granulated sugar: Sweetens the dough and helps it to brown and adds moisture.
- Salt: Without salt, your dough will be bland, so be sure to add it.
- Butter: Have your butter at room temperature or softened.
- Whole egg: Use a large egg, not medium-sized.
- Egg yolks: This will create an enriched dough that is tender and perfect for cinnamon rolls.
- All-purpose flour: You can also use bread flour or unbleached flour.
Filling Ingredients
- Brown sugar: Creates a richer cinnamon and sugar flavor than if you just used white sugar. Try it, I promise you’ll never go back.
- Cinnamon: Gives that classic spicy flavor.
- Butter: Have your butter at room temperature or softened so it is easy to spread.
Smooth and Creamy Cream Cheese Icing
- Cream cheese: Room temperature or softened.
- Butter: Have at room temperature or softened.
- Powdered sugar: Adds the sweetness for the frosting.
- Vanilla: Brings out the flavor, which is perfect for cinnamon rolls.
- Salt: Balances the sweet.

How To Make Overnight Cinnamon Rolls
Do not let working with yeast scare you off. It is super easy and the results are divine with these overnight cinnamon rolls.
- Scald: Heat milk in the microwave to 105 degrees, about 45 seconds. Use a thermometer to make sure it is not too hot or it will kill the yeast. Add brown sugar and yeast. Pour into the mixing bowl and set aside for 5 minutes or so, until the yeast is nice and frothy.
- Combine: Add sugar, softened butter, whole egg, and egg yolks and mix until soupy. Add 2 cups of flour and salt and mix with the paddle attachment on low until combined.
- Knead in Flour: Scrape down the bowl and paddle and switch to the dough hook attachment. Add the remaining 2 cups of flour and mix on low for 6 minutes, until the dough is nice and smooth.
- Rise: Form the dough into a ball and place it in an oiled bowl. Cover and allow to rise for about 2 hours, until doubled in size.
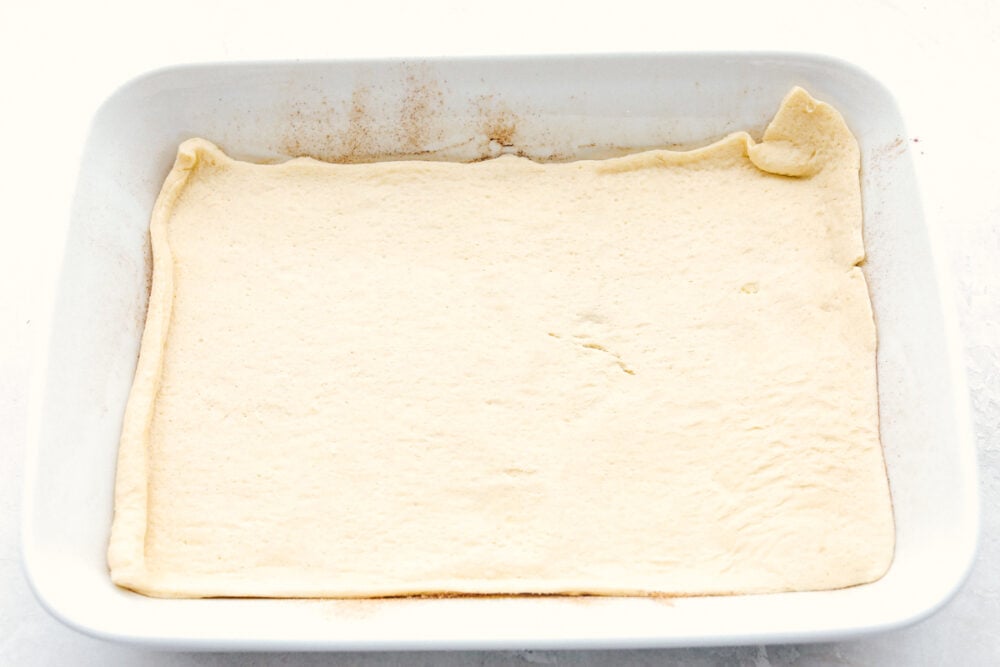
- Roll it Out: Once doubled in size, punch down the dough and turn out on a lightly floured surface. Using a rolling pin, roll into an 18×12 inch rectangle.
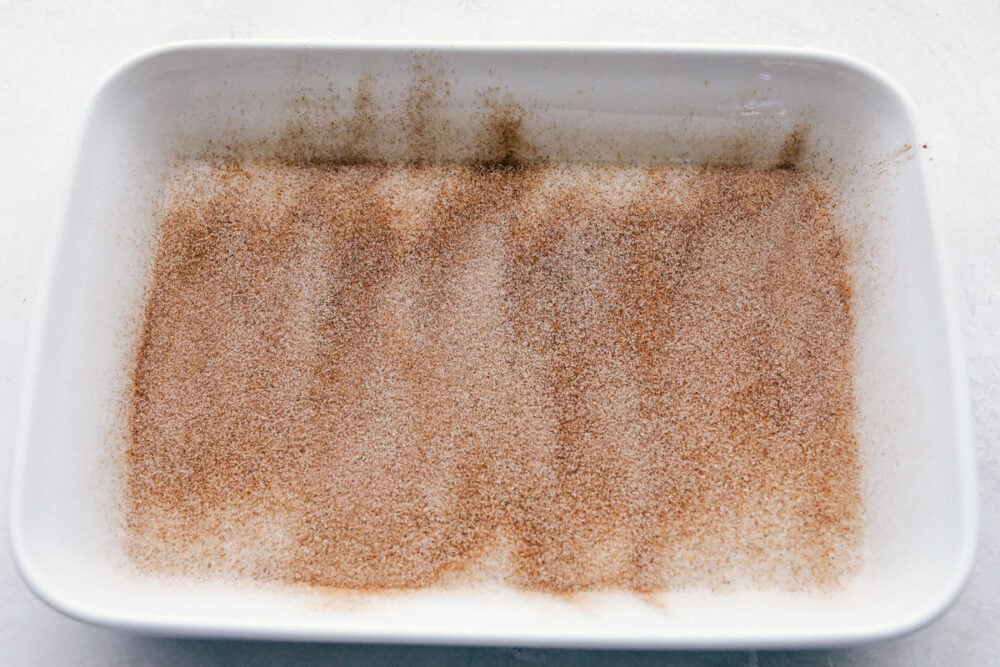
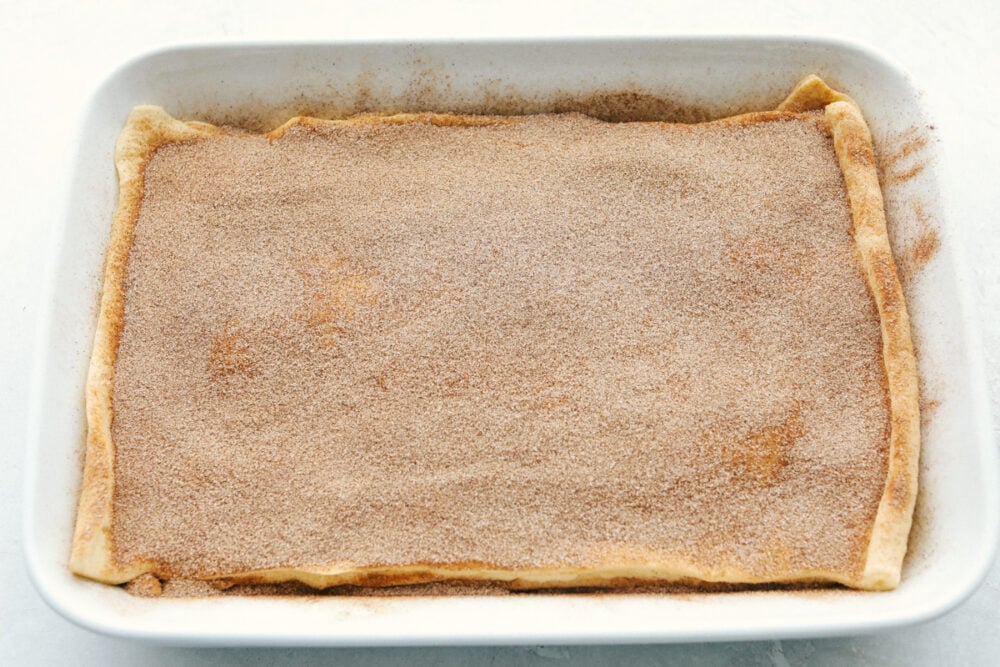
- Make Filling: In a small bowl, mix together brown sugar and cinnamon for the filling. Using your fingers or spatula, spread the softened butter evenly for the filling across the dough. Sprinkle the sugar mixture across the dough evenly.
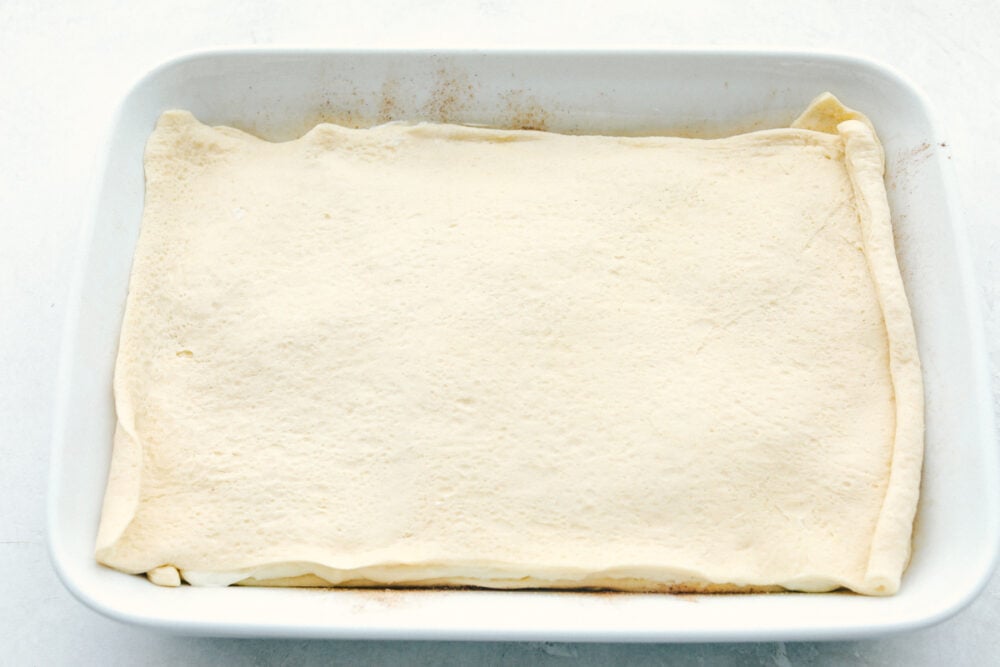
- Roll and Refrigerate: Starting from the bottom, roll the dough up making sure to keep it snug and tight. Using a sharp knife or unflavored dental floss, cut into 12 even rolls. Place evenly spaced in an oiled 9×13 pan and cover with plastic wrap. Refrigerate for 8-12 hours.

The Morning Of Baking Instructions
Be sure to set the alarm so you can get up in enough time to have these cinnamon rolls ready to go when you are!
- Take out of Fridge: Remove rolls from the fridge about 45 minutes to an hour before baking.
- Oven: Preheat oven to 350 degrees. Remove butter and cream cheese from the fridge and allow to soften on the countertop.
- Bake: When the oven is to the right temperature and the rolls are barely touching, bake for 30-35 minutes. If the tops are browning too quickly, a sheet of foil over them can prevent further browning while the rest of the rolls finish baking.
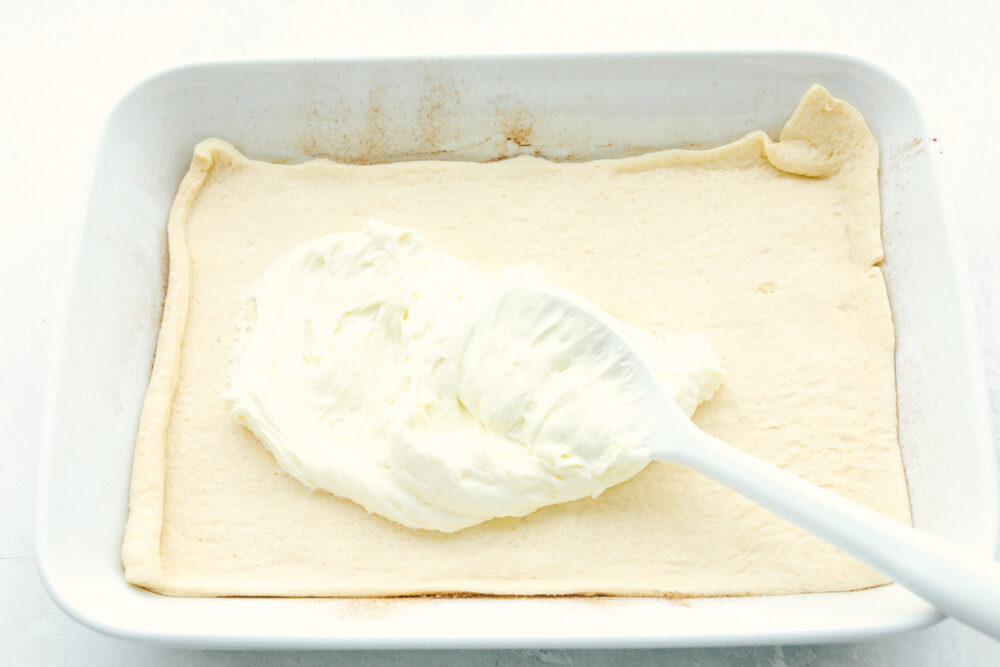
- Make Frosting: While the rolls are baking, prepare your cream cheese icing. In the bowl of your mixer add cream cheese and butter. Whip together using the paddle attachment until smooth and creamy, about 2 minutes. Add 2 cups of powdered sugar and mix on low until combined. Add additional 2 cups of powdered sugar, vanilla, and salt. Mix at medium/high speed until light and fluffy.
- Ice: Spread the icing liberally across the almost completely cooled cinnamon rolls.
- Time to Eat: Serve and enjoy!

For the Best Cinnamon Rolls EVER!
Just a few tips to keep these cinnamon rolls light, and fluffy and a family favorite.
- Yeast: Instant yeast is the easiest yeast to work with because you do not have to activate it first like you do dry active yeast. When you mix it with hot milk, be sure the temperature is between 105 and 115 degrees. Higher than 125 degrees can begin to kill the yeast.
- Room Temperature: Have your butter and eggs at room temperature to ensure that they beat in smoothly. Take out the eggs and butter 2 hours before using. If you still need to, you can microwave the butter a bit to soften it.
- Brown Sugar: If you have not switched to using brown sugar instead of white sugar in your filling, the time is now! It is divine! It adds so much flavor and richness to the filling. You are going to love it.
- Cutting the Rolls: Lifehack here. Use a long piece of thread or unflavored floss to cut your rolls instead of a knife that squishes your rolls. Slide your thread under the long roll of dough, till you reach where you want to cut it, about 1-2 inches thick. Bring it up, cross it at the top and pull both ends to cut through the roll.
- Cook it now: Want to bake the cinnamon rolls the same day you make them, no problem. Let the raise about 30-40 min or till double in size and bake as directed.
- Make it Maple: For a delicious twist swap out the vanilla for maple extract in the cream cheese frosting! Delish!
- Add: Feel free to add nuts, raisins, or orange zest to the filling for a yummy twist.

What to Serve with Overnight Cinnamon Rolls
When you make these overnight cinnamon rolls first thing in the morning, there is not much more you may need to do. But if you want to add something to go with these amazing rolls, here are some ideas.

Side Dishes
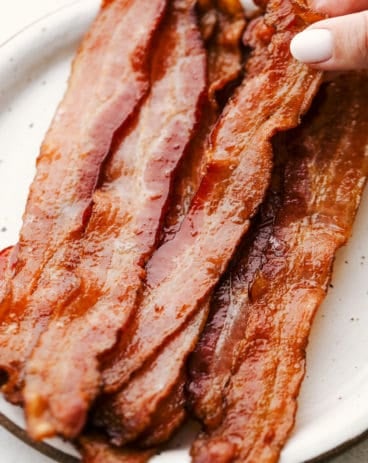
How to Bake the Perfect Bacon (Step By Step!)

Breakfast
Homemade Breakfast Sausage

Breakfast
The Best Breakfast Casserole

How to Store Your Cinnamon Rolls
You may not have any left, I’m just warning you! In case you do, here is how you can keep these cinnamon rolls incredibly soft and gooey the next day. You can even freeze them too!
- Store: Keep cinnamon rolls in a tightly sealed container at room temperature for up to 4 days. Warm them in the microwave for 10 seconds before serving.
- Freeze: Cinnamon rolls can be frozen for up to 3 months. If they are frosted, set them in the freezer for an hour to harden the frosting. Then wrap them in plastic wrap and place them in a freezer-safe bag. When you are ready to thaw them, let them thaw in the fridge. Then remove the plastic wrap and warm it in the microwave.
- Freeze the dough: You can also freeze the cinnamon rolls before you bake them. Place rolled and cut rolls in a freezer-safe plastic bag and freeze for up to 2 months. When ready to use place the frozen dough in a greased pan and let come to room temperature, let them rise and bake or place it in the fridge to thaw and rise slowly and be ready to bake in the morning.

More Breakfast Recipes to Try


Overnight Cinnamon Rolls
Ingredients
Dough
- 1 Cup Whole Milk
- 2 packets instant yeast
- 2 Tbsp brown sugar
- ½ cup granulated sugar
- 2 tsp salt
- ½ cup butter softened
- 1 whole egg
- 2 egg yolks
- 4 cups all purpose flour
Filling
- ½ cup brown sugar
- 1 teaspoon cinnamon
- 8 ounces butter softened
Cream Cheese Icing
- 8 ounces cream cheese softened
- ½ cup butter softened
- 4 Cups powdered sugar
- 1 teaspoon vanilla
- Dash salt
Instructions
-
Heat milk in the microwave to 105 degrees, about 45 seconds. Use a thermometer to make sure it is not too hot or it will kill the yeast. Add brown sugar and yeast. Pour into the mixing bowl and set aside for 5 minutes or so, until the yeast is nice and frothy.
-
Add sugar, softened butter, whole egg, and egg yolks and mix until soupy. Add 2 cups of flour and salt and mix with the paddle attachment on low until combined.
-
Scrape down the bowl and paddle and switch to the dough hook attachment. Add the remaining 2 cups of flour and mix on low for 6 minutes, until the dough is nice and smooth.
-
Form the dough into a ball and place it in an oiled bowl. Cover and allow to rise for about 2 hours, until doubled in size.
-
Once doubled in size, punch down the dough and turn out on a lightly floured surface. Using a rolling pin, roll into an 18×12 inch rectangle.
-
In a small bowl, mix together brown sugar and cinnamon for the filling. Using your fingers or spatula, spread the softened butter evenly for the filling across the dough. Sprinkle the sugar mixture across the dough evenly.
-
Starting from the bottom, roll the dough up making sure to keep it snug and tight. Using a sharp knife or unflavored dental floss, cut into 12 even rolls. Place evenly spaced in an oiled 9×13 pan and cover with plastic wrap. Refrigerate for 8-12 hours.
-
Remove rolls from the fridge about 45 minutes to an hour before baking.
-
Preheat oven to 350 degrees. Remove butter and cream cheese from the fridge and allow to soften on the countertop.
-
When the oven has reached temp and the rolls are barely touching, bake for 30-35 minutes. If the tops are browning too quickly, a sheet of foil over them can prevent further browning while the rest of the rolls finish baking.
-
While the rolls are baking, prepare your cream cheese icing. In the bowl of your mixer add cream cheese and butter. Whip together using the paddle attachment until smooth and creamy, about 2 minutes. Add 2 cups of powdered sugar and mix on low until combined. Add additional 2 cups of powdered sugar, vanilla, and salt. Mix at medium/high speed until light and fluffy.
-
Spread the icing liberally across the almost completely cooled cinnamon rolls.
-
Serve and enjoy!
Nutrition
from The Recipe Critic https://ift.tt/3b7o4MS
https://ift.tt/2QYrCdp