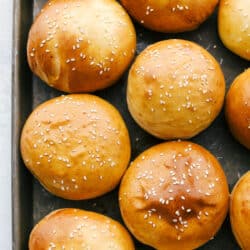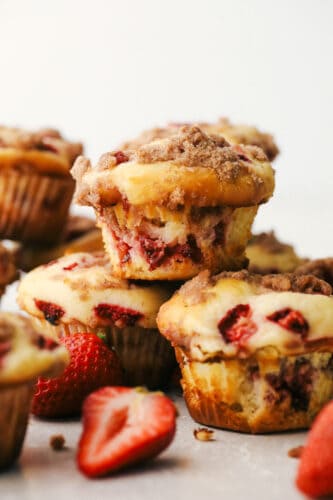
Strawberry Cheesecake Streusel Muffins are going to get you out of bed in the morning! These strawberry muffins are tender and sweet and full of flavor!
Serve these muffins alongside some Perfect Scrambled Eggs, Breakfast Sausage or Baked Bacon and breakfast is going to be divine!

Strawberry Cheesecake Streusel Muffins
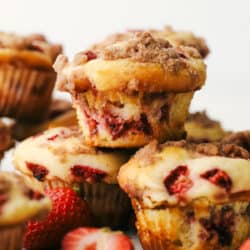
These strawberry streusel muffins are seriously like having cheesecake for breakfast! They are tender, moist, and filled with a luscious creamy filling that is topped with sweet tart berries. If that wasn’t enough for you, then you top them with a crunchy sweet streusel that absolutely makes this muffin! I will admit they seem more like a dessert than a muffin, but no one is judging here. They are called muffins and so we shall serve them as such! Trust me your family will not complain that these are on the table.
These strawberry cheesecake muffins are a great way to use up extra strawberries you might have before they go bad. The muffin batter is super easy to whip up and the cream cheese filling adds that extra bit of tenderness and tang. The strawberries are bright and sweet and the streusel adds a nice bit of crunch. You might just like these better than cheesecake. These may not be the healthiest choice for breakfast, but it is certainly one of the yummiest!
Ingredients for Strawberry Cheesecake Muffins
These take just a bit of time, but they are so worth it! These muffins were perfectly moist and made the perfect breakfast…. or lunch… or possibly even a midnight snack. I may even be eating one right now!
- All-purpose flour: This is a good basic flour, you can use unbleached flour too.
- Granulated sugar: Adds a bit of sweetness and browning.
- Baking powder: The rising agent in the muffins.
- Salt: Balances the flavors.
- Egg: Adds moisture and helps the muffins rise.
- Canola oil: Oil makes sure the muffins are moist.
- Whole milk: I use whole milk because it creates a rich tender crumb.
- Vanilla extract: The perfect flavor to go with the strawberries.
- Strawberries: Cut into small pieces.
Cream Cheese Filling
- Cream Cheese: Use full-fat cream cheese for the best results. Low fat is ok but do not use nonfat.
- Granulated sugar: Balances the tang of the cream cheese.
- Egg: Beat the egg well before adding.
- Vanilla extract Helps the filling taste its best.
Cinnamon Streusel Ingredients
- All-purpose flour: This flour works perfectly for the streusel.
- Granulated sugar: Combines with cinnamon for a perfect touch.
- Cinnamon: A bit spicy and a bit sweet, you are going to love it with the strawberries.
- Butter: Do not melt the butter, but do keep it soft.
It is Muffin Time!
Baking with fresh strawberries makes so it’s like you’re biting into a pocket of jam! It is so good!
- Prep: Preheat the oven to 400 degrees and line a 12 cup muffin pan with cupcake liners. If you don’t use cupcake liners, make sure to grease the pan so they will come out easily.
- Batter: In a mixing bowl for the muffin batter, sift together the flour, baking powder, and salt. Set aside. In another bowl, beat the milk, oil, egg, and sugar. Stir the dry ingredients in the milk mixture gently but do not overmix. The batter should be slightly lumpy.
- Cheesecake Filling: For the cheesecake mixture beat the cream cheese, egg, sugar, and vanilla in a bowl until smooth.
- Streusel Topping: For the topping, mix together the flour, sugar, and cinnamon. With a fork blend in the butter until it looks like coarse sand.
- Layer Muffins: Scoop a tablespoon of the muffin batter into the bottom of each cupcake liner. Sprinkle a few pieces of strawberries and then add about ½ tablespoon of the cheesecake mixture. Sprinkle some of the streusel topping onto the cheesecake filling, followed by another layer of the muffin batter. Add a few pieces of strawberries on the top and lastly sprinkle with the cinnamon streusel.
- Cook: Bake for 20-25 minutes or until a toothpick inserted comes out clean. Let cool into the pan for 5 minutes and transfer them to a wire rack.

Strawberry Cheesecake Muffin Tips
These truly could be the perfect dish! It is a good way to have dessert for breakfast!
- Room Temperature: Bring the butter, eggs, cream cheese, and even milk at room temperature. The ingredients will blend together better and give you smooth batter instead of lumps. The cream cheese filling will also be smooth and creamy. Ideal for those fresh strawberries.
- Layering: Layering the batter, strawberries and batter will make sure you get a good pop of strawberry and creamy filling in every bite.
- Rise: Keep in mind that because of the high dairy and fruit content of these muffins, they will not raise as a regular muffin would.
- Frozen Strawberries: If you are having a craving and do no have fresh strawberries in the fridge, you can use frozen. Let the strawberries thaw in a colander and let them drain. You do not want excess water in the muffins, that would be bad as you can probably imagine. Try to get as much moisture out of them before adding to the muffins.
- When they are done: When you lightly touch the middles, they should bounce back. If they stay dented they need a bit more time. If you stick a toothpick in the middle, it should come out dry and clean. No wet batter should be sticking to the toothpick.
Strawberry Cheesecake Streusel Muffins
Make a double batch and save some for later, you’ll be grateful you did!
- Fridge: Store leftovers in an airtight container or sealed bag in the fridge for 3-4 days. Keeping them in the fridge is best because of the fresh fruit and high dairy content.
- Freeze: If you make one batch, you might as well double it and enjoy them twice as much. Once the muffins have cooled wrap in plastic wrap and then place in a freezer-safe container or freezer bag. Freeze for up to 3 months. Let them thaw in the fridge overnight or on the counter for a few hours. Once thawed keep in the fridge.

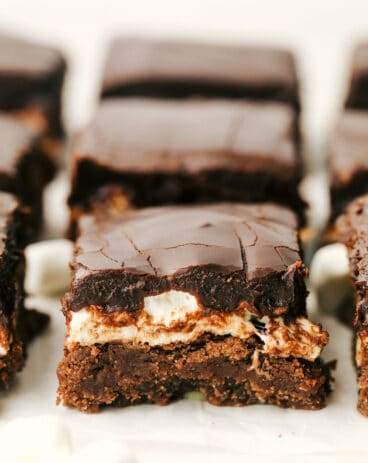
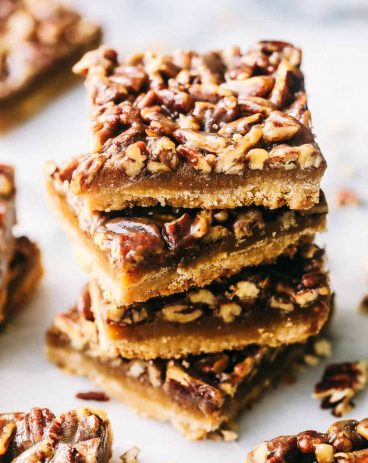
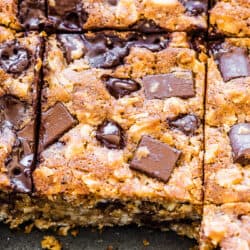
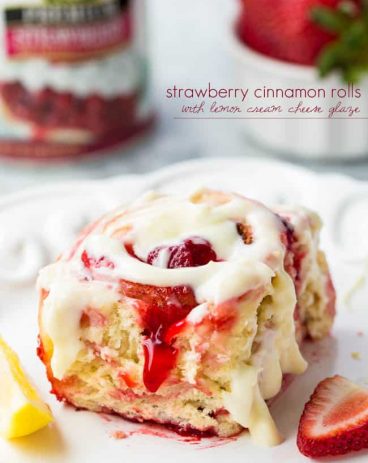
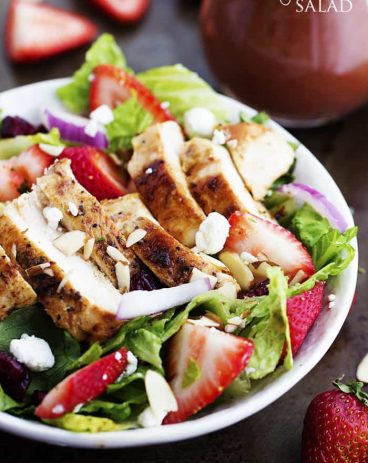
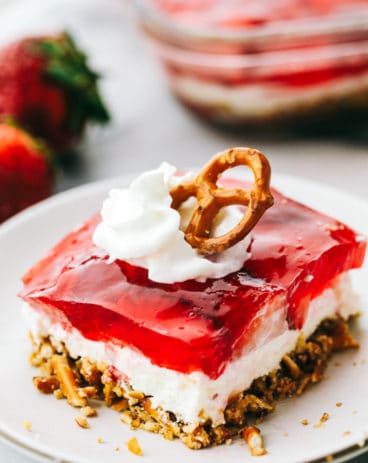
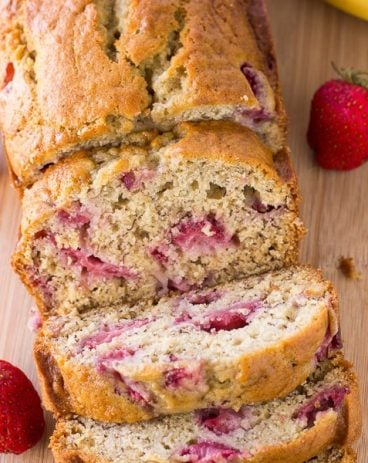
More Strawberry Recipes to Enjoy
Strawberry Cheesecake Streusel Muffins
Ingredients
Strawberry Cheesecake Streusel Muffins
- 2 cups all purpose flour
- 1/2 cup granulated sugar
- 2 teaspoon baking powder
- 1/2 teaspoon salt
- 1 large egg
- 1/4 cup canola oil
- 1 cup whole milk
- 1 teaspoon vanilla extract
- 2 cups strawberries cut into small pieces
Cream Cheese Filling
- 4 ounces cream cheese
- 1/3 cup granulated sugar
- 2 Tablespoon beaten egg
- 1 teaspoon vanilla extract
Cinnamon Streusel
- 1/4 cup all purpose flour
- 1/4 cup granulated sugar
- 1 teaspoon cinnamon
- 3 Tablespoon butter
Instructions
-
Preheat oven to 400 degrees and line a 12 cup muffin pan with cupcake liners. If you don't use cupcake liners, make sure to grease the pan so they will come out easily.
-
In a mixing bowl for the muffin batter, sift together the flour, baking powder, and salt. Set aside. In another bowl, beat the milk, oil, egg and sugar. Stir the dry ingredients in the milk mixture gently but do not overmix. The batter should be slightly lumpy.
-
For the cheesecake mixture beat the cream cheese, egg, sugar, and vanilla in a bowl until smooth.
-
For the topping, mix together the flour, sugar, and cinnamon. With a fork blend in the butter until it looks like coarse sand.
-
Scoop a tablespoon of the muffin batter into the bottom of each cupcake liner. Sprinkle a few pieces of strawberries and then add about ½ tablespoon of the cheesecake mixture. Sprinkle some of the streusel topping on the cheesecake filling, followed by another layer of the muffin batter. Add a few pieces of strawberries on the top and lastly sprinkle with the cinnamon streusel.
-
Bake for 20-25 minutes or until toothpick inserted comes out clean. Let cool into the pan for 5 minutes and transfer them to a wire rack.
Video
Notes
Nutrition
from The Recipe Critic https://ift.tt/3eMxks5
https://ift.tt/3eJJOR6