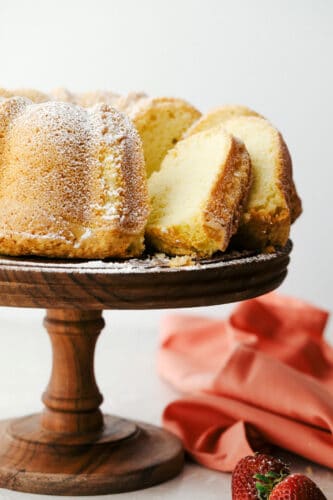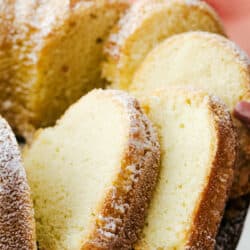
Rum Cake is a rich dense cake that is overflowing with butter rum flavor that is insanely delicious. This cake is moist and the rum syrup adds a layer of decadence that is next-level amazing!
This cake is best made in a bundt pan because it allows so much more surface area for the sauce. Bundt cakes are fun, easy to decorate, and delicious, try these luscious tried and true bundt cakes: Kentucky Butter, Sour Cream, and Chocolate Whoopie Pie.

Rum Cake Recipe
Rum cake is traditionally served at Christmas time, but this is just too good of a cake to have once a year. This is a rich moist cake full of a sweet buttery rum flavor that is so amazing. If the cake itself wasn’t enough we top the cake with a creamy buttery sauce filled with more rum flavor. The cake structure is perfect enough to hold the sauce without losing it’s texture.
Most rum cakes are made with boxed cake mixes and some instant pudding to create the cake, but this is made from a homemade cake which makes it taste so much better. It will be worth the effort. Setting this showstopper on the table will come with lots of oohs and ahhs! This is a cake that is sure to impress. Your whole family is going to love it!
What You Need to Make Homemade Rum Cake
Sweet and light, this cake is dream come true! Rum cake is one of my favorite quick cakes to make! For the full recipe scroll to the recipe card below.
- Cake flour: See below for substitutions if you do not have cake flour.
- Baking Powder: Leavening agent to give it rise.
- Salt: Adds balance to the cake.
- Baking Soda: Another rising agent to make the cake light and fluffy.
- Sugar: White granulated sugar.
- Butter: Be sure to use unsalted and this will also be melted.
- Vegetable oil: Adds moisture and richness.
- Buttermilk: This is the link to make your own if you do not have any on hand.
- Rum: Most often dark rum is used for its intense flavor.
- Vanilla: Combines with the rum flavor perfectly.
- Eggs: You will beat the whites separately.
Butter-Rum Sauce
This rum sauce is what makes it moist and decadent! You will love drizzling this overtop of the rum cake.
- Unsalted Butter: Softened at room temperature.
- Heavy Cream: Creates a creamy decadent sauce.
- Sugar: White sugar melts and creates the best flavor.
- Brown Sugar: Caramelizes for color and flavor.
- Rum: Use the same rum as you did in the cake.
- Salt: To balance the sweet.
How to Make the Ultimate Rum Cake
A few steps to make this rum cake but it’s worth the little bit of extra time.
- Prep: Preheat the oven to 325. Prep your Bundt pan by spraying it with a cooking spray meant for baking—one with flour in it—or some melted shortening. Make sure the entire inside of the pan is well coated and then lightly dust the entire inside of the pan with granulated sugar.
- Dry Ingredients: In the bowl of a stand mixer sift together flour, baking powder, salt, baking soda, and 1 ¼ cups of sugar.
- Liquid Ingredients: In a small bowl, mix the melted butter, buttermilk, vegetable oil, vanilla, buttermilk, and egg yolks until combined.
- Egg Whites: In a separate, clean bowl of your stand mixer use the whisk attachment to beat the egg whites until foam, about a minute. Lower the speed to medium-low and add in the remaining ¼ cup of sugar while the mixer is still running. Allow the egg whites to beat until stiff peaks form, just about a minute. Set aside.
Mixing Up The Cake
- Combine: With the bowl containing the flour mixer, use the whisk attachment on low and slowly add the butter mixture to your flour while mixing for about 15-20 seconds. Scrape down the sides of the bowl and the whisk and mix again at medium-low until the mixture is combined, about 15 more seconds. Fold in about ½ of the whipped egg whites until combined and then gently fold in the rest, taking care to make sure it’s fully incorporated, and no streaks remain.
- Bake: Pour your batter into the prepared Bundt pan. Bake for 45-50 minutes, or until a toothpick comes out completely clean.
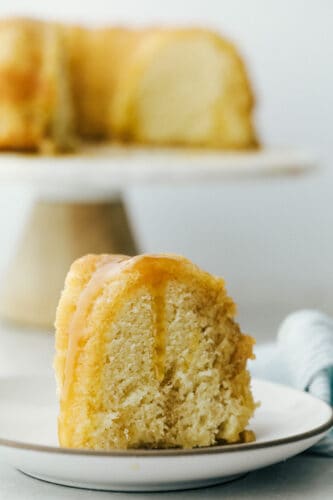
- Cool and Sauce: Allow the cake to cool for 10-15 minutes. While the cake is cooling prepare the butter-rum sauce. Once the cake has cooled slightly, use a toothpick or a wooden skewer to poke holes all over the bottom of the cake (the exposed part while it is still in the pan) and then pour about half of the butter rum sauce over the cake. Allow the cake to sit for 5-10 minutes so the sauce can be fully absorbed, and then carefully turn out the cake onto a serving plate or cake stand. Pour the remaining sauce evenly over the top of the cake.
Making the Rum Sauce
This rum sauce is a simple boiling process. In a medium saucepan, melt the butter over medium heat. Add in the remaining ingredients and stir until fully combined. Bring to a boil and boil for 4 minutes, stirring occasionally. Remove from the heat and let cool slightly before pouring on the cake.

Tips For Rum Cake
This rum cake is easy, it just takes a bit of time. Don’t let that intimidate you because this is the most moist and buttery cake you will ever have!
- Room Temperature: To make sure your egg whites beat in with no streaks. Butter, buttermilk, and eggs should all be at room temperature.
- Cake Flour: If you do not have cake flour, you can make it. Add two tablespoons of cornstarch to the bottom of the measuring cup, before adding the flour to make your cups.
- Mix and Combine: As soon as the egg whites are mixed in stop. You do not want to beat out the air it’s what makes the cake light and able to hold the rum sauce without going soggy.
- Poke: Do not be stingy with the holes. Make sure the holes go all the way to the bottom and are evenly spaced and cover the whole cake.
- Be Patient: Do not get too excited to turn the cake out before allowing the rum sauce to seep deep into the cake.
- Nuts: Many rum cakes add chopped nuts to the bottom of the bundt pan before adding the batter to give taste and texture. Both chopped pecans or walnuts would be awesome if you want.
The Best Way to Store Rum Cake
Wrap the cake tightly in plastic or foil and keep it in the fridge for up to 2 weeks or in the freezer for 2 months.

Rum Tips to Help
Rum is an exquisite flavor that adds a unique taste. I use it my Glazed Eggnog Pound Cake and This Easy Tiramisu Cake.
- What is Rum? Rum is alcohol distilled from sugar. It can either be made from syrup, pure cane sugar, or molasses. The result is a strong toasted sugar flavor that is sweet. Perfect for baking and perfect for this cake.
- Rum Substitute: If you don’t have rum you can substitute it with rum extract. According to experts, this is the conversion chart.
½ teaspoon Rum Flavor = 1 tablespoon light rum
1 ½ teaspoons Rum Flavor = 1 tablespoon dark rum
This means for ¼ cup of dark rum you would need 6 teaspoons of rum extract, for ½ cup you would need 12 teaspoons of extract. You will also need to add water to equal the amount of rum liquid so that the cake is not dried out. As I have not made the cake using this method I do not how it will turn out. If you try it let me know.

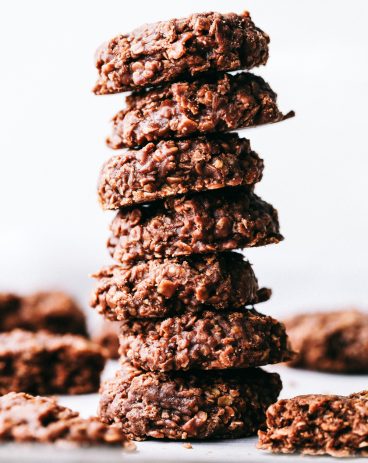
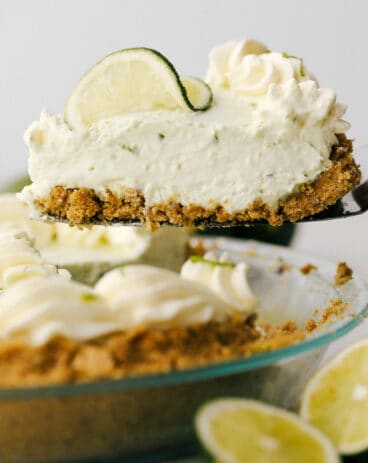
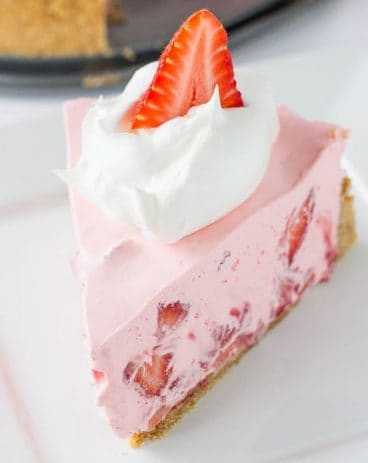
More Cakes To Love
Desserts
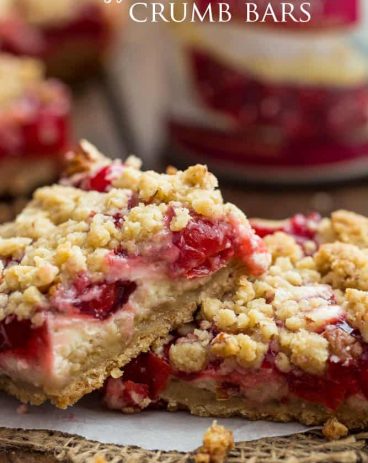
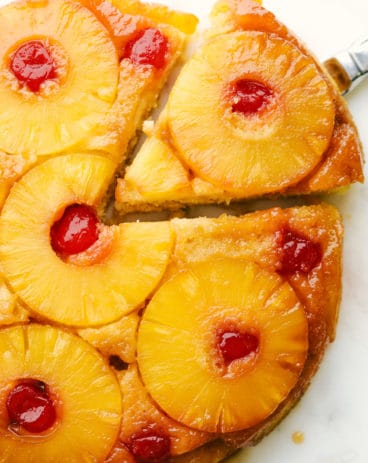
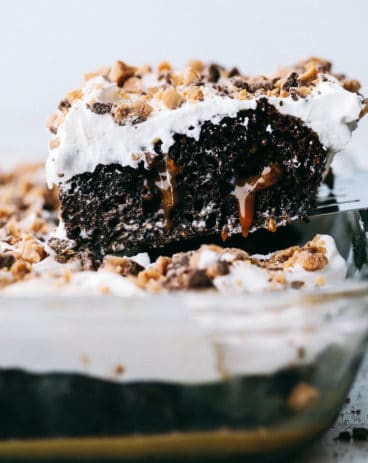
Perfect Pineapple Upside Down Cake
Desserts
Better than ANYTHING Cake
Desserts
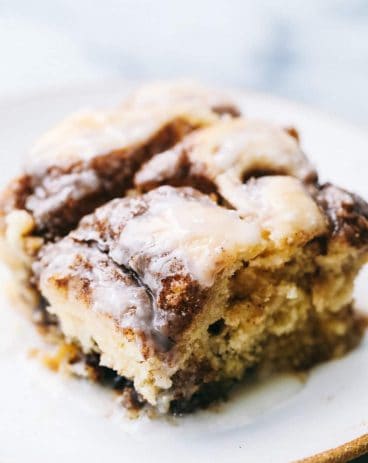
Cinnabon Cinnamon Roll Cake
Cake
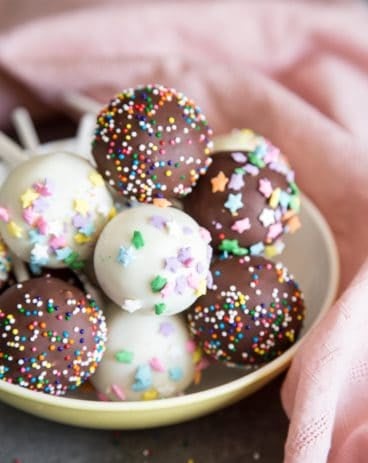
Cake Pops
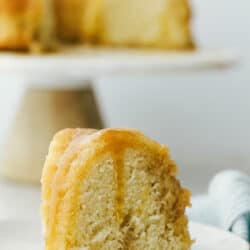
Rum Cake
Ingredients
Cake
- 2 Cups Cake flour
- 1 teaspoon Baking Powder
- ¾ teaspoon Salt
- 1/2 teaspoon baking soda
- 1 ½ cups sugar divided
- 1/2 cup unsalted butter melted
- 1/4 cup veggie oil
- ½ cup buttermilk
- ½ cup rum
- 1 Tablespoon vanilla
- 4 large eggs separated
Butter-Rum sauce
- ½ cup unsalted butter
- ¼ cup heavy cream
- ½ cup granulated sugar
- ½ cup brown sugar
- ¼ cup rum
- Dash salt
Instructions
-
Preheat the oven to 325. Prep your Bundt pan by spraying it with a cooking spray meant for baking—one with flour in it—or some melted shortening. Make sure the entire inside of the pan is well coated and then lightly dust the entire inside of the pan with granulated sugar.
-
In the bowl of a stand mixer sift together flour, baking powder, salt, baking soda, and 1 ¼ cups of sugar.
-
In a small bowl, mix the melted butter, buttermilk, vegetable oil, vanilla, buttermilk and egg yolks until combined.
-
In a separate, clean bowl of your stand mixer use the whisk attachment to beat the egg whites until foam, about a minute. Lower the speed to medium low and add in the remaining ¼ cup of sugar while the mixer is still running. Allow the egg whites to beat until stiff peaks form, just about a minute. Set aside.
-
With the bowl containing the flour mixer, use the whisk attachment on low and slowly add the butter mixture to your flour while mixing, about 15-20 seconds. Scrape down the sides of the bowl and the whisk and mix again at medium low until the mixture is combined, about 15 more seconds. Fold in about ½ of the whipped egg whites until combined and then gently fold in the rest, taking care to make sure it’s fully incorporated, and no streaks remain.
-
Pour your batter into the prepared Bundt pan. Bake for 45-50 minutes, or until a toothpick comes out completely clean.
-
Allow the cake to cool for 10-15 minutes. While the cake is cooling prepare the butter-rum sauce. Once the cake has cooled slightly, use a toothpick or a wooden skewer to poke holes all over the bottom of the cake (the exposed part while it is still in the pan) and then pour about half of the butter rum sauce over the cake. Allow the cake to sit for 5-10 minutes so the sauce can be fully absorbed, and then carefully turn out the cake onto a serving plate or cake stand. Pour the remaining sauce evenly over the top of the cake.
Butter Rum Sauce
-
In a medium sauce pan, melt the butter over medium heat. Add in the remaining ingredients and stir until fully combined. Bring to a boil and boil for 4 minutes, stirring occasionally. Remove from the heat and let cool slightly before pouring on the cake.
from The Recipe Critic https://ift.tt/3vPfPx9
https://ift.tt/3ceWWw5