This is the Best Chicken Salad EVER! Perfect for summer picnics, festive lunches and anytime in between!
I love a great sandwich, especially when it’s more than just turkey and cheese. You have to try these other tried and true sandwiches, Egg Salad, Grilled Cheese, and French Dip, definitely something special!

The Best Chicken Salad
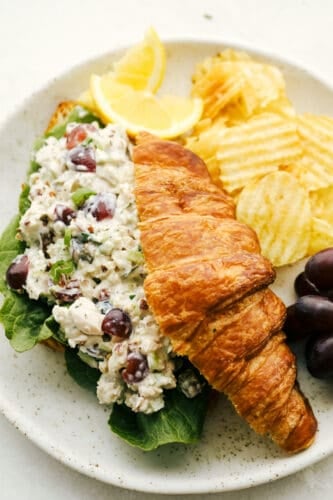
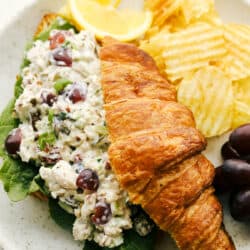
This Chicken Salad is truly divine. At first glance you might balk at the grapes, but trust me, they make the salad exquisite. The sweet crunch of the grapes combines beautifully with the chicken and richness of the mayo. The celery and pecans create nice crunch to the chicken salad that elevates it to the next level.
I love using this for picnics and special lunches. It is so easy to make but it is so fancy at the same time. Chicken Salad comes together in a flash so you can have this on the table in no time. And you will love how it is so versatile as well, serve it as a wrap, on a croissant, on some rye bread, or in a lettuce bowl. However you serve it, just make it! You are going to love it, it is so divine!
What You Need For Ultimate Chicken Salad Recipe
Simple and fresh, this chicken salad will come together quickly. Cook your chicken ahead of time or purchase an already cooked chicken to save on time. This chicken salad will become a favorite to make! The total amounts of ingredients is located in the recipe card.
- Cooked Chicken: chopped or shredded chicken is best.
- Grapes: I used red grapes, they are a bit sweeter than green. Slice in half or cut into cubes.
- Pecans: You can purchase chopped pecans for this salad.
- Green onions: I like to finely chop the green onions for a bit of a kick in each bite.
- Celery: Finely diced using a knife or a shredder.
- Mayonnaise: Do not use salad dressing, it will alter the taste.
- Juice from ½ lemon: Yes, you can use bottled.
- Dijon Mustard: Adds the perfect amount of zippy flavor to this chicken salad.
- Salt and pepper: Add to taste!
How To Make Quick and Easy Chicken Salad
Letting this sit in the fridge for a bit, helps meld the flavors together. Shoot for at least an hour. In a medium sized bowl combine the chicken, grapes, pecans, green onions, celery, mayonnaise, lemon, and mustard. Salt and pepper to taste. Serve with croissants, romaine, or with crackers. This chicken salad is always so fun for everyone to make their own sandwich or add it on top of green lettuce.

Tips and Variations For The Best Chicken Salad
Crunchy, savory, sweet, and a bit creamy chicken salad is the perfect dish.
- Chicken: Use any type of chicken you have on hand. You can use rotisserie, leftover BBQ, roasted, or even broiled chicken. Whatever you use, chop it up or shred it so it is easy to spread, spoon, and eat.
- Grapes: You can use red or green grapes or a combination of both. Green grapes can be a bit tart sometimes and the red grapes add color.
- Nuts: Pecans are a classic but you can substitute them for walnuts, almonds, or cashews. Roast them for a bit of extra flavor.
- Mayonnaise: If you are not a fan of mayo, you can use sour cream or non-fat Greek yogurt.
- Different Fruit: Try chopped apples or dried cranberries.

What to Serve with Chicken Salad Sandwich
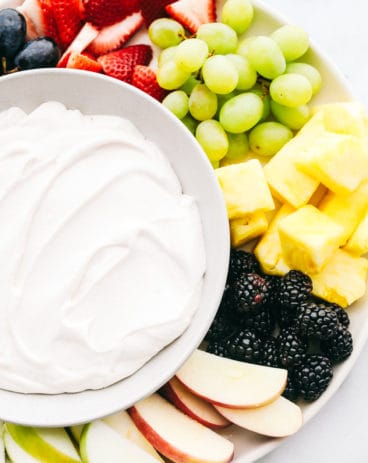
There are a few ways to present this amazing chicken salad. Spread it on a flakey croissant, (the best way), serve with ritz crackers and a vegetable tray, or serve in lettuce cups for a low carb option. Salty potato chips, in my opinion, are a must, but there are other options that will still make a satisfying meal, whether it’s lunch or dinner. Serve with a wonderful cup of soup, some fruit, and vegetables with this incredible dip and you’ve got it made!
Dressings, Sauces, and Dips
Fluffy Marshmallow Cream Cheese Fruit Dip (3 ingredients!)
Side Dishes
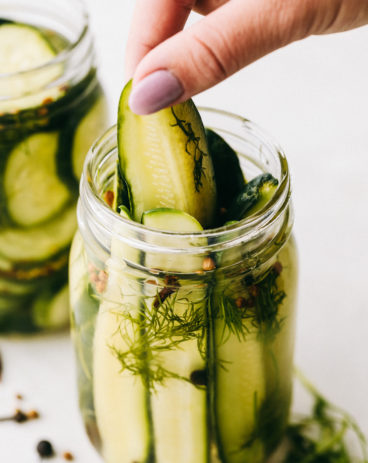
Refrigerator Pickles
Side Dishes
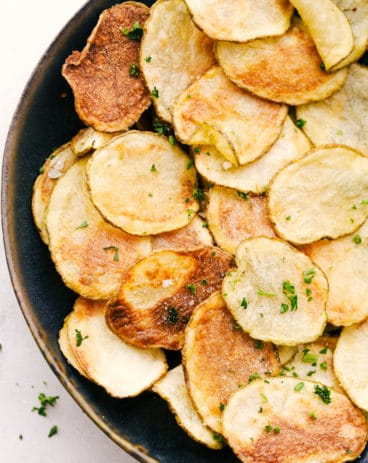
Air Fryer Potato Chips
Appetizers
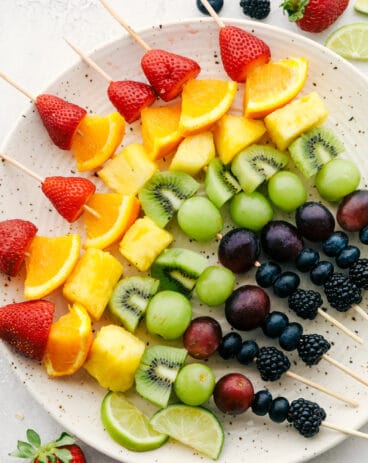
Fresh Rainbow Fruit Skewers
Can You Store Cold Chicken Salad Recipe
- Make-Ahead: I enjoy this even more after it has sat in the fridge for a bit, so it’s perfect for making it ahead.
- Store: Keep this in the fridge tightly covered for up to 4 days.

More Chicken Recipes to Love

Chicken Salad
Ingredients
- 2 1/2 cups cooked chicken chopped
- 1 cup grapes quartered
- 1 cup pecans chopped
- 4 green onions chopped
- 1/2 cup celery finely diced
- 1 cup mayonnaise
- Juice from ½ lemon
- 1 Tablespoon dijon mustard
- salt and pepper to taste
Instructions
-
In a medium sized bowl combine the chicken, grapes, pecans, green onions, celery, mayonnaise, lemon, and mustard. Salt and pepper to taste.
-
Serve with croissants, romaine, or with crackers.
from The Recipe Critic https://ift.tt/3icqU7q
https://ift.tt/3vNxRzO