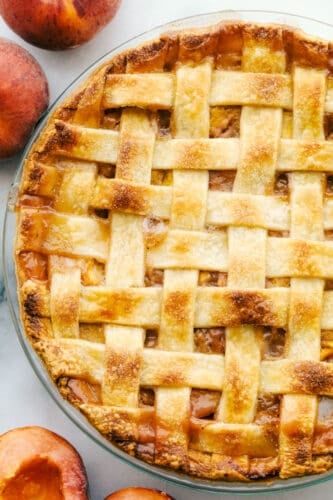
This Homemade Peach Pie is a bit of summer paradise on your plate! Flakey buttery crust is filled with a luscious sweet peach filling that is perfect with a scoop of vanilla ice cream.
Peach is the queen of summer fruits in my opinion. You have to try them in these recipes, Cookie Bars, Grilled, and Cobblers this summer!

Homemade Peach Pie
I know that summer is in full swing when peaches start to show up at the farmer’s market. These round, fuzzy, scrumptious fruits taste like a bit of summer heaven. They are sweet and juicy and make some of the best homemade pies I have ever had. Use this pie filling to fill these incredible Air Fryer hand pies, which you can bake in the oven as well. The combination of sugar, spices, and peaches is absolutely splendid in this homemade peach pie.
This peach pie is the perfect dessert after everything from a backyard BBQ to a fancy Sunday dinner. The flakey crust is tender and full of flavor. You can make your own crust, which I highly recommend. Or if you are in a hurry use store-bought crust and get wonderful results too. The key is to use fresh, ripe peaches which I will explain how to find below. Even if you are not a big pie baker, you have to make this homemade peach pie! It is easy, and so worth any effort.
Peach Pie Ingredients
Peaches are at their best in the summer! Make sure you buy them in season for the best flavor in this homemade peach pie recipe!
- Pie Crusts: Make your own or use store-bought.
- Peaches: Use fresh in-season peaches for the best tasting results.
- Sugar: Sweet white sugar.
- Brown Sugar: Adds a bit of a caramel flavor to the pie filling.
- Flour: All-purpose flour is all you need here.
- Cinnamon: This is a staple flavor that goes perfectly with peaches.
- Nutmeg: Adds a nice flavor you are going to love.
- Salt: Balances out all the flavors.
- Lemon Juice: This helps to keep the peaches from turning brown. It won’t flavor it at all.
- Vanilla Extract: Actually helps the peaches taste even more peachy.
- Egg: You only need the egg yolk for the egg wash.
- Water: Mix this with the egg yolk.
How to Make Peach Pie From Scratch
This peach pie takes effort, but it is so worth it! Trust me you will be carving out time in your schedule to make sure you can make this amazing homemade pie!
- Peaches: Peel and slice your peaches and all them to a colander to drain the excess juices for about 30 minutes.
- Drain and crust: While your peaches drain, prep your bottom pie crust in your pie pan. Place in the fridge until you’re ready to add your filling.
- Pie Filling: In a bowl, whisk together granulated sugar, brown sugar, flour, cinnamon, nutmeg, and salt. Pour your peaches into a large bowl and add the dry ingredients on top and toss together. Add the lemon juice and vanilla extract and mix again. Pour filling into prepared pie pan.
- Top it: Layer the top crust over the pie and crimp the edges to seal.
- Egg Wash: In a small bowl, use a fork to mix the egg yolk with the water to make your egg wash. Use a pastry brush to brush it across the top of the pie crust. If you’d like, you can sprinkle granulated sugar over the top of the egg wash.
- Bake: Place the prepped pie on a sheet pan (to catch any run-over juices) and bake for about 40-50 minutes, until the filling is bubbly and the bottom crust is golden brown. If the top crust is getting too dark, you can use aluminum foil on top to prevent it from browning further.
- Enjoy: Cool at least 20 minute

How to Pick and Prepare Peaches
The perfect ripe peach is like delectable gold. Sweet, tender and juicy! This peach pie will make all the difference with what peaches you have in the filling.
- Variety: Peaches come in all different varieties and flavors. Their colors range from white to dark reddish-orange and all taste amazing. Many will be labeled as freestone or clingstone peaches. This refers to how the flesh sticks to the pit. Look for freestone peaches, they will come away cleanly and easily from the pit.
- What to Look For: When buying or picking peaches there are a few things to look for. Look for firm peaches that give slightly under light pressure. They should be free from bruises, soft spots, and wrinkles. A ripe peach will also be fragrant.
- How to Ripen Peaches: Often stores and markets will sell peaches that are slightly underripe so that they transport better and will ripen at the store or in your home. If all you can find are under-ripe peaches, pick the best ones you can find. They should still be blemish-free and peach-colored, not green. Place the peaches in a paper bag and place them on your counter till ripe.
- Store: Keep all ripe peaches in the fridge till ready to use.

Peach Pie Tips
Blanching the peaches will help them be easier to peel, it takes a bit of time, but you will be so thankful you did! Homemade peach pie is a classic and always a favorite in the summertime.
- Blanching Peaches: For skins that literally slip off, blanch the peaches. Cut an x, just through the skin on the bottom of the peach opposite of the stem. Dunk the peaches in boiling water for no longer than 30 minutes. You do not want to cook the peaches, just loosen the skins. Immediately place in ice water to stop the cooking process. Remove from the water and the peels should slip off with your hands.
- Dice and Drain: After you have peeled the peaches dice them and let them drain for 30 min or so that your filling isn’t so watery.
- Pie Crust: If you feel like your crust is getting too brown during the cooking process you can tent it with foil while it cooks.
- Lattice: You do not have to do a lattice if you do not want to. Simply cover the peach pie with another layer of crust. Pinch all around the ends and then make 6 1-inch slits for venting.
- Can I Use Frozen or Canned Peaches?: Yes you can. Thaw frozen peaches and drain them thoroughly. For canned peaches, you will also need to drain them. If your filling looks too watery add 1-2 teaspoons of cornstarch to the mix.
Can You Store Homemade Peach Pie?
Keep the peach pie in the fridge loosely covered for up to 3 days. Note the longer the peach pie is kept the filling will turn brown and the bottom crust will get soggy. It is best eaten within the first 2 days. Serve with vanilla ice cream or whipped cream.

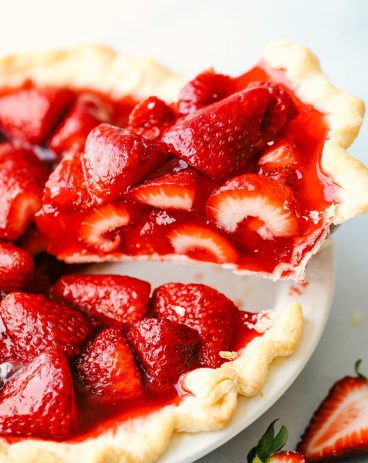
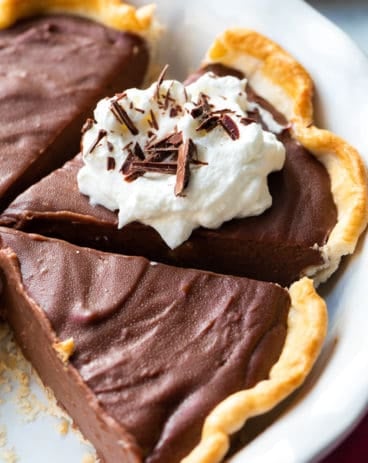
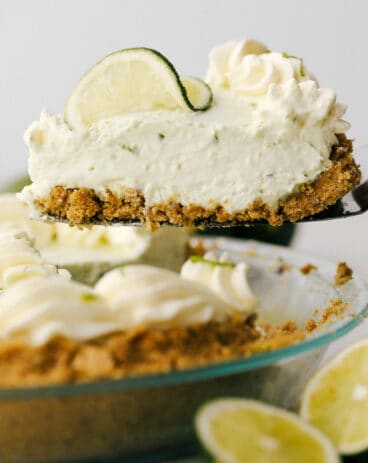
More Pies to Try

Homemade Peach Pie
Ingredients
Homemade Crust or Use 2 (9 inch) Store Bought Pie Crusts
- 2 1/2 cups all purpose flour
- 1 Tablespoon granulated sugar
- 1 teaspoon salt
- 1 cup unsalted butter, cold and cubed
- 6-8 Tablespoons ice water
Peach Pie Filling
- 5 cups 6-8 ripe but firm peaches peaches, sliced (can be peeled or unpeeled)
- 1/3 cup granulated sugar
- 1/3 cup brown sugar
- 1/3 cup flour
- 1/2 teaspoon ground cinnamon
- 1/4 teaspoon nutmeg
- 1/4 teaspoon salt
- 2 Tablespoons lemon juice
- 1 teaspoon vanilla extract
- 1 large egg yolk
- 2 Tablespoons water
Instructions
Homemade Crust
-
Add flour, sugar, salt and cubed butter to a stand mixer with the paddle attachment. Mix until the butter resembles pea shaped crumbs.
-
Add water to the dough 1 tablespoon at a time until the dough forms a ball.
-
Divide the ball into two balls and shape each into a round flat disk. Place in the refrigerator for 1 hour or overnight to chill.
Making the Peach Pie
-
Preheat oven to 425 degrees Fahrenheit.
-
Peel and slice your peaches and all them to a colander to drain the excess juices for about 30 minutes.
-
While your peaches drain, prep your bottom pie crust in your pie pan. Place in the fridge until you’re ready to add your filling.
-
In a bowl, whisk together granulated sugar, brown sugar, flour, cinnamon, nutmeg and salt. Pour your peaches into a large bowl and add the dry ingredients on top and toss together. Add the lemon juice and vanilla extract and mix again. Pour filling into prepared pie pan.
-
Layer the top crust over the pie and crimp the edges to seal.
-
In a small bowl, use a fork to mix the egg yolk with the water to make your egg wash. Use a pastry brush to brush it across the top of the pie crust. If you’d like, you can sprinkle granulated sugar over the top of the egg wash.
-
Place the prepped pie on a sheet pan (to catch any run-over juices) and bake for about 40-50 minutes, until the filling is bubbly and the bottom crust is golden brown. If the top crust is getting too dark, you can use aluminum foil on top to prevent it from browning further.
-
Cool at least 20 minutes before cutting so the filling has time to set up. Serve with whipped cream or vanilla ice cream.
Notes
Nutrition
from The Recipe Critic https://ift.tt/2UOCNUS
https://ift.tt/3g0odo4