शुक्रवार, 2 जुलाई 2021

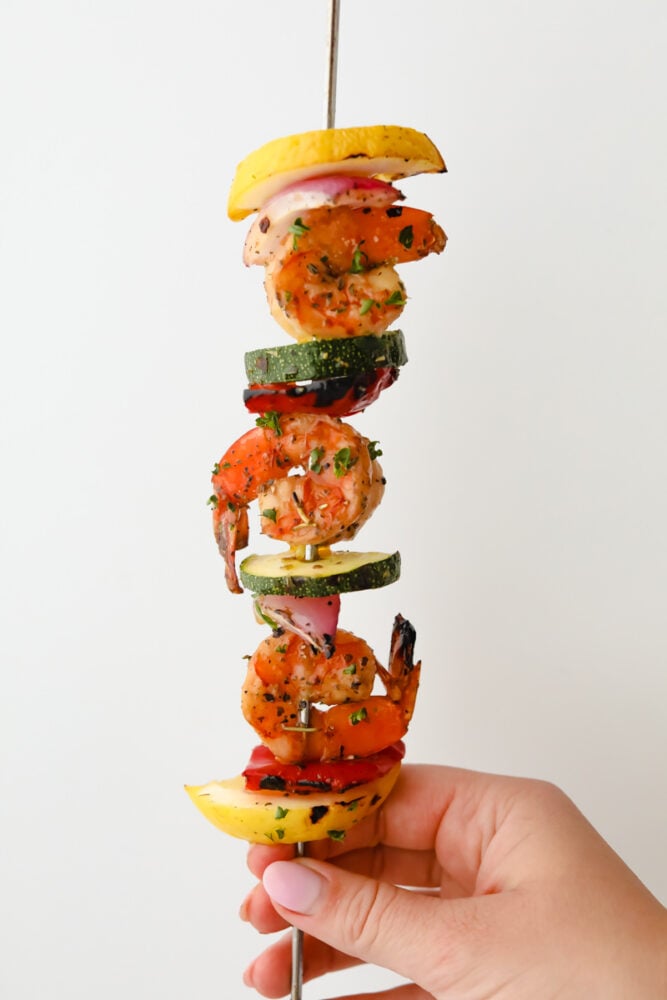
Shrimp Kabobs

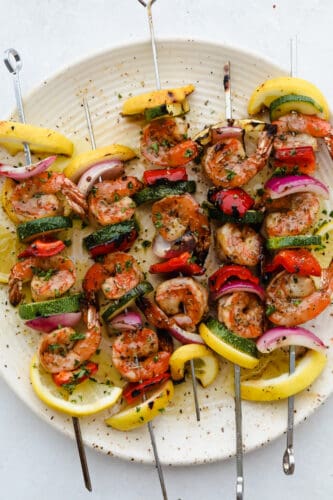
Shrimp Kabobs are marinated and grilled to perfection for the most scrumptious summer meal. Full of zesty flavors the whole family is going to love these kabobs!

Kabobs or skewers are just a fun and delicious way to prepare food. Try these favorite skewers like these Steak Skewers, Caprese, and Chicken Kabobs.
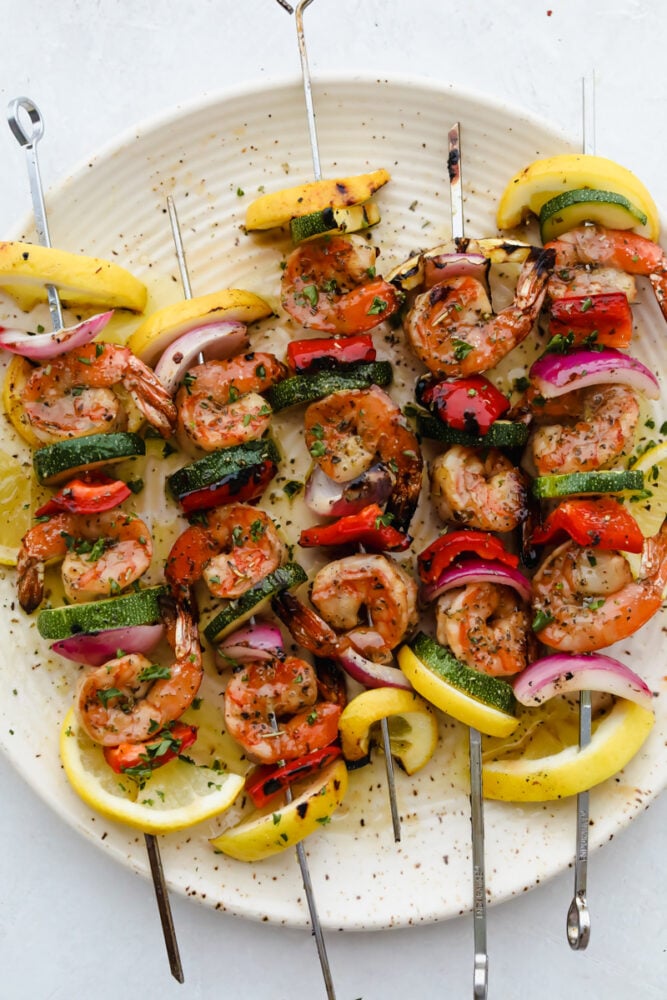
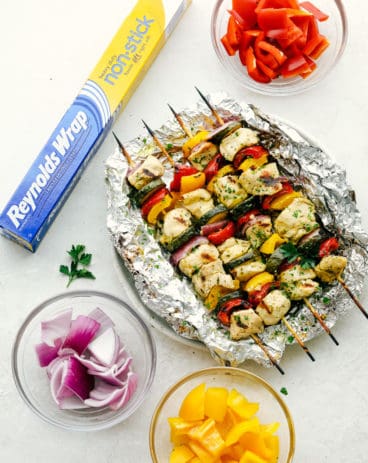
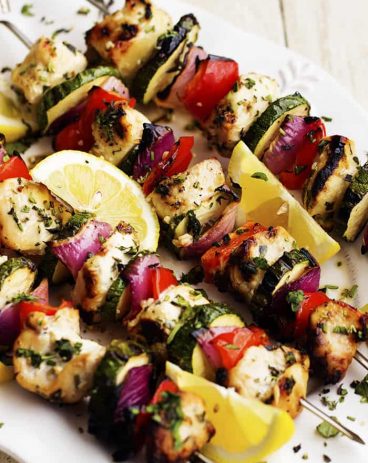
Shrimp and vegetable skewers grilled and on a plate ready to eat.

Grilled Shrimp Kabobs

Shrimp is one of the fastest and easiest proteins to cook for dinner. It cooks up fast and because of its mild flavor, it goes beautifully with an array of spices. These three are my and readers’ favorites and they all have different flavors, but you have to try them sometime too. Sticky Honey Garlic Butter Shrimp, Cajun Garlic Shrimp and Grits, and Creamy Tuscan Garlic Shrimp. And that’s just the beginning of my shrimp recipes!

Grilling shrimp takes just minutes, meaning the longest part of this recipe is the marinade. Including the vegetables in the marinade will impart flavor to them as well, creating a full taste experience. Feel free to add different vegetables or change them up according to what is in season and what your family loves. Even if you do not have a grill, this shrimp kabob recipe transitions easily to the stove top or even the oven. Your whole family is going to love these shrimp kabobs!

What You Need For Shrimp Kabobs

Protein and vegetables grilled altogether for a delicious meal. These shrimp kabobs are a quick and easy dinner! For full recipe see the recipe card below.

  • Shrimp: Look for shrimp that has been deveined for easy prep or be sure to devein them yourself.
  • Zucchini: Use a combination of green and yellow zucchini for flavor and color variation.
  • Red onion: Slice the red onion into chunks, it will sweeten a bit while it cooks.
  • Red bell pepper: You can also use yellow or orange bell peppers or a combination.
  • Lemon: Slice the lemon slices thicker than you normally would so that it threads easily.
  • Shrimp marinade: This is the perfect marinade for your shrimp to enhance the most flavor.

How to Make Shrimp Kabobs

Super easy and full of flavor, these shrimp kabobs are going to be a summer favorite! Add your favorite vegetables and create the best kabobs for your grill!

  1. Prep: Add the shrimp, zucchini, red onion, red bell pepper, and lemon to a medium-sized bowl.
  2. Make and Marinate: Prepare the shrimp marinade and add to the bowl of shrimp and veggies. Let marinate for 30 minutes or overnight.
  3. Skewers: Thread skewers with the shrimp and veggies.
  4. Grill: Preheat grill to medium-high heat. Thread the shrimp on the skewers. Place on the grill. Grill on each side for about two minutes or until no longer pink.
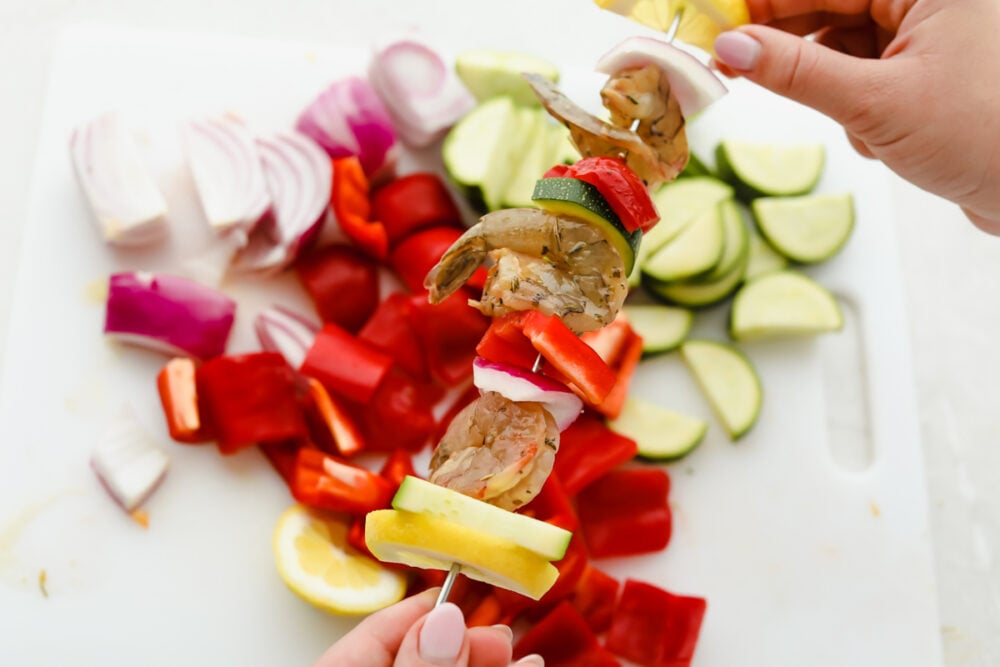
Placing the shrimp and vegetables onto skewers.

The Best Shrimp Kabobs Tips

Super easy, these kabobs are going to be new family favorite. Shrimp kabobs are super easy to make and create for the best dinner!

  • Shrimp: You can use fresh or frozen shrimp with success. In fact, you do not even have to thaw the shrimp before marinating. The important part will be to make sure it is deveined.
  • Skewers: I used metal skewers which are wonderful to just throw in the dishwasher and reuse. If you are using wooden skewers, soaked them in water for about 15-20 minutes to help keep them from burning.
  • How do you know Shrimp is done? When the shrimp turns from a gray flabby color and texture to a pink, opaque, firm flesh with a red tail, your shrimp is done. Shrimp cooks fast so keep your eye on it. Do not overcook shrimp, it will become tough and rubbery.
  • Vegetables: Your vegetables may not be as done as you’d like but you do not want to overcook the shrimp. You can keep your shrimp and vegetables separate on different skewers so you can keep grilling the vegetables if needed.
  • Give it space: You do not want to squish your ingredients together on your skewers. Give them space so that they grill evenly and all the way around.
  • Variations: Add sausages, mushrooms, eggplant, or other vegetables to mix it up.
  • Cook: You can pan cook this on your stovetop on medium-high heat. Cook till the shrimp and vegetables are done.

How to Store Leftover Kabobs

Leftover shrimp kabobs will keep in the fridge for up to 3 days. Warm in the microwave or the stovetop until they are warm.
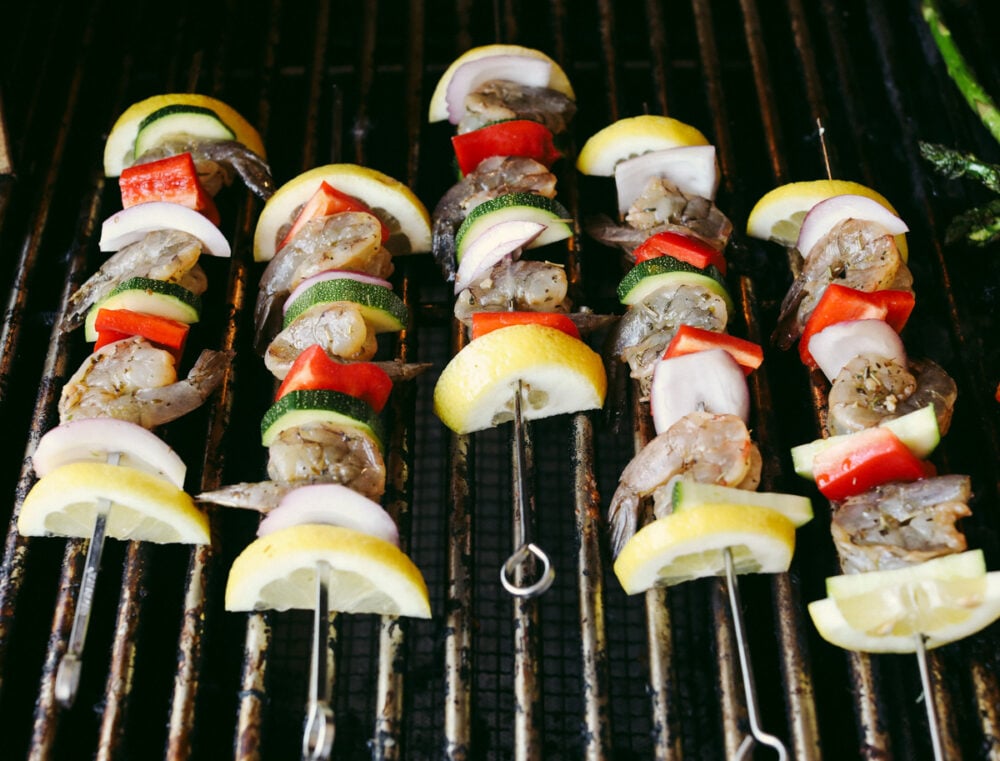
Shrimp kabobs on the grill.

What to Serve with Grilled Shrimp

The beautiful thing about kabobs is that you have half of your meal all on a stick. Add a salad or two, maybe a carb and you have a meal that is a great idea any day of the week. From a quiet dinner at home to a family BBQ or a large party, these shrimp skewers are going to be a huge hit. Add some sides and maybe a sweet treat for the perfect dinner. These skewers can also be added to rice or noodles for a yummy stir fry.

Seasoned and grilled kabob ready to eat.
Print

Shrimp Kabobs

Shrimp Kabobs are marinated and grilled to perfection for the most scrumptious summer meal. Full of zesty flavors the whole family is going to love these kabobs!
Course Dinner, Main Course
Cuisine American
Keyword grilled shrimp kabobs, shrimp kabobs, shrimp kabobs recipe
Prep Time 10 minutes
Cook Time 15 minutes
Total Time 25 minutes
Servings 4 skewers
Calories 150kcal
Author Alyssa Rivers

Ingredients

  • 1 pound Shrimp
  • 1 zucchini sliced
  • 1 red onion sliced
  • 1 red bell pepper sliced
  • 1 lemon sliced
  • 1 shrimp marinade

Instructions

  • Add the shrimp, zucchini, red onion, red bell pepper, and lemon to a medium sized bowl.
  • Prepare the shrimp marinade and add to the bowl of shrimp and veggies. Let marinate 30 minutes or over night.
  • Thread skewers with the shrimp and veggies.
  • Preheat grill to medium high heat. Thread the shrimp on the skewers. Place on the grill. Grill on each side for about two minutes or until no longer pink.

Nutrition

Calories: 150kcal | Carbohydrates: 8g | Protein: 25g | Fat: 2g | Saturated Fat: 1g | Polyunsaturated Fat: 1g | Monounsaturated Fat: 1g | Cholesterol: 286mg | Sodium: 888mg | Potassium: 359mg | Fiber: 2g | Sugar: 4g | Vitamin A: 1036IU | Vitamin C: 68mg | Calcium: 188mg | Iron: 3mg


from The Recipe Critic https://ift.tt/365NiYS
https://ift.tt/3qEl94T
गुरुवार, 1 जुलाई 2021

Strawberry Tiramisu

Strawberry Tiramisu is a fruity, delicious take on a classic dessert. This no-bake goodness is rich and airy and will impress with its luxurious flavor.

The light and fluffy flavors of tiramisu are so good, it has become one of my go-to desserts. Try my icebox cake, cream pie, and cheesecake for other creamy no-bake desserts you will not be able to resist!

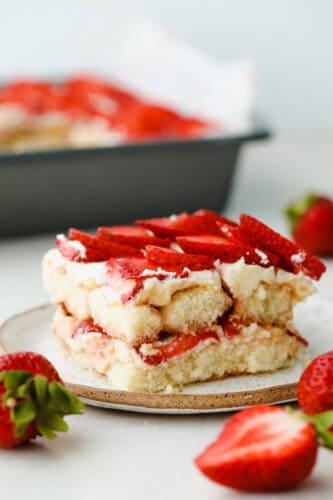
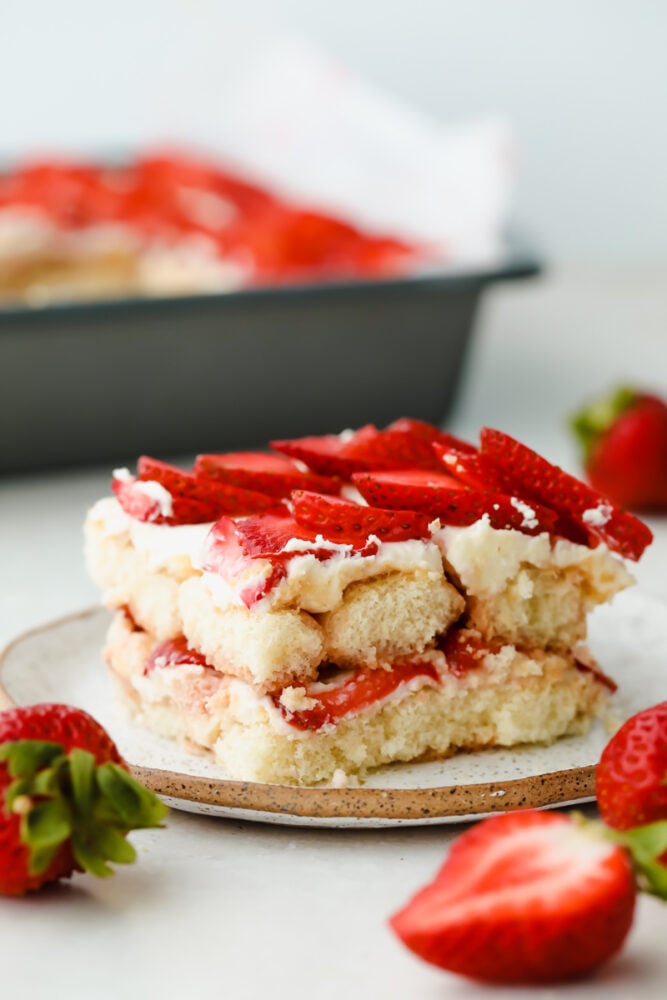
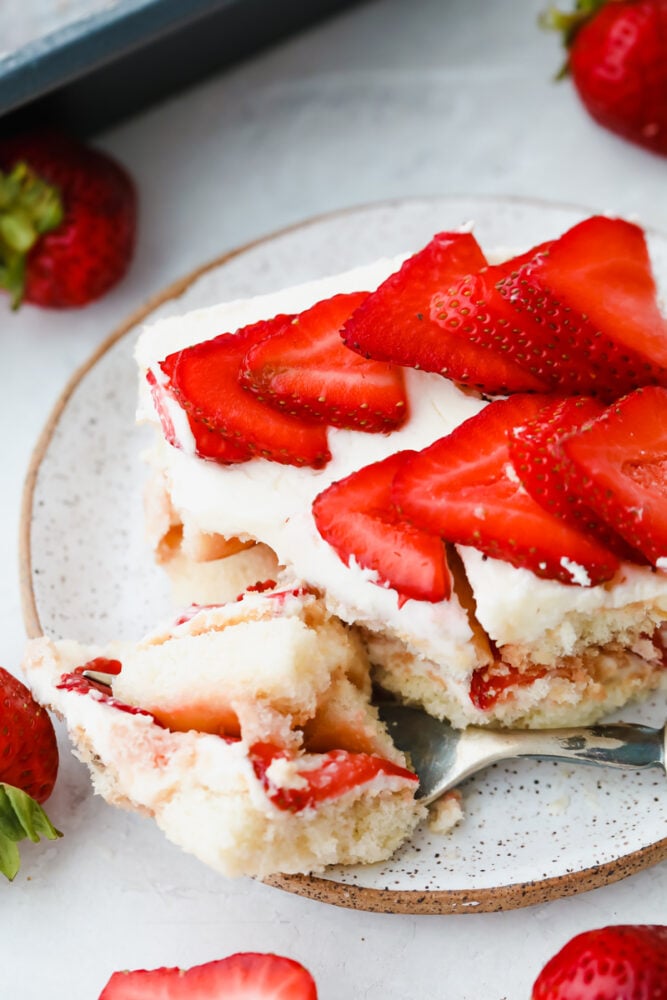
Slice of Strawberry Tiramisu.

No-Bake Strawberry Tiramisu Recipe

Strawberry Tiramisu is a quick and easy but luxurious dessert. Bursting with fresh, juicy strawberries, light, fluffy marscapone, and softened biscuits, it really is a treat. The best part is that it requires minimal effort to make but creates a beautiful, soft and sweet dessert that is sure to catch the eye of your friends and family. Don’t expect to have leftovers of this at your next event!

I love this method of making tiramisu. Adding cream to ladyfingers creates the most amazing angel food cake-like texture with no baking required! Add fresh strawberries, and you have a result that everyone will love, or you can just keep it for yourself. I won’t tell anyone. Since this recipe replaces espresso, it is kid-friendly. It is so easy to create, your kids can even help you put it together from start to finish!

Easy Strawberry Tiramisu Ingredients

You will only need to add a few items to your shopping list to recreate this decadent strawberry tiramisu dessert. All ingredient measurements are below in the recipe card.

  • Strawberry Preserves: To add to Tiramisu layers for extra strawberry flavor.
  • Fresh Lemon and Orange Juice: To add tart flavor to the dessert.
  • Mascarpone Cheese: Acts as a sweet cream but with a tangy flavor.
  • Powdered Sugar: Adds smooth texture and sweetness.
  • Vanilla Extract: For flavor. Pure vanilla extract works best.
  • Fresh Strawberries: Sliced into thin pieces for Tiramisu topping.
  • Ladyfingers Boudoirs or Savoiardi: These biscuits work best, but you can also substitute for slices of sponge or angel food cake.

How to Make Strawberry Tiramisu Recipe

This recipe comes together simply with just layers of biscuits, fruit, and cream. This strawberry tiramisu is the perfect summertime dessert!

  1. Whisk Together Fruit and Juices: In a small bowl, whisk the strawberry preserves, orange juice and lemon juice. Set aside.
  2. Mix Cream: In another bowl, use either a stand mixer or a hand mixer to beat the mascarpone cheese, powdered sugar and vanilla extract.
  3. Line Pan and Layer: Dip the ladyfingers in the strawberry mixture on both sides to coat entirely. Line the bottom of a 9×9 square pan with a single layer of dipped ladyfingers. Spread half of the mascarpone mixture over the top, followed by half of the sliced strawberries in an even layer.
  4. Repeat: Add one more layer of dipped ladyfingers and mascarpone mixture on top. Use the remaining strawberries to create a pretty top.
  5. Cover and Chill: Cover with plastic wrap and chill overnight, or at least 8 hours.
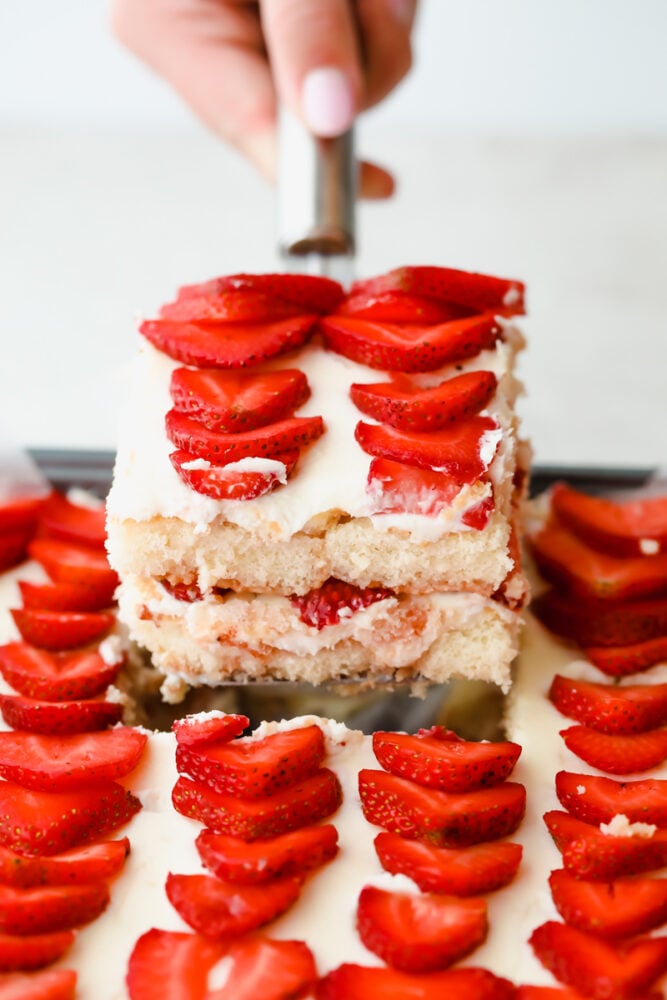
A slice taken out of the Strawberry Tiramisu pan.

What are Ladyfingers?

Ladyfingers or Savoiardi are light, fluffy biscuits with a slightly crunchy texture. They are made in a finger-like shape, hence the name. Ladyfingers absorb a lot of liquid which makes them perfect in no bake desserts. Once they have soaked up wet ingredients, they become soft, buttery and cake-like. Aside from Tiramisu, they are also great in cheesecakes and Charlotte cake. This strawberry tiramisu is the best combination!

Tips for Making The Best Tiramisu

Although this is a super easy dessert to put together, a few simple tips can really give you the best outcome and flavor in this strawberry tiramisu!

  • Preparing Ahead of Time: It is best to make this a few hours to a day before serving to ensure the biscuits completely absorb moisture to create a cake-like texture.
  • Picking Strawberries: To have the freshest strawberries, make sure you pick ones that are deep red all the way around with no hints of green or white.
  • Other Toppings: Dust your Tiramisu with cocoa powder or fresh chocolate shavings for a traditional take on the recipe.
  • Orange Liqueur: Substitute half of the orange juice in the recipe with orange liqueur for a boozy variety of this dessert.

Storing Homemade Strawberry Tiramisu

This strawberry tiramisu dessert is both easy to make and easy to store. Since it is served cold, you can eat it straight from the fridge!

  • In the Refrigerator: Strawberry Tiramisu will keep in the fridge for up to 4 days covered with plastic wrap or in an airtight container.
  • In the Freezer: You can freeze Tiramisu for up to 3 months in an airtight container. Thaw in the fridge overnight before consumption.
Taking a bite of Strawberry Tiramisu.
Print

Strawberry Tiramisu

Strawberry Tiramisu is a fruity, delicious take on a classic dessert. This no-bake goodness is rich and airy and will impress with its luxurious flavor.
Course Dessert
Cuisine American
Keyword strawberry tiramisu
Prep Time 30 minutes
Chill 8 hours
Total Time 8 hours 30 minutes
Servings 9 Servings
Calories 335kcal
Author Alyssa Rivers

Ingredients

  • 1/3 cup strawberry preserves
  • 1/2 cup fresh orange juice
  • 1 Tablespoon fresh lemon juice
  • 2 cups mascarpone cheese
  • 1 cup powdered sugar
  • 1 teaspoon vanilla extract
  • 3-4 cups fresh strawberries sliced
  • About 38 crisp ladyfingers boudoirs or Savoiardi

Instructions

  • In a small bowl, whisk the strawberry preserves, orange juice and lemon juice. Set aside.
  • In another bowl, use either a stand mixer or a hand mixer to beat the mascarpone cheese, powdered sugar and vanilla extract.
  • Dip the ladyfingers in the strawberry mixture on both sides to coat entirely. Line the bottom of a 9×9 square pan with a single layer of dipped ladyfingers. Spread half of the mascarpone mixture over the top, followed by half of the slice strawberries in an even layer.
  • Add one more layer of dipped ladyfingers and mascarpone mixture on top. Use the remaining strawberries to create a pretty top.
  • Cover with plastic wrap and chill overnight, or at least 8 hours.

Notes

If desired, you can substitute half of the orange juice for the orange liqueur of your choice.

Nutrition

Calories: 335kcal | Carbohydrates: 28g | Protein: 4g | Fat: 23g | Saturated Fat: 14g | Polyunsaturated Fat: 1g | Monounsaturated Fat: 1g | Cholesterol: 50mg | Sodium: 32mg | Potassium: 113mg | Fiber: 1g | Sugar: 23g | Vitamin A: 733IU | Vitamin C: 37mg | Calcium: 82mg | Iron: 1mg


from The Recipe Critic https://ift.tt/3y6LuLg
https://ift.tt/3w8tlLJ

बुधवार, 30 जून 2021

Amazing Grilled Vegetables

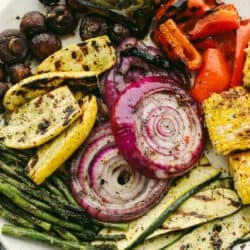
These delicious grilled vegetables are the perfect side to enhance any meal. They are drizzled with a savory garlic marinade that amplifies each vegetable’s amazing flavor and texture!

I love healthy ways to add a burst of flavor to vegetables. I know you will love my asparagus, broccoli, and brussels sprouts for other veggie side dishes that will taste just as good as your entrée!

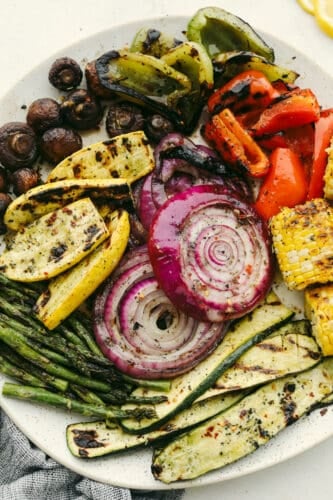
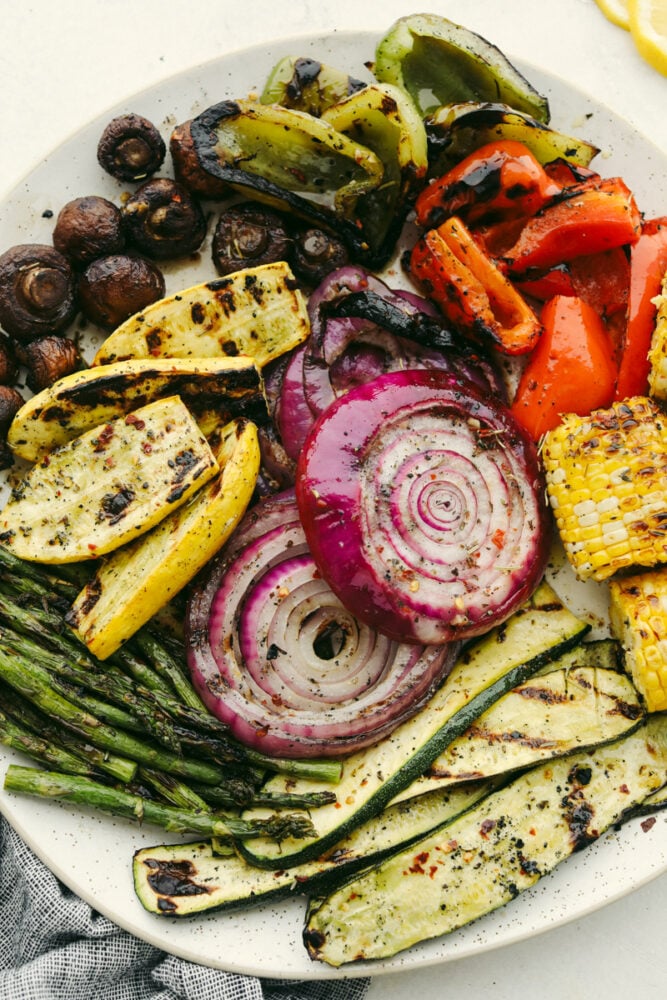
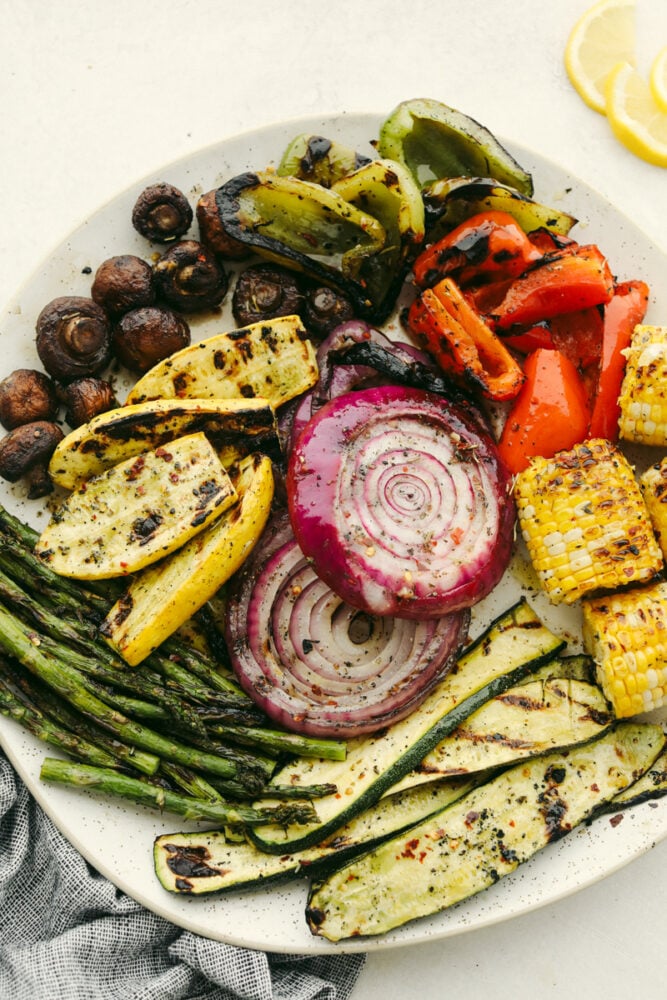
Variety of grilled vegetables on serving dish.

Easy Grilled Vegetables Recipe

You can never go wrong with a juicy cut of meat served with a side of grilled vegetables at a barbecue. And why pick just one veggie when you can have a variety of all the best summer vegetables? With zucchini, mushrooms, asparagus, yellow squash, corn, and red onion, you have a decadent selection of veggies that not only look good, are good for you, but taste good too!! The juicy, savory marinade truly brings out the best in each of these vegetables. Once they are grilled to a perfect char, you are left with a tender, smoky result with just a hint of sweetness.

The best part about this recipe, though, is that it is SUPER simple to put together but tastes INCREDIBLE! With just a touch of olive oil, fresh garlic, and herbs, you are left with a delicious side that not even the fanciest of steakhouses can rival. Don’t take my word for it! I know this will be a winning side dish that will keep your guests coming back for more.

Best Grilled Vegetables Ingredients

With just a few ingredients, these grilled vegetables come together easily for the perfect summer side. For all the ingredients and measurements see the recipe card below.

  • Zucchini: Sliced into thin strips.
  • Mushrooms: I like using small, brown mushrooms for adding different size and texture to the vegetable variety.
  • Asparagus: One stalk.
  • Squash: Yellow, sliced into thin strips.
  • Corn: On the cob, cut into thirds.
  • Red Onion: Sliced ½ inch thick.

Vegetable Marinade

  • Olive Oil: Pulls flavors together and helps the vegetables cook perfectly.
  • Garlic Clove: Fresh, sliced.
  • Salt and Pepper: To taste.
  • Crushed Red Pepper: Adds a hint of spice to your marinade.
  • Lemon: I like to use the juice of half of a lemon.

How to Make Grilled Vegetables

This recipe is ideal for having a complete meal in just a few minutes. Have a tasty dinner bursting with flavor even on busy weeknights!

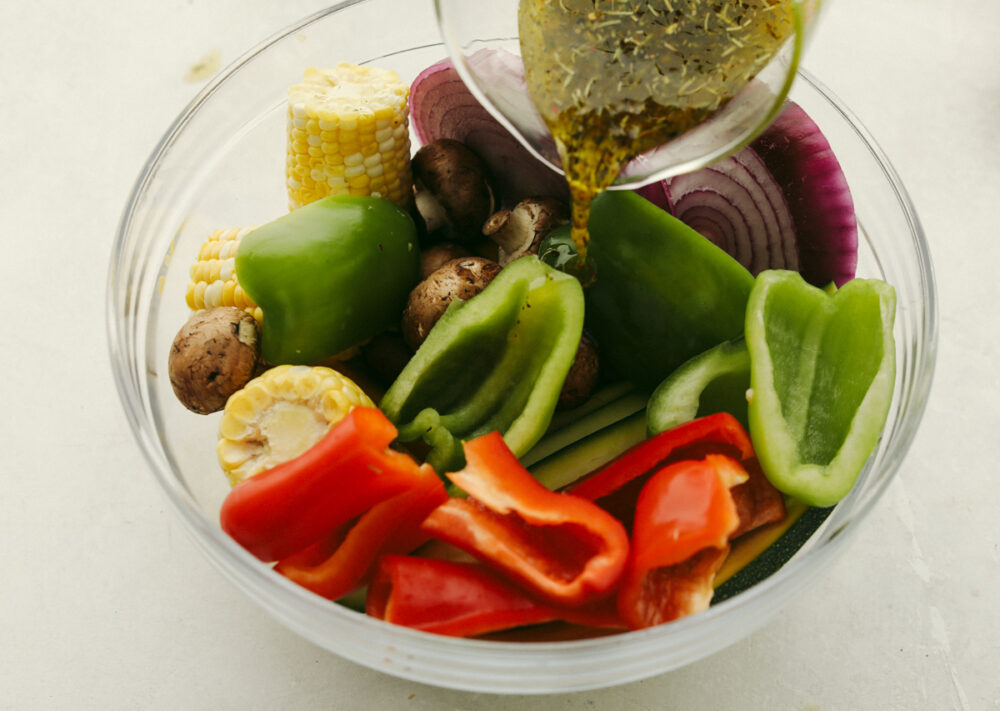
  1. Add Vegetables: Add bell pepper, zucchini, mushrooms, asparagus, squash, corn and red onion to a large bowl.
  2. Mix Marinade Ingredients: In a small bowl add the olive oil, garlic, pepper, salt, crushed red pepper and lemon juice.
  3. Pour Over Vegetables: Pour on top of the veggies and toss.
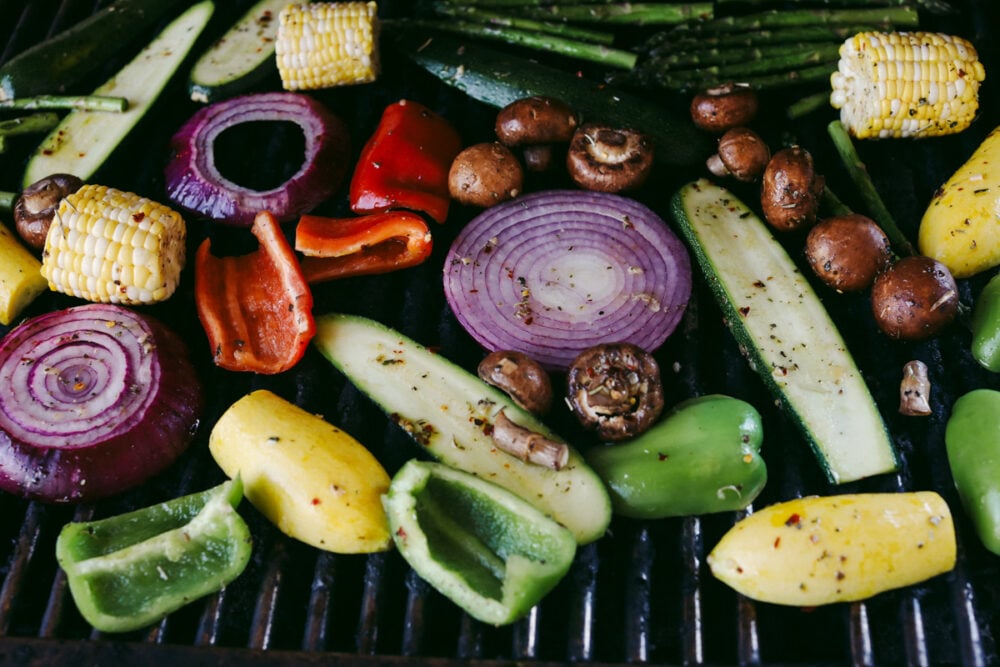
  4. Prep Grill: Preheat the grill to medium high heat. Add the veggies to the grill. You can also use a basket for the grill.
  5. Grill Vegetables: Cook the mushrooms, asparagus, for about 3-4 minutes and the rest of the veggies for 5-7 minutes until they start to soften and have a nice char.
Mixed vegetables in bowl with marinade being poured over it.

Grilled Vegetables Quick Tips

Elevate your grilled vegetables with just a few easy tips and tricks.

  • Thickness of Slices: It is best to keep your vegetables in slices that are relatively the same thickness. This will make sure that they all cook evenly and some do not cook faster than others.
  • Vegetables Too Dry: Let your vegetables marinate for at least an hour to prevent them from becoming dry when grilled. This gives oil-based marinades time to really sink into the vegetables.
  • Sweetness: Grilling vegetables brings out their natural sugars, so if you don’t want them to be too sweet, you can use extra marinade or seasoning to counteract this.
  • Grill or Stovetop: These grilled vegetables can be cooked on a gas or charcoal grill as well as in a skillet on the stove for a delicious year-round meal.
  • Other Vegetables: Add more variety to your veggie mix by grilling up others like potatoes, sweet potatoes, carrots, and eggplant. I would avoid leafy greens as they tend to shrink when grilled.
  • Flavor Enhancers: Customize and add flavor to your vegetables by topping them with lemon pepper and Italian seasonings. You can even add a sprinkle of parmesan or feta as a cheesy touch.
  • Save Marinade: Save extra marinade to toss vegetables in after grilling. This gives them added flavor.
Marinated vegetables on grill.

What to Serve With Grilled Vegetables

Grilled vegetables work wonderfully as a classic barbecue side, but the best part about them is that they are so versatile, the choices of what to serve them alongside are endless. I have been liking to throw these into stir-fries for a pop of marinated veggie deliciousness, add them on a bed of pasta for texture, and in tin foil packets for a juicy, ready-to-go meal. They are also great on skewers because they not only have a gorgeous variety of colors but taste good too. I am excited to hear how you work these delicious veggies into your favorite recipes!

Storing Grilled Vegetables

Allow grilled vegetables to cool completely before storing or they may get soggy. Also, try to keep your vegetables stored in thin layers as they will not keep as well when stacked on top of each other.

  • In the Refrigerator: Keep vegetables either tightly wrapped in plastic wrap or in an airtight container. They will keep for up to 3 days.
  • In the Freezer: Store in an airtight container. Grilled vegetables will keep in the freezer for 8-12 months. There is no need to thaw when reheating.
  • Reheating: To preserve their perfectly charred outside and tender inside, I like to reheat grilled vegetables in the oven for 10 minutes at 425 degrees Fahrenheit. You can also reheat them in a skillet or in an air fryer for a few minutes at 370 degrees Fahrenheit. This is a super easy thing to have on hand for snacks or to add to other dishes in a snap.
Variety of grilled vegetables on serving dish.
Print

Grilled Vegetables

These delicious grilled vegetables are the perfect side to enhance any meal. They are drizzled with a savory garlic marinade that amplifies each vegetable's amazing flavor and texture!
Course Side Dish
Cuisine American
Keyword best grilled vegetables, griled vegetables, grilled vegetables recipe
Prep Time 10 minutes
Cook Time 20 minutes
Total Time 30 minutes
Servings 6 people
Calories 146kcal
Author Alyssa Rivers

Ingredients

  • 2 zucchini sliced
  • 8 ounce mushrooms
  • 1 stalk asparagus
  • 2 yellow squash sliced
  • 2 corn on the cob cut into thirds
  • 1 red onion sliced ½ inch thick

Marinade:

  • 1/4 cup olive oil
  • 3 garlic cloves sliced
  • 1/2 teaspoon pepper
  • 1/4 teaspoon salt
  • 1/2 teaspoon crushed red pepper
  • 1/2 lemon juiced

Instructions

  • Add bell pepper, zucchini, mushrooms, asparagus, squash, corn and red onion to a large bowl.

To make the marinade:

  • In a small bowl add the olive oil, garlic, pepper, salt, crushed red pepper and lemon juice.
  • Pour on top of the veggies and toss.
  • Preheat the grill to medium high heat. Add the veggies to the grill. You can also use a basket for the grill.
  • Cook the mushrooms, asparagus, for about 3-4 minutes and the rest of the veggies for 5-7 minutes until they start to soften and have a nice char.

Nutrition

Calories: 146kcal | Carbohydrates: 14g | Protein: 4g | Fat: 10g | Saturated Fat: 1g | Polyunsaturated Fat: 1g | Monounsaturated Fat: 7g | Trans Fat: 1g | Sodium: 114mg | Potassium: 587mg | Fiber: 3g | Sugar: 7g | Vitamin A: 388IU | Vitamin C: 28mg | Calcium: 31mg | Iron: 1mg


from The Recipe Critic https://ift.tt/3Ad0c5b
https://ift.tt/3hpbn2j