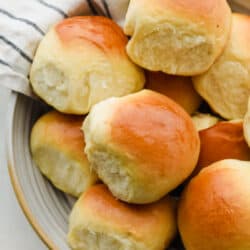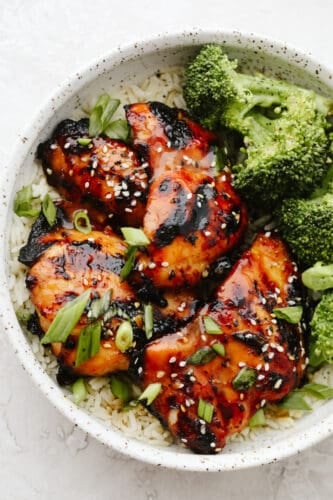
रविवार, 4 जुलाई 2021

Grilled Honey Garlic Chicken

This Honey Garlic Chicken is healthy and delicious with a sweet, sticky garlic glaze. It only takes 5 ingredients to make the marinade and cooks up in less than 10 minutes.

This will be your new favorite grilled chicken for barbecues or just everyday meals. If you love crazy easy grilled chicken dishes, you should try my BBQ, Hawaiian, and California avocado chicken, too!
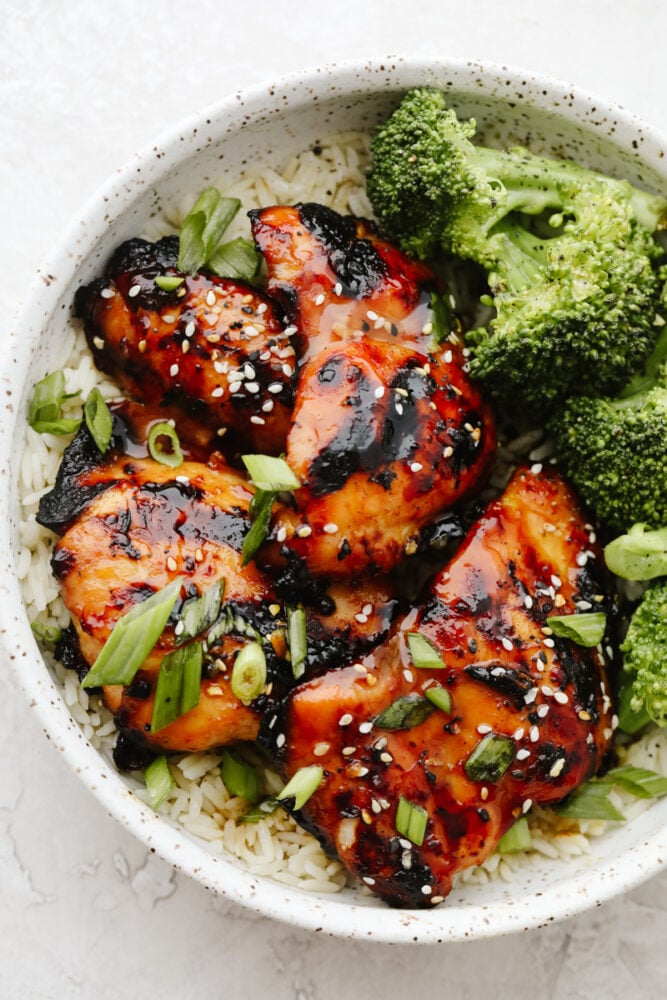
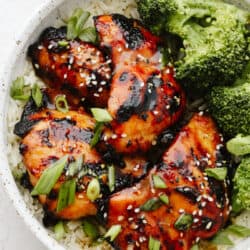
Honey Garlic Chicken in rice bowl with broccoli.

Quick and Easy Honey Garlic Chicken Recipe

If you are searching for a tender, juicy chicken recipe with a to-die-for sticky garlic sauce, look no further. This honey garlic chicken is so soft and mouthwatering, it sears up perfectly on the grill and turns out moist and flavorful every time. The best part about this honey garlic chicken, it only takes a few pantry staples to whip up and it is healthy! Anything that tastes this good but won’t kill my diet gets an A+ in my book.

Even though grilling chicken is so easy, it is tough to get right. Over the years, I have ended up with grilled chicken that is tough and rubbery. Having the proper marinade and cooking techniques are so important. I will walk you through step by step to achieve this tender, delicious chicken. My family loves it and I know yours will too!

Grilled Honey Garlic Chicken Ingredients

Do not let the simple ingredient list fool you, this honey garlic chicken has big, refined flavor with the perfect combination marinade. Your family will be raving with this dinner recipe! For all ingredient measurements, see the recipe card below.

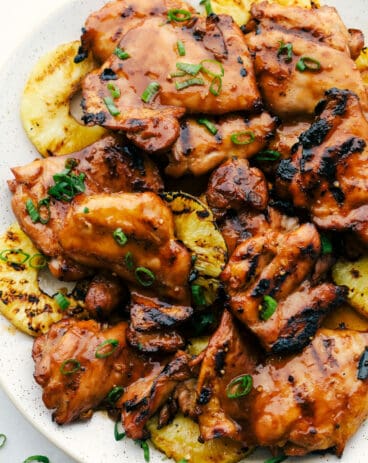
  • Uncooked Chicken: You can use either thighs or chicken breasts.
  • Honey: To sweeten and give the marinade its perfect, sticky texture.
  • Soy Sauce: For a perfect, savory marinade base.
  • Apple Cider Vinegar: Helps tenderize the chicken and add a sweet, zippy flavor.
  • Garlic: Minced.
  • Lemon Juice: Fresh from the juice of one small lemon. While fresh lemon juice adds the best flavor, you can also substitute with bottled lemon juice.
  • Sesame Seeds and Green Onions: Optional, for garnish.

How to Make Honey Garlic Chicken

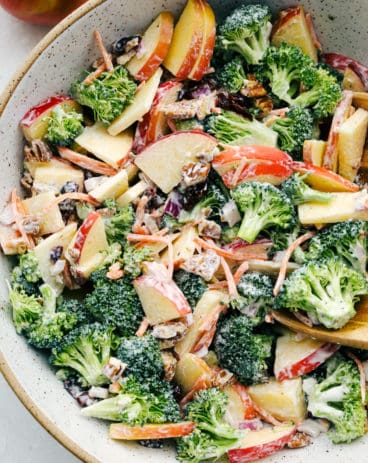
Since this chicken is so easy and cooks up in minutes, you have more time to whip up a delicious side like Greek broccoli pasta salad for a complete summer meal! In just a few quick steps this honey garlic chicken will be on your table in no time!

  1. Prepare Marinade: In a small bowl whisk honey, soy sauce, garlic, and lemon. Reserve ¼ cup of the sauce
  2. Add to Chicken: Add the rest of the sauce to the chicken in a medium-sized bowl and let marinate for 30 minutes.
  3. Grill: Preheat the grill to medium-high heat and grill chicken, covered, over medium heat for 6-8 minutes on each side or until no longer pink. Baste occasionally with reserved marinade during the last 5 minutes.
  4. Garnish: Add green onions and sesame seeds if desired.
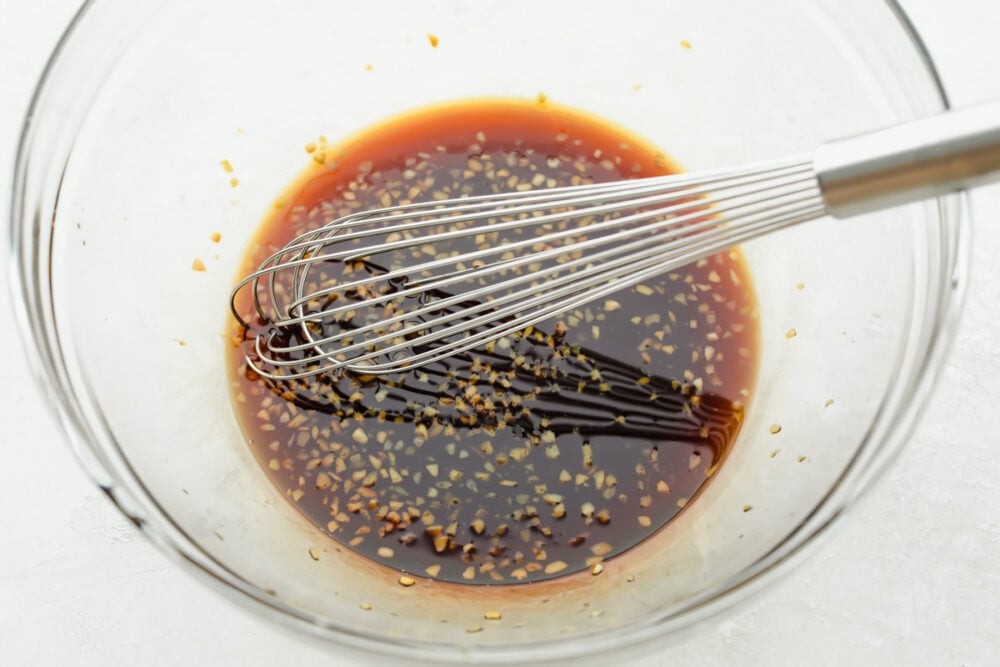
Whisking together marinade.

Grilled Chicken Tips and Tricks

Your chicken will come out tender and flavorful every time with these simple tips! These tips will help you create the best honey garlic chicken right on the grill!

  • Thickness of Chicken: Larger cuts of chicken take longer to grill. Chicken typically will cook in 3-5 minutes on both sides, but if your cuts are thicker, you may need to add more time.
  • Grease Grill: Brush your grill with oil before cooking to keep your chicken from sticking to it.
  • Baste Often: Basting your chicken with marinade frequently during the cooking process will ensure you get a perfectly caramelized outside.
  • Cover Your Grill: Not covering your grill means longer cook times. It also keeps your chicken from being completely surrounded with hot air to be cooked evenly.
  • Thinning Chicken Breasts: If one of your chicken breasts is a lot thicker than the rest, pound it with a mallet before cooking to make sure it cooks at the same rate as the others.
  • How to Know When Chicken is Done: When juices run clear or the internal temperature gets to 165 degrees Fahrenheit, your chicken is done cooking.
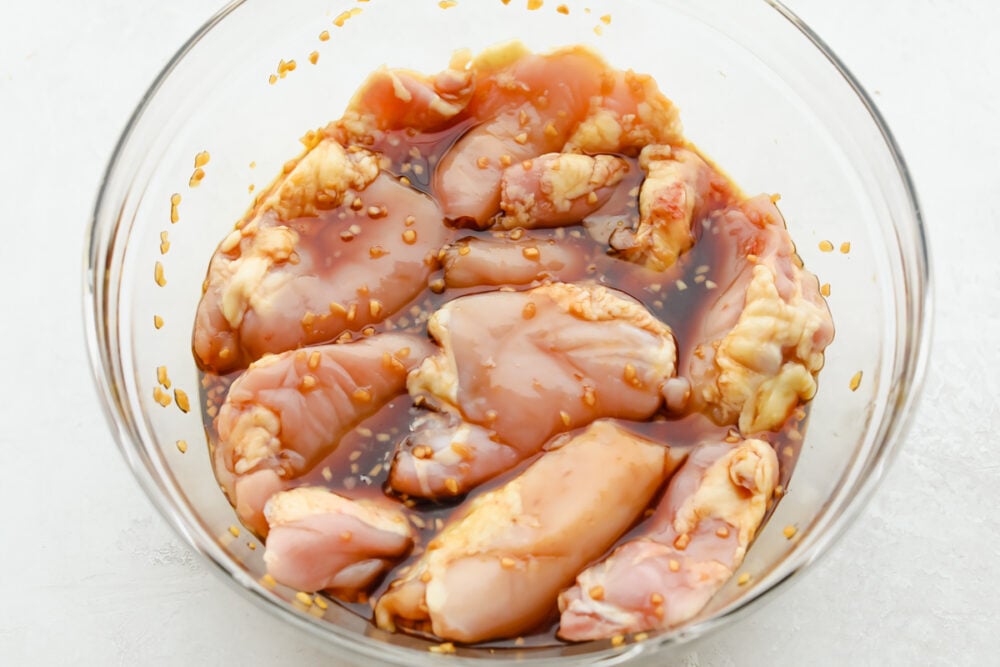
Chicken soaking in marinade.

What to Serve With Grilled Honey Garlic Chicken

This flavorful chicken works well alongside so many different dishes. I have been loving it on top of rice served with grilled vegetables for a healthy rice bowl. It also tastes great on salads and in sandwiches. For a complete meal, serve it alongside pasta salad, grilled vegetables, or potatoes.

Storing Grilled Honey Garlic Chicken

Honey garlic chicken is the perfect meal to make ahead, freeze and reheat with these simple tips!

  • In the Refrigerator: Store in an airtight container for up to 4 days.
  • In the Freezer: Grilled chicken will keep in the freezer in an airtight container for 4 months. Let thaw before reheating.
  • Reheating: The best way to reheat grilled chicken is in the oven. Bake at 350 degrees Fahrenheit until the internal temperature reaches 165 degrees.
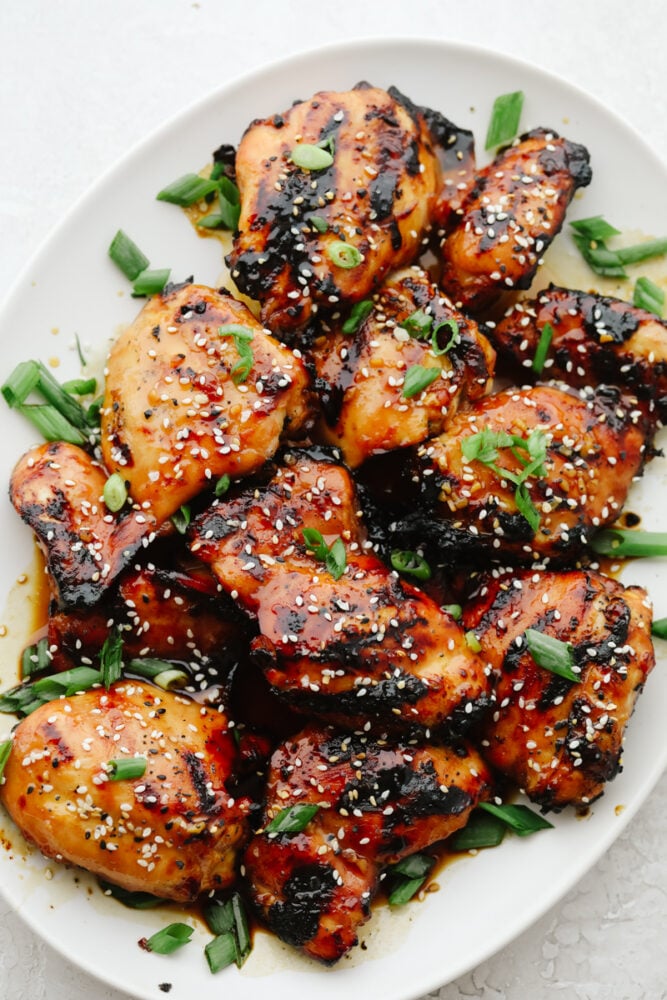
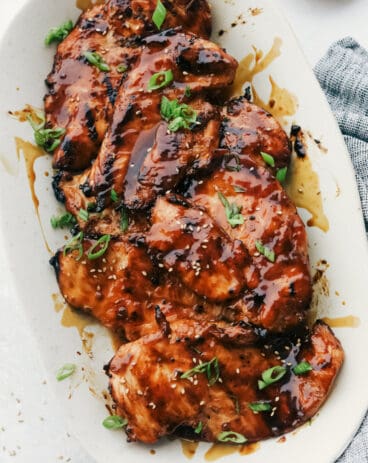
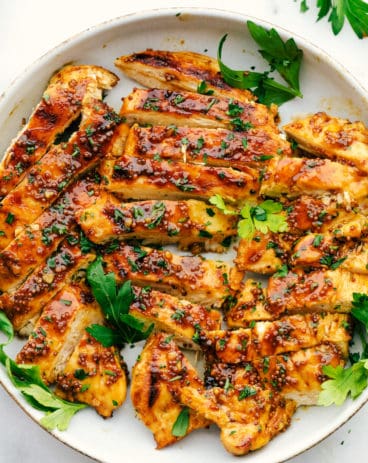
Grilled Honey Garlic Chicken on serving dish with green onion garnish.
Print

Grilled Honey Garlic Chicken

This Grilled Honey Garlic Chicken is healthy and delicious with a sweet, sticky garlic glaze. It only takes 5 ingredients to make the marinade and cooks up in less than 10 minutes.
Course Dinner
Cuisine American, Asian American
Keyword grilled honey garlic chicken, honey garlic chicken
Prep Time 30 minutes
Cook Time 15 minutes
Total Time 45 minutes
Servings 6 people
Calories 426kcal
Author Alyssa Rivers

Ingredients

  • 2 pounds chicken thighs or chicken breast
  • 1/2 cup Honey
  • 1/4 cup Soy Sauce
  • 1 Tablespoon apple cider vinegar
  • 3 cloves Garlic minced
  • 1 small Lemon Juice from lemon
  • sesame seeds and green onions for garnish

Instructions

  • In a small bowl whisk honey, soy sauce, garlic and lemon. Reserve ¼ cup of the sauce and add the rest of the sauce to the chicken in a medium sized bowl and let marinate for 30 minutes.
  • Preheat the grill to medium high heat and Grill chicken, covered, over medium heat for 6-8 minutes on each side or until no longer pink. Baste occasionally with reserved marinade during the last 5 minutes. Garnish with green onions and sesame seeds if desired.

Nutrition

Calories: 426kcal | Carbohydrates: 25g | Protein: 26g | Fat: 25g | Saturated Fat: 7g | Polyunsaturated Fat: 5g | Monounsaturated Fat: 10g | Trans Fat: 1g | Cholesterol: 148mg | Sodium: 658mg | Potassium: 353mg | Fiber: 1g | Sugar: 23g | Vitamin A: 118IU | Vitamin C: 1mg | Calcium: 19mg | Iron: 1mg


from The Recipe Critic https://ift.tt/3jFfGsY
https://ift.tt/3wdecZz
शनिवार, 3 जुलाई 2021

Pina Colada Poke Cake

Pina Colada Cake is a little slice of tropical paradise on a plate! Rich in flavor this is a light fluffy cake everyone is going to love!

I love the flavor coconut adds to recipes, it’s so light, nutty, and decadent. Try more coconut recipes from my blog like this, Pie, Shrimp, and Coconut Cream Cake!

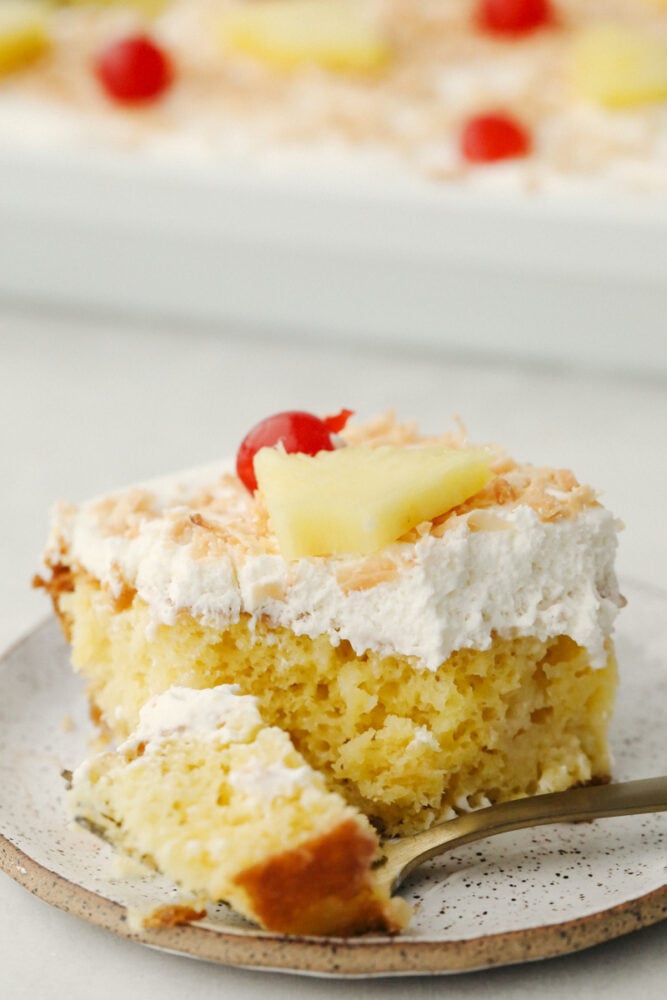
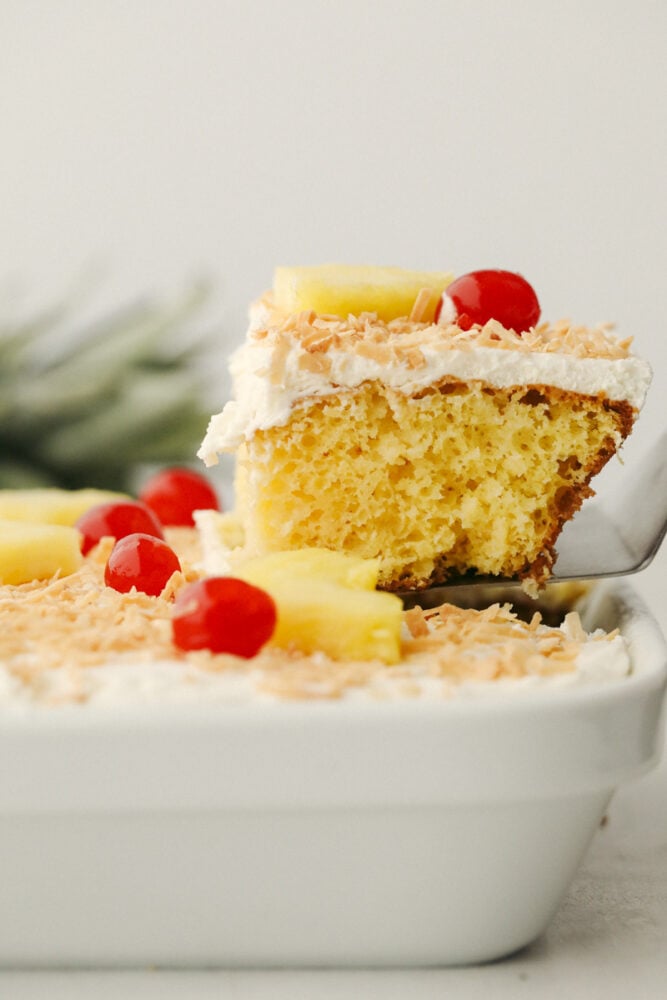
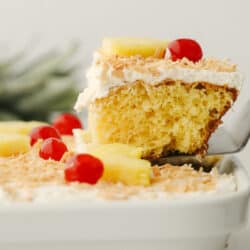
A slice of pina colada poke cake.

Pina Colada Poke Cake

This Pina colada cake is a taste of tropical paradise heaven. Despite adding the coconut cream and pineapple sauce to the cake, the texture is still light and fluffy. The sauce adds incredible one of a kind flavor without making it heavy. The flavor is rich but the texture is delicate. The perfect summertime Pina colada cake takes you to a tropical paradise all in one bite.

This super easy and insanely delicious Pina colada cake is a wonderful dessert to take to a party or potluck. Making it all in one pan makes it easy to transport. And using a box cake mix speeds up the process and still creates a luscious cake. You will need to take some time to chill it, but then it’s off to paradise. Just like the Cherry Jello Coke Poke Cake you are going to love it! You have to make this cake!

Ingredients for Pina Colada Cake

This Pina colada cake is made easy by using a boxed yellow cake for the base. Create the best combination with this easy to make pina colada cake. For all the ingredients and measurements see below in the recipe card.

  • Boxed yellow cake mix: Use your favorite boxed yellow cake mix, one you know you will love.
  • Crushed pineapple with juice: You only need an 8oz can, if you cannot find the smaller can, measure out a cup of pineapple from the bigger can.
  • Vegetable oil: I like to use canola oil, it’s a mild-flavored oil so it doesn’t flavor the bake.
  • Eggs: Have your eggs at room temperature, take them out of the fridge at least an hour before mixing.
  • Cream of coconut: Super thick and decadent, this cream of coconut tastes like paradise.
  • Pineapple juice: This adds a nice flavor that compliments the coconut.
  • Heavy cream: I recommend using heavy cream as you’ll be whipping this up into a beautiful frosting.
  • Cream of coconut: You can sometimes find the cream of coconut with alcohol at your grocery store because it’s most often used for making pina Coladas!
  • Sweetened shredded coconut toasted: Toast it in a pan on the stove over medium-high heat, stirring constantly.

How to Make Pina Colada Cake Recipe

Super easy and full of flavor you are going to love this Pina colada cake! Easy steps to follow and make the perfect cake every time.

  1. Prep: Preheat the oven to 350°. Spray a 9×13 pan with pan spray and set aside.
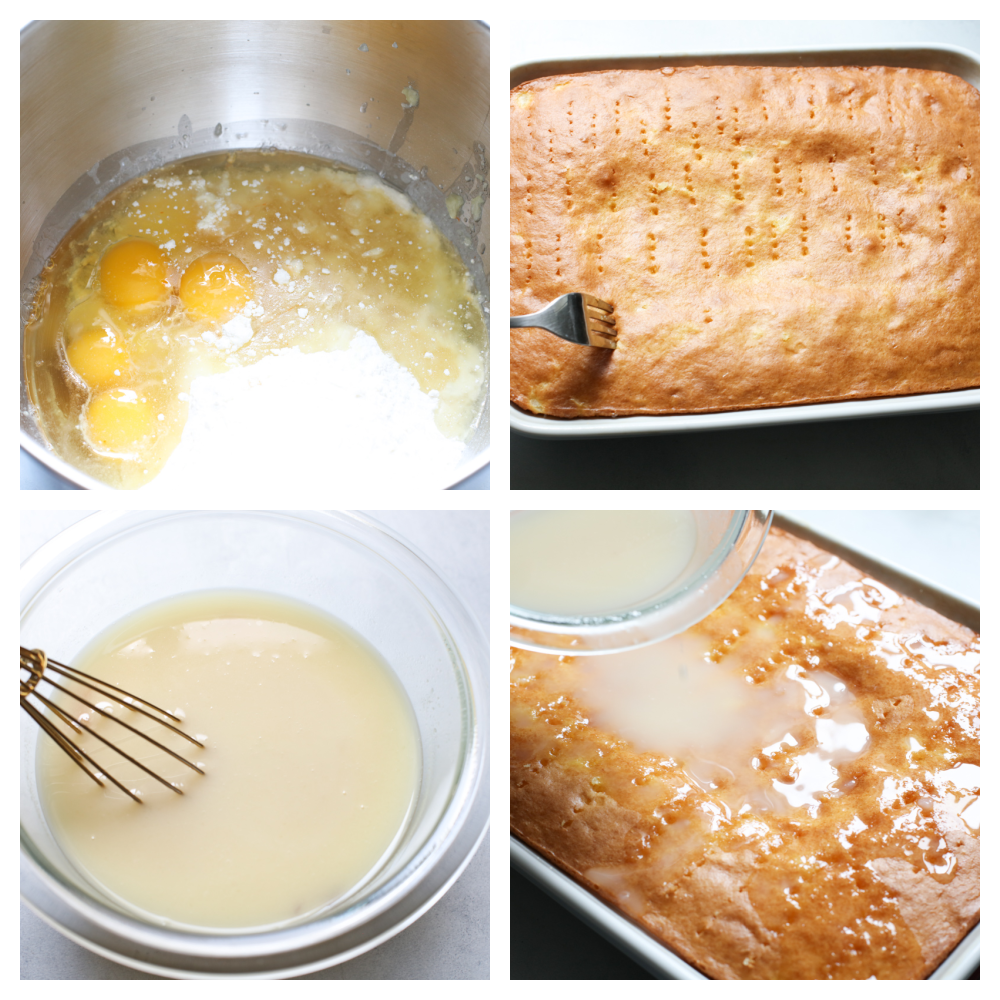
  2. Mix the Cake: In a medium bowl, add the cake mix, crushed pineapple and juice, vegetable oil, and eggs. Mix on medium speed for 2 minutes. Pour into the prepared pan and bake for 25-30 minutes, until a toothpick comes out clean from the center.
  3. Sauce: While the cake is baking, mix the cream of coconut and pineapple juice.
  4. Poke and Pour: When the cake is done baking and is still warm, use a large fork to poke holes all over the top. Pour the cream of coconut/pineapple juice mixture evenly over the cake and allow it to be completely absorbed.
  5. Frost: In the bowl of a mixer, add the heavy cream and cream of coconut. Using the whisk attachment, whip until medium-stiff peaks form. Once the cake is completely cool, spread the whipped cream over the top. Top with toasted coconut. Refrigerate until ready to serve.
Mixing the ingredients, poking holes in the cake and pouring th sauce over the top.

The Best Pina Colada Poke Cake Tips

Sweet and tropical, this Pina colada cake was made for summer! These tips will help take your boxed cake to the next level!

  • Cake: Adding crushed pineapple to the cake not only keeps it moist but adds a sweet flavor that is light delicate.
  • Cream of Coconut: Cream of coconut is different than coconut milk, the coconut cream is richer and will adhere to the cake better than coconut milk and it has a richer flavor.
  • Poke and Pour: Make sure you wait a bit to poke the cake, you want it a bit warm but not too warm. Otherwise, the cake will stick to the fork or the back of the spoon. You can use a fork or skewer to poke the holes. Make sure you poke enough to have the sauce in every piece and then some.
  • Chill: You will want to chill the cake, it will keep the sauce evenly dispersed stay that way, instead of soaking into the bottom. Plus tastes better.
  • Topping: You do not have to add the cherries or the pineapples if you do not want to, but the coconut is a must. Toast it in the oven on a cookie sheet or on the stovetop.
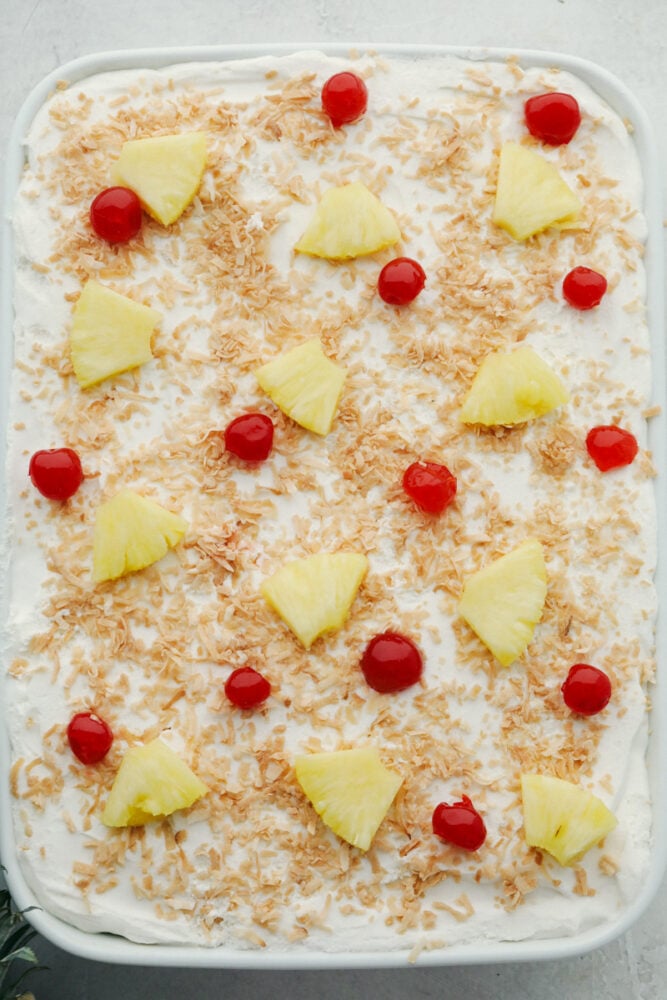
Decorated pina colada poke cake with pineapple, and maraschino cherries.
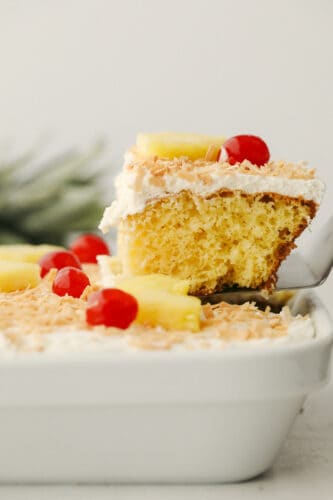
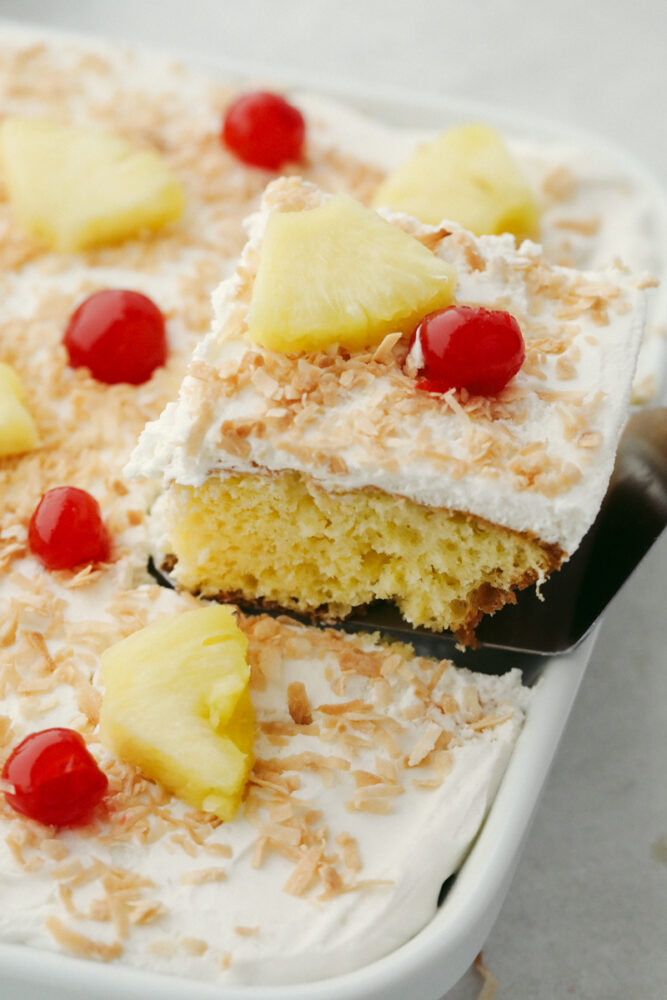
Removing a slice of cake from the pan to serve.

Making Ahead and Storing Poke Cake

  • Make-Ahead: This is a wonderful cake to make ahead of because it needs to be refrigerated. Do not frost though, it can make the Pina colada cake weep and make the top soggy.
  • Store: If you have any leftovers keep them in the fridge covered. It will keep for up to 3 days.
  • Freeze: You can freeze the cake but I recommend freezing it without the whipped topping. Tightly wrap the cake in both plastic and foil. It will keep in the freezer for up to 3 months. Thaw overnight in the fridge or at room temperature. Once thawed you can top it. You can freeze the cake before or after poking it and pouring the sauce.
Showing the light interior of the pina colada cake.
Print

Pina Colada Cake

Pina Colada Poke Cake is a little slice of tropical paradise on a plate! Rich in flavor this is a light fluffy cake everyone is going to love!
Course Dessert
Cuisine American
Keyword pina colada poke cake
Prep Time 20 minutes
Cook Time 30 minutes
Total Time 50 minutes
Servings 16 slices
Calories 391kcal
Author Alyssa Rivers

Ingredients

  • 1 box yellow cake mix
  • 1 (8 ounces) can crushed pineapple with juice
  • ½ cup vegetable oil
  • 4 large eggs
  • 1 cup cream of coconut
  • ½ cup pineapple juice

Topping

  • 1 ½ cup heavy cream
  • ¼ cup cream of coconut
  • ½ cup sweetened shredded coconut toasted

Instructions

  • Preheat the oven to 350°. Spray a 9×13 pan with pan spray and set aside.
  • In a medium bowl, add the cake mix, crushed pineapple and juice, vegetable oil, and eggs. Mix on medium speed for 2 minutes. Pour into the prepared pan and bake for 25-30 minutes, until a toothpick comes out clean from the center.
  • While the cake is baking, mix the cream of coconut and pineapple juice.
  • When the cake is done baking and is still warm, use a large fork to poke holes all over the top. Pour the cream of coconut and pineapple juice mixture evenly over the cake and allow it to be completely absorbed.
  • In the bowl of a mixer, add the heavy cream and cream of coconut. Using the whisk attachment, whip until medium stiff peaks form. Once the cake is completely cool, spread the whipped cream over the top. Top with toasted coconut. Refrigerate until ready to serve.

Nutrition

Calories: 391kcal | Carbohydrates: 46g | Protein: 3g | Fat: 22g | Saturated Fat: 16g | Polyunsaturated Fat: 1g | Monounsaturated Fat: 4g | Trans Fat: 1g | Cholesterol: 77mg | Sodium: 281mg | Potassium: 68mg | Fiber: 1g | Sugar: 31g | Vitamin A: 396IU | Vitamin C: 1mg | Calcium: 91mg | Iron: 1mg


from The Recipe Critic https://ift.tt/2UkWuWO
https://ift.tt/3jEZckr

शुक्रवार, 2 जुलाई 2021

Hawaiian Sweet Rolls

Moist, fluffy Hawaiian Sweet Rolls are a staple you will want to use for all your weekday meals. Whether you use them for sliders, sides, or just eat them as-is like me, they will be gone in no time with how sweet and buttery-soft they are!

Making your bread at home really upgrades its flavor and texture. It gives your kitchen that perfect bakery smell, too, which is always a plus. My cinnamon, focaccia, and buttery beer breads are more recipes that will leave you with an irresistibly warm and soft result.

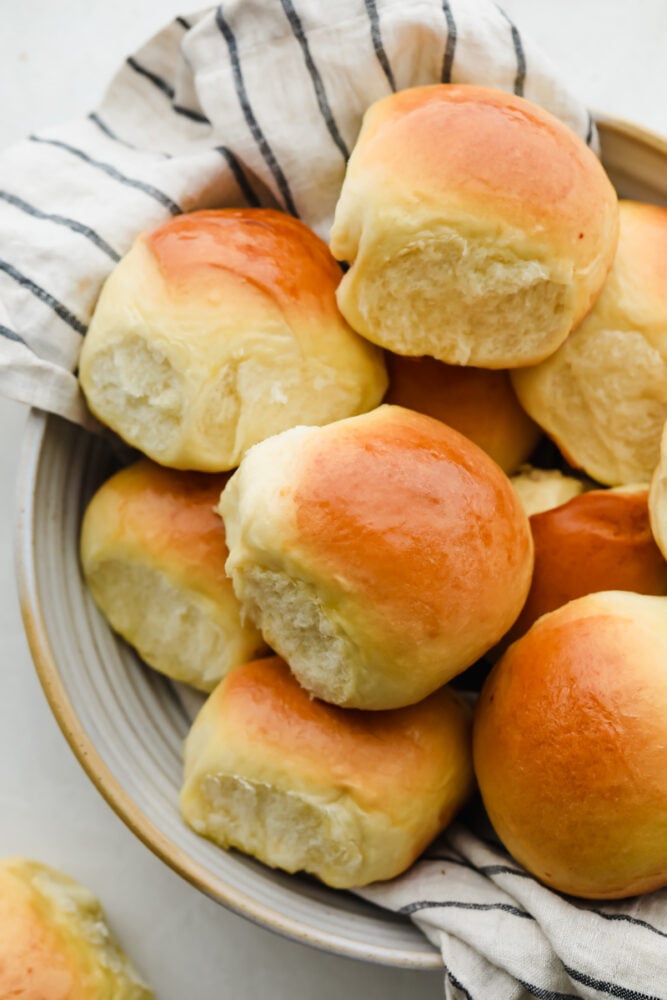
Hawaiian Rolls in a bowl.

Homemade Hawaiian Sweet Roll Recipe

There is nothing better than a good roll. Sweet Hawaiian Rolls are always my default when I shop for sandwich fixings. The truth is, I typically just end up eating them straight out of the bag because of how sweet, soft and delicious they are. Making them from scratch is a game-changer, though, and they will become your new bread of choice. These turned out so perfectly soft and warm, they are amazing on their own or with just a dollop of cinnamon honey butter, Texas Roadhouse style.

Making bread does not have to be complicated. I have broken this recipe down into simple steps that create the perfect sweet roll every time I have made them. My family is always requesting these for dinner- and for good reason! With their melt-in-your-mouth, sweet inside and outer layer baked to a lovely golden brown, I cannot wait to share this Hawaiian Sweet Roll recipe with you!

Hawaiian Sweet Rolls Ingredients

Time to pull these simple ingredients out of your pantry and get to baking! All individual measurements can be found in the recipe card below.

  • Pineapple Juice: For sweetness and Hawaiian flair.
  • Instant Yeast: To keep your rolls light, fluffy, and rising. Does not have to be activated. Simply mix into your dough.
  • Granulated Sugar: Adds sweetness and tenderizes your bread.
  • Butter: Softened. Butter works to add more fat to the dough, resulting in a softer, richer bread. I like to use salted butter to enhance flavor.
  • Vanilla: Pure vanilla extract works best to add flavor.
  • Large Egg: To bind ingredients together and provide structure.
  • All-Purpose Flour: For light and fluffy texture.
  • Salt: To taste.
  • Egg Yolk and Water: For the egg wash.

Making Hawaiian Sweet Rolls

Making your own breads does not have to be intimidating. Since we are using instant rather than active yeast, this recipe is straightforward and fool-proof for making delicious rolls with every batch.

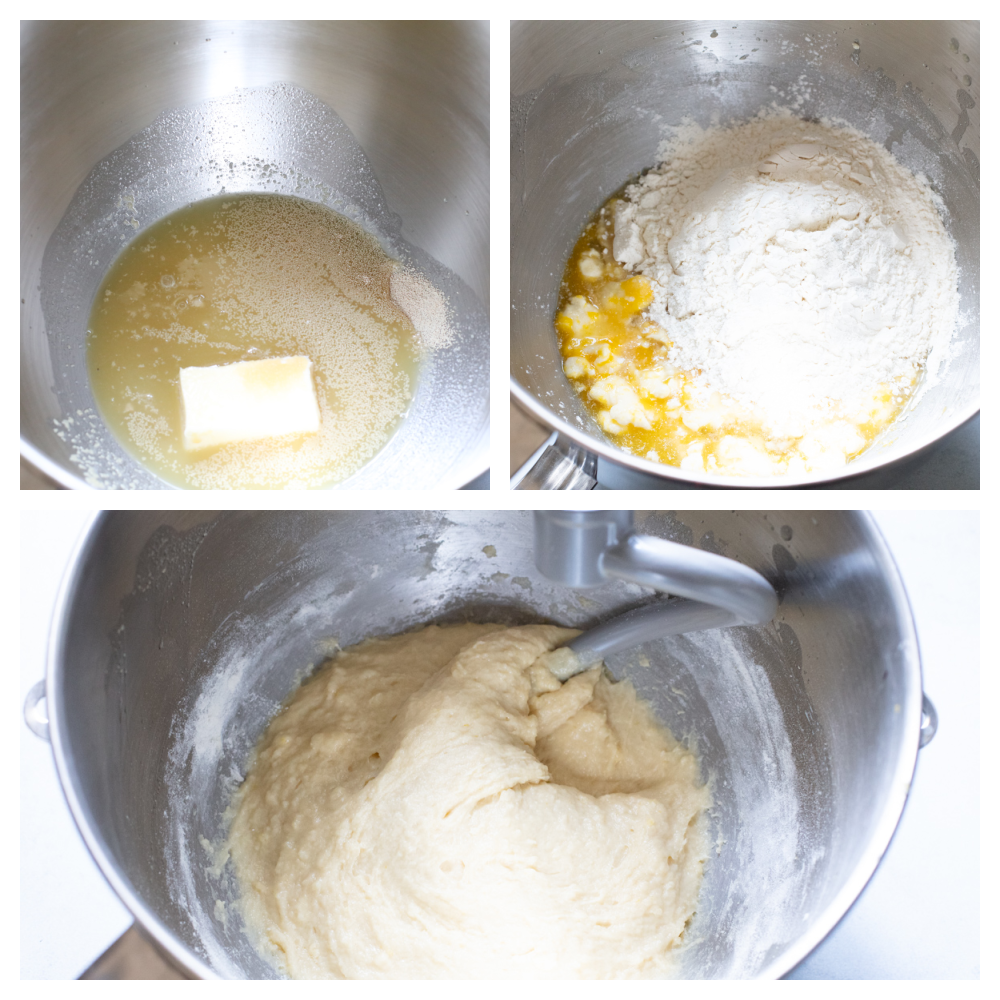
  1. Mix Wet Ingredients, Yeast, and Sugar: In the bowl of a mixer, add the pineapple juice, yeast, sugar, butter, and vanilla. Use the paddle to mix it until combined. Add in the egg and mix again.
  2. Mix With Dough Hook, Add Flour, and Salt: Switch to the dough hook attachment and add 2 cups of flour and the salt. Mix on low speed until combined into a wet dough.
  3. Add the Remaining Flour: Add ½ cup at a time, allowing it to become fully incorporated. The dough will pull away from the sides of the bowl but still be pretty sticky. Continue to mix on low for about 4 minutes, until the dough is smooth.
  4. Transfer Dough to Bowl: Transfer the dough to an oiled bowl and cover with plastic wrap that has been sprayed with pan spray. Let the dough rise until doubled, about 2 hours or so.
  5. Separate Into Balls: Once the dough has doubled in size punch the dough down in the bowl and then split into 12 equal pieces and form into balls.
  6. Prep Pan and Let Rolls Rise: Grease a 9×13 pan and place the rolls in the pan. Cover with plastic wrap sprayed with pan spray again, and let rise until doubled again.
  7. Preheat Oven: When the rolls are almost doubled, preheat the oven to 350°
  8. Create Egg Wash: Combine the egg yolk and water together and brush egg wash over the top of the rolls.
  9. Bake: Bake for 18-20 minutes, until golden brown.
  10. Serve: Serve warm or at room temperature.
Process of making Hawaiian rolls.

The Best Roll-Making Tips

Making a few simple fixes can make all the difference in how your rolls turn out.

  • Watch for Over-Kneading: When using a mixer and dough hook to mix knead, it is easy to over-knead your dough. When your dough looks like a smooth ball, that is when you need to turn off the mixer. Dough that is kneaded too much will start to clump and break apart.
  • Let Rolls Rise: Patience is key when letting your rolls rise before popping them into the oven. Wait at least 30 minutes. Rolls that are under-proofed will be too dense and lack the light, soft fluffiness that makes them so good!
  • Skipping the Egg Wash: Do not skip the egg wash! That is what is going to give your rolls their shiny, glistening finish. When brushing this on, be super careful, because, at this point in the cooking process, the rolls will be delicate. A heavy hand could cause them to deflate.
  • Using Too Much Flour: Using too much flour to make bread at home is a common mistake but will leave you with a tough and dry result.
  • Using Other Types of Flour: I recommend using all-purpose flour because other flours with a high protein content can leave you with leathery rolls.
  • What to Serve With Hawaiian Sweet Rolls: The sky is the limit with these versatile rolls. They are sturdy enough to be used as sliders and little sandwiches, but because of their natural sweetness, my favorite way to serve these is with honey or cinnamon butter, or a dollop of homemade strawberry jam. There is nothing better than a sweet, warm roll with butter and jam.
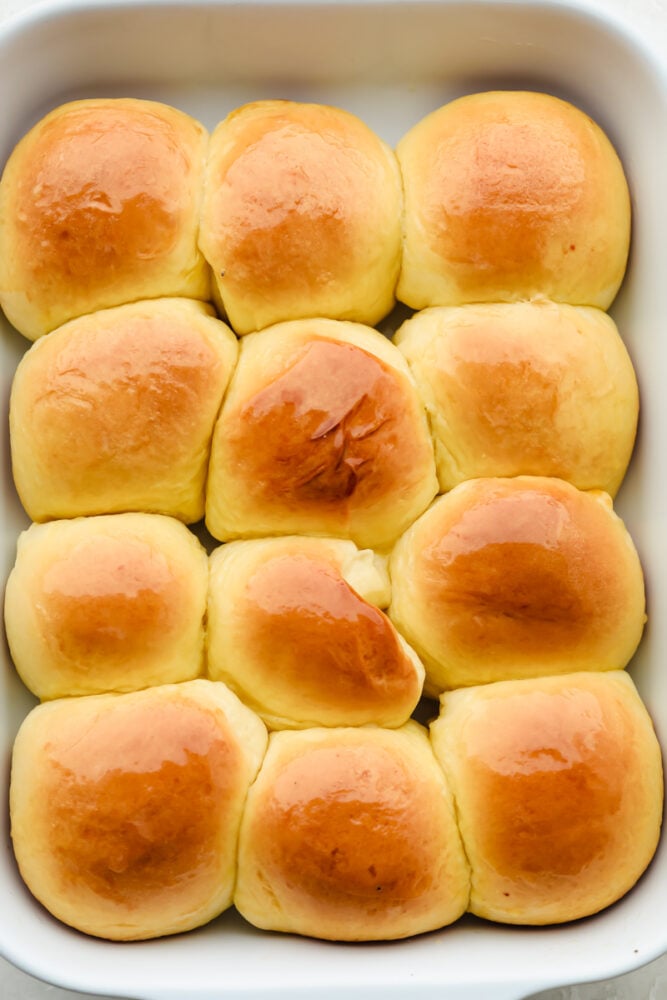
12 baked rolls in pan.

Storing Hawaiian Sweet Rolls

Having rolls on hand makes it easy to have warm, delicious bread ready to go for quick dinners.

  • In the Freezer: Unbaked rolls can be stored in the freezer for up to 2 months in sealed plastic bags. This is perfect if you want to make more rolls later. Baked rolls can also be frozen.
  • To Reheat: Wrap frozen baked rolls in tin foil and bake at 300 degrees Fahrenheit for 15-20 minutes.
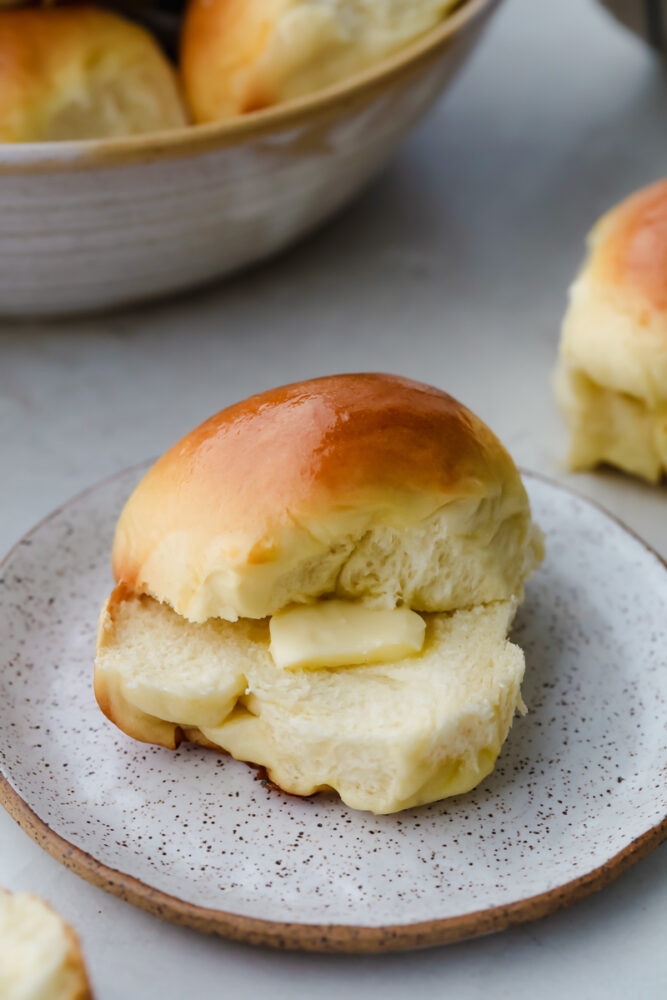
Hawaiian Roll cut in half with dollop of butter.
Print

Hawaiian Sweet Rolls

Moist, fluffy Hawaiian Sweet Rolls are a staple you will want to use for all your weekday meals. Whether you use them for sliders, sides, or just eat them as-is like me, they will be gone in no time with how sweet and buttery-soft they are!
Course Bread
Cuisine American
Keyword hawaiian rolls, hawaiian sweet rolls, sweet rolls
Prep Time 30 minutes
Cook Time 18 minutes
Rise 4 hours
Total Time 4 hours 48 minutes
Servings 12 rolls
Calories 220kcal
Author Alyssa Rivers

Ingredients

  • ¾ Cup Pineapple Juice
  • 1 packet instant yeast
  • ½ cup granulated sugar
  • ¼ cup butter softened
  • ½ teaspoon vanilla
  • 1 large egg
  • 3 ½ cups All Purpose Flour
  • ½ teaspoon salt
  • 1 egg yolk for egg wash
  • 2 Tablespoon water

Instructions

  • In the bowl of a mixer, add the pineapple juice, yeast, sugar, butter and vanilla. Use the paddle to mix it until combined. Add in the egg and mix again.
  • Switch to the dough hook attachment and add 2 cups of flour and the salt. Mix on low speed until combined into a wet dough.
  • Add the remaining flour ½ cup at a time, allowing it to become fully incorporated. The dough will pull away from the sides of the bowl but still be pretty sticky. Continue to mix on low for about 4 minutes, until the dough is smooth.
  • Transfer the dough to an oiled bowl and cover with plastic wrap that has been sprayed with pan spray. Let the dough rise until doubled, about 2 hour or so.
  • Once the dough has doubled in size punch the dough down in the bowl and then split into 12 equal pieces and form into balls.
  • Grease a 9×13 pan and place the rolls in the pan. Cover with plastic wrap, sprayed with pan spray again, and let rise until doubled again.
  • When the rolls are almost doubled, preheat the oven to 350°
  • Combine the egg yolk and water together and brush egg wash over the top of the rolls. Bake for 18-20 minutes, until golden brown.
  • Serve warm or room temperature.

Nutrition

Calories: 220kcal | Carbohydrates: 38g | Protein: 5g | Fat: 5g | Saturated Fat: 3g | Polyunsaturated Fat: 1g | Monounsaturated Fat: 1g | Trans Fat: 1g | Cholesterol: 42mg | Sodium: 139mg | Potassium: 73mg | Fiber: 1g | Sugar: 10g | Vitamin A: 163IU | Vitamin C: 1mg | Calcium: 13mg | Iron: 2mg


from The Recipe Critic https://ift.tt/2UlPGYR
https://ift.tt/3Any1Az