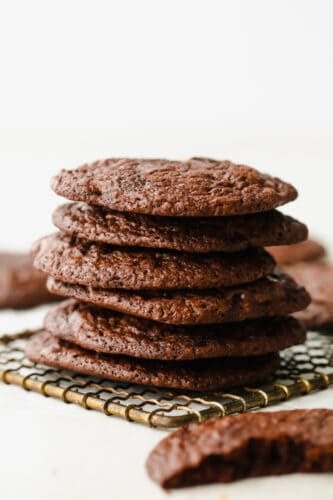
Brownie cookies are the chewy, fudgy treat that you are not going to be able to get enough of. A combination of two of my favorite desserts, you won’t believe how ooey gooey and perfect these are!
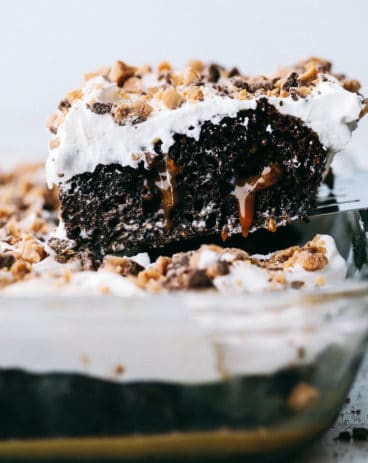
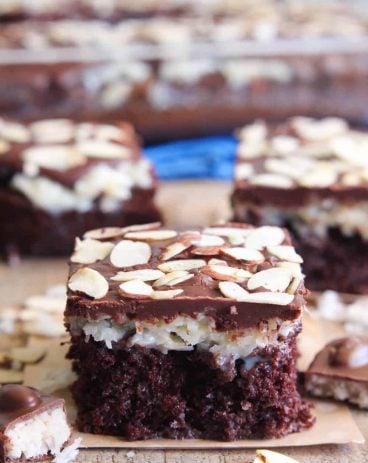
Calling all chocolate lovers! It is time to get your fix. I know you will love these cookies as well as some of my other tried and true chocolate desserts: brownies, lasagna, and pie.

The Best Brownie Cookie Recipe
Not sure whether you want a rich, fudgy brownie or a warm, baked cookie? Well, have I got the dessert for you. This Brownie Cookie recipe is a chocolate lover’s dream. You don’t have to make a trip to the store for a box of brownies anymore, with just a few staples already in your pantry, you can put a fresh batch of these bad boys together. Whether it’s for a party dessert or those late-night cravings, this is the perfect indulgent treat to satisfy your sweet tooth.
My family has loved having these around. If they last long enough, which they usually don’t, they are my favorite Netflix binge treat- warmed up with a scoop of ice cream. The moist, fudgy center of these cookies with a slightly crispy, perfectly baked outer layer is so irresistible. All you have to do is pull out a few basic ingredients from your pantry, mix everything together, and bake!
What You Need to Make Brownie Cookies
You will probably already have a lot of these ingredients which is the best part of this recipe! For all of the ingredient measurements, see below in the recipe card.
- Butter: Unsalted, melted.
- Vegetable Oil: Makes your cookies moist.
- Granulated Sugar: For sweetness.
- Eggs: To bind ingredients together.
- Vanilla Extract: For flavor. I have found that pure vanilla extract works best.
- All-Purpose Flour: For cookie structure. Avoid flour with high protein content or your cookies will turn out too dense. I like using all-purpose flour to keep them light and fluffy.
- Salt: To enhance flavor.
- Baking Powder: Keeps your cookies light and fluffy.
- Cocoa Powder: For a delicious, chocolatey base.
- Dark Cocoa Powder: Adds the perfect fudgy flavor.
- Chocolate Chips: For melty, amazing texture. You can also substitute with chocolate chunks.
- Flaky Salt: Optional, for an added sweet and salty element.
Homemade Brownie Cookies Instructions
With just a few simple instructions, you too can have a soft, chewy cookie in your mouth! These are the best brownie cookies that you will make!
- Preheat: Preheat oven to 350°.
- Mix Wet Ingredients: In a medium bowl, whisk together butter, oil and sugar until well combined. Add in the eggs and vanilla and whisk until combined.
- Mix Dry Ingredients: In another bowl, sift together the flour, salt, baking powder, and cocoa powder. Gently mix the dry ingredients into the wet ingredients and mix until just combined. Gently stir in chocolate chips.
- Form Cookies: Using a medium cookie scoop that has been lightly sprayed with cooking spray, scoop cookies onto a cookie sheet lined with parchment paper. Keep them spaced about 2 inches between each cookie. If you’d like, top with more chocolate chips or flakey salt.
- Bake: Bake for 13-15 minutes. Allow to cool on the pan for 5 minutes before removing to a cooling rack to finish cooling.

What to Serve With Your Brownie Cookies
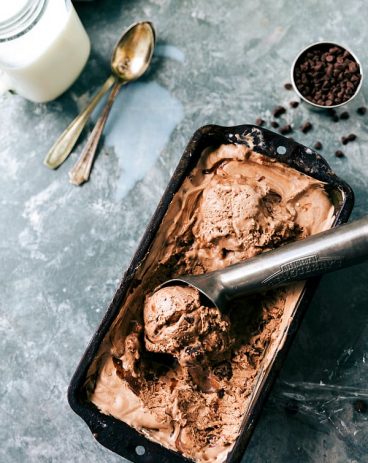
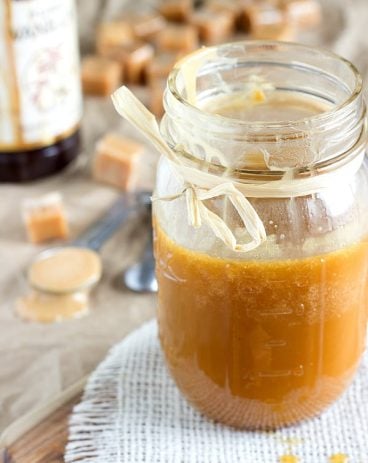
My favorite way to eat Brownie Cookies is a la mode. Try vanilla, keto coconut, or even brownie batter ice cream for a double chocolate treat! Top it with fudge or homemade salted caramel sauce for a delectable sundae. You can also keep it simple and serve alongside a glass of milk since they taste so amazing on their own.
Desserts
Ice Cream in a Bag

Desserts
No Churn Brownie Batter Ice Cream
Desserts
Homemade Salted Caramel Sauce
Storing Leftover Brownie Cookies
These are best stored covered with plastic wrap at room temperature and should be consumed within 2 days. If you want that fresh-out-of-the-oven taste, pop leftover Brownie Cookies in the microwave for 10-20 seconds and serve.
- In the Freezer: Freeze Brownie Cookie dough balls in a ziplock bag. They will keep for up to 4 months.

Tips for Making the Best Brownie Cookies
Brownie Cookies are scrumptious as is, but use these easy tips to make them taste even better!
- Adding Toppings: Customize your cookies like you would a brownie by adding things like nuts, mini marshmallows, caramel, peanut butter chips, and candy pieces to your batter.
- Using Too Much Flour: Make sure to measure out your flour. Adding too much will leave you with dense, dry Brownie Cookies.
- Mixing Your Batter: Mix your wet and dry ingredients until completely smooth to get a perfect, fudgy result.
- Using High-Quality Chocolate: Using high-quality chocolate and cocoa powder can really make a difference in how your Brownie Cookies turn out. If your cocoa has a high cocoa content, the stronger the flavor will be. A lot of bakers swear by Dutch cocoa powder- Ghiradelli and Valrhona are some of my favorites.
- Don’t Overbake: Cooking your Brownie Cookies for too long takes away from their fudginess, so make sure to keep an eye on them and only cook for the specified time.
- Let Brownie Cookies Cool: Make sure you let your Brownie Cookies cool before serving. If you serve them too soon, they will fall apart and not have that perfect fudgy center.
Some of My Other Favorite Cookie Recipes
Easy Recipes
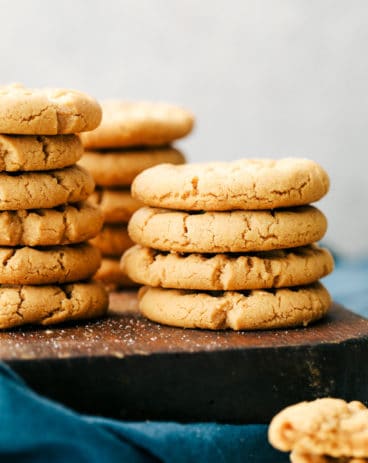
Easy 3 Ingredient Peanut Butter Cookies
Desserts
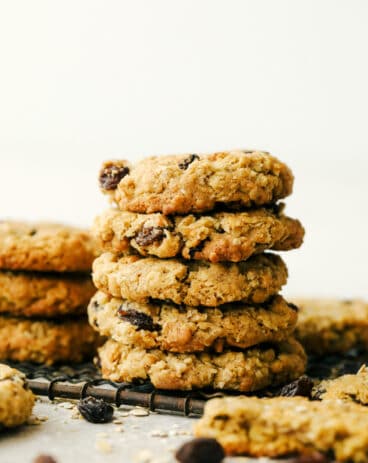
The BEST Oatmeal Raisin Cookies
Desserts
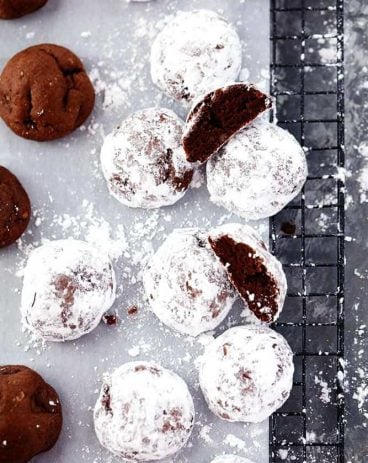
Chocolate Snowball Cookies


Brownie Cookies
Ingredients
- 1/2 cup unsalted butter melted
- 1 Tablespoon vegetable oil
- 1 cup granulated sugar
- 2 large eggs
- 1 teaspoon vanilla extract
- ¾ cup all purpose flour
- 1/2 teaspoon salt
- 1/2 teaspoon baking powder
- ⅓ cup Cocoa Powder
- 2 Tablespoon Dark cocoa powder (I used Hershey’s special dark cocoa powder)
- 4 ounces chocolate chips or chunks
- Flakey salt optional
Instructions
-
Preheat oven to 350°.
-
In a medium bowl, whisk together butter, oil and sugar until well combined. Add in the eggs and vanilla and whisk until combined.
-
In another bowl, sift together the flour, salt, baking powder, and cocoa powder. Gently mix the dry ingredients into the wet ingredients and mix until just combined. Gently stir in chocolate chips.
-
Using a medium cookie scoop that has been lightly sprayed with cooking spray, scoop cookies onto a cookie sheet lined with parchment paper. Keep them spaced about 2 inches between each cookie. If you’d like, top with more chocolate chips or flakey salt.
-
Bake for 13-15 minutes. Allow to cool on the pan for 5 minutes before removing to a cooling rack to finish cooling.
Nutrition
from The Recipe Critic https://ift.tt/3hh68mw
https://ift.tt/3ykIBqo