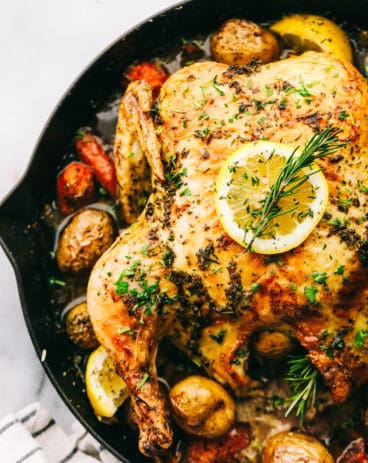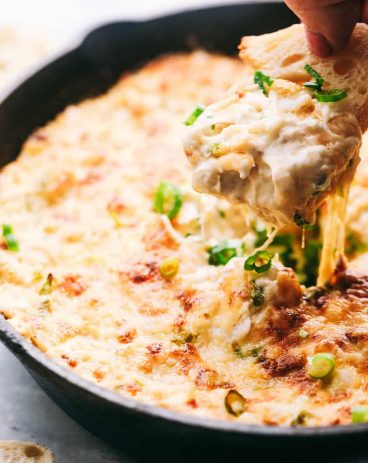
मंगलवार, 6 जुलाई 2021

Grilled Honey Dijon Garlic Pork Tenderloin

Grilled Honey Dijon Garlic Pork Tenderloin is juicy, tangy, flavorful, and cooks up quickly and easily. With a dish this healthy and delicious, you will love having it in your weekly dinner lineup!

Pork tenderloin is one of my favorite cuts of pork because of how easy it is to grill up and how well it absorbs whatever flavors I am using to cook with. Garlic herb, spinach bacon, and cranberry orange are other tenderloin recipes to try packed with crave-worthy flavor!
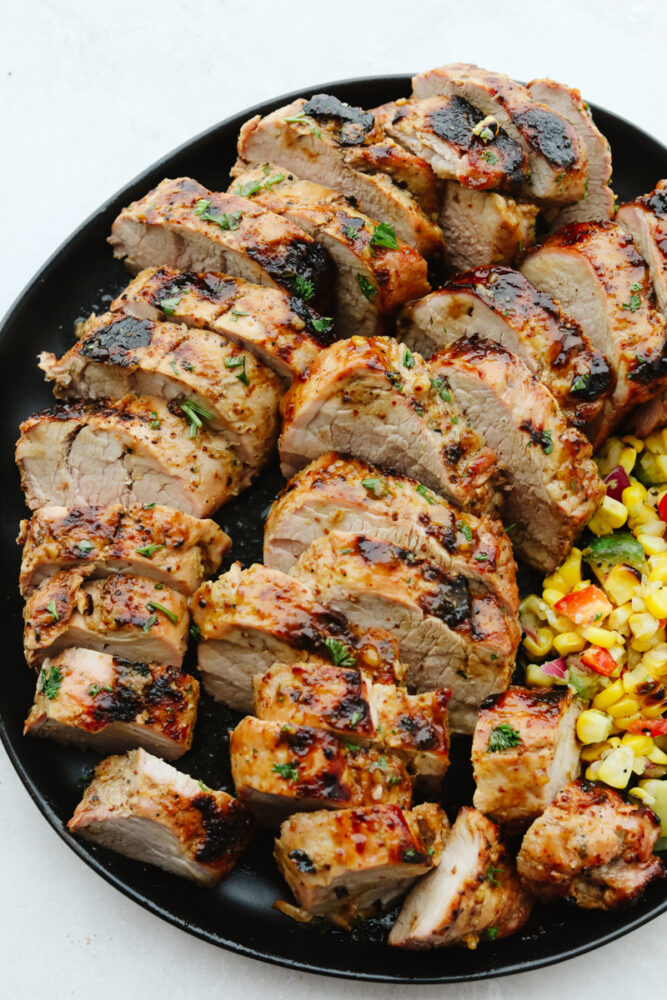
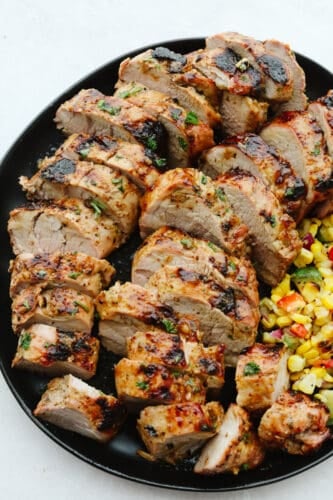
Grilled Honey Dijon Garlic Pork Tenderloin sliced, served with corn.

Juicy Honey Dijon Garlic Pork Tenderloin Recipe

Pork tenderloin is a cut of meat that I think is often overlooked. When cooked properly, it is so juicy, soft and flavorful! Plus, it is just as healthy as a boneless chicken breast! I, for one, cannot possibly pass up a recipe that is hearty, delicious, makes me feel full, but isn’t too fatty or high in calories. Combine the health benefits of pork tenderloin with a perfect, summery garlic Dijon glaze and you have a real winner on your hands.

And can we talk about this glaze?! It only takes 4 simple ingredients to put together but has so much big, impactful flavor that just emanates perfectly in your mouth. The sticky sweetness of honey, the savory kick of garlic, and the zippy, refined tang of Dijon make this marinade a real crowd-pleaser. Serve this tasty pork tenderloin up with grilled vegetables and mashed potatoes for a hearty summer meal to satisfy.

Grilled Pork Tenderloin Ingredients

Only a handful of ingredients are needed to create this melt-in-your-mouth grilled pork tenderloin dish! Individual measurements for each ingredient can be found in the recipe card below.

  • Pork Tenderloin: 2 pounds of pork tenderloin, silver skin removed. See more about this in the tips box below.
  • Salt and Pepper: To taste.
  • Olive Oil: To bind ingredients together in marinade.
  • Dijon Mustard: For tangy flavor.
  • Honey: To add sweetness.
  • Garlic Cloves: Minced.
  • Fresh Parsley: For garnish.

How to Make Grilled Pork Tenderloin

It only takes a few super easy steps to make a hearty, delicious meal that the whole family will love. This grilled pork tenderloin is a family favorite and made perfectly each time!

  1. Prep Tenderloin: Trim the fat from the pork and salt and pepper the pork tenderloin.
  2. Mix Together Sauce Ingredients: In a smal l bowl whisk together olive oil, dijon mustard, honey, and garlic. Brush half of the sauce on the pork.
  3. Grill: Preheat the grill to medium high heat. Add the pork to the grill. Cook for 5-6 minutes on each side or until the pork reaches an internal temperature of 145 degrees.
  4. Glaze: Brush remaining glaze on top of pork and serve with chopped parsley if desired.
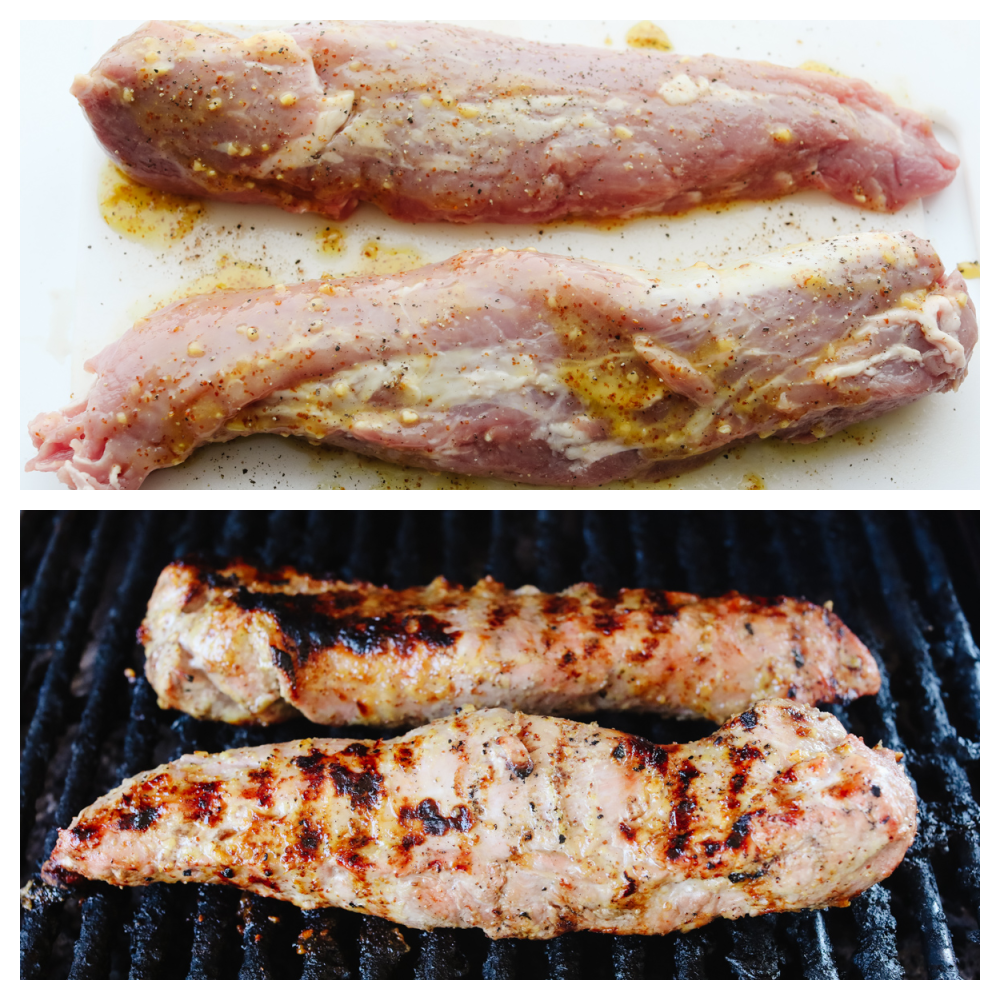
Grilling pork tenderloin.

What is the difference between Loin and Tenderloin?

Be careful when picking out your meat. Pork loin and pork tenderloin are two different cuts of meat. Pork loins are bigger and typically used for roasts, yielding a completely different texture. Tenderloin is smaller, longer, and a darker red than a pork loin. Tenderloins also cook faster than pork loins. Curious about where the different cuts of pork come from? Here is a graphic to help you out!
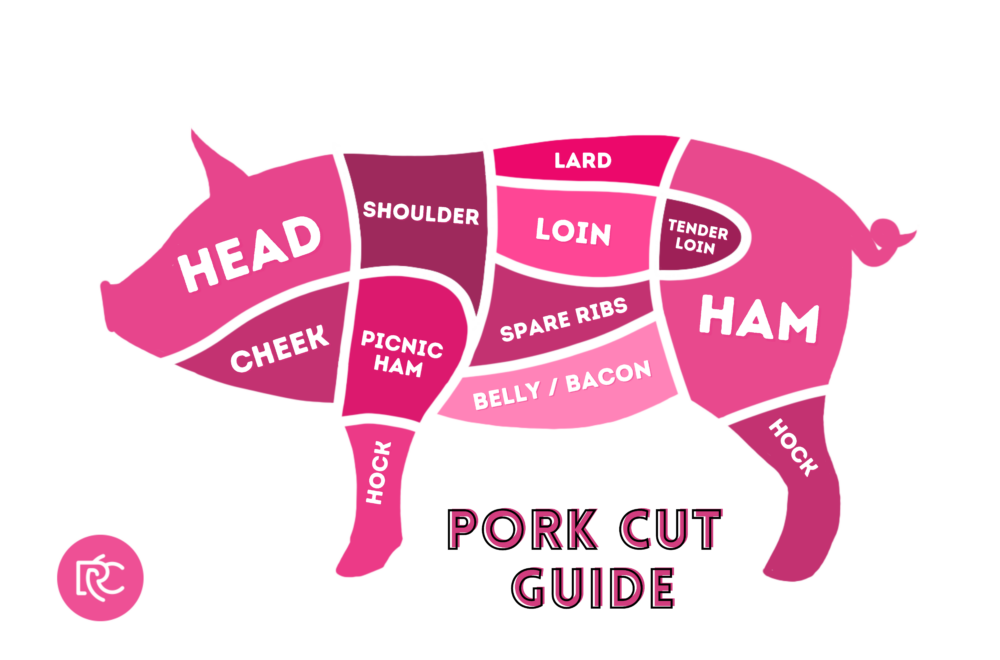
A photo of a pig and its type of cut.

The Best Grilled Tenderloin Tips

Follow these quick and easy tips for a tenderloin that is perfectly juicy and flavorful! Grilled pork tenderloin is the perfect way to enjoy the best summertime dinner!

  • Choosing a Pork Tenderloin: Look for pork tenderloins with consistent marbling throughout. This will ensure that they are soft and tender and retain moisture in the cooking process.
  • Pat Meat Dry: Always pat your meat dry before seasoning or adding the marinade. This helps the tenderloin become infused with flavor.
  • Remove Silver Skin: Most tenderloin comes prepared with the silver skin removed, but if your cut is covered with a whitish-gray film, that means it still has the silver skin (connective tissue) attached. Simply pull with your fingers and run a small knife under the skin to remove it. It is important not to skip this step because silver skin, when cooked, can make the outside of your tenderloin tough and leathery.
  • Be Careful Not to Overcook: Because of how lean tenderloin is, it can quickly become overcooked and dry. Be sure to check it often during the cooking process- you will know if it is done when it is mahogany to light brown in color with a soft pink inside, or the internal temperature is 145-150 degrees Fahrenheit.
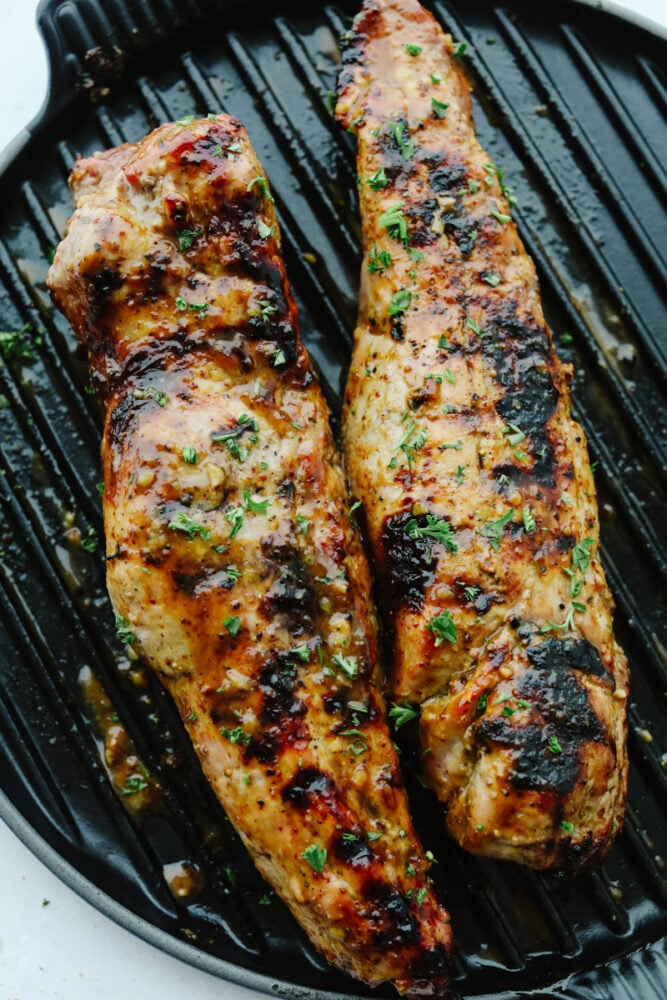
Honey Dijon Garlic Pork Tenderloin on grill.

What to Serve With Grilled Honey Dijon Garlic Pork Tenderloin

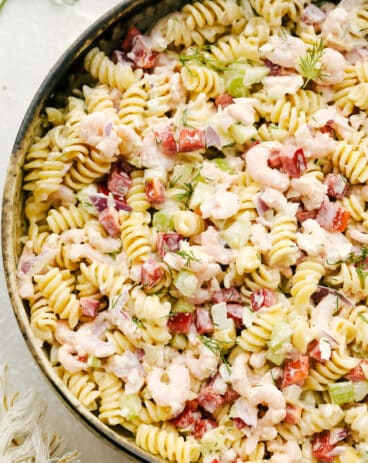
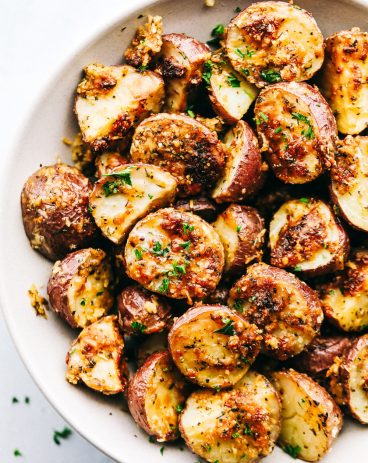
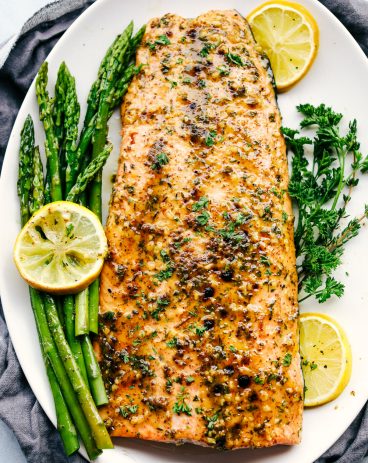
The flavors of Grilled Honey Dijon Garlic Pork Tenderloin pair perfectly with seasoned potatoes, green salads, and grilled vegetables. Because the flavor of the tenderloin is more savory and tangy, I also like pairing it with a pasta salad for a light flavor contrast. Serve with roasted cauliflower for a healthy, crispy side!

Storing Leftover Grilled Pork Tenderloin

Keep your leftover Grilled Honey Dijon Garlic Pork Tenderloin for a healthy weeknight meal that you can quickly reheat!

  • In the Refrigerator: Wrap your pork tenderloin tightly with either plastic wrap or tin foil. It will last for up to 4 days.
  • In the Freezer: Grilled tenderloin can be stored in a ziplock bag in the freezer for up to 3 months. Thaw overnight in the fridge before reheating.
  • To Reheat: The best way to reheat grilled pork tenderloin is on the stove over low to medium heat, covered. This will keep the inside of your pork tenderloin delicious and juicy! Cook for 10-15 minutes, turning halfway.
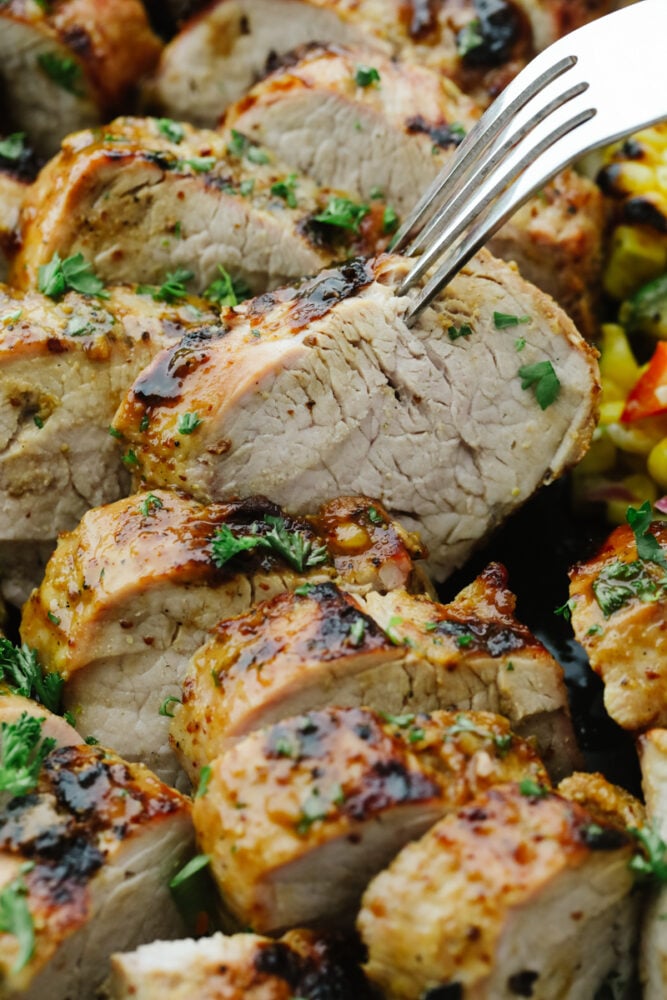
Grilled Honey Dijon Garlic Pork Tenderloin, sliced.
Print

Grilled Honey Dijon Garlic Pork Tenderloin

Grilled Honey Dijon Garlic Pork Tenderloin is juicy, tangy, flavorful, and cooks up quickly and easily. With a dish this healthy and delicious, you will love having it in your weekly dinner lineup!
Course Dinner, Main Course
Cuisine American
Keyword grilled pork tenderloin, pork tenderloin
Servings 4 people
Calories 432kcal
Author Alyssa Rivers

Ingredients

  • 2 pounds pork tenderloin
  • salt and pepper
  • 1/4 cup olive oil
  • 2 Tablespoons Dijon Mustard
  • 2 Tablespoons Honey
  • 3 Garlic Cloves minced
  • fresh parsley for garnish

Instructions

  • Trim the fat from the pork and salt and pepper the pork tenderloin. In a small bowl whisk together olive oil, dijon mustard, honey, and garlic. Brush half of the sauce on the pork.
  • Preheat the grill to medium high heat. Add the pork to the grill. Cook for 5-6 minutes on each side or until the pork reaches an internal temperature of 145 degrees. Brush remaining glaze on top of pork and serve with chopped parsley if desired.

Nutrition

Calories: 432kcal | Carbohydrates: 10g | Protein: 47g | Fat: 22g | Saturated Fat: 5g | Polyunsaturated Fat: 3g | Monounsaturated Fat: 13g | Trans Fat: 1g | Cholesterol: 147mg | Sodium: 204mg | Potassium: 916mg | Fiber: 1g | Sugar: 9g | Vitamin A: 10IU | Vitamin C: 1mg | Calcium: 23mg | Iron: 2mg


from The Recipe Critic https://ift.tt/36hlhhi
https://ift.tt/2TEWYXU
सोमवार, 5 जुलाई 2021

S’mores Dip

S’mores Dip is an easy way to get all the ooey gooey goodness from a s’more without the roasting! This is such a fun sweet treat that everyone can enjoy without building a hot fire.

Everyone loves a good dip, they are easy and absolutely delicious. You have to try these incredible dips, Ranch, Rotel, and Jalapeno Popper dip.

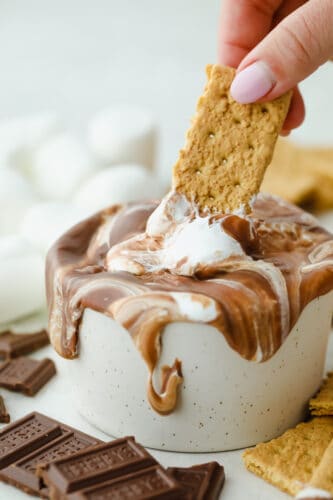
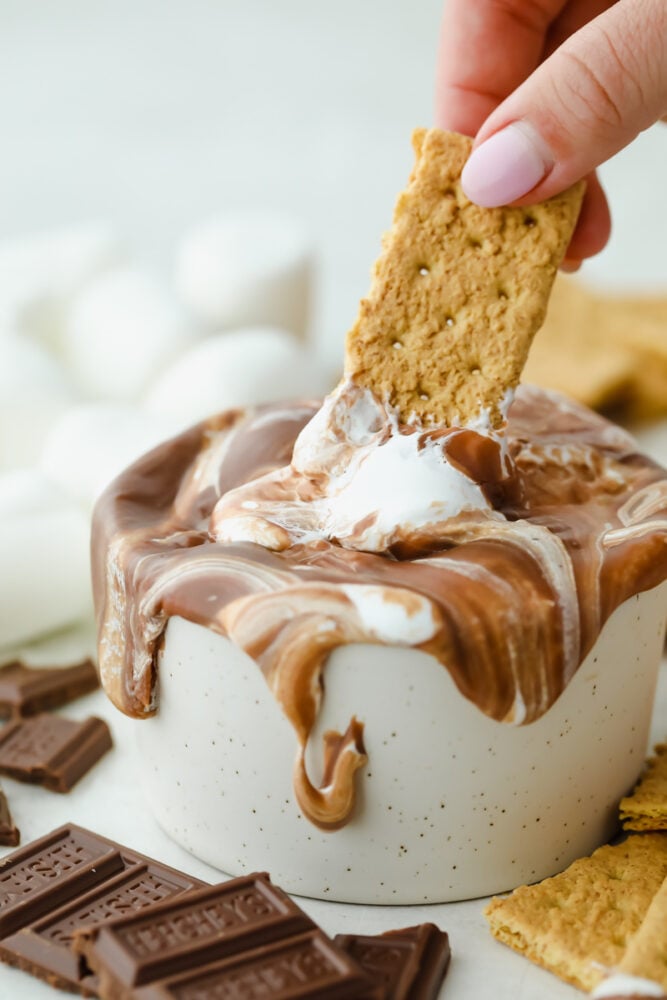
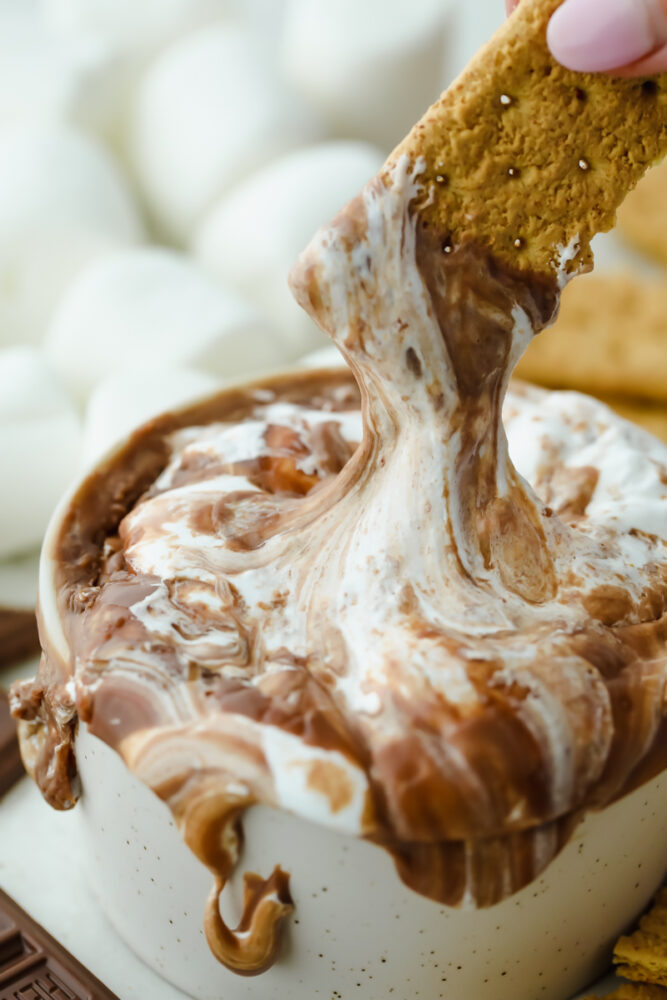
A graham cracker dipping into s'more dip.

Easy S’mores Dip

I love anything that has sweetened condensed milk in it. I lick the spoon every time. Is that weird? I knew this dip was going to be good but I wasn’t expecting it to be so good that I and my boys couldn’t stop eating it. S’mores totally remind me of camping and make me think back to all of the fun camping outings that I have had with my family. I love this dip because you can get that same amazing s’more taste without having to roast a marshmallow. It was amazing! It tasted like the inside of a s’more without all of the hard work!

S’mores are a combination of flavors that are absolutely divine. The sweet chocolate, fluffy marshmallow, and crunchy graham cracker all together are heavenly. It is a flavor that floods the mind with memories of being with loved ones around a campfire. I love recreating it in this dip as well as in these tried and true recipes, S’more To Die for Bars, No-Bake S’more pie, and S’more Fudge Pops!

Ingredients for S’mores Dip

This was a quick and easy recipe to put together and we absolutely loved it. Even the picky one so I am convinced that everyone will love it! For all ingredient measurements, see the recipe card below.

  • Sweetened condensed milk: Thick and sweet, you can find this next to the evaporated milk in the baking aisle of your store.
  • Chocolate chips:: Milk chocolate or semi-sweet will both work.
  • Marshmallow cream: Look for this in the baking aisle near the marshmallows.
  • Graham crackers: Definitely the way to go but check below for other options.

How to Make S’mores Dip in the Microwave

Quick and easy you will want to serve s’more dip warm. It will get harder to scoop as it cools.

  • Melt: In a microwave-safe bowl, melt the sweet and condensed milk and chocolate chips together stirring every 30 seconds.
  • Microwave: Once melted, add the ½ cup marshmallow cream by spoonfuls and put in the microwave for another 20 seconds until the marshmallow is softened and swirl the marshmallow cream throughout creating a marbled look.
  • Serve: Serve immediately with graham crackers and enjoy!
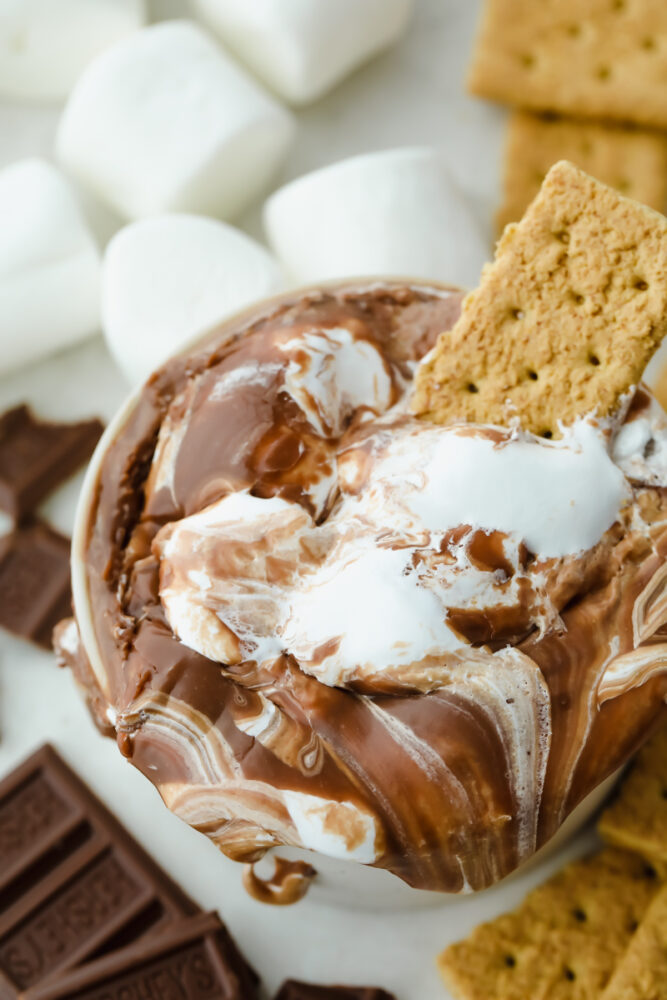
A graham cracker sittin g a pot of s'more dip.

The Best S’more Dip Tips

Sweet, chocolate and ooey and gooey, the perfect combination without the mess.

  • Marshmallow Creme: This is different than marshmallow fluff, which you can use as well, but it will give you a different consistency. Marshmallow creme will create a smooth decadent texture. Fluff can be a bit more grainy.
  • Can I use Marshmallows? I would not recommend substituting Marshmallows for the creme. It will not be smooth but gloopy and hard to dip.
  • Chocolate: Use whatever kind of chocolate you love best. You can use milk chocolate, semi-sweet, or even dark chocolate if you desire.
  • Serve Immediately: This is a dip you really shouldn’t make ahead of time, Make and serve right away for the best results. If you have leftovers they can be stored in an airtight container for 2 days. Warm in the microwave and stir before serving.
A graham cracker dipping into the chocolate and marshmallow.

Dipper Variations

Graham Crackers are not the only thing you can dip in this luscious s’more dip.

  • Fruit: Think apple slices, strawberries, bananas, blackberries even pineapple would taste good.
  • Crackers and Cookies: Oreos, peanut butter cookies, shortbread cookies, Vanilla Wafers, Biscoff, and good old chocolate chip cookies will work in this dip.
  • Salty: Sweet and salty just go together, try pretzels, potato chips, the thick wavy kind work best, and Ritz Crackers all taste amazing.
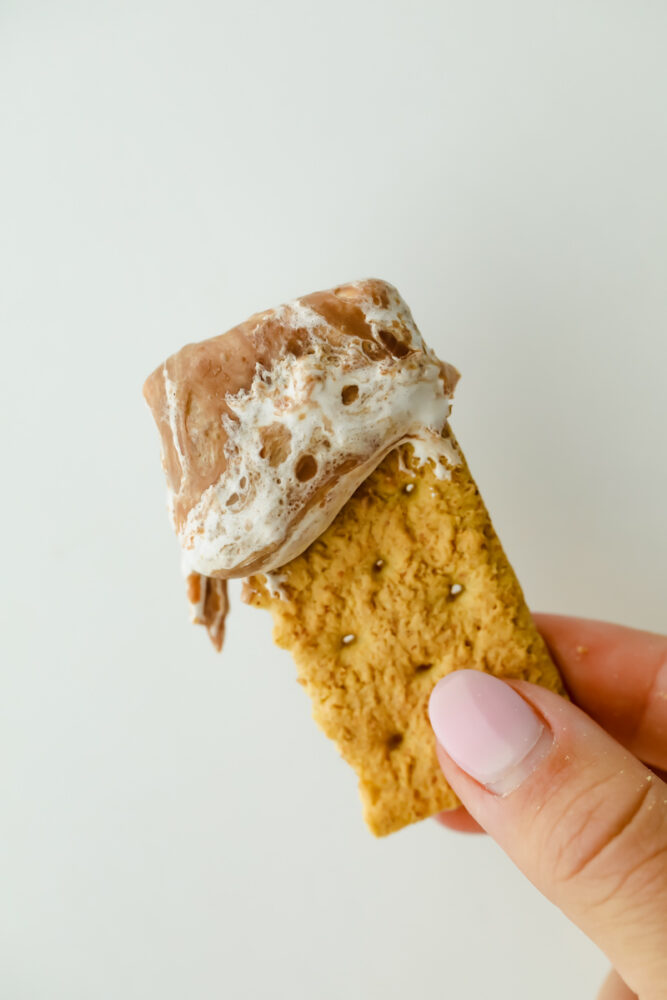
A bit of graham cracker with the s'more dip on it.
Print

S’mores Dip

S'mores Dip is an easy way to get all the ooey gooey goodness from a s'more without the roasting! This is such a fun sweet treat that everyone can enjoy without building a hot fire.
Course Appetizer, Dessert
Cuisine American
Keyword s’mores dip
Prep Time 10 minutes
Total Time 10 minutes
Servings 10 Servings
Calories 282kcal
Author Alyssa Rivers

Ingredients

  • 1 can sweetened condensed milk 14 oz.
  • 1 1/2 cup chocolate chips
  • 1/2 cup marshmallow cream
  • graham crackers for serving

Instructions

  • In a microwave safe bowl, melt the sweet and condensed milk and chocolate chips together stirring every 30 seconds.
  • Once melted, add the ½ cup marshmallow cream by spoonfuls and put in the microwave for another 20 seconds until the marshmallow is softened and swirl the marshmallow cream throughout creating a marbled look.
  • Serve immediately with graham crackers and enjoy!

Notes

Updated on July 5, 2021
Originally Posted on May 1, 2013

Nutrition

Calories: 282kcal | Carbohydrates: 45g | Protein: 4g | Fat: 10g | Saturated Fat: 6g | Cholesterol: 18mg | Sodium: 69mg | Potassium: 147mg | Fiber: 1g | Sugar: 42g | Vitamin A: 166IU | Vitamin C: 1mg | Calcium: 144mg | Iron: 1mg
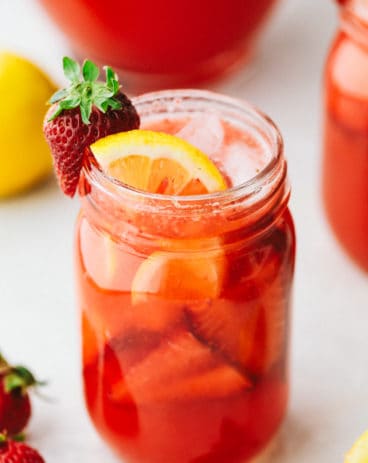

from The Recipe Critic https://ift.tt/3dI8usk
https://ift.tt/2V9imF7

Brownie Cookies

Brownie cookies are the chewy, fudgy treat that you are not going to be able to get enough of. A combination of two of my favorite desserts, you won’t believe how ooey gooey and perfect these are!

Calling all chocolate lovers! It is time to get your fix. I know you will love these cookies as well as some of my other tried and true chocolate desserts: brownies, lasagna, and pie.

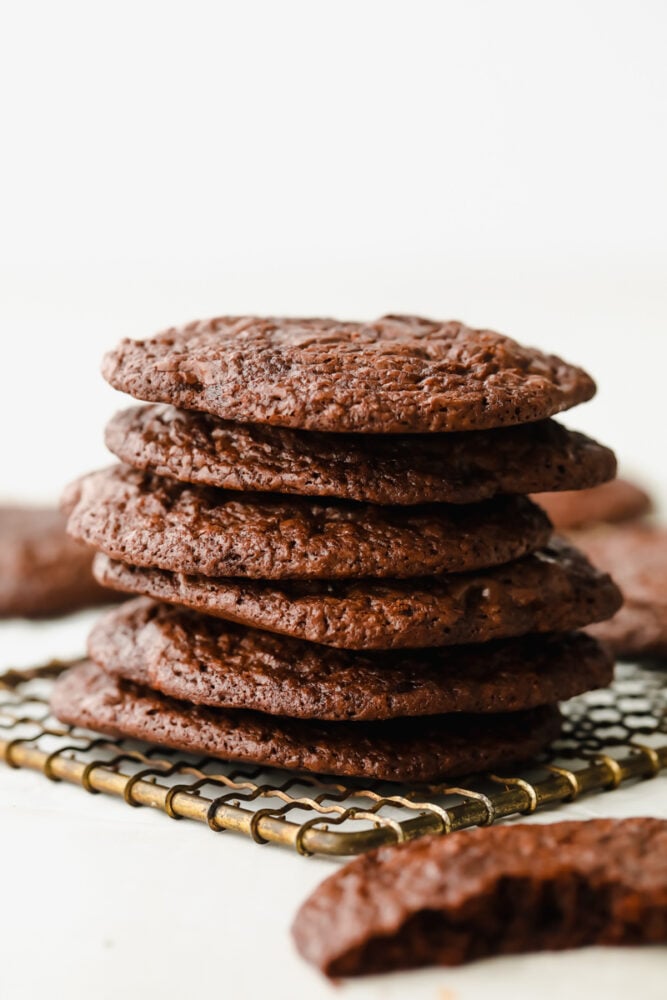
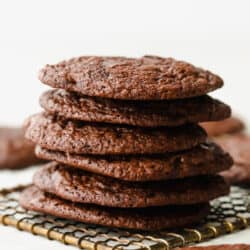
Stack of brownie cookies.

Not sure whether you want a rich, fudgy brownie or a warm, baked cookie? Well, have I got the dessert for you. This Brownie Cookie recipe is a chocolate lover’s dream. You don’t have to make a trip to the store for a box of brownies anymore, with just a few staples already in your pantry, you can put a fresh batch of these bad boys together. Whether it’s for a party dessert or those late-night cravings, this is the perfect indulgent treat to satisfy your sweet tooth.

My family has loved having these around. If they last long enough, which they usually don’t, they are my favorite Netflix binge treat- warmed up with a scoop of ice cream. The moist, fudgy center of these cookies with a slightly crispy, perfectly baked outer layer is so irresistible. All you have to do is pull out a few basic ingredients from your pantry, mix everything together, and bake!

What You Need to Make Brownie Cookies

You will probably already have a lot of these ingredients which is the best part of this recipe! For all of the ingredient measurements, see below in the recipe card.

  • Butter: Unsalted, melted.
  • Vegetable Oil: Makes your cookies moist.
  • Granulated Sugar: For sweetness.
  • Eggs: To bind ingredients together.
  • Vanilla Extract: For flavor. I have found that pure vanilla extract works best.
  • All-Purpose Flour: For cookie structure. Avoid flour with high protein content or your cookies will turn out too dense. I like using all-purpose flour to keep them light and fluffy.
  • Salt: To enhance flavor.
  • Baking Powder: Keeps your cookies light and fluffy.
  • Cocoa Powder: For a delicious, chocolatey base.
  • Dark Cocoa Powder: Adds the perfect fudgy flavor.
  • Chocolate Chips: For melty, amazing texture. You can also substitute with chocolate chunks.
  • Flaky Salt: Optional, for an added sweet and salty element.

Homemade Brownie Cookies Instructions

With just a few simple instructions, you too can have a soft, chewy cookie in your mouth! These are the best brownie cookies that you will make!

  1. Preheat: Preheat oven to 350°.
  2. Mix Wet Ingredients: In a medium bowl, whisk together butter, oil and sugar until well combined. Add in the eggs and vanilla and whisk until combined.
  3. Mix Dry Ingredients: In another bowl, sift together the flour, salt, baking powder, and cocoa powder. Gently mix the dry ingredients into the wet ingredients and mix until just combined. Gently stir in chocolate chips.
  4. Form Cookies: Using a medium cookie scoop that has been lightly sprayed with cooking spray, scoop cookies onto a cookie sheet lined with parchment paper. Keep them spaced about 2 inches between each cookie. If you’d like, top with more chocolate chips or flakey salt.
  5. Bake: Bake for 13-15 minutes. Allow to cool on the pan for 5 minutes before removing to a cooling rack to finish cooling.
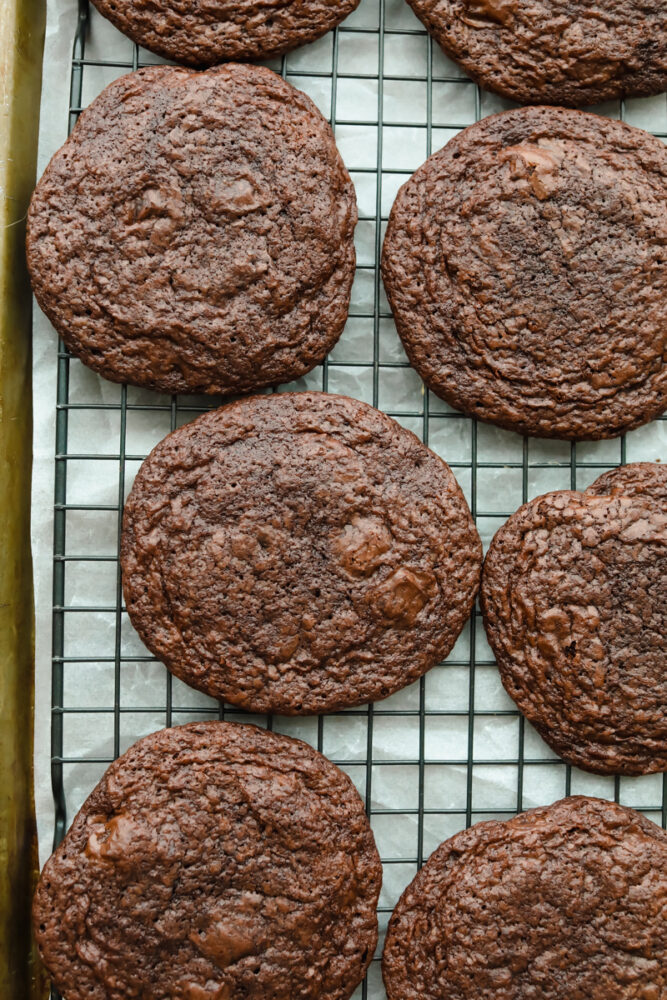
Baked brownie cookies on baking sheet.

What to Serve With Your Brownie Cookies

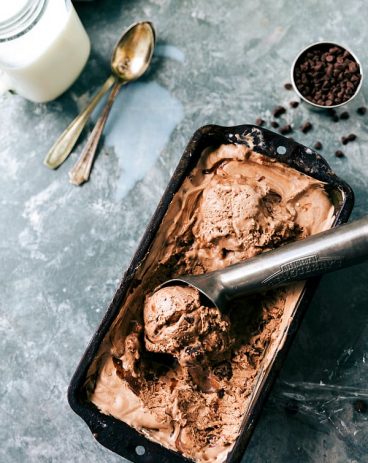
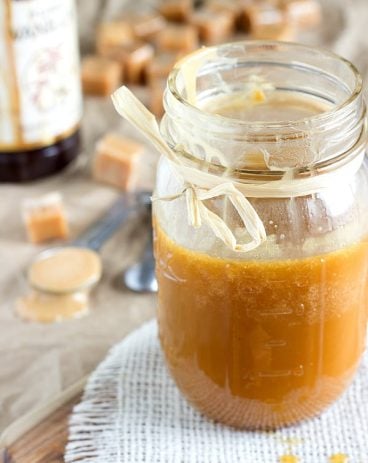
My favorite way to eat Brownie Cookies is a la mode. Try vanilla, keto coconut, or even brownie batter ice cream for a double chocolate treat! Top it with fudge or homemade salted caramel sauce for a delectable sundae. You can also keep it simple and serve alongside a glass of milk since they taste so amazing on their own.

Storing Leftover Brownie Cookies

These are best stored covered with plastic wrap at room temperature and should be consumed within 2 days. If you want that fresh-out-of-the-oven taste, pop leftover Brownie Cookies in the microwave for 10-20 seconds and serve.

  • In the Freezer: Freeze Brownie Cookie dough balls in a ziplock bag. They will keep for up to 4 months.
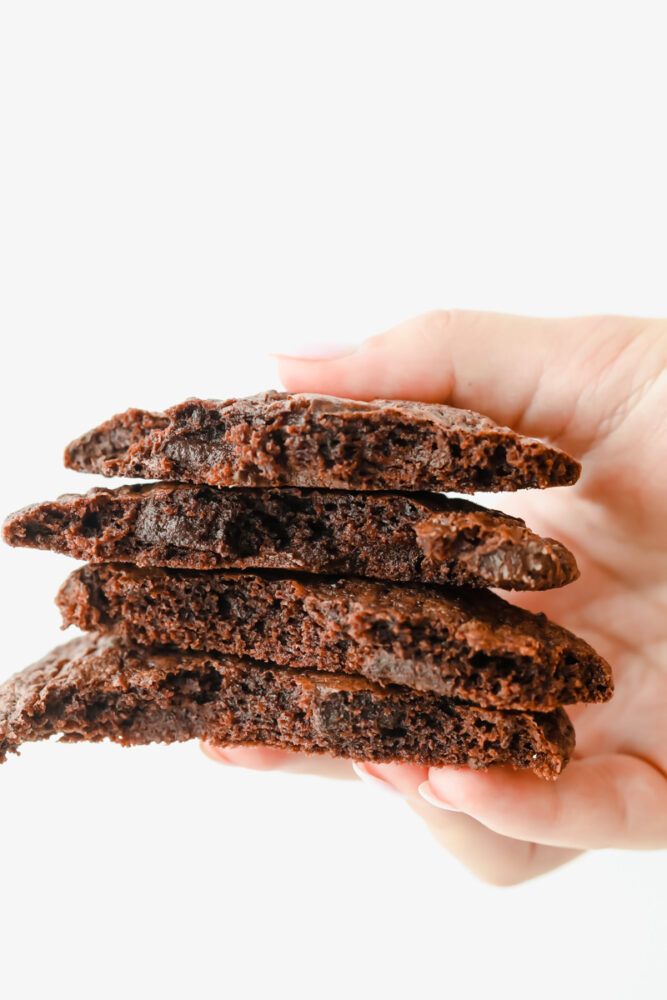
Stack of 4 brownie cookies.

Tips for Making the Best Brownie Cookies

Brownie Cookies are scrumptious as is, but use these easy tips to make them taste even better!

  • Adding Toppings: Customize your cookies like you would a brownie by adding things like nuts, mini marshmallows, caramel, peanut butter chips, and candy pieces to your batter.
  • Using Too Much Flour: Make sure to measure out your flour. Adding too much will leave you with dense, dry Brownie Cookies.
  • Mixing Your Batter: Mix your wet and dry ingredients until completely smooth to get a perfect, fudgy result.
  • Using High-Quality Chocolate: Using high-quality chocolate and cocoa powder can really make a difference in how your Brownie Cookies turn out. If your cocoa has a high cocoa content, the stronger the flavor will be. A lot of bakers swear by Dutch cocoa powder- Ghiradelli and Valrhona are some of my favorites.
  • Don’t Overbake: Cooking your Brownie Cookies for too long takes away from their fudginess, so make sure to keep an eye on them and only cook for the specified time.
  • Let Brownie Cookies Cool: Make sure you let your Brownie Cookies cool before serving. If you serve them too soon, they will fall apart and not have that perfect fudgy center.
Print

Brownie Cookies

Brownie cookies are the chewy, fudgy treat that you are not going to be able to get enough of. A combination of two of my favorite desserts, you won't believe how ooey gooey and perfect these are!
Course Dessert
Cuisine American
Keyword brownie cookies, brownie mix cookies
Prep Time 15 minutes
Cook Time 15 minutes
Total Time 30 minutes
Servings 10 Cookies
Calories 227kcal
Author Alyssa Rivers

Ingredients

  • 1/2 cup unsalted butter melted
  • 1 Tablespoon vegetable oil
  • 1 cup granulated sugar
  • 2 large eggs
  • 1 teaspoon vanilla extract
  • ¾ cup all purpose flour
  • 1/2 teaspoon salt
  • 1/2 teaspoon baking powder
  • cup Cocoa Powder
  • 2 Tablespoon Dark cocoa powder (I used Hershey’s special dark cocoa powder)
  • 4 ounces chocolate chips or chunks
  • Flakey salt optional

Instructions

  • Preheat oven to 350°.
  • In a medium bowl, whisk together butter, oil and sugar until well combined. Add in the eggs and vanilla and whisk until combined.
  • In another bowl, sift together the flour, salt, baking powder, and cocoa powder. Gently mix the dry ingredients into the wet ingredients and mix until just combined. Gently stir in chocolate chips.
  • Using a medium cookie scoop that has been lightly sprayed with cooking spray, scoop cookies onto a cookie sheet lined with parchment paper. Keep them spaced about 2 inches between each cookie. If you’d like, top with more chocolate chips or flakey salt.
  • Bake for 13-15 minutes. Allow to cool on the pan for 5 minutes before removing to a cooling rack to finish cooling.

Nutrition

Calories: 227kcal | Carbohydrates: 29g | Protein: 3g | Fat: 12g | Saturated Fat: 8g | Polyunsaturated Fat: 1g | Monounsaturated Fat: 3g | Trans Fat: 1g | Cholesterol: 62mg | Sodium: 133mg | Potassium: 91mg | Fiber: 1g | Sugar: 20g | Vitamin A: 338IU | Calcium: 22mg | Iron: 1mg


from The Recipe Critic https://ift.tt/3hh68mw
https://ift.tt/3ykIBqo

रविवार, 4 जुलाई 2021

Mango Smoothie

Mango Smoothie is a cool refreshing summertime treat you are going to love! Sweetened with banana and honey, this is summer in a glass!

Smoothies are a great way to beat the heat and get a bit more fruit in your diet. Try these tried and true favorites today, Raspberry Peach, Mixed Berry, and Peanut Butter Banana Smoothie.

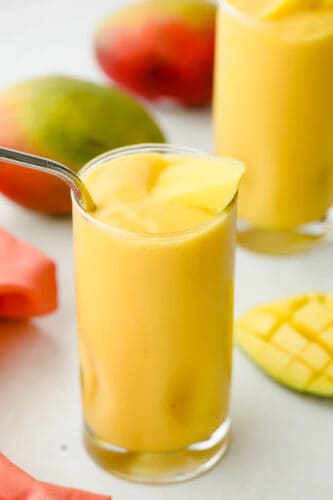
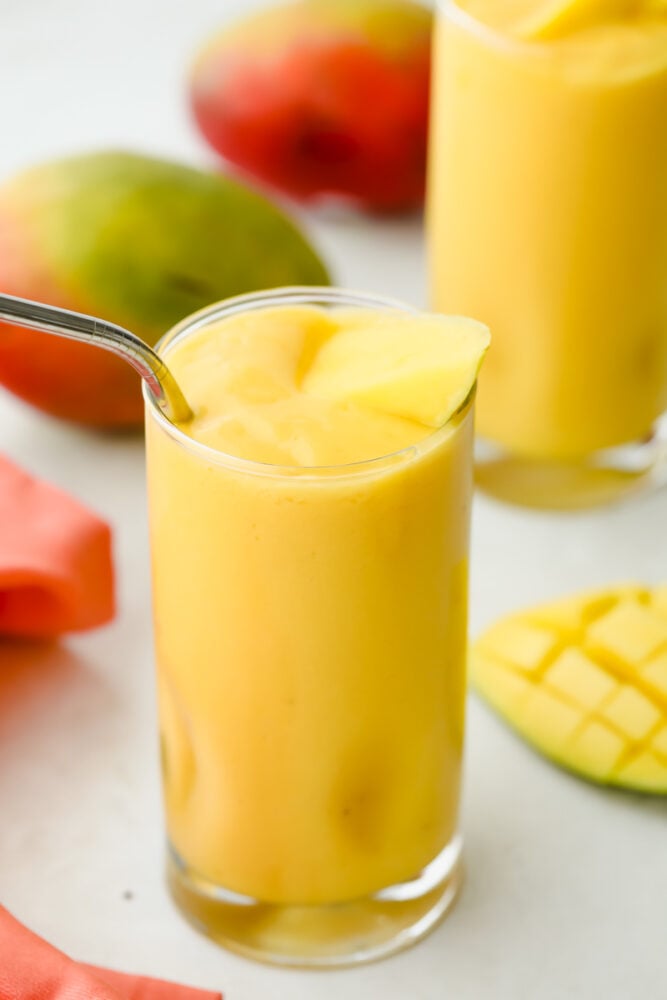
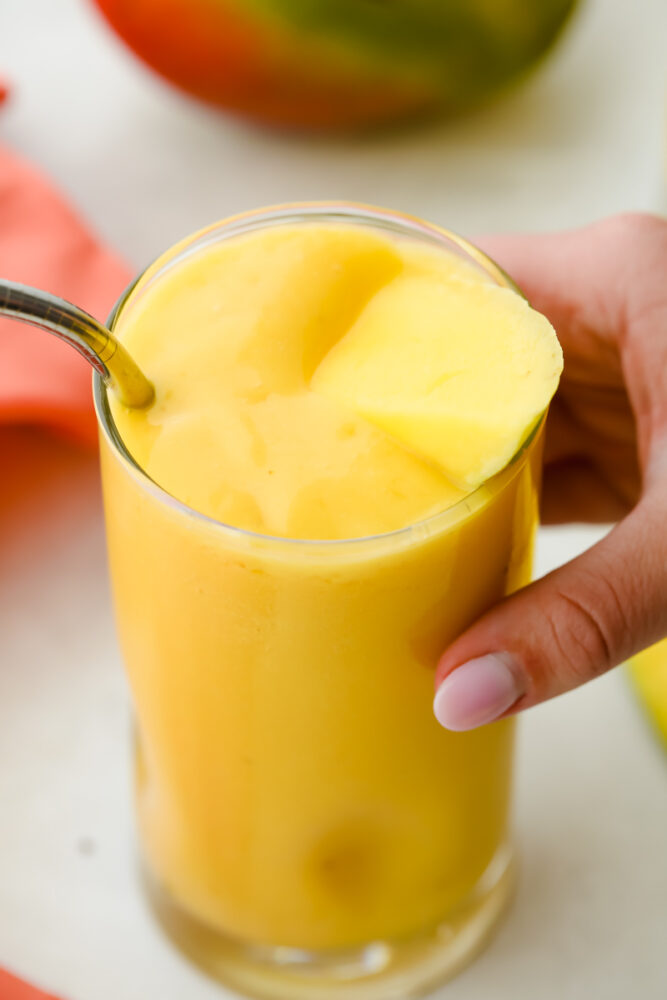
Mango smoothie in a glass with a straw.

Mango Smoothie Recipe

This mango smoothie is going to knock your taste buds right into refreshing bliss! Smoothies are always a go to for our family in the summer. They are filling, full of fresh wholesome and nutritious ingredients. And they are so exhilarating on a hot summer day. And the best part is how easy these are to make and customizable. You can add and tweak ingredients just to how your family loves it.

They can also be a wonderful quick meal. I love turning my smoothie recipes like my Avocolada into luscious smoothie bowls. Just like my Strawberry and Peanut Butter Banana Smoothie bowls, you can easily turn this mango smoothie into a bowl as well. With the heat still coming on strong this summer, you have to try this impeccably perfect, creamy, and smooth Mango smoothie.

What You Need For a Sweet Mango Smoothie

Mango smoothie is easy on ingredients and so easy to make! For all measurements to the ingredients, see below in the recipe card.

  • Frozen mango: Look for frozen mango near the frozen fruit.
  • Frozen banana: Freeze your own bananas and always have them ready to go.
  • Mango juice: If you can’t find mango juice in your juice aisle, check the refrigerated juice and even frozen juice.
  • Honey: This adds a nice natural sweetness that is perfect with the mango.
  • Ice: This will help make it good and cold and thicken it too.

How to Make Your Smoothie with Fresh Fruit

If you have a blender or even an immersion blender you can make this easy and quick smoothie. Blend all ingredients together in a blender until smooth.

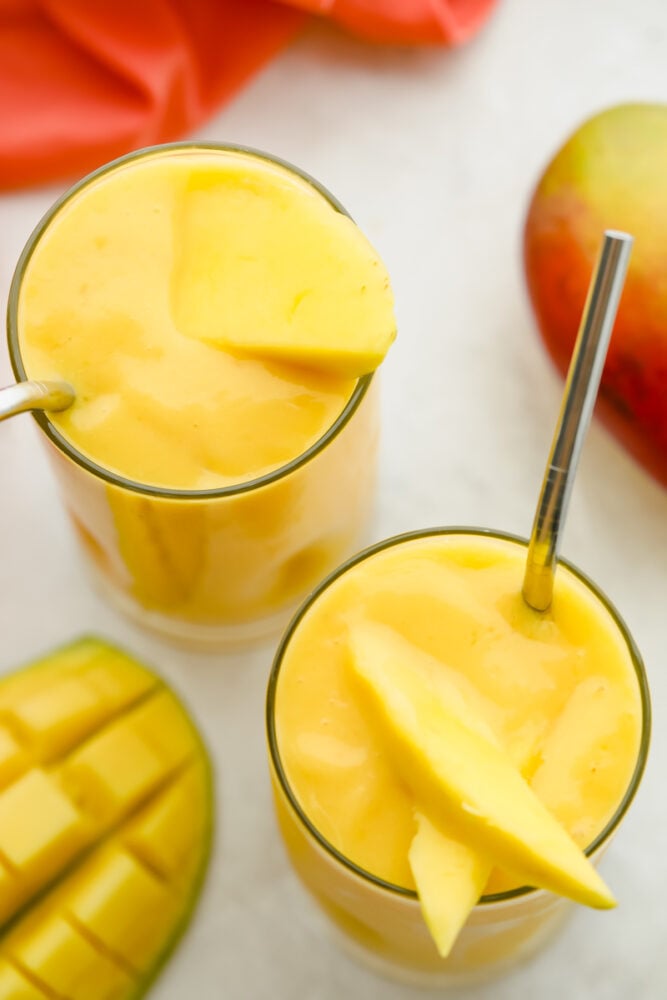
Top of view of a thick creamy smoothie garnished with fresh mango.

How to Cut a Mango

There are two foolproof ways to cut a mango. Use them both to get the most out of your mangos. This mango smoothie recipe will go great with fresh Mangos so grab them and use them while you can.

  • Knife: You start by cutting the mango “cheeks” or domed sides off of the pit, which runs down the middle. The pit is large and flat so you will know if you hit it. Try to get as close to the pit as possible. Once you cut off the two sides hold the mango in your palm or on a cutting board. Slice the mango lengthwise and then again perpendicularly to make cubes, without slicing through the skin. Gently press the skin to invert the fruit and slice the cubes away from the skin. Repeat with the other half. Trim the rest of the skin away from the seed and cut as much of the remaining fruit from the seed as possible.
  • Glass: Again start by cutting off the domed parts of the mango so you have two halves. Using a large sturdy glass, place the edge of the fruit against the rim of the glass. With a bit of pressure push the mango down the side of the glass to peel it. You should end up with a large piece of just skin in your hand and a large chunk of fruit in the glass. Cube the fruit or leave it whole to add to your smoothie.

Tips and Variations for Your Mango Smoothie

The possibilities are endless! Try these tips and variations for the best mango smoothie you have ever had!

  • Mango: You can use fresh or frozen for this recipe and both are awesome. Using frozen will allow you to have a mango smoothie year-round!
  • Juice Swaps: If you can’t find Mango juice you can swap it out for orange or pineapple juice instead. If you want to add dairy you can also use milk, almond milk, or other milk of choice instead too.
  • Honey: If you find your mango and bananas sweet enough you can omit the honey altogether. You can also use sugar or maple syrup instead of honey or another sweetener of choice.
  • Bananas: I freeze overripe bananas all the time by peeling them and freezing them in a gallon ziptop freezer-safe bag. Perfect for when I need bananas for smoothies or even banana bread!
  • Add-Ins: You can make this smoothie your own by adding in all sorts of different ingredients. Add in a heaping scoop of yogurt for a dairy boost. Add in protein powder or nut butter to amp up the protein. Try adding frozen pineapple, strawberries, or raspberries for a delightful twist. You can also add spinach, chia seeds, or flaxseed meal for a nutritional boost.
Picking up the glass of mango smoothie getting ready to drink.
Print

Mango Smoothie

Mango Smoothie is a cool refreshing summertime treat you are going to love! Sweetened with banana and honey, this is summer in a glass!
Course Beverage
Cuisine American
Keyword mango smoothie, mango smoothie recipe
Prep Time 10 minutes
Total Time 10 minutes
Servings 4 servings
Calories 141kcal
Author Alyssa Rivers

Ingredients

  • 4 cups frozen mango
  • 1 medium frozen banana
  • 2 cups mango juice
  • 1 Tablespoon honey
  • 2 cups ice

Instructions

  • Blend all ingredients together in a blender until smooth.

Nutrition

Calories: 141kcal | Carbohydrates: 36g | Protein: 2g | Fat: 1g | Saturated Fat: 1g | Polyunsaturated Fat: 1g | Monounsaturated Fat: 1g | Sodium: 8mg | Potassium: 386mg | Fiber: 3g | Sugar: 30g | Vitamin A: 1804IU | Vitamin C: 63mg | Calcium: 23mg | Iron: 1mg


from The Recipe Critic https://ift.tt/3Aodzjc
https://ift.tt/3xkEri0