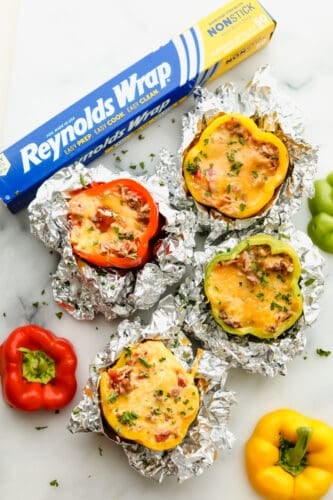
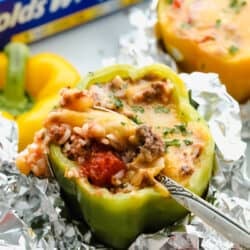
Stuffed bell peppers are filled with lean ground beef, rice, tomatoes, and the perfect blend of seasonings, all topped with shredded cheese. Using Reynolds Wrap® Non-Stick Foil helps hold the pepper and stuffing together, and ensures a flavorful meal with no mess. Using non-stick foil for this recipe as none of the food sticks while being grilled. Individually wrapped peppers make a colorful and delicious dinner with a beef combination full of taste.
Grilling is the time of the season and these stuffed peppers get the best flavor on the grill. Try these slow cooker, air fryer, or oven-baked stuffed peppers.

Grilled Stuffed Bell Peppers Recipe
Grilling is a summertime favorite way to prepare a meal. These stuffed bell peppers are going to be a colorful hit this summer. We love the flavor combination in these easy-to-make stuffed bell peppers. The color is perfect for brightness and creates so much flavor inside the bell pepper. Using a bell pepper, simply cut the top off, hollow out the inside, and stuff with the bell pepper stuffing. It is the perfect combination! The bell pepper slowly cooks on the grill and becomes soft and tender while still cooking the inside beef stuffing. I use Reynolds Wrap® Non-Stick foil to help hold the pepper and stuffing together, and cook it from the inside, out. This helps prevent the food from sticking while being grilled.
Thanks to Reynolds Wrap® Non Stick Foil, the extra protection helps cook the bell peppers perfectly, making these grilled stuffed peppers the perfect dinner everyone is going to love. Multi-color added nutrition and loaded with ground beef, tomatoes, rice, and seasoning mixture all topped with cheese melted over top, these bell peppers are a hit this grilling season. The peppers are perfectly tender and can easily be sliced and mixed together with the meat mixture. This grilling favorite is going to be a summertime staple and it’s super easy to clean up!

Stuffing Bell Peppers
Grilled stuffed bell peppers are so simple to make and put together. It is a great main dish filled with all the nutrients you need. Find all the ingredient measurements below in the recipe card.
- Bell Peppers: Using a knife and spoon, carefully hollow out the inside of the bell peppers.
- Reynolds Wrap® Non-Stick Foil: Use the shiny side of the foil facing out to cover the bell peppers individually, place the pepper on the dull side, that’s the non-stick side.
- Olive oil: Coating your skillet to add flavor and cook your ground beef and onions in.
- Onion: Dice up onions to your liking and sauté them in the olive oil.
- Ground beef: Use lean ground beef to have less grease left over. Drain the beef if needed.
- Tomatoes: Fresh tomatoes are best. If you are in a hurry, just add a can of tomatoes.
- Tomato sauce: Make your own or add in a can of tomato sauce in the skillet.
- Rice: The rice is best old and already cooked.
- Italian Seasoning: Homemade seasoning is easy to make and keep on hand.
- Garlic powder: Adds a hint of flavor to the stuffing mixture.
- Salt and pepper: A pinch for taste while it is grilling.
- Cheese: Pick from cheddar cheese or Mexican blend to shred and add to the top of the bell peppers.
How to Make Grilled Stuffed Bell Peppers
In five easy steps, these stuffed bell peppers grill up perfectly and are ready for dinner in under 30 minutes. These grilled bell peppers are tender and juicy adding the perfect texture to the stuffing. Together these bell peppers are tender and delicious in every bite!
- Prepare Peppers: To prepare the peppers, slice the tops off and remove any veins or seeds inside. In a medium sized saucepan over medium high heat add the olive oil and onion. Next, cook until almost tender. Then, add in the ground beef and cook and crumble until no longer pink.
- Cooking the Stuffing: Add in the diced tomatoes, tomato sauce, rice, Italian seasoning, garlic powder, and salt and pepper.
- Wrapping Peppers: Lay a sheet of Reynolds Wrap® Non-Stick Foil on the bottom of each pepper with the dull side facing up, that’s the dull side.
- Stuffing the Peppers: Stuff the peppers with the mixture and top with cheese. Fold up each side of the aluminum foil and wrap the pepper.
- Grilling Stuffed Peppers: Preheat the grill to 400 degrees. Lastly, place the foil-wrapped peppers on the grill and cook until the peppers start to soften and the cheese is melted for 25-30 minutes.

Reynolds Wrap® Non-Stick Foil
You can’t go wrong when using Reynolds Wrap® Foil. I have loved using their Reynolds Wrap® Non-Stick Foil for all my day-to-day recipes. Nothing sticks to it, and it makes cleanup super easy. It is perfect for grilling, baking, and even freezing leftovers and desserts. When we cook as a family, we are always using Reynolds Wrap® Foil when we are cooking. It is easy to line pans, cover, store and cook with, without leaving a mess behind.
- Food Won’t Stick: Use Non-stick foil when you are cooking cheesy or sticky foods.
- Non-Stick Coating: Food safe non-stick coating makes packets or lined pans to avoid sticking and is easy for cleanup.
- Easy Open and Close Box: The new packaging has a tab that keeps the box fully closed for storing after use and a new color-coded look making it easier to find the product in the aisle. Look for the yellow color for non-stick foil.
- Shiny Side: The non-stick side is the side with the dull or flat finish. The foil has been imprinted with the words “NON-STICK Side”. This will help indicate which side is non-stick,
- No need to grease: Reynolds Wrap® Non-Stick Foil will resist sticking to your favorite recipes. It can be used in all of your cooking, covering or freezing situations, without the need for grease or spray.
- Does it affect cooking time: No, using Reynolds Wrap® Non-Stick Foil will not affect the cooking time of your favorite recipes. It is best to pan line with Reynolds Wrap® Non-Stick Foil will cut down on your cleaning time!
- Grilling foil: Yes, Reynolds Wrap® Non-Stick Foil can take the high heat of the grill as well as the low temperatures of the freezer. It is safe at any temperature ranging from -40° F to 650° F. Reynolds Wrap® Non-Stick Foil is a versatile tool for grilling. Always use medium to medium-high heat on the grill. Always preheat the grill first. Place foil on the grill with the non-stick (dull) side toward food and add food immediately.

Variations of Grilled Bell Peppers
There are so many variations that you can choose to make the BEST stuffed peppers. These peppers can go from Mexican to Italian style in just a few variations of ingredients.
- Protein: Chicken, turkey, steak are all great feelers and bring on so many varieties of flavors.
- Rice: Brown rice, quinoa and white rice are all great add-ins.
- Taco Stuffed Peppers: Add taco seasoning, cilantro and add Mexican blend cheese and black beans.
- Vegetarian: Try it meatless by omitting the meat and adding in vegetarian meat crumbles an extra can of beans and stuffed peppers.
- Leftovers: Enjoy your leftovers cut up into small bite sized pieces, warm them up and enjoy them on top of salad or chips for nachos.

Tips for Easy Stuffed Bell Peppers
Learn how to cook the perfect stuffed bell peppers with these quick and easy tips. Reynolds Wrap® Non-Stick Foil is also the ideal option for oven use since it preserves the flavor of your foods while saving you time on messy cleanup. There is no need to spray or oil pans, just place food on the non-stick side (dull side) of the foil.
- Cooking ahead of time: You don’t need to cook your bell peppers ahead of time. They cook in about 2 to 3 minutes each.
- Cheese: You will want to make sure that your cheese is not moist like mozzarella or it will create a wet/watery topping.
- Bell peppers: Cut the peppers in half from the stem end down through the base. This will help them stand upright in the foil.
- Fork Tender: Once your peppers are soft enough that a fork can easily go into, the peppers are done being grilled.

How to Store Stuffed Bell Peppers
Stuffed peppers can be frozen and they are a great make-ahead meal! These are the best weeknight meals that are perfect for any family of all ages.
- Make ahead: You can prep them up to 1 day in advance, if going that route though I recommend boiling the topless peppers for 5 minutes first. Then stuff them with prepared filling and refrigerate. The following day let it rest at room temperature while the oven preheats. Increase baking time by about 10 minutes or so since they’ll be starting out cool.
- To store: Refrigerate peppers in an airtight storage container for 3 to 4 days
- Freezing: Freeze peppers in an airtight freezer-safe storage container for up to 3 months. Let thaw overnight in the refrigerator before reheating.

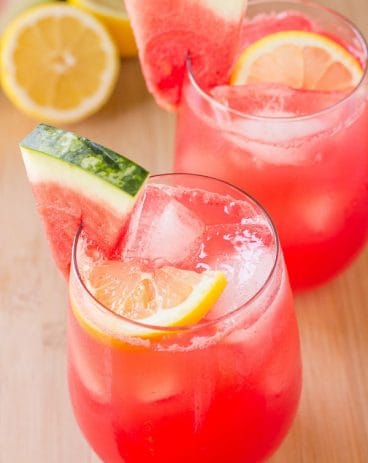
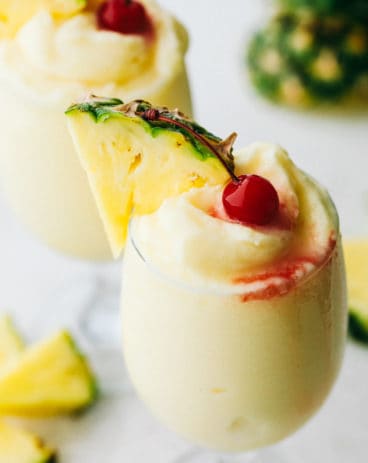
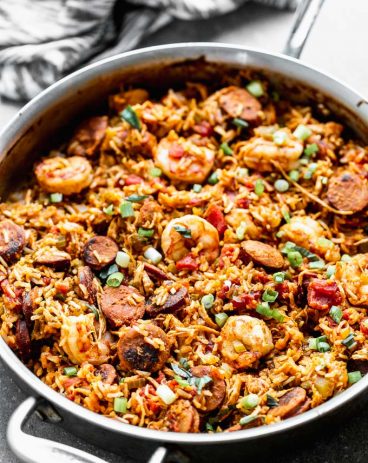
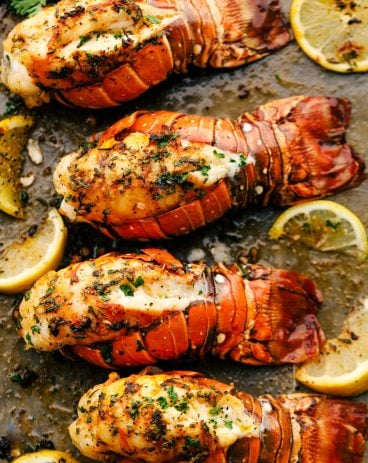
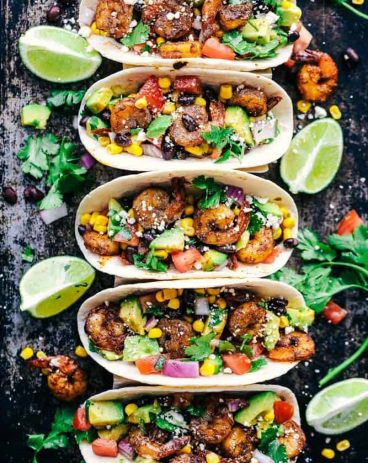
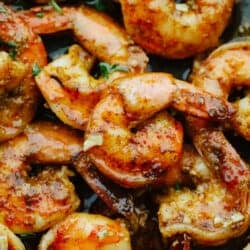
More Bell Pepper Recipes

Stuffed Bell Peppers
Ingredients
- 4 whole bell peppers
- Reynolds Wrap Non-Stick Aluminum Foil
- 1 tablespoon olive oil
- 1 small onion diced
- 1 pound lean ground beef
- 1 15 ounce can of diced tomatoes
- 1 8 ounce can of tomato sauce
- 2 cups rice cooked
- 1 Tablespoon Italian Seasoning
- 1 teaspoon garlic powder
- salt and pepper
- 2 cups Colby Jack cheese shredded
Instructions
-
To prepare the peppers, slice the tops off and remove any veins or seeds inside. In a medium-sized saucepan over medium-high heat add the olive oil and onion. Cook until almost tender. Add in the ground beef and cook and crumble until no longer pink.
-
Add in the diced tomatoes, tomato sauce, rice, Italian seasoning, garlic powder, and salt and pepper.
-
Lay a sheet of aluminum foil on the bottom of each pepper.
-
Stuff the peppers with the mixture and top with cheese. Fold up each side of the aluminum foil and wrap the pepper.
-
Preheat the grill to 400 degrees. Place the wrapped peppers on the grill and cook until the peppers start to soften and cheese is melted 25-30 minutes.
Nutrition
from The Recipe Critic https://ift.tt/3iQ7SE2
https://ift.tt/3AOlvcR