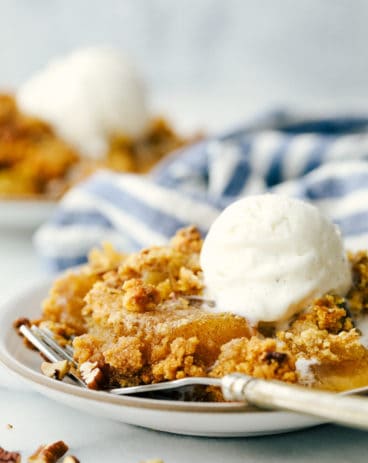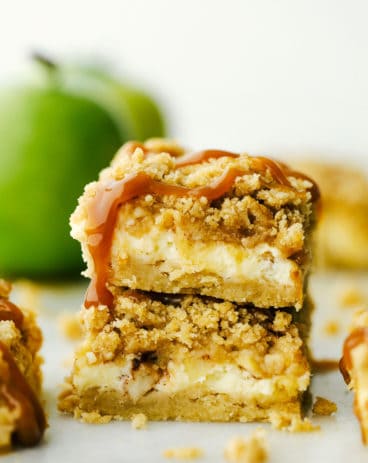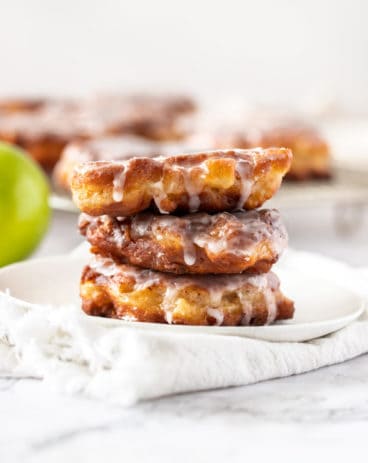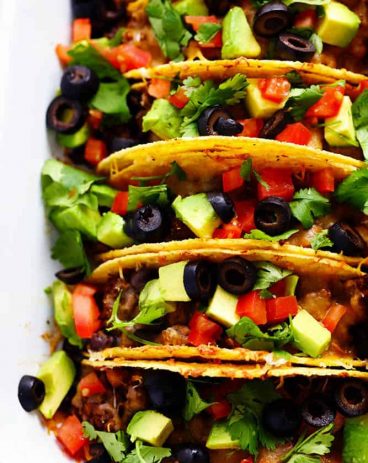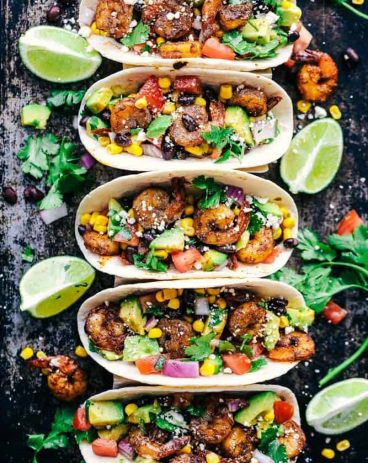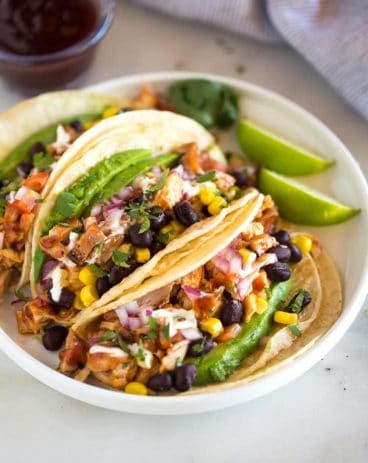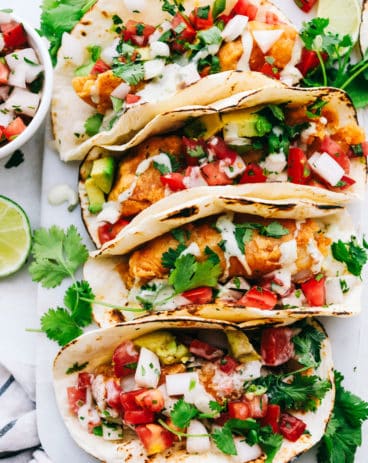
गुरुवार, 2 सितंबर 2021

Apple Galette

This apple galette recipe is perfect for satisfying an apple pie craving without the hassle! Warm apples, tossed with cinnamon and nutmeg, are folded into the perfect buttery crust in this easy dessert.

Tart, crisp, and sweet, apple is by far one of my favorite fruits to use in baking. I have been loving it in homemade pies, tarts, and cobblers. They are perfect for get-togethers and always a hit!
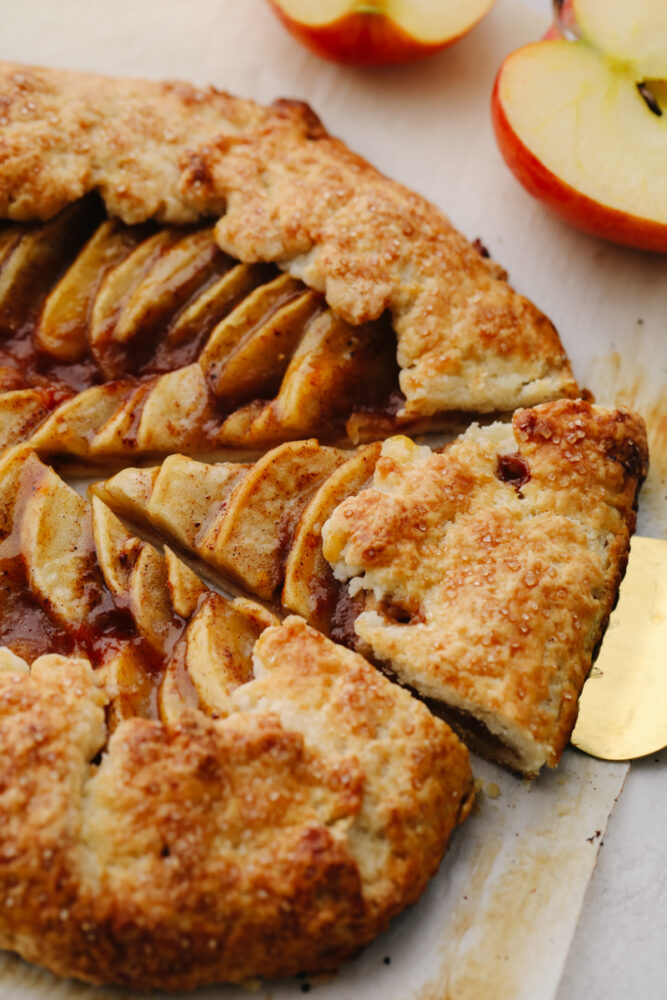
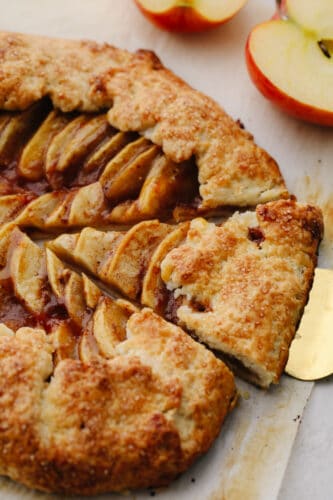
Taking a slice of apple galette.

Easy and Delicious Apple Galette Recipe

Apple pie has always been one of my all-time favorite desserts. But when a craving hits, making a pie maybe a little too complicated and time-consuming. That’s where the galette comes in! An apple galette is the cool, carefree cousin to pie. This French pastry has all of the rustic apple goodness you’re looking for with minimal effort needed. No need to bother with lattices or crimping. If anything, imperfection is key in this recipe. The focus is just making something that tastes good! The perfectly spiced, fresh apple filling is the star of the show here.

It is really hard to go wrong with an apple galette. The crust is free form, meaning all you have to do is throw in your favorite fruit filling, (this berry galette is a tasty variation) fold up the sides of the crust, pop it in the oven, and it’s ready to eat! I’m going to show you how to make the most amazing flaky crust and perfect apple filling. You are going to love how delicious the end result is! Every time I have made it, it has turned out perfectly golden brown bursting with sweet, spiced apple flavor in each bite. It’s truly a winner!

Ingredients Needed for Apple Galette

The best part of this recipe is that it utilizes a lot of ingredients that are ready to go in your cupboard right now! Since apples take the spotlight in this recipe, make sure you are using baking apples and that they are fresh! This will make all the difference in how your galette turns out. See more on picking the perfect apple for pastries below. And as always, measurements for each ingredient are listed in the recipe card below.

  • All-Purpose Flour: All-purpose flour is great in this recipe because it doesn’t have a high protein content. Because of this, your crust will be light and fluffy rather than dense.
  • Salt: Used to enhance overall flavor.
  • Granulated Sugar: Granulated sugar will add the perfect sweetness to your crust and help everything meld together once baked!
  • Butter: In this recipe, I use unsalted butter that is very cold and cubed. Read more on why I use cold ingredients below!
  • Ice Water: Used to adjust the consistency of your crust. Cold water is super important for making sure it turns out flaky and delicious!
  • Egg Yolk: The foundation of an egg wash.
  • Water: You can use room temperature water for your egg wash.
  • Turbinado Sugar: Also known as raw sugar, turbinado sugar has a very large grain. This makes it perfect for topping and adding a little extra texture to your pastries!
  • Apricot Jam: This is used for glaze. Not only will it make your apple filling beautiful and lustrous, but it will add a pop of juicy flavor.

Filling Ingredients

  • Baking Apples: Make sure any apples you use are firm and crisp! This will keep your filling from becoming soggy when cooked. I use honeycrisp apples here, but granny smith is also a great option. They have a firm flesh that doesn’t break down a lot when baking.
  • Lemon Juice: Used to balance the sweetness of the apples in the galette.
  • Granulated Sugar: Added for sweetness.
  • Cornstarch: Cornstarch is added to thicken up the filling and keep it from being runny. Tapioca starch also works really well!
  • Cinnamon: For the perfect spice, we add cinnamon!
  • Nutmeg: Another great spice perfect for creating that amazing fall flavor! It adds an amazing, warm nuttiness.
  • Salt: Used to enhance the overall flavor of the apple filling.

How to Make an Apple Galette

By following just a few simple steps, you will be able to make this delicious rustic dessert with ease! Apple galettes have become one of my favorite fall desserts and I know you will love them just as much as I do! The end result tastes as if it came from a French bakery.

Crust

  1. Mix Dry Ingredients, Add Butter: To begin, in a medium bowl whisk the flour, salt and granulated sugar together. Add in the cold cubed butter and cut in with a pastry cutter until there are pea sized pieces of butter.
  2. Add Cold Water to Dough: Slowly add the cold water and stir with a fork until the dough begins to come together. Turn out onto a lightly floured surface and use your hands to bring the dough together in a disk.
  3. Wrap and Chill: Next, wrap the dough in plastic wrap and set in the fridge to chill for at least 20 minutes while you prepare the filling.

Filling

  1. Cut Apple Slices: First, you can peel the apples if you wish or you can leave the peel on. Either way, core the apples and use a knife to cut the apples into thin, even slices. Place apple slices in a medium bowl, toss with the lemon juice and set aside.
  2. Combine Filling Ingredients and Toss: In a small bowl combine the sugar, cornstarch, cinnamon, nutmeg and salt. Pour the sugar mixture over the sliced apples and toss until coated evenly.

Assembly

  1. Preheat Oven and Prep Pan: To start, preheat the oven to 400° and line a baking sheet with parchment.
  2. Roll Out Dough: Take the chilled dough out of the fridge and on a lightly floured surface, roll it out to a 10–12-inch circle.
  3. Arrange Apples, Create Galette Shape: Arrange the apples in the center of the dough as you would like, leaving about 2 inches of dough around the edge. Fold the dough over the apples, pinching and pleating to create the free-form edge. This free-form edge is quite forgiving and you can pinch and tear pieces of dough to make it look how you would like.
  4. Prepare Egg Wash: In a small bowl mix the egg yolk and water together with a fork to make the egg wash. Use a pastry brush to brush the crust with egg wash and then sprinkle it with turbinado sugar.
  5. Bake: Bake for about 35-40 minutes, until the crust is nice and golden. Allow the galette to fully cool.
  6. Brush With Apricot: Before serving, heat a tablespoon of apricot jam in the microwave for about 10-15 seconds before brushing it across the top of the apples. It will give them a nice shine.
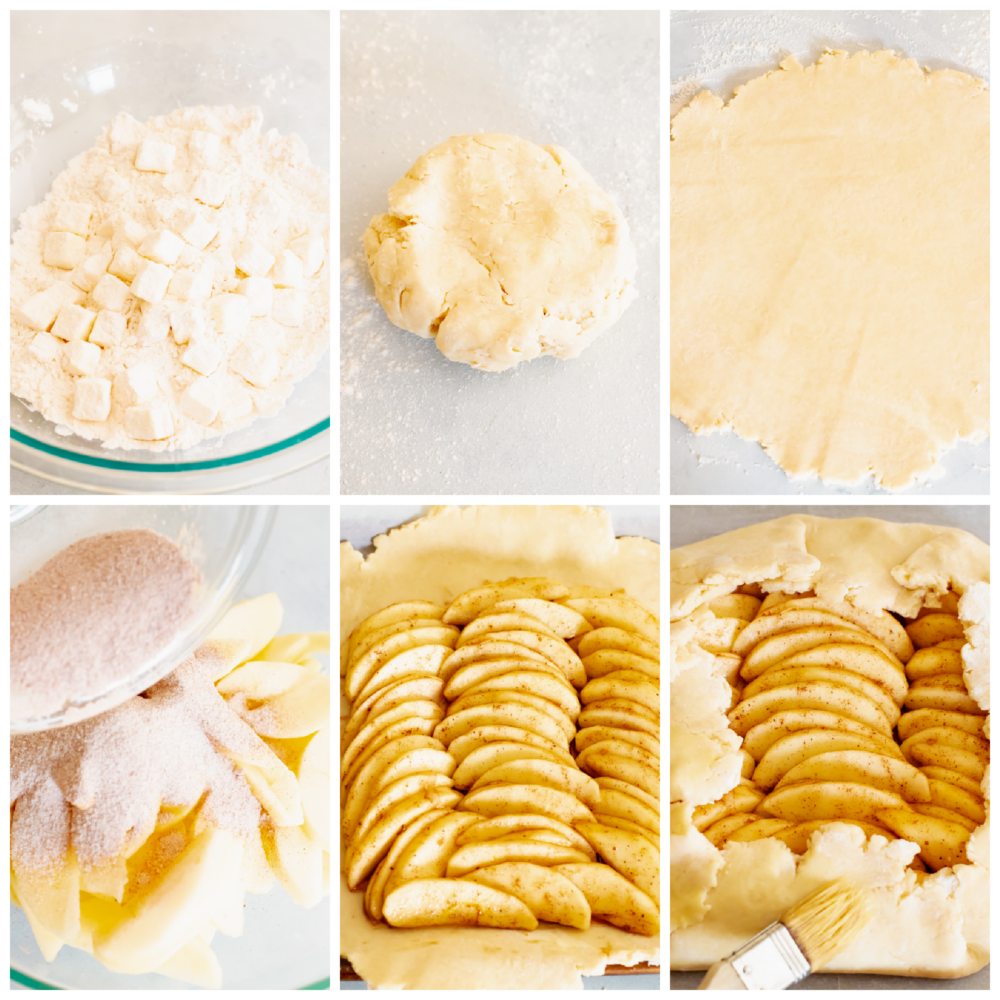
Process shots of preparing crust and filling.

Tips for Making the Best Apple Galette

An apple galette is like apple pie’s easier cousin that is just as delicious. It’s much more forgiving than a traditional pie and is an impressive dessert full of rich flavor! Use these great tips to ensure the best result each time you make your galette!

  • Use Cold Ingredients: Working with very cold butter and very cold ice water will help your crust be nice and flaky. I like to dice my butter and then throw it in the freezer for about 30 minutes before starting the preparation of the crust. You can even put the measured out cold water in the freezer for about 10-15 minutes to get it even colder.
  • Don’t Work Dough Too Much: If you knead your dough too much, gluten will develop. This will result in a dense, shriveling crust.
  • Pick the Right Apples: Since galettes are baked, it’s important to use baking apples. You can choose a more tart variety, like Granny Smith or Jonagold, or go with a sweeter one like Honeycrisp or Golden Delicious. I used 3 large Honeycrisp apples.
  • Don’t Overfill: One difference between an apple galette and an apple pie is the amount of apples in the filling. Pies are typically stuffed full of apples whereas galettes bake more evenly when there is an even layer of apple slices. Avoid overstuffing. If you have too many to fill the crust, leave the extra out instead of squeezing them in. The extra apples make a delicious snack while waiting for the galette to bake!
  • Apricot Glaze: This is an optional step, but adding the apricot glaze to the top of the apples will take your galette over the top and give it that wow-factor for presentation.

Storing Your Apple Galette

This tasty apple galette keeps well at room temperature and will stay fresh for 3-4 days.

  • Room Temperature: My favorite way to store leftovers of this galette (if there is any left over!) is on a plate or baking sheet covered tightly with plastic wrap. It will keep for about 3-4 days at room temp.
  • In the Refrigerator: You can extend the shelf life of this galette by storing it in the fridge instead of on the counter. Wrap it tightly with plastic wrap on a plate or baking sheet. You can keep it in the fridge for up to 6 days. Reheat in the microwave for 20-30 seconds or enjoy cold.
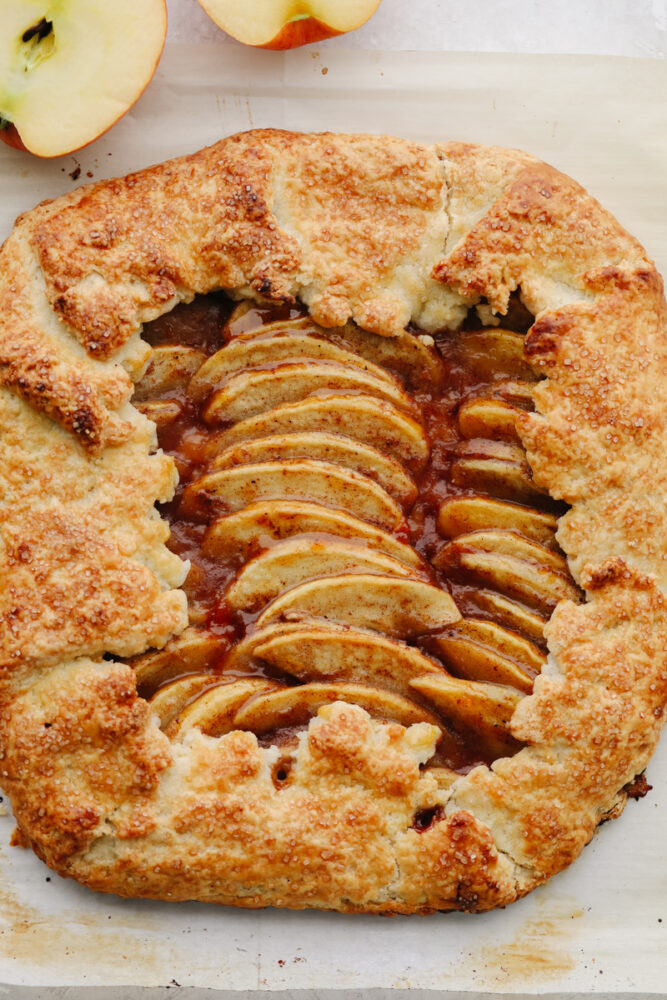
A full apple galette, topped with turbinado sugar.
Print

Apple Galette

This apple galette recipe is perfect for satisfying an apple pie craving without the hassle! Warm apples, tossed with cinnamon and nutmeg, are folded into the perfect buttery crust in this easy dessert.
Course Dessert
Cuisine American
Keyword apple galette, apple galette recipe
Prep Time 45 minutes
Cook Time 40 minutes
Chill 20 minutes
Total Time 1 hour 45 minutes
Servings 8 People
Calories 339kcal
Author Alyssa Rivers

Ingredients

Crust

  • 1 ½ cup all purpose flour
  • ¾ teaspoon salt
  • 2 tablespoon granulated sugar
  • ¾ cup 12 tablespoons unsalted butter, very cold and cubed)
  • ¼ cup of ice water
  • 1 egg yolk for egg wash
  • 2 tablespoon water for egg wash
  • Turbinado sugar for topping
  • Apricot jam for glaze

Filling

  • 1 ½ pounds baking apples about 3 large Apples
  • 1 teaspoon lemon juice
  • 1/3 cup granulated sugar
  • 1 tablespoon cornstarch
  • 1 teaspoon cinnamon
  • ½ teaspoon nutmeg
  • ¼ teaspoon salt

Instructions

Crust

  • In a medium bowl whisk the flour, salt and granulated sugar together. Add in the cold cubed butter and cut in with a pastry cutter until there are pea sized pieces of butter.
  • Slowly add the cold water and stir with a fork until the dough begins to come together. Turn out onto a lightly floured surface and use your hands to bring the dough together in a disk.
  • Wrap the dough in plastic wrap and set in the fridge to chill for at least 20 minutes while you prepare the filling.

Filling

  • You can peel the apples if you wish or you can leave the peel on. Either way, core the apples and use a knife to cut the apples into thin, even slices. Place apple slices in a medium bowl, toss with the lemon juice and set aside.
  • In a small bowl combine the sugar, cornstarch, cinnamon, nutmeg and salt. Pour the sugar mixture over the sliced apples and toss until coated evenly.

Assembly

  • Preheat the oven to 400° and line a baking sheet with parchment.
  • Take the chilled dough out of the fridge and on a lightly floured surface, roll it out to a 10–12-inch circle.
  • Arrange the apples in the center of the dough as you would like, leaving about 2 inches of dough around the edge. Fold the dough over the apples, pinching and pleating to create the free-form edge. This free-form edge is quite forgiving and you can pinch and tear pieces of dough to make it look how you would like.
  • In a small bowl mix the egg yolk and water together with a fork to make the egg wash. Use a pastry brush to brush the crust with egg wash and then sprinkle it with turbinado sugar.
  • Bake for about 35-40 minutes, until the crust is nice and golden. Allow the galette to fully cool. Before serving heat a tablespoon of apricot jam in the microwave for about 10-15 seconds before brushing it across the top of the apples to give them a nice shine.

Nutrition

Calories: 339kcal | Carbohydrates: 42g | Protein: 3g | Fat: 18g | Saturated Fat: 4g | Polyunsaturated Fat: 5g | Monounsaturated Fat: 9g | Cholesterol: 24mg | Sodium: 494mg | Potassium: 130mg | Fiber: 3g | Sugar: 20g | Vitamin A: 841IU | Vitamin C: 4mg | Calcium: 21mg | Iron: 1mg


from The Recipe Critic https://ift.tt/3kQ86dR
https://ift.tt/3DFAHvd
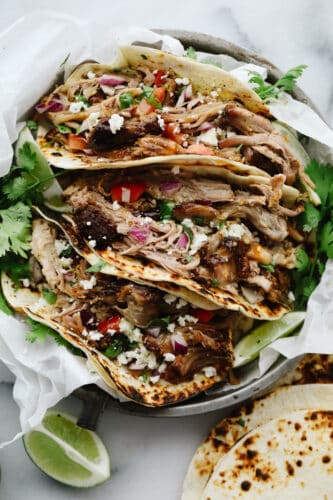
Pork Carnitas Tacos

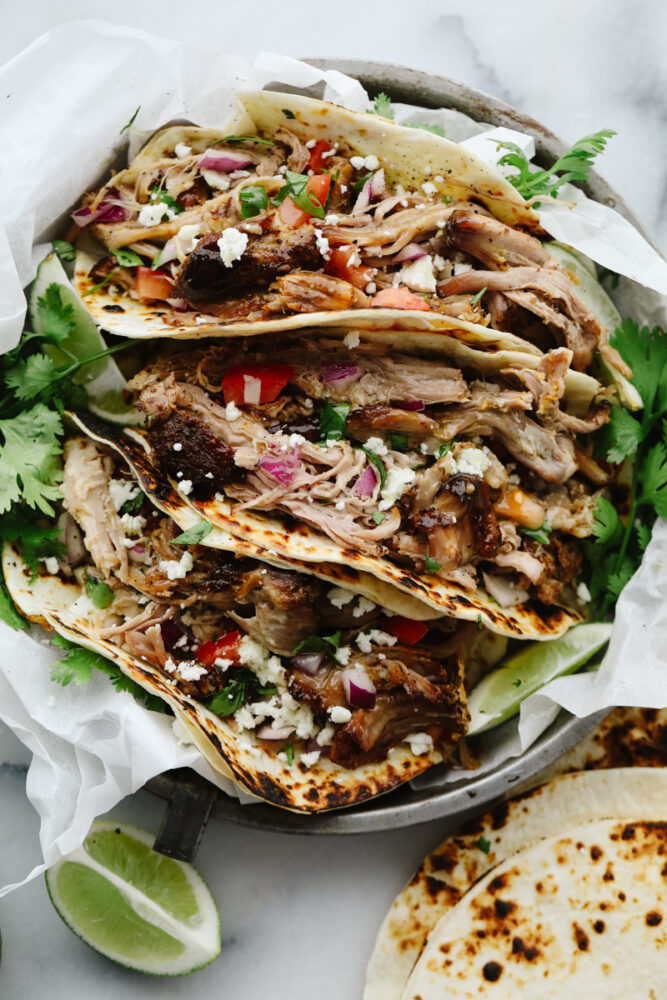
Pork carnitas tacos are mouthwatering, juicy, and insanely delicious! They will satisfy even the pickiest of eaters and everyone will keep coming back for more!

Simple and delicious, these pork tacos will definitely be on your regular meal menu! They are jam-packed with flavor and you won’t be able to stop yourself from making them again and again! If you absolutely love pork like I do, go ahead and try Sweet and Sour, Brown Sugar Balsamic, and Grilled Tuscan Pork Skewers!

Pork carnita tacos in a dish.

Authentic Pork Carnitas Tacos Recipe

The pork carnitas in these tacos is extremely juicy and tender! Once you add in the toppings, it really creates the most delicious taco! Take these tacos a step further and make life really easy for yourself… go ahead and double the recipe! See storing tips below for how you can store (or even freeze) these pork carnitas tacos for later. That way, you can have some on hand to make a few dishes like this pasta and also these tostadas!

The best thing about tacos is that they are a good fit for any crowd! Have a variety of toppings for these tacos and they will appeal to all of your guests! That’s what makes it makes for an easy dish to serve to just about anyone (kids included!) because it is so versatile and delicious. In fact, try serving it with this corn and this salad and it will be an entire meal that absolutely everyone will go crazy over! Go ahead and try it! I am sure that you will love it as much as I do!

What You Need for Pork Carnitas

The ingredients list is simple and stuff that you probably already have on hand! If you don’t they are definitely things that you will use later! These pork carnitas tacos will be totally worth it! See the recipe card below for exact measurements.

  • Pork shoulder roast: Choose a high quality meat with your butcher. It’s the star of the recipe and you want it to be a great cut!
  • Chili powder: Cumin is a warm spice that really brings a delightful taste to the rub.
  • Cumin: This flavor is frequently found in taco seasonings!
  • Oregano: This has a great earthy flavor that compliments the other spices!
  • Salt and pepper: This brings out the natural flavors of the other ingredients.
  • Orange and lime juice: These flavors will help to add an overall punch of citrus.
  • Garlic cloves: Mince up fresh garlic cloves. If you don’t have any on hand, you can use the minced garlic in your fridge. ½ tsp equals approx. one clove of garlic.
  • Onion: Quarter up this onion to make sure the flavor can be tasted throughout the taco!
  • Optional toppings: Tomato, red onion, cojita cheese and cilantro.

How to Make Slow Cooker Pork Carnitas Tacos

The hardest part of this recipe is getting your ingredients out and measured. Putting this together and getting it cooking is super easy! Just set it in that slow cooker and you will have delicious, juicy pork ready to eat in no time!

  1. Combine spices and rub: In a small bowl combine chili powder, cumin, oregano, salt, and pepper. Rub on the outside of the pork shoulder rub thoroughly.
  2. Add juices to pork: In the slow cooker, combine orange juice, lime juice, garlic and onion. Place pork on the top. Cook on low for 8 hours or high 4-5 hours.
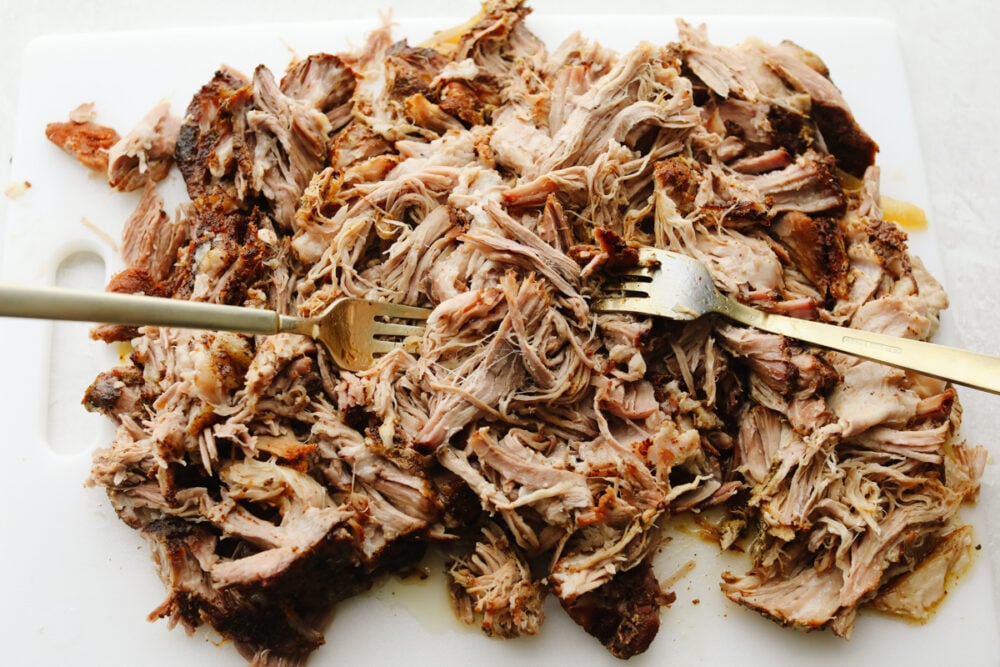
  3. Shred: Remove roast from slow cooker and shred. Return to slow cooker and heat for an additional 30 minutes.
  4. Broil: Remove the pork from the slow cooker and place on a baking sheet. Broil in the oven for 3-4 minutes to brown the edges of the pork.
  5. Assemble and add toppings: To assemble tacos lay a tortilla on a flat surface. Add optional toppings.
Pork being shredded with two forks.

The Best Pork Carnitas Tips

These tacos are so versatile that you can make them in a number of different ways! It will add delicious flavor and taste to whatever you use it for. Here are a few more ideas to help you change up these pork carnitas tacos!  

  • Toppings: Sprinkle generously with fresh cilantro, onion, lime juice, shredded cheese, guacamole, or pico de gallo.
  • Tortillas: You can use corn or flour tortillas, depending on which you prefer!
  • Make it a salad: If tacos aren’t your thing then get your favorite greens and add this to it as your protein! Keep all the same toppings and it will be insanely delicious!
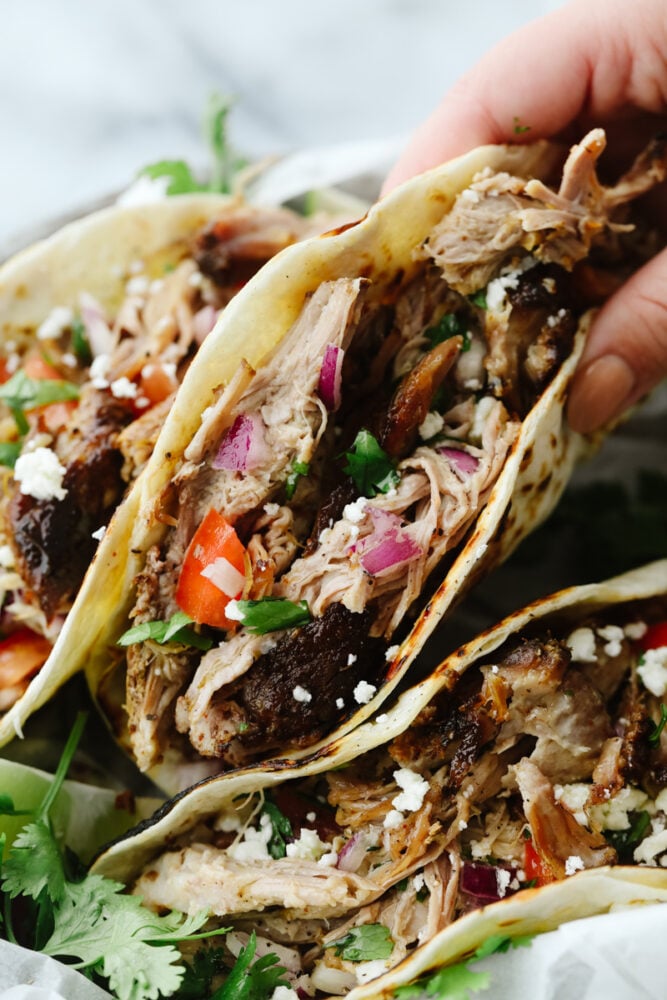
A hand holding a pork carnita taco.

How to Store Cooked Pork

Trust me, this recipe will make a large amount of meat! I love this because then I can use it later for additional recipes! Here are my tips for how to properly store your pork so it will last as long as possible. 

  • Refrigerator: Place cooked pork in a shallow air-tight container or wrap tightly in heavy duty aluminum foil or plastic wrap. Your pork will last 3-5 days in the refrigerator.
  • Freezer: If you can’t use up all this juicy meet in 5 days, place it in an airtight container (make sure that you label it with the date!) in the freezer for up to 3 months.

.

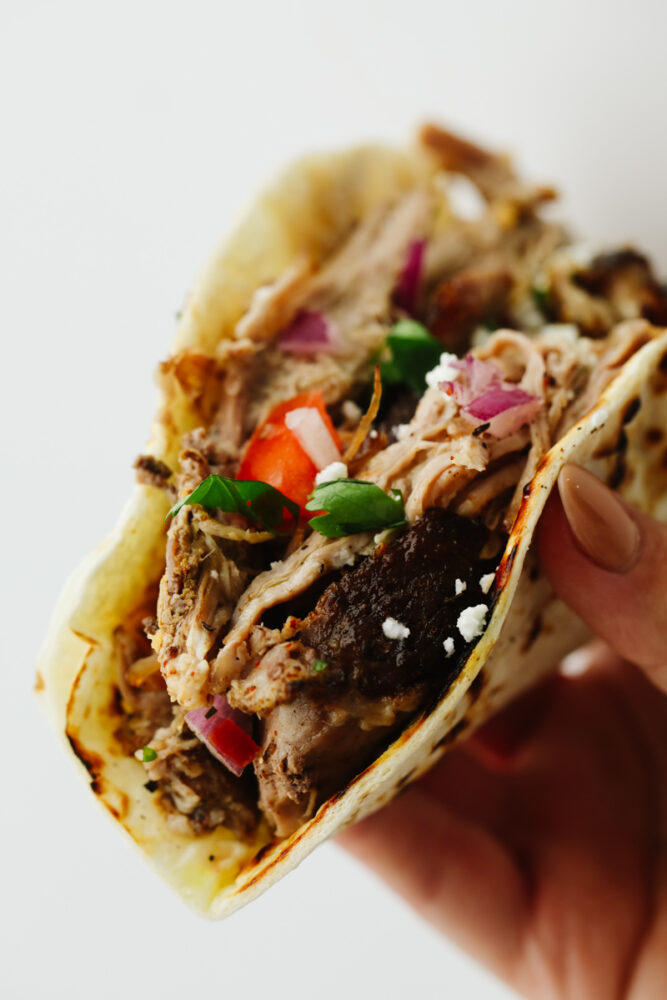
Zoomed in picture of a pork carnita taco.
Print

Pork Carnitas Tacos

Pork carnitas tacos are mouthwatering, juicy, and insanely delicious! They will satisfy even the pickiest of eaters and everyone will keep coming back for more!
Course Dinner, Main Course
Cuisine Mexican
Keyword pork carnitas, pork carnitas tacos
Prep Time 10 minutes
Cook Time 8 hours
Total Time 8 hours 10 minutes
Servings 4 people
Calories 434kcal
Author Alyssa Rivers

Ingredients

  • 4 pounds pork shoulder roast
  • 1 Tablespoon Chili Powder
  • 1 teaspoon cumin
  • 1 teaspoon oregano
  • 1 teaspoon salt
  • 1 teaspoon pepper
  • 3/4 cup orange juice 2 oranges
  • 1/4 cup lime juice 2 limes
  • 4 cloves garlic minced
  • 1 small onion quartered

Optional Toppings:

  • 1 to 2 tomatoes diced
  • 1/4 cup red onion diced
  • 1/4 cup cojita cheese
  • cilantro chopped

Instructions

  • In a small bowl combine chili powder, cumin, oregano, salt, and pepper. Rub on the outside of the pork shoulder rub thoroughly.
  • In the slow cooker, combine orange juice, lime juice, garlic, and onion. Place pork on the top. Cook on low for 8 hours or high for 4-5 hours.
  • Remove roast from slow cooker and shred. Return to slow cooker and heat for an additional 30 minutes.
  • Remove the pork from the slow cooker and place it on a baking sheet. Broil in the oven for 3-4 minutes to brown the edges of the pork.
  • To assemble tacos lay a tortilla on a flat surface. Add optional toppings.

Nutrition

Calories: 434kcal | Carbohydrates: 5g | Protein: 55g | Fat: 20g | Saturated Fat: 7g | Polyunsaturated Fat: 2g | Monounsaturated Fat: 9g | Cholesterol: 185mg | Sodium: 828mg | Potassium: 1104mg | Fiber: 2g | Sugar: 1g | Vitamin A: 884IU | Vitamin C: 8mg | Calcium: 71mg | Iron: 4mg


from The Recipe Critic https://ift.tt/3jEoJdr
https://ift.tt/3gWn7d3

बुधवार, 1 सितंबर 2021

Chocolate Cupcakes

For treats that are incredibly moist, fudgy, and delicious, this is your go-to recipe! Topped with smooth chocolate buttercream, these chocolate cupcakes are a classic dessert your friends and family will go crazy over.

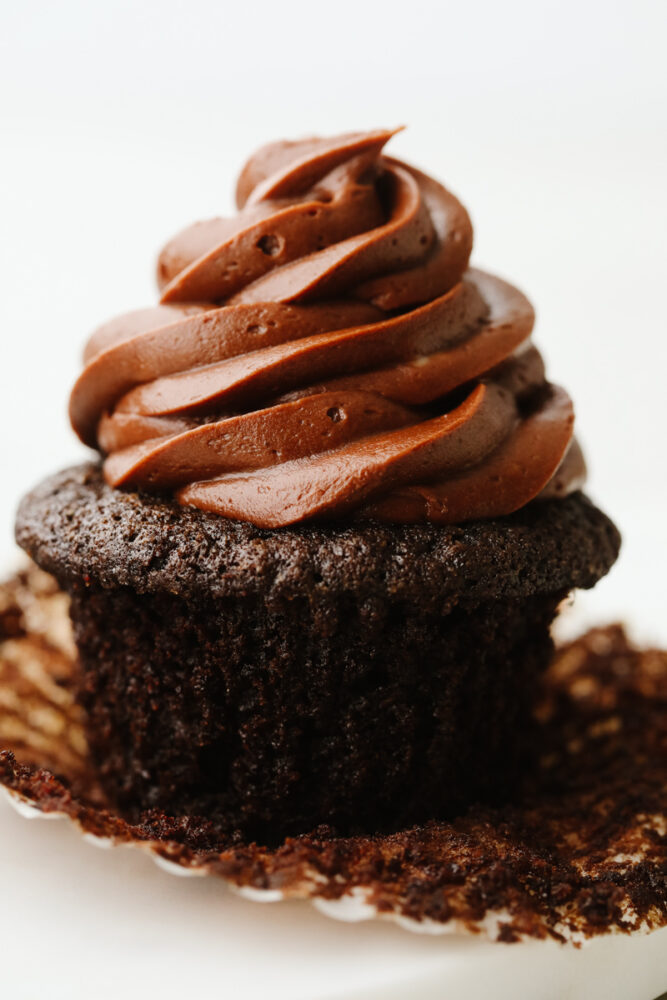
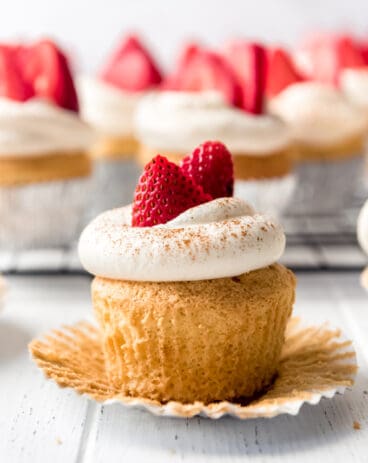
Cupcakes are the perfect bite-sized way to please a crowd. Whenever I make some of my other favorites like strawberry, lemon, or angel food cupcakes, they are always eaten in a snap!

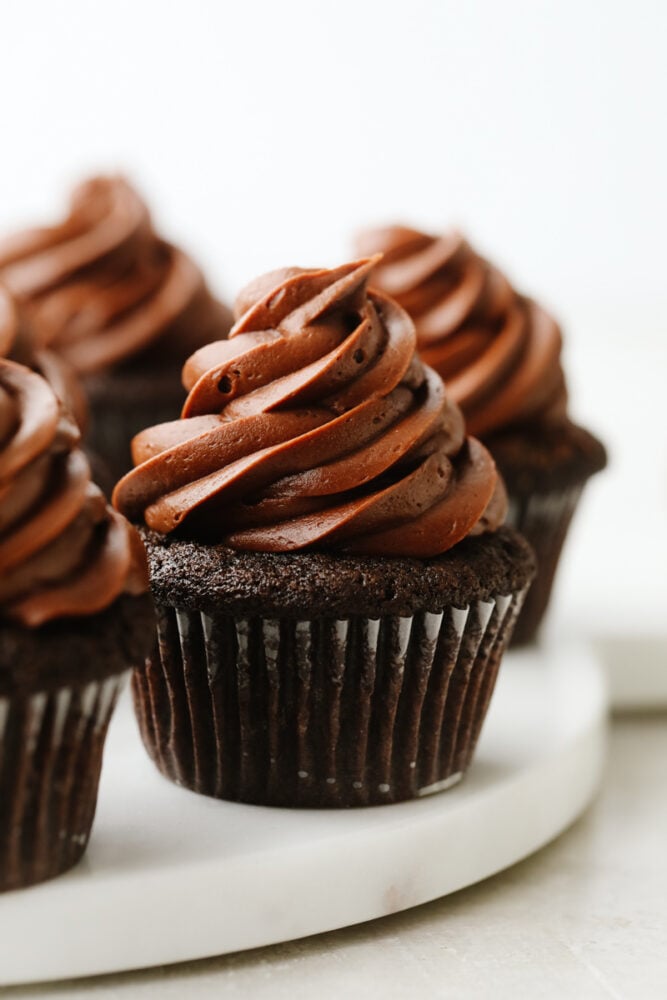
Frosted chocolate cupcakes on a serving dish.

Easy and Delicious Chocolate Cupcake Recipe

Chocolate cupcakes are like little bits of heaven. That moment when you peel back the liner and sink your teeth into layers of frosting and moist cake! Chocolate cupcakes reign supreme over other flavors. There is something about a soft, moist cake packed with fudgy chocolate flavors in each bite. In this recipe, learn how to get the perfect chocolate cupcake base and top it with mouthwatering chocolate buttercream. The best part is, this recipe is super easy but will taste better than anything you can buy! Only 20 minutes of prep time are needed. This is the kind of dessert both beginners and seasoned bakers alike can enjoy with great results each time. You are going to love them!

The great thing about cupcakes is that you can easily customize each one with just a change of frosting, fillings, or toppings! Add some crushed cookies to your frosting for an Oreo cupcake! Top with chopped pecans and a drizzle of homemade caramel sauce for a turtle cupcake! No matter how you choose to eat them- as-is or customized to your liking, the end result will be irresistible! The best foundation, these amazing chocolate cupcakes will not let you down. They will be a favorite at every event they are served at. Let’s get baking!

Ingredients for Chocolate Cupcakes and Buttercream

No fancy ingredients are required here! All you have to do is pull a few staples out of your pantry to put these decadent, delicious chocolate cupcakes together! Check out the printable recipe card below for each individual measurement.

  • Vegetable Oil: This is what is going to make your cake super moist! Additionally, it helps to bind all ingredients together. You can also use other great substitutes like olive or avocado oil. It might just alter the overall flavor slightly.
  • Warm Coffee: I like to add coffee because it deepens the chocolate flavor. See more on this secret ingredient in my tips section below!
  • Egg: Works as a binding agent and helps provide structure.
  • Vanilla: Used to enhance and richen flavor. I like using pure vanilla extract for best results.
  • All-Purpose Flour: Using all-purpose flour will keep your chocolate cupcakes light and fluffy!
  • Granulated Sugar: For sweetness and to help ingredients meld together smoothly when baked.
  • Unsweetened Cocoa Powder: Any brand will do, just avoid using Dutch process cocoa for this recipe.
  • Baking Soda: Needed for light and airy cupcakes!
  • Salt: Enhances overall flavor.

Chocolate Buttercream

Recipes that don’t need a grocery trip are always the best. Just make sure that whatever ingredients you are using are fresh, as this will make the end result better!

  • Butter: In this recipe, it is best to use unsalted butter that has been softened. Using butter that is cold and hard may keep you from getting the smoothest frosting possible.
  • Powdered Sugar: Added for a tasty sweetness and smooth texture.
  • Unsweetened Cocoa Powder: For that rich, chocolate flavor we all love!
  • Milk: Used to thin out your buttercream until it is smooth and pipeable. Add as needed.
  • Vanilla Extract: Used to add a rich flavor to your frosting.
  • Salt: For enhancing overall flavor.

How to Make the Best Cupcakes

It is easy to make impressive chocolate cupcakes at home. Just a few straightforward steps leave you with fudgy, chocolatey treats that you will not be able to get enough of! These are so tasty, I have to make sure to save some for myself, or else they are all gobbled up in an instant at my house.

  1. Preheat Oven and Prep Pan: To begin, preheat the oven to 325°. Line a cupcake pan with cupcake liners and set aside.
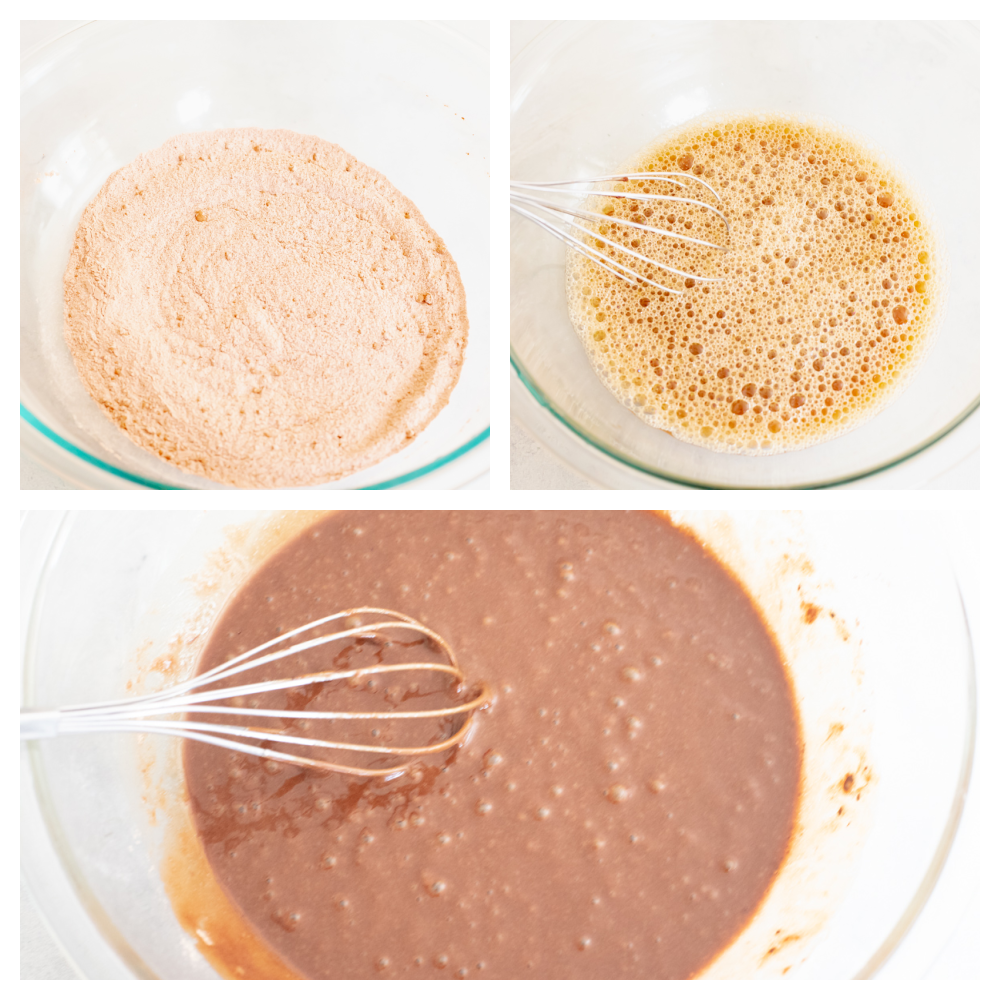
  2. Whisk Wet Ingredients: In a large bowl whisk together the vegetable oil, warm coffee, egg, and vanilla until combined.
  3. Mix Dry Ingredients: In a medium bowl sift together the flour, sugar, unsweetened cocoa powder, baking soda and salt. Add the dry ingredients to the wet ingredients and gently whisk together until fully combined.
  4. Fill Cupcake Liners: Next, scoop the batter into the prepared cupcake pan and only fill the cupcake liners 2/3 of the way full. Bake for 18-22 minutes, or until the cupcakes spring bake when lightly pressed. Cool completely before frosting.

How to Make Chocolate Buttercream

  1. Mix Butter and Powdered Sugar: To start, beat the butter in the bowl of a mixer until fluffy. Then, add the powdered sugar and beat slowly until incorporated, increasing the speed to beat it more fully.
  2. Mix in Remaining Ingredients: Next, scrape down the sides and the bottom of the bowl and add the cocoa powder, milk, vanilla and salt. Mix on medium high until completely smooth and combined.
  3. Thin With Milk: If the frosting is too stiff, add more milk one tablespoon at a time until it is a pipeable consistency.
  4. Pipe: Lastly, pipe the frosting onto the tops of the cooled cupcakes and serve.
Process shots of preparing cupcake batter.

Tips for the Best Chocolate Cupcakes

Chocolate cupcakes are a staple and can be used in many variations and occasions. The good news is, they are surprisingly simple! Here are some tips to help you make successful, amazing cupcakes! From birthday parties to weddings, summer barbecues to the everyday sweet treat craving, these incredible chocolate cupcakes are sure to please.

  • Use Room Temperature Ingredients: This is something that is often overlooked, but will change the end result of your cupcakes. Making sure wet ingredients like butter, eggs, and milk are at room temperature before use is super important for ending up with a light, fluffy cupcake. It also helps your batter to mix together smoothly.
  • Don’t Overmix Batter: Only mix your cake batter until smooth. Overmix, and you run the risk of having dense, heavy cupcakes.
  • Don’t Overfill Cupcake Liners: Only fill the cupcake liners 2/3 full. Any more full than that can result in the cupcakes spilling over and sticking to the pan.
  • Choose The Right Cocoa Powder: These chocolate cupcakes need regular cocoa powder in order to activate the baking soda in the recipe. If you use Dutch process cocoa powder instead, the cupcakes won’t rise because Dutch process cocoa powder has been alkalized and won’t have the proper reaction with the baking soda.
  • Allow to Cool Completely: Make sure your cupcakes are completely cool before frosting them or your buttercream will melt!

Variations for Chocolate Cupcakes

A few variations with these cupcakes can lead to more great ways to making chocolate cupcakes. Substitutions are not my favorite but if needed here are the two ways you can enhance your cupcakes easily. These homemade cupcakes are the best!

  • Vegetable Oil: Using vegetable oil instead of butter in this recipe will give your cupcakes a more tender crumb and keep them very moist. If you’d like to substitute the oil for butter, you may, but know that the crumb will change the texture.
  • Coffee: There won’t be any coffee flavor in your cupcakes, it just enhances the flavor of the chocolate and makes for a deeper, richer flavor. If you don’t want to use coffee you can substitute it for buttermilk or even hot water.
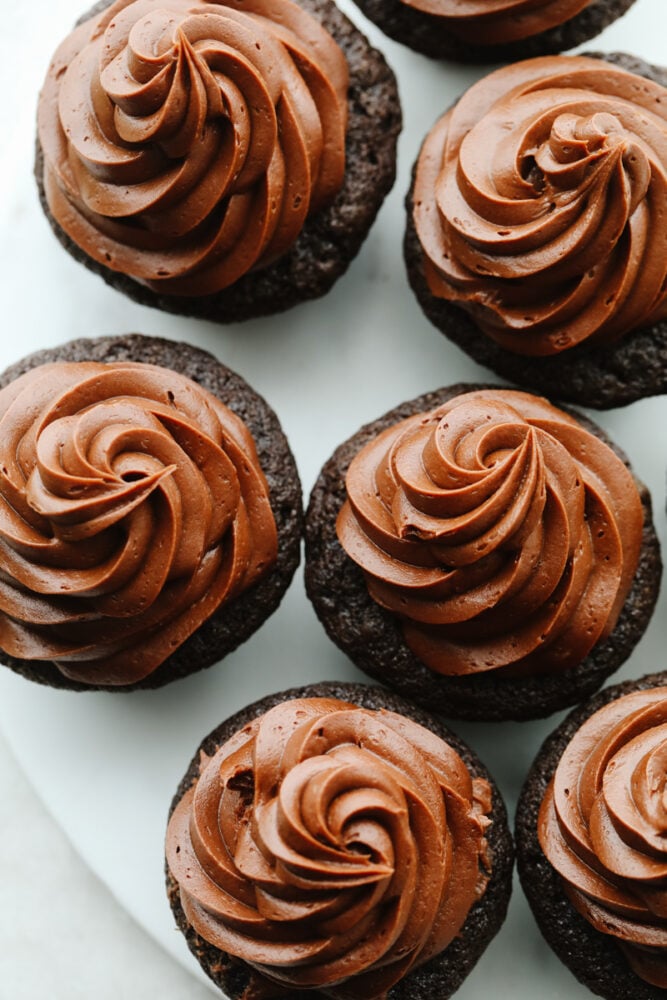
Top-down shot of frosted chocolate cupcakes.

Can I Store Chocolate Cupcakes?

Yes! These chocolate cupcakes are great for making ahead of time or even for keeping in the freezer so you always have them on hand when a craving hits.

  • At Room Temperature: Unfrosted cupcakes can be stored at room temperature in an airtight container or a large ziplock bag for up to a week.
  • In the Refrigerator: Frosted cupcakes can be stored in the fridge in an airtight container for 3-5 days. Allow to sit at room temperature for 30 minutes before serving.
  • In the Freezer: Unfrosted cupcakes can be frozen for up to 3 months. It’s best to put them in a ziplock bag inside an airtight container and bring to room temperature before frosting.
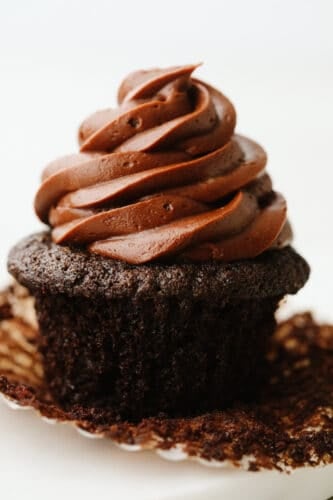
One chocolate cupcake, frosted.
Print

Chocolate Cupcakes

For treats that are incredibly moist, fudgy, and delicious, this is your go-to recipe! Topped with smooth chocolate buttercream, these chocolate cupcakes are a classic dessert your friends and family will go crazy over.
Course Dessert
Cuisine American
Keyword chocolate cupcake recipe, chocolate cupcakes, homemade chocolate cupcakes
Prep Time 20 minutes
Cook Time 22 minutes
Total Time 42 minutes
Servings 12 Cupcakes
Calories 470kcal
Author Alyssa Rivers

Ingredients

  • ½ cup vegetable oil
  • 3/4 cup warm coffee
  • 1 large egg
  • 1 ½ teaspoon vanilla
  • 1 1/3 cup all purpose flour
  • 1 cup granulated sugar
  • 6 tablespoons unsweetened cocoa powder not Dutch process
  • 1 teaspoon baking soda
  • ½ teaspoon salt

Chocolate Buttercream

  • 1 cup unsalted butter softened
  • 3 cups powdered sugar
  • 1/2 cup unsweetened cocoa powder
  • 3 tablespoon milk more as needed
  • 1 teaspoon vanilla extract
  • ¼ teaspoon salt

Instructions

  • Preheat the oven to 325°. Line a cupcake pan with cupcake liners and set aside.
  • In a large bowl whisk together the vegetable oil, warm coffee, egg, and vanilla until combined.
  • In a medium bowl sift together the flour, sugar, unsweetened cocoa powder, baking soda and salt. Add the dry ingredients to the wet ingredients and gently whisk together until fully combined.
  • Scoop the batter into the prepared cupcake pan and only fill the cupcake liners 2/3 of the way full. Bake for 18-22 minutes, or until the cupcakes spring bake when lightly pressed. Cool completely before frosting.

Chocolate Buttercream

  • Beat the butter in the bowl of a mixer until fluffy. Add the powdered sugar and beat slowly until incorporated, increasing the speed to beat it more fully.
  • Scrape down the sides and the bottom of the bowl and add the cocoa powder, milk, vanilla and salt. Mix on medium high until completely smooth and combined. If the frosting is too stiff, add more milk one tablespoon at a time until it is a pipeable consistency.
  • Pipe the frosting onto the tops of the cooled cupcakes and serve.

Nutrition

Calories: 470kcal | Carbohydrates: 61g | Protein: 3g | Fat: 26g | Saturated Fat: 18g | Polyunsaturated Fat: 1g | Monounsaturated Fat: 5g | Trans Fat: 1g | Cholesterol: 57mg | Sodium: 249mg | Potassium: 125mg | Fiber: 2g | Sugar: 46g | Vitamin A: 501IU | Calcium: 22mg | Iron: 2mg


from The Recipe Critic https://ift.tt/3t49A88
https://ift.tt/3zDJqeQ