Pierogis are delightful dumplings stuffed with potatoes and cheese. These are a traditional Polish dumpling that puts a whole new meaning to comfort food!
I love comfort food because obviously it just makes everything better. Try these other comfort food favorites, Biscuits and Gravy, Rigatoni, and Meatloaf!

What is a Pierogi?
Pierogis look similar to Potstickers but are filled with a potato and cheese filling and are made from a simple egg dough. These are a dreamy creamy dumpling that is guaranteed to hit the spot. These pierogis are the ultimate comfort food. The dough is a non-yeasted dough, that is super easy to work with, it rolls out like a dream. Traditionally these potato and cheese dumplings are made with farmer’s cheese which can be hard to find. Cottage cheese and sour cream make a great substitution.
The combination of boiling and then pan-frying the pierogis provides the perfect texture. These are perfectly tender with a slightly crispy outside. The inside contains a cheesy luscious filling you are going to love. These are way better than anything you will find in the frozen section of the store. The caramelized onions and butter are absolutely divine. Top these pierogis with a bit more cheese and green onions if desired.
What You Need for Perfect Pierogis
The dough is simple to make and comes together quickly with these pantry staple ingredients. For the printable list of ingredients and measurements, follow the recipe card below.
- All-purpose flour: This will provide the needed structure for this basic dough.
- Salt: This is a must have as it adds the flavor.
- Vegetable oil: You can use canola oil for a mild tasting perfect option.
- Eggs: For the eggs to mix in completely and easily, have them at room temperature.
- Warm water: Using warm water helps everything combine and creates a nice supple dough.
Cheese and Potato Filling Ingredients
Pierogis are filled with a savory potato and cheese filling that is warm and comforting. You won’t go wrong with these homemade pierogis! See the recipe card below for all the measurements and full information about the pierogis recipe.
- Medium russet potatoes: Russets will have the best texture, other potatoes can be too waxy.
- Butter unsalted: Have the butter at room temperature or softened for easy mixing.
- Cottage cheese or sour cream: You can use one or the other or a combination of both.
- Cheddar cheese grated: I like to use finely grated cheese that I do myself.
- Salt: Again this adds needed flavor so do not forget it.
- Sweet onion: Dice the onion small, or leave in long slices.
- Butter: More butter, because everything is better with butter.
Making the Dough
These pierogis are just what you need to create the best dinner for your family. Start with combining in the bowl the flour, salt, veggie oil and egg. Use the dough hook on low to mix until combined. Bring the speed up to medium-high and mix for 5-6 minutes, until the dough is smooth and springy. Transfer to an oiled bowl and let rest for 30 minutes.
Pierogis Dough Filling
Once the dough is created and ready to stuff with potatoes and cheese mixture these pierogis will cook up in minutes!
- Potatoes: Peel and chop potatoes into large pieces and add to a pot. Add enough water to cover the potatoes by an inch and bring to a boil over high heat. Boil for about 20-25 minutes until the potatoes are fork tender. Drain and allow to cool for 5-10 minutes and then mash well.
- Cheese Filling: Add in the butter, cottage cheese or sour cream, cheddar cheese and salt. Once smooth, set aside.
How to Make Homemade Pierogis
- Roll: Cut the dough into two equal pieces and set one aside, keeping it covered to prevent it from drying out. Roll the other piece out on a floured surface until it is ⅛ inch in thickness.
- Cut and Fill: Using a 3 inch cookie cutter cut circles in the dough as close as possible to maximize the amount of usable dough. Add about ½ tablespoon of the potato mixture to the center of the rounds and then fold over. Pinch the edges together tightly to seal the filling in. Make sure to really pinch the dough together because you don’t the filling to burst out.
- Fill the Rest: Set aside all the finished pierogis and then repeat the process with the remaining half of the dough.want
- Onions: Add the chopped onion and butter to a large skillet. Cook the onions on medium low for about 20 minutes, until the onions are nice and browned.
- Boil and Skillet Fry: Bring a large pot of salted water to a boil over high heat. Once boiling, add the pierogis in two batches and boil until they float, about 3 minutes. Remove with a slotted spoon and add them to the skillet with the cooked onions. Cook over medium heat for 2-3 minutes. Plate and eat while hot!

The Best Polish Pierogi Tips
Rich and cheesy the only thing these pierogis need is time to assemble, but it is super easy to do! These are the perfect dinner recipe your family will love.
- Potatoes: Stick to russet potatoes for this recipe. Golden and red potatoes are too waxy and will create a rubbery filling instead of being smooth and creamy.
- Mash: For the best texture of your potatoes use a ricer, food mill or even a fork to mash them. This will keep the inside light and fluffy.
- Cheese: Finely grate your own cheddar cheese to avoid the anti-caking agents on pre-shredded cheeses. This can keep the cheese from melting and mixing with the potato mixture.
- Cottage Cheese: In Poland they use what is called Farmer’s cheese. This can be hard to find, so we use cottage cheese with sourcream to create the perfect taste and texture. Ricotta cheese can be substituted for the cottage cheese as well.
- Must Boil then fry: Make sure you boil the pierogi first to cook the dough thoroughly. Then you can either pan fry them or even air fry them. To air fry spray them with olive oil and place in the air fryer at 350 degrees for 1-2 minutes per side. Watch carefully.
- Top it: Garnish with more cheese, sliced green onion, bacon and a side of sour cream if you desire.

What to Serve with Pierogis
These are definitely a worthy main dish with its rich filling and butter onion garnish. It is a dish made to comfort the soul. Serve these with a variety of sides to make it a complete meal your family is absolutely going to love. Keeping a bit more on the Polish side serve with a cabbage and sausage or a nice cabbage roll. Yum!

Side Dishes
Perfect “Roasted” Air Fryer Asparagus
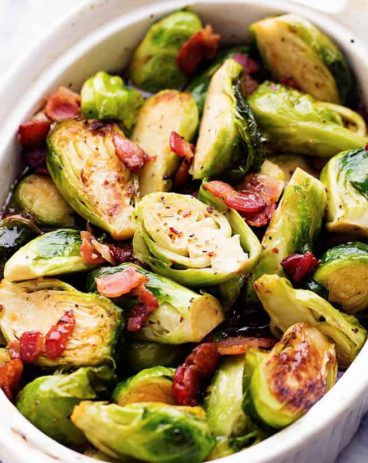
Side Dishes
Roasted Maple Brussel Sprouts with Bacon
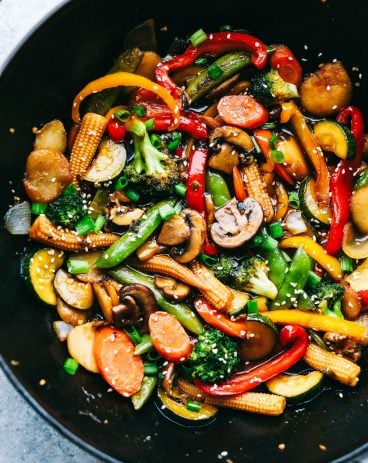
Dinner
Easiest Vegetable Stir Fry

Dinner
Stuffed Cabbage Rolls

Making Ahead and Freezing Pierogis
These taste way better than anything from the frozen section from the store. Make a double batch and freeze your own for later.
- Make-Ahead Dough: Once the dough is made, you can either use it right away or wrap it in plastic wrap and place in the fridge for up to 2 hours before using. Let it rest at room temperature for 15 minutes before using. To freeze the dough, wrap it in plastic wrap and then place in a freezer bag for up to 1 month. Thaw in the fridge overngight or on the counter till ready to use.
- How to Freeze Pierogi: Once you assemble the pierogi you can freeze it before cooking them. Make a double batch so you can freeze some for another time. Place the pierogi on a baking sheet and place in the freezer till frozen, about 2 hours. Then transfer the pierogi to a freezer safe bag and freeze for up to 1 month. No need to thaw before cooking, you can boil them right from the freezer, just add an extra minute or two to the boil time.

More Comfort Recipes to Love

Beef
American Goulash

Soup Recipes
The Best Broccoli Cheese Soup Recipe

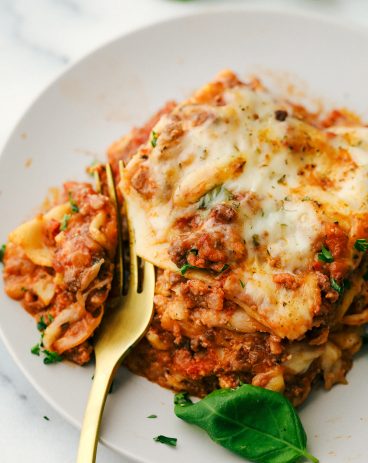
Dinner
The BEST Lasagna Ever!

Pierogis
Ingredients
Dough
- 4 Cups all-purpose flour
- 2 teaspoon Salt
- ½ cup vegetable oil
- 2 large eggs
- ¾ cup warm water
Filling
- 2 medium russet potatoes
- 2 Tablespoons butter unsalted
- ¼ cup cottage cheese or sour cream
- 1 cup cheddar cheese grated
- 1 teaspoon salt
- 1 small sweet onion Small dice
- 3 Tablespoon butter
Instructions
Dough
-
In the bowl of a stand mixer, add the flour, salt, veggie oil and egg. Use the dough hook on low to mix until combined. Bring the speed up to medium-high and mix for 5-6 minutes, until the dough is smooth and springy. Transfer to an oiled bowl and let rest for 30 minutes.
Filling
-
Peel and chop potatoes into large pieces and add to a pot. Add enough water to cover the potatoes by an inch and bring to a boil over high heat. Boil for about 20-25 minutes until the potatoes are fork tender. Drain and allow to cool for 5-10 minutes and then mash well.
-
Add in the butter, cottage cheese or sour cream, cheddar cheese and salt. Once smooth, set aside.
Assembly
-
Cut the dough into two equal pieces and set one aside, keeping it covered to prevent it from drying out. Roll the other piece out on a floured surface until it is ⅛ inch in thickness.
-
Using a 3 inch cookie cutter cut circles in the dough as close as possible to maximize the amount of usable dough. Add about ½ tablespoon of the potato mixture to the center of the rounds and then fold over. Pinch the edges together tightly to seal the filling in. Make sure to really pinch the dough together because you don’t the filling to burst out.
-
Set aside all the finished pierogis and then repeat the process with the remaining half of the dough.want
-
Add the chopped onion and butter to a large skillet. Cook the onions on medium low for about 20 minutes, until the onions are nice and browned.
-
Bring a large pot of salted water to a boil over high heat. Once boiling, add the pierogis in two batches and boil until they float, about 3 minutes. Remove with a slotted spoon and add them to the skillet with the cooked onions. Cook over medium heat for 2-3 minutes. Plate and eat while hot!
Nutrition
from The Recipe Critic https://ift.tt/3qT0F8B
https://ift.tt/3qVjhof