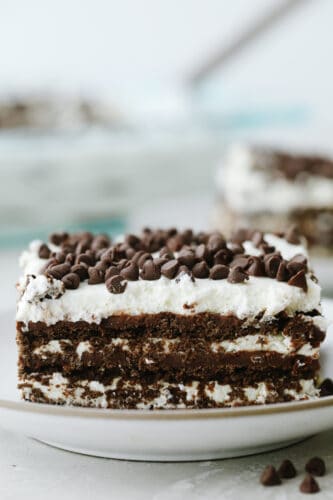
Chocolate icebox cake is an easy, and decadent chocolate lover’s dream dessert. Made from simple ingredients and a bit of time, this no-bake cake is going to be a huge summertime hit!
Chocolate is the answer to almost anything and always hits the spot. Try these insanely delicious chocolate desserts the next time you need a good fix, Chocolate Pie, Lasagna, and Torte!

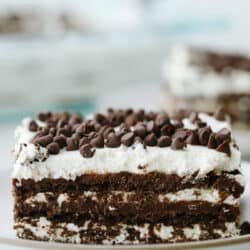
Chocolate Icebox Cake Recipe
Similar to my tart and fresh Lemon Icebox Cake, this is an easy no-bake dessert that is perfect for every occasion. The super-rich chocolate ganache is perfectly balanced with the sweet cream and chocolate crackers give it structure and texture. Using a 9×13 makes this chocolate icebox cake easy to transport to potlucks and BBQs as well as family parties. Since you are not using an oven you don’t have to worry about heating up the house to create a dessert everyone is going to love!
“Icebox” is what they used to call refrigerators and making these “icebox” cakes were heavily advertised to promote buying them when they first came out. Chocolate icebox cake was a major favorite and we can all guess why. Chocolate is comfort food that makes everything better, even if it is just for a minute or two. You have to try this chocolate icebox cake today, you and your loved ones are going to love it!!
Ingredients for Icebox Chocolate Cake
Simple ingredients come together to make a slice of heaven with this chocolate icebox cake. Layer these ingredients for the most delicious cake your family is going to love. For all ingredients measurements, see the recipe card below.
- Box chocolate graham crackers: You can usually find these next to the regular graham crackers.
- Semi Sweet Chocolate Chips: Using semi sweet chocolate creates the perfect balance of dark chocolate and sweet.
- Heavy Whipping Cream: This creates a ganache that is spreadable and pourable. You will need heavy whipping cream twice in the recipe for the ganache and the whipped topping.
- Powdered Sugar: Powdered sugar mixes in more evenly and completley then granulated sugar.
- Vanilla Extract: This give the whipped cream a boost of flavor.
How to Make a Chocolate Icebox Cake
This chocolate icebox cake comes together quickly and can easily be made ahead of time. These six easy steps will create a wonderful and delicious dessert that everyone will love.
- Making Ganache: Heat the cream in the microwave until steaming, about 45 seconds. Pour over the chocolate chips and let sit for 1 minute. Whisk together until smooth and set aside.
- Making the Whipped Topping: In the bowl of a mixer, add the heavy whipping cream, powdered sugar and vanilla extract. Whisk until medium peaks form.
- Layering: Spread a thin, even layer of the whipped cream mixture across the bottom of a 9×13 pan. Add an even layer of the chocolate graham crackers. Top with ⅓ of the ganache and smooth. Add ⅓ of the remaining whipped cream and smooth.
- Repeat Layers: Repeat the layers 2 more times: graham crackers, ganache, whipped cream.
- Top it: Once all the layers have been added top with topping of choice (mini or regular chocolate chips, chocolate curls, crushed oreos, chocolate candies, etc.)
- Chill: Cover with plastic wrap and chill in the fridge for at least 4 hours, or overnight.

Tips and Variations for the Best Frozen Chocolate Cake
Light, but rich this chocolate icebox cake is the perfect treat! Mix it up with flavor and toppings for an added variety.
- Crackers and Other Options: Chocolate graham crackers add another layer of chocolate goodness that is perfect with the whipped filling. You can use regular graham crackers, vanilla wafers, chocolate chip cookies or other cookie of choice.
- Let it sit: You definitely want to let this chocolate icebox cake sit in fridge for at least 4 hours. This will give the graham crackers enough time to soften to that ideal texture.
- Whipped Topping: Whipping your own whipped topping for this cake is a must. Do not use half and half, it will not whip up properly or hold it’s shape.
- Chocolate Chips: Semi sweet is the way to go for the ganache but you can try milk chocolate or dark chocolate if you desire. Semi sweet seems to be the perfect middle of the road sweet spot.
- Toppings: Top this chocolate icebox with nuts, chocolate shavings, crumbled cookies, or chopped candy bars. The possibilites are endless.
- Sauces: You can also drizzle either caramel or chocolate sauce over the top for an even sweeter treat.
How to Store an Icebox Cake
Chocolate icebox cake gets better with time but does need to be eaten within a few days for the best flavor and texture.
- Fridge: You will want to store this in the fridge for up to 4 hours before serving. Keep leftovers fresh by covering tightly and keeping the fridge for up to 3 days. After about 3 days icebox cakes can get soggy and loose their texture.
- Freeze: After it has been refrigerated for 4 hours. Cover tightly with plastic wrap and then again with foil. Do not top with chocolate chips yet. Place in the freezer for up to 1 month. Let it thaw in the fridge. Or serve frozen. Top as desired.

More Chocolate Recipes to Love
Desserts
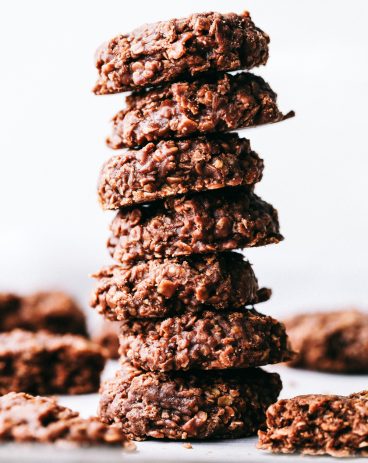
The Very Best No Bake Cookies
Desserts
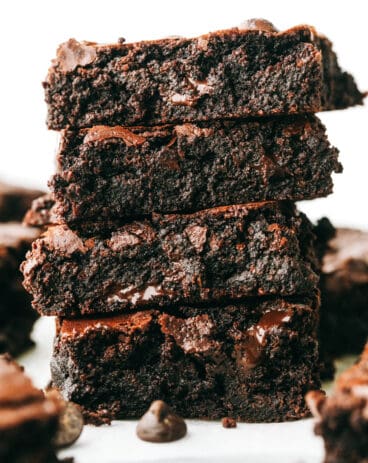
The MOST Perfect Brownies Ever!

Desserts
Death by Chocolate Cheesecake
Dressings, Sauces, and Dips
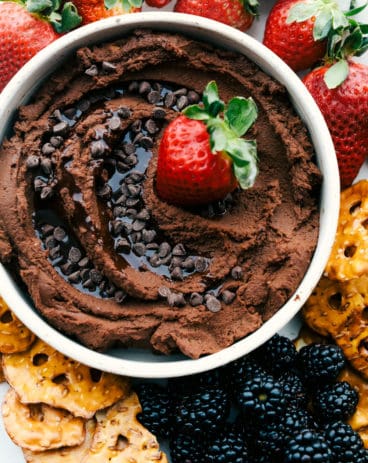
Chocolate Hummus (5 Minutes!)
Chocolate Icebox Cake
Ingredients
- 1 (14.4 ounce box) chocolate graham crackers
Ganache
- 2 cups semi Sweet Chocolate Chips
- 2/3 cups heavy whipping cream
Whipped Cream
- 3 ½ cup heavy whipping cream
- ½ cup powdered sugar
- 1 teaspoon vanilla extract
Instructions
Ganache
-
Heat the cream in the microwave until steaming, about 45 seconds. Pour over the chocolate chips and let sit for 1 minute. Whisk together until smooth and set aside.
Whipped Cream Filling
-
In the bowl of a mixer, add the heavy whipping cream, powdered sugar and vanilla extract. Whisk until medium peaks form.
Assembly
-
Spread a thin, even layer of the whipped cream mixture across the bottom of a 9×13 pan. Add an even layer of the chocolate graham crackers. Top with ⅓ of the ganache and smooth. Add ⅓ of the remaining whipped cream and smooth.
-
Repeat the layers 2 more times: graham crackers, ganache, whipped cream.
-
Once all the layers have been added top with topping of choice (mini or regular chocolate chips, chocolate curls, crushed oreos, chocolate candies, etc.)
-
Cover with plastic wrap and chill in the fridge for at least 4 hours, or overnight.
Nutrition
from The Recipe Critic https://ift.tt/3ib9bvA
https://ift.tt/3ehStK5