बुधवार, 27 जनवरी 2021

Air Fryer Frozen French Fries

These Air Fryer Frozen French Fries come out exactly like your favorite fast food fries! They are crispy, golden on the outside and perfectly soft on the inside. So much better than frying or baking!

Try these homemade, sweet potato and the baked fries in the air fryer. They are truly the best way to make potatoes!
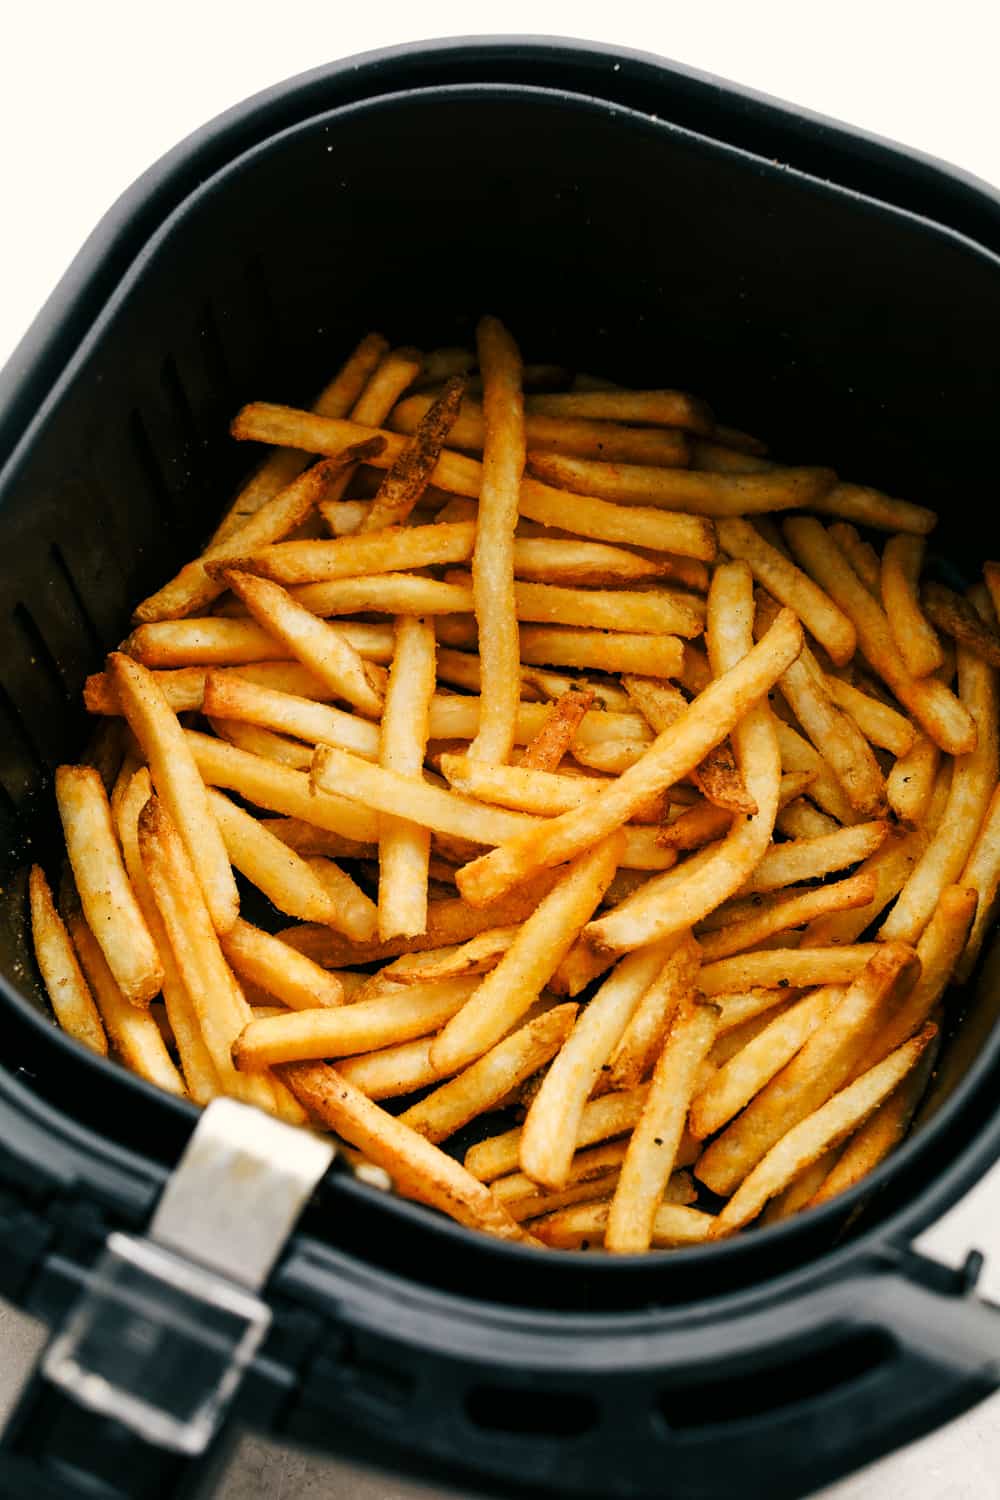
 

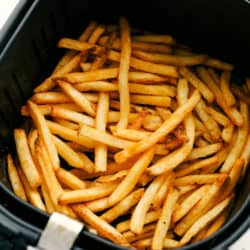
Frozen French Fries cooked in the air fryer.

Air Fryer French Fries

Say goodbye to the guilt of indulging in french fries! When you are craving that salty, crispy hot fresh french fry, air frying is the only way to go. They taste just like they’ve been fried in oil, but they are not! They are so much healthier for you, and the taste is amazing. I used to bake my frozen french fries so I wouldn’t have to fry them and I’d feel better about serving them to my family. But the taste and texture always fell a little short. You have to try this air fryer recipe. It will change the way you eat your french fries forever.

Air Frying has changed the way I cook so many things. From steak, to chicken, to even pizza, the air fryer makes them faster, healthier and so much better. With this air fryer frozen fry recipe you get all the taste and texture of fried french fries but without all the oil and fat and so much faster than in the oven. It’s a total winner in my book.

Ingredients for Air Fryer Fries

As you can guess, there are not too many ingredients to this simple recipe. Pick your favorite brand and type of frozen french fries. These are so good, you’ll want to keep a few bags in the freezer so you always have them on hand.

  • Frozen French Fries:  16 oz bag is all you need. If you have a bigger bag you’ll need to cook them in batches.
  • Salt to Taste:  I really like to use season salt here.
  • Olive Oil Spray:  Just to help the salt stick to the fires.

Let’s Make some French Fries!

These frozen fries become transformed by the air fryer! In a matter of minutes you have incredible fries ready to be devoured. It’s a total meal saver when you need a side dish to go with your ultimate tuna melt or toasted cheese. Or just when you need a salty good snack.

  • Place:  Place your frozen fries in the air fryer basket.
  • Season:  Spray with olive oil lightly and sprinkle with desired salt.
  • Bake: Air fry at 400 degrees for 10 minutes. Give the basket a good shake and cook for 5-8 minutes more or till done as you like them.
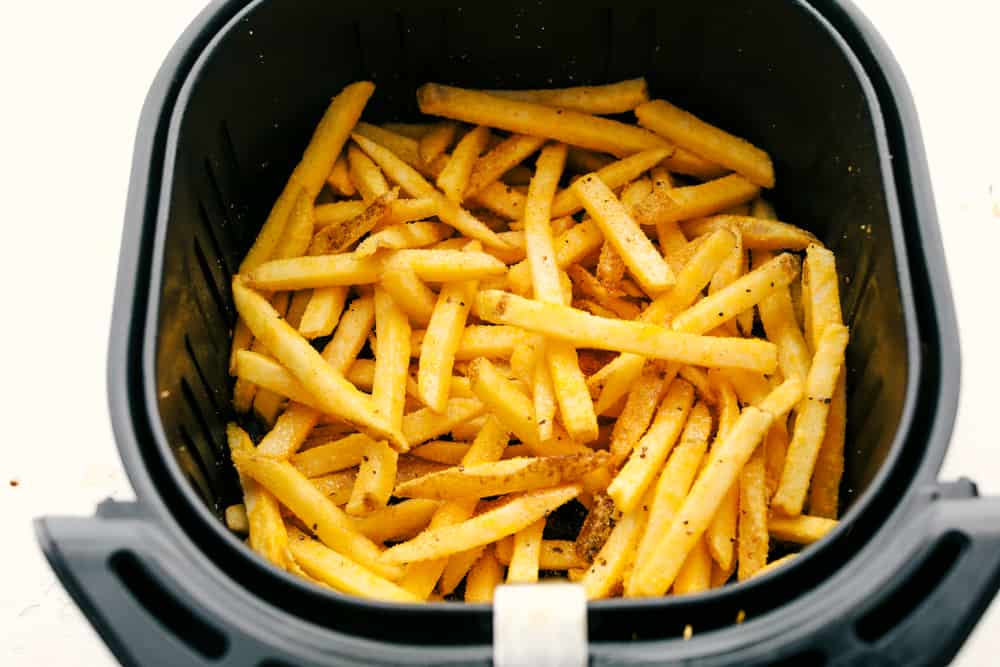
 

Up close picture of french fries in air fryer basket.

Tips for the Best Air Fryer Frozen Fries

  • Shake it up: To make sure your fires all get crispy and cooked evenly be sure to toss them gently half way through. You’ll want to rotate the bottom to the top and move them around. You can shake them up more than once, if you’d like. Some air fryers rotate, but you’ll still want to check and see how they’re doing half way through.
  • Don’t Overfill:  For frozen fries you don’t want to fill your air fryer more than half to 3/4 full. You do not have to put frozen fries in a single layer, but you for do not want to over crowd the basket. You may end up with undercooked fries.
  • Crispier:  Depending on the thickness and type of fry you use, you might need to increase or decrease the cooking time. The longer you cook the fries, the crispier they will become.

Different types of Fries

There are several types of fries and so they will cook a bit differently. These are good suggestions for starting times.

  • Crinkle-Cut/Waffle Fries: 10-11 minute
  • Sweet Potato Fries: 16 minute
  • Lattice Cut Fries:  10-11 minute
  • Shoestring Fries: 8-10 minute

How to Serve Air Fryer Frozen French Fries

These french fries are going to be so tempting you may not need to worry about serving them with sauces. They’ll be gone before you can get them out of the basket. But if you can keep the fingers out of the air fryer, there are many ways to serve these frozen french fries. Ketchup is the original sauce that was made for french fries, but there are other sauces to dunk these air fryer fries in.

  • Fry Sauce: This amazing sauce was solely invented to go with french fries. It’s a grown up version of ketchup and it is divine. In my home it has replaced ketchup and mayo on hamburgers even. It’s so good!
  • Yum Yum Sauce: This popular sauce is light, sweet and tangy! An excellent choice!
  • Cheese Sauce: Cover the golden fries in a rich thick cheesy sauce that’s going to knock your socks off.
  • Ranch Dressing:  As my kids would say, everything’s better with ranch dressing!
  • Make your Own Sauce: Mix your favorite spices with a bit of mayo and ketchup to create a unique sauce of your own. Add chipotle chili powder, garlic powder, and onion powder with mayo and ketchup for a spicy western sauce that’s awesome. There are lots of possibilities.
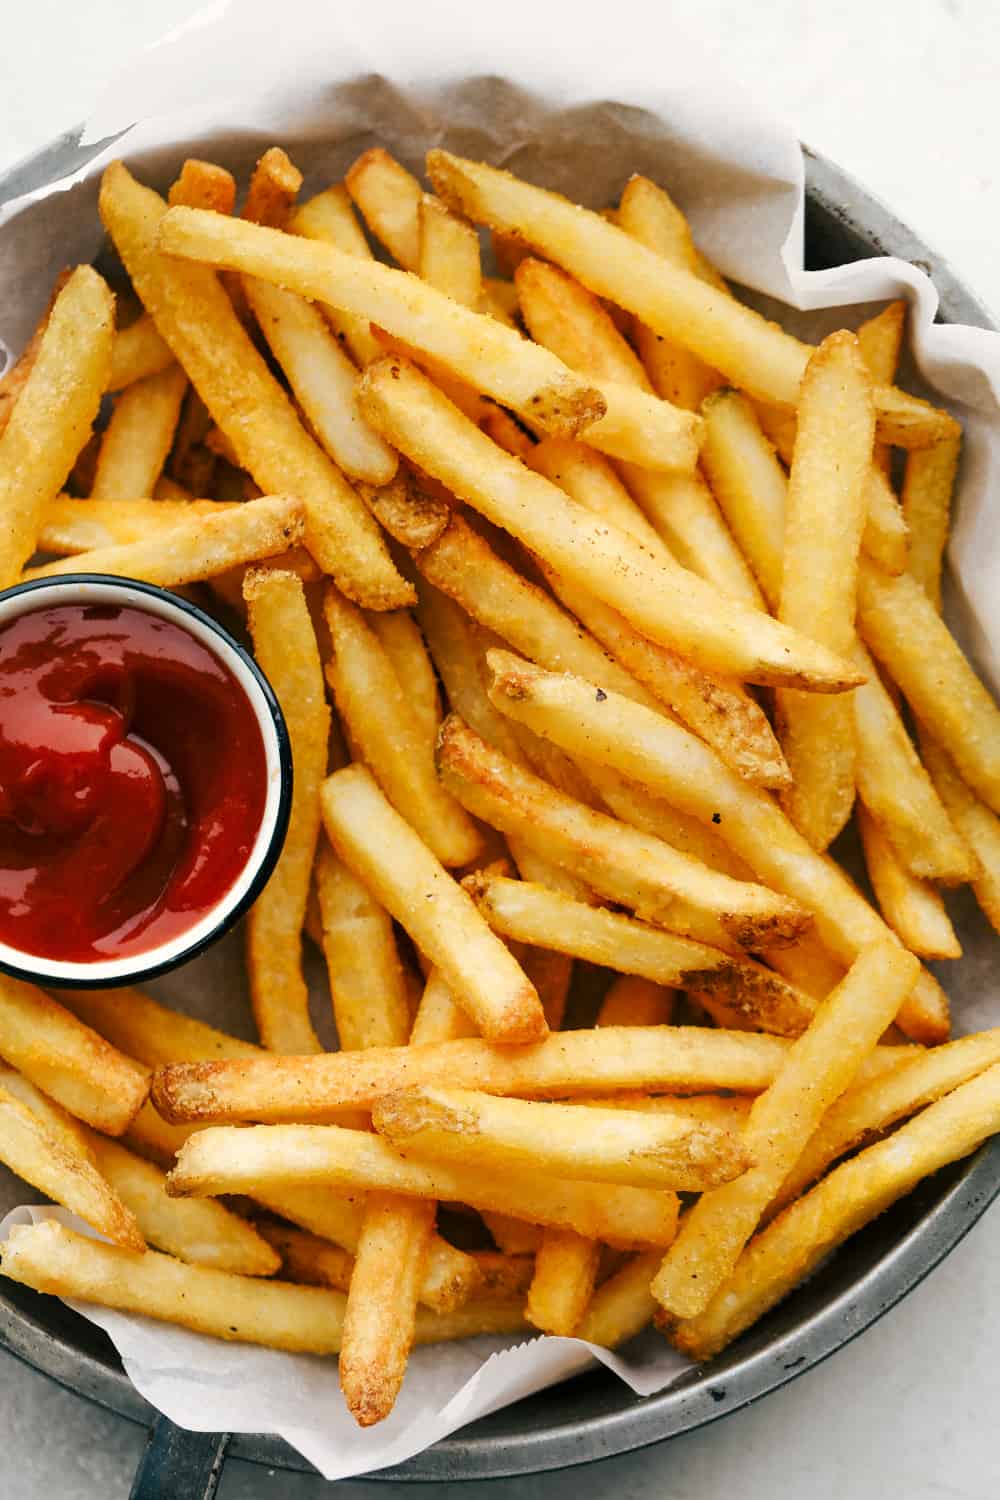
French fries on a plate with ketchup.

More Air Fryer Recipes to Try

I love using my air fryer for as much as possible these days. It makes the best main dishes, side dishes and even desserts. If you are new to the air fryer world here are some tried and true air fryer recipes to get you started. You are going to love these.

Print

Air Fryer Frozen French Fries

These Air Fryer Frozen French Fries come out exactly like your favorite fast food fries! They are crispy, golden on the outside and perfectly soft on the inside. So much better than frying or baking!
Course Side Dish
Cuisine American
Keyword air fryer french fries, air fryer fries, air fryer frozen french fries
Prep Time 5 minutes
Cook Time 15 minutes
Total Time 20 minutes
Servings 4 People
Calories 295kcal
Author Alyssa Rivers

Ingredients

  • 16 ounce bag frozen French fries
  • salt to taste I like to use seasoning salt
  • olive oil spray

Instructions

  • Place the frozen fries in the basket of your air fryer. Sprinkle with salt and spray lightly with olive oil spray.
  • Cook for 400 degrees for 10 minutes. Shake the fries and cook for an additional 5-10 minutes until crispy.

Nutrition

Calories: 295kcal | Carbohydrates: 34g | Protein: 3g | Fat: 17g | Saturated Fat: 5g | Sodium: 556mg | Potassium: 488mg | Fiber: 5g | Vitamin C: 7mg | Calcium: 10mg | Iron: 1mg


from The Recipe Critic https://ift.tt/36eZ7wk
https://ift.tt/3t2sps4
मंगलवार, 26 जनवरी 2021

Slow Cooker Italian Beef

Tender and juicy, this Slow Cooker Italian Beef is mouthwateringly amazing! This recipe is fork tender with a tangy zippy broth. You are going to love it!

Beef Bourguignon, Crack Chicken and Jambalaya are all slow cooker favorites that you have to add to your rotations. The slow cook just intensifies the flavors like no other!

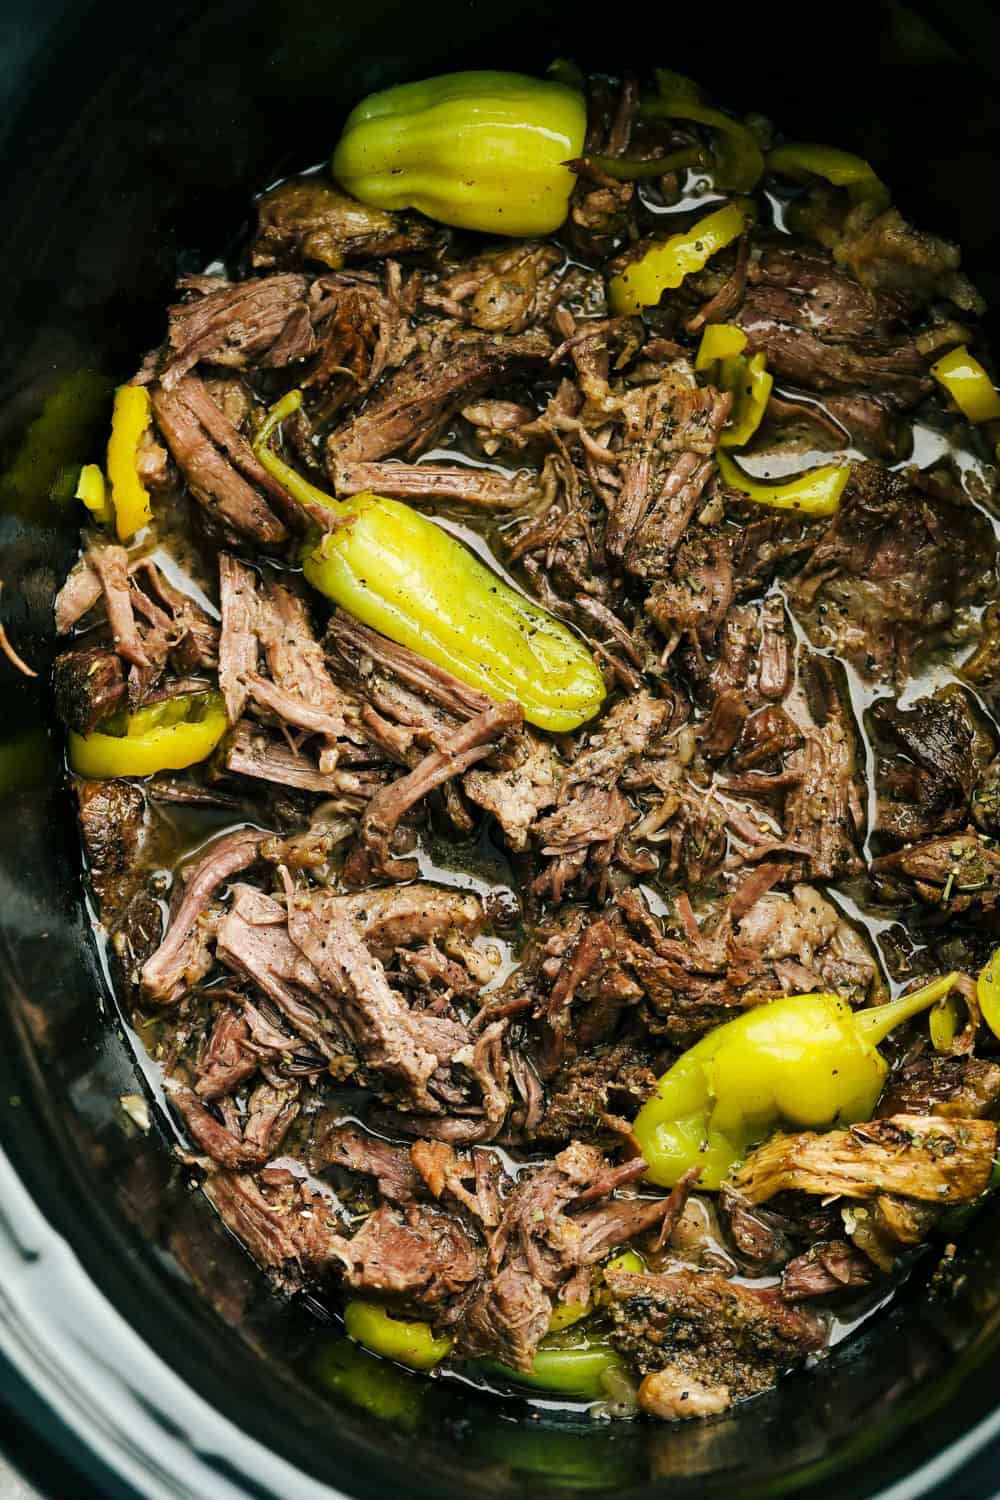
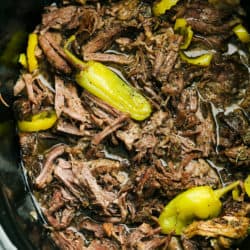
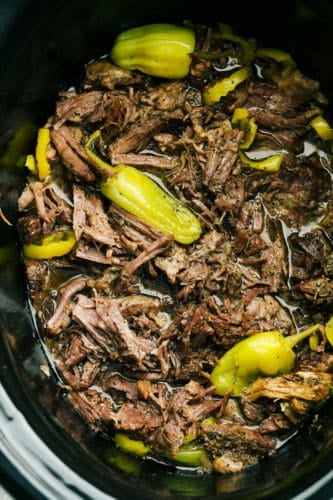
Slow cooker Italian beef with pepperoncini.

Delicious Italian Beef

You may be thinking as you look at this insanely delicious Italian beef that it looks a lot like my Mississippi Pork Roast, but these are truly different. And I’m here to tell you, that you need both in your life. This slow cooker beef is zesty, and infused with intense Italian flavor. This slow cooker Italian beef makes the best sandwiches! But don’t take my word for it, you have to try it!

Slow cooker recipes are the best. I love being able to through this together and then let the slow cooker do all the work. The aroma that fills your house will be incredible. This recipe is so easy, it comes together quickly after searing the beef to a crusty perfection.  Just combine the rest of the ingredients and let it cook till it falls apart. The hardest part of this recipe will be having to wait till it’s done.

Ingredients for Italian Beef Sandwiches

Look for roasts in the meat section of your grocery store. Be sure to get a chuck roast. They are the queen of roasts. The dressing mix and seasonings combine with the zippy, and tangy pepperoncini for a must try taste. You and your family will LOVE this slow cooker recipe!

  • Chuck Roast: 3-4 pounds.
  • Salt and Pepper: To taste, rubbing it all over the roast.
  • Oil: Canola or another high smoke oil.
  • Beef consommé: Beef broth will work here too.
  • Dry Italian Salad Dressing: Intensifies the flavoring.
  • Garlic Powder: Everything’s better with garlic.
  • Italian Seasoning: The perfect combination of spices for this roast.
  • Jar Sliced Pepperoncini: Don’t drain the pepperoncini.
  • Butter: Creates a deep richness to the roast.
  • Hoagie Rolls: Any type of bun will do.
  • Provolone Cheese: Sliced.

How to Cook Italian Beef in a Slow Cooker

Searing the roast is the only hands on part to this Italian beef recipe. Then you dump the rest in the slow cooker and let the magic happen. You can remove the roast to shred it, return it to the juices to absorb even more flavor before serving.

  1. Roast: Salt and pepper the beef roast.
  2. Sear: Heat a large skillet over high heat with the canola oil. Add the roast and sear each side for 2-3 minutes until it forms a golden seared crust. Place the roast in a 5 quart slow cooker.
  3. Combine: Add the beef consommé, Italian seasoning, garlic powder, Italian dressing and pepperoncini to the slow cooker. Top roast with butter slices.
  4. Cook: Cook on low for 8-10 hours or high for 5-6 hours. Shred the roast with a fork.
  5. Sandwiches: Serve on hoagies topped with provolone cheese and additional pepperoncini if desired.

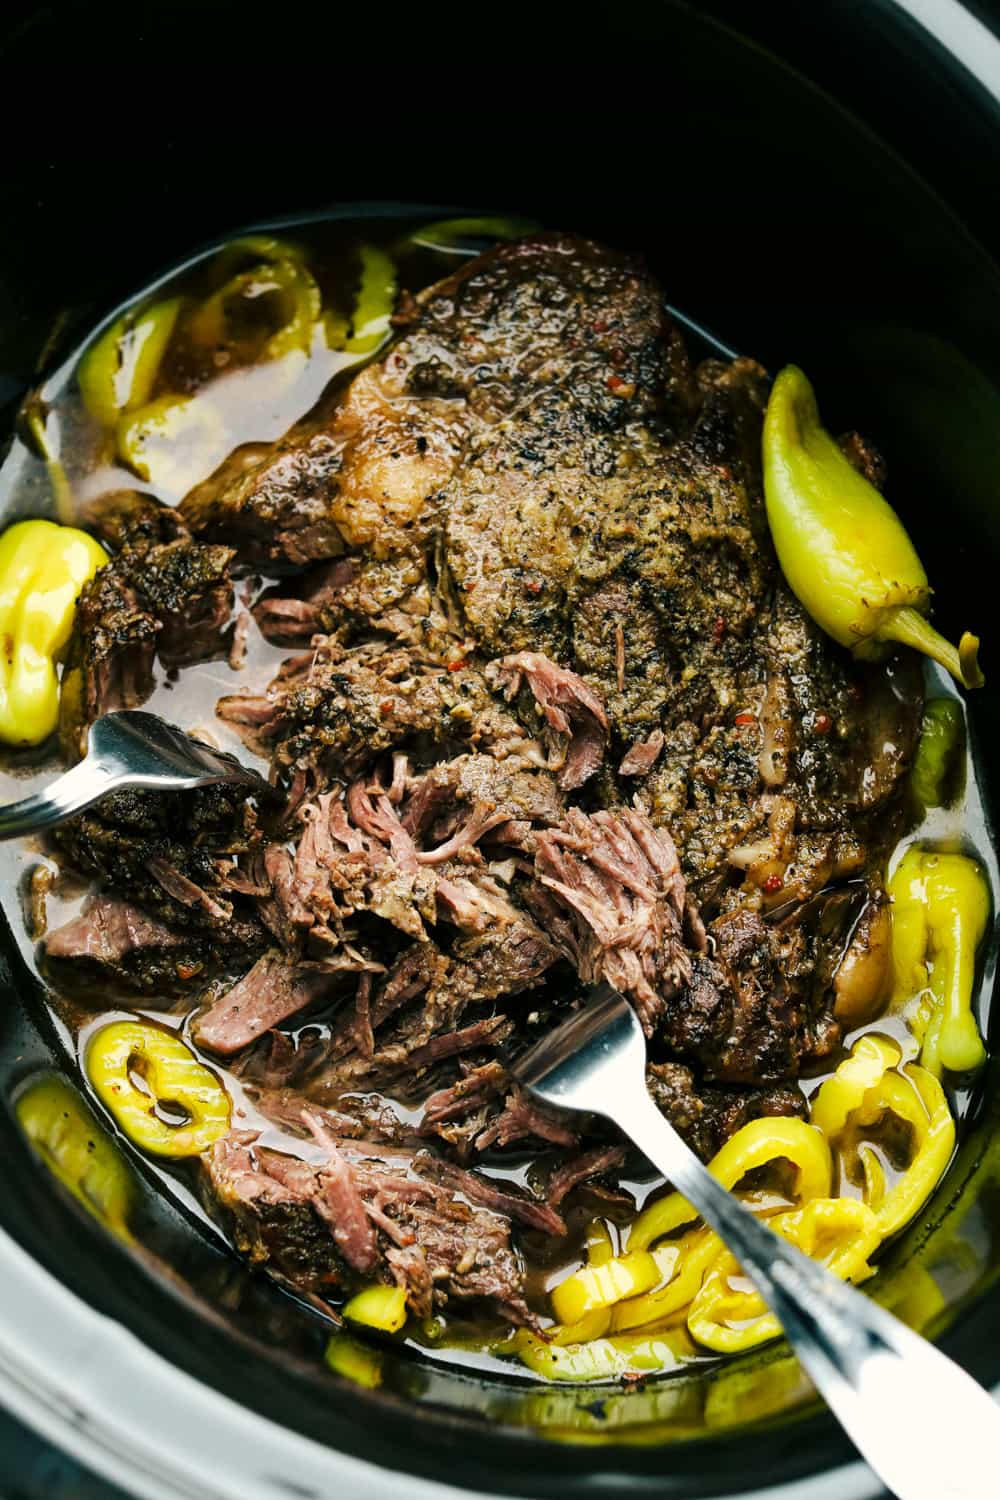
Forks shredding tender Italian Beef.

Slow Cooker Tips and Variations

Slow cooker recipes are super easy to make. It takes just a little bit of effort to put it all together and then you get to leave it alone for hours! You can go about your day knowing you’re have dinner practically already done. It’s such a satisfying feeling.

  • Sear: Searing meat is a must for slow cooking roasts. It caramelizes the natural sugars in the meat and browns the proteins. It creates this awesome brown crust on the surface of the meat amplifying the flavor.
  • Shredding: For the best flavor shred the beef and then return the Italian beef to the slow cooker and the savory juice. Let it heat for another 30 minutes to really allow all that flavor seep into the nooks and crannies.
  • Drain:  Use a slotted spoon to remove the beef from the slow cooker once ready to serve, so it doesn’t make your hoagies soggy.
  • Toast: I prefer to toast the hoagie buns for optimal flavor and to help them from getting too soggy. Place on a cookie sheet and broil till desired doneness.
  • Cheese: Provolone is a mild flavored wonderful melty cheese that goes perfectly with the Italian beef. But you can use cheddar, mozzarella, colby jack or even pepper jack for a bit of spice.
  • Top it: Besides the cheese, feel free to add more pepperoncini, roasted red peppers, or sautéed onions for extra flavor and variety.
  • Serve it differently:  This slow cooker Italian beef is awesome all by itself, you don’t have to serve it on a bun. Serve it on top of rice or mashed potatoes. Stir it into pastas like mac and cheese or these garlic mushroom noodles.

What Kind of Roast Should I Use

There are many roasts out there to choose from and it can be confusing if you are not familiar with them.

  • Kinds of Roasts to use: In this slow cooker recipe you can use top round, bottom round, shoulder or chuck roast. The roast that cooks best, however, is the boneless chuck roast. The marbling helps the meat fibers to break down into that iconic melt in your mouth texture, just like in this Melt in Your Mouth Pot Roast.
  • What if my Roast isn’t tender?  If you notice your roast isn’t falling apart at the touch of a fork, then it needs more time to cook. Every slow cooker is different and no two roasts are the same size. Your roast could take up to two hours longer to get to that perfect sweet spot. Your Italian beef may only need 30 minutes too. Just check it and be a bit patient. It’ll be worth it I promise.

Storing and Reheating Italian Beef

Slow cookers are still hands down one of the best ways to cook insanely delicious meals. The beautiful thing about slow cooker Italian beef is that it gets better with time. The flavors just keep infusing more and more the longer it sits. It’s so yummy!

  • Storing: Make sure to store leftover Italian beef in its juices. You can drain what you don’t need but make sure there is some. Store in a covered container for up to 4-5 days.
  • Freezing: Store the beef in some of its juices in a sealable heavy duty freezer bag. Squeeze out any extra air to prevent freezer burn. Keep for up to 3 months.
  • Reheat: You can reheat thawed meat in the microwave, stove top or even back in the slow cooker.

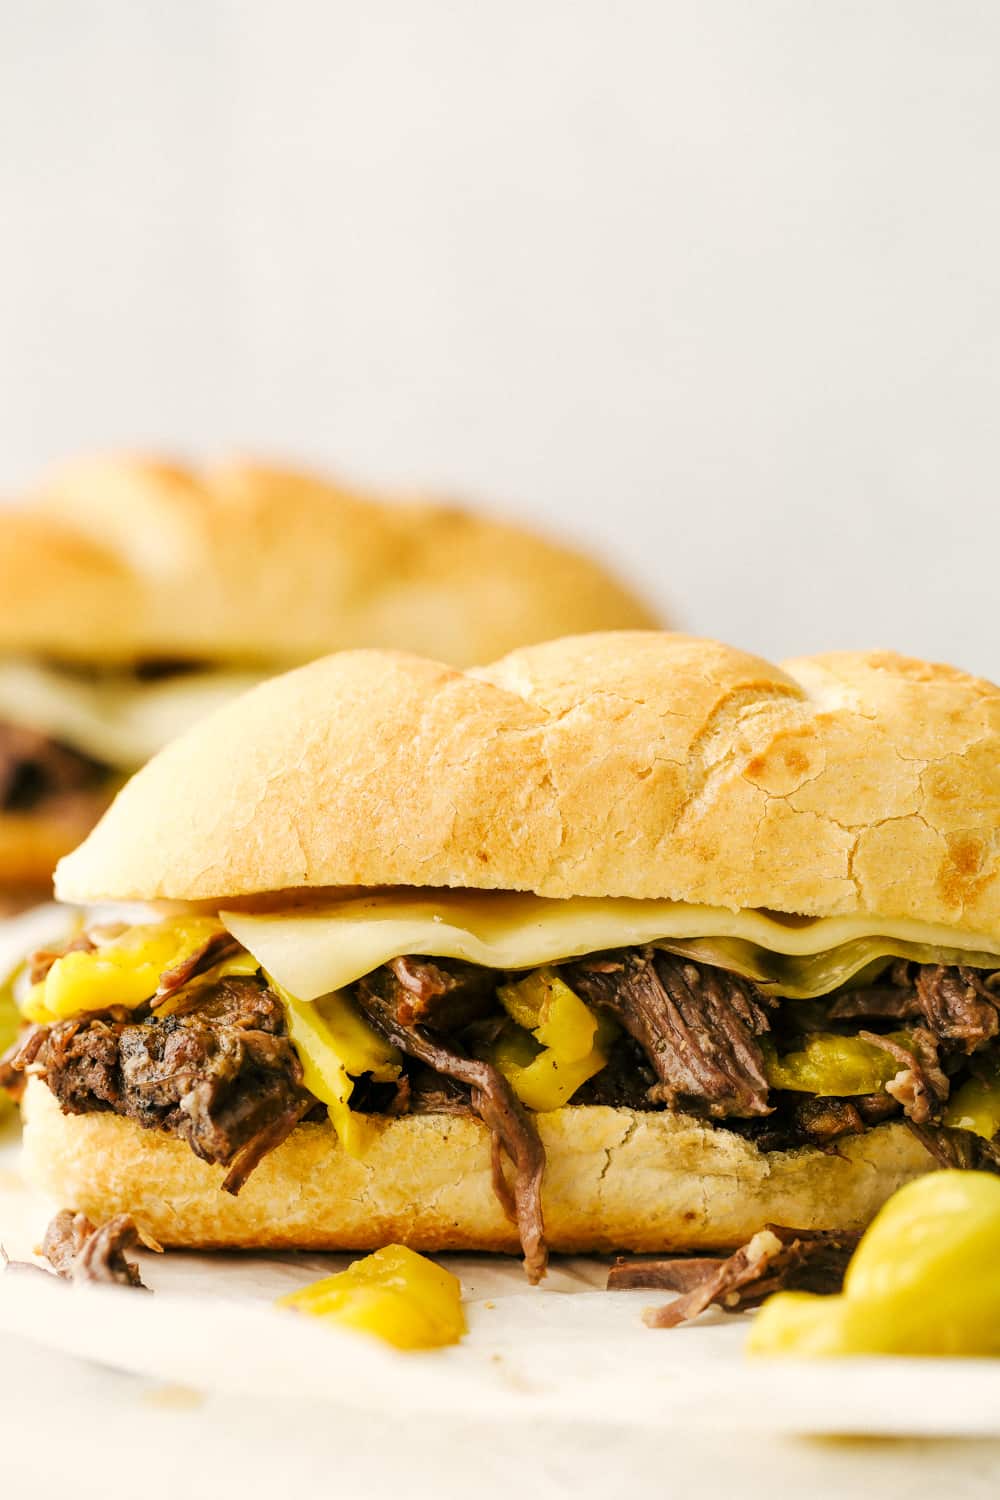
Italian Beef on a hoagie with cheese.

More Slow Cooker Sandwich Recipes to Try

Like I’ve said before the slow cooker method of cooking is just one of the best ways to cook. It allows meat to soak up all the flavors and for the meat to break down into melt in your mouth tenderness. Slow cooker sandwiches are juicy, flavorful and fabulous!

Print

Slow Cooker Italian Beef

Tender and juicy, this Slow Cooker Italian Beef is mouthwateringly amazing! This recipe is fork tender with a tangy zippy broth. You are going to love it!
Course Dinner, Main Course
Cuisine American, Italian American
Keyword italian beef, slow cooker italian beef
Prep Time 20 minutes
Cook Time 8 hours
Total Time 8 hours 20 minutes
Servings 4 Hoagie Rolls
Author Alyssa Rivers

Ingredients

  • 3-4 pounds beef chuck roast
  • salt and pepper
  • 2 tablespoons canola oil
  • 2 cups beef consommé or Beef broth
  • 1 package dry Italian salad dressing
  • 1 teaspoon garlic powder
  • 1 Tablespoon italian seasoning
  • 12 oz jar sliced pepperoncini drained
  • 1/4 cup butter sliced
  • 4 hoagie rolls
  • 8 slices provolone cheese

Instructions

  • Salt and pepper the beef roast. Heat a large skillet over high heat with the canola oil. Add the roast and sear each side for 2-3 minutes until it forms a golden seared crust. Place the roast in a 5 quart slow cooker.
  • Add the beef consommé, italian seasoning, garlic powder, italian seasoning and pepperoncini to the slow cooker. Top roast with butter slices.
  • Cook on low for 8-10 hours or high for 5-6 hours. Shred the roast with a fork. Serve on hoagies topped with provolone cheese and additional pepperoncinis if desired.


from The Recipe Critic https://ift.tt/3a8OuMG
https://ift.tt/2KPIwId

Perfect Air Fryer Tofu

This Air Fryer Tofu is super crispy and full of flavor. The tofu is so easy to cook in the air fryer, it is a must try!

For a restaurant worthy meal start with wontons then add this air fryer tofu to a bed of rice and vegetables for a delicious dinner.

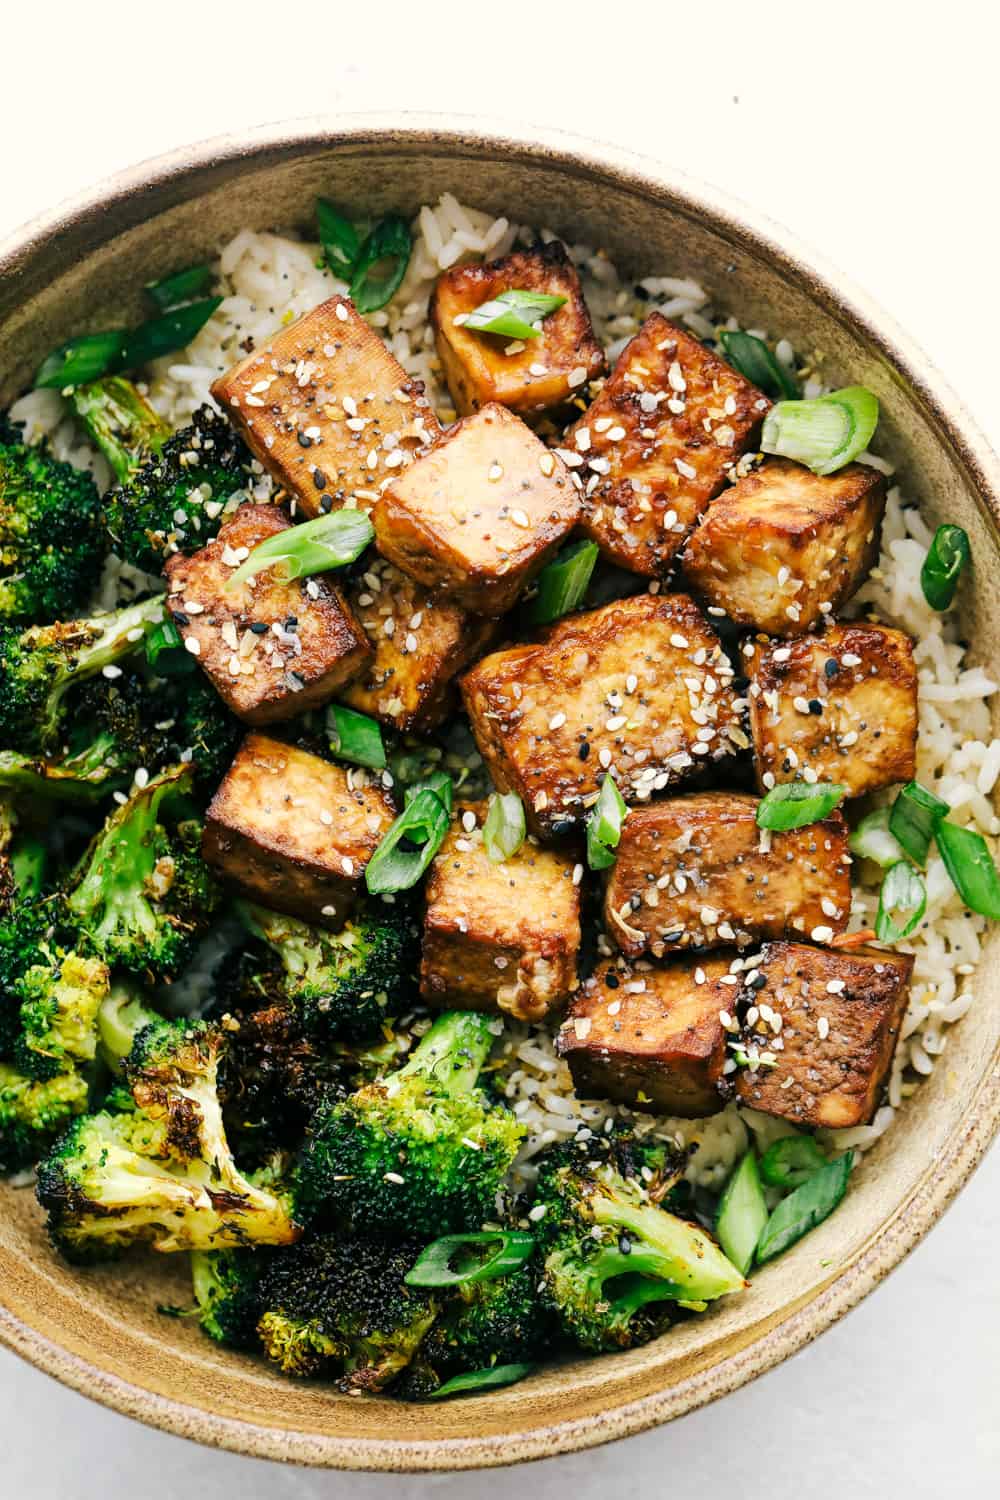
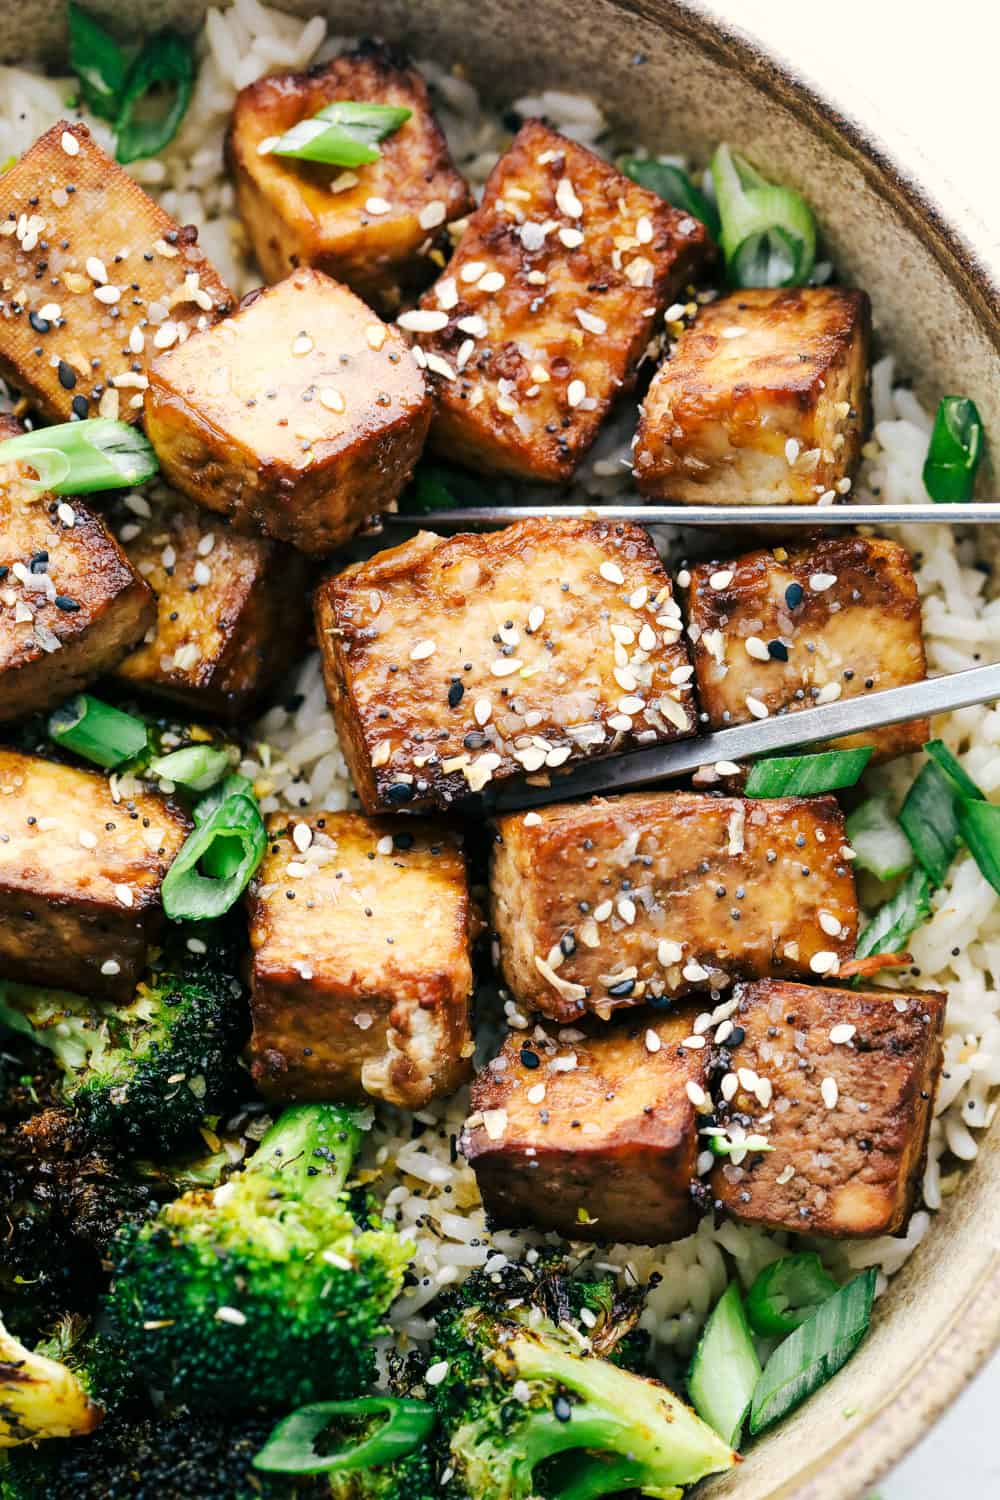
Air fryer tofu in a bowl of rice and broccoli.

Air Fryer Tofu

If you love tofu or even if you are new to tofu, this is the recipe for you!  Cooking tofu in the air fryer is a fun way to cook. Using the air fryer will probably be the only way you cook it from now on. If you know tofu, it can be a pain to cook. Tofu often sticks to the pan even if it is oiled. Air frying solves all those problems and it creates that incredible crispy crust on the outside without the frying. If you thought you did not like tofu or haven’t tried it before. Now is the time.

Tofu seems to be one of those foods that either people have tried it and like, or they haven’t tried it at all and think they’ll hate it. Introducing your family or even yourself, to tofu with this air fryer recipe is super easy and it’ll be one of the best ways to enjoy this super food. Trust me you are going to love this and your family will to!

Ingredients for Crispy Tofu

Tofu can be a couple of different places in your local grocery store. First check the produce section in the refrigerator area. Also see if it’s in your store’s natural foods section. It can also be found sometimes in the dairy aisle as well. If all else fails. Ask someone who works there. It’s grown in popularity so it’s usually easy to find.

  • Extra Firm Tofu: There are many types of tofu so be sure to get the extra firm variety.
  • Soy Sauce: Adds flavor and color.
  • Sesame Oil: Creates a deep richness in the flavor.
  • Cornstarch: Helps create an extra crispy crust

Making Tofu in the Air Fryer

There are a few steps and things to know about tofu if you’ve never cooked with it before. But don’t fear it’s super easy. You’ll love the results.

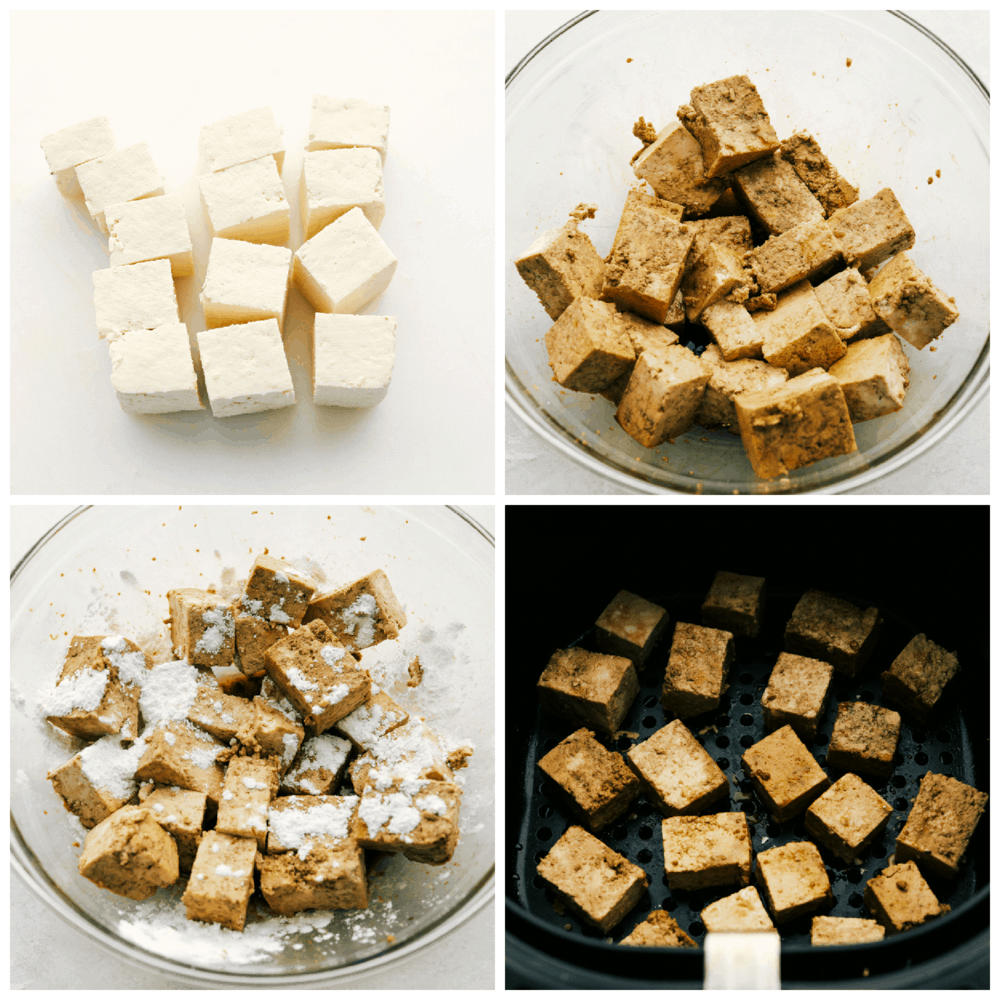
  1. Press it: Remove the tofu from the package.  Press the tofu to remove the moisture.  If you don’t have a tofu press, you can simply just put the tofu in the center of a dish towel and gently press to remove the moisture.  Or you can put it in between two dishtowels and lay a heavy bottomed skillet on top of the tofu for 30 minutes.
  2. Mix: In a medium sized bowl add sliced tofu, soy sauce and sesame oil and gently toss to coat.  Sprinkle cornstarch on top and toss.
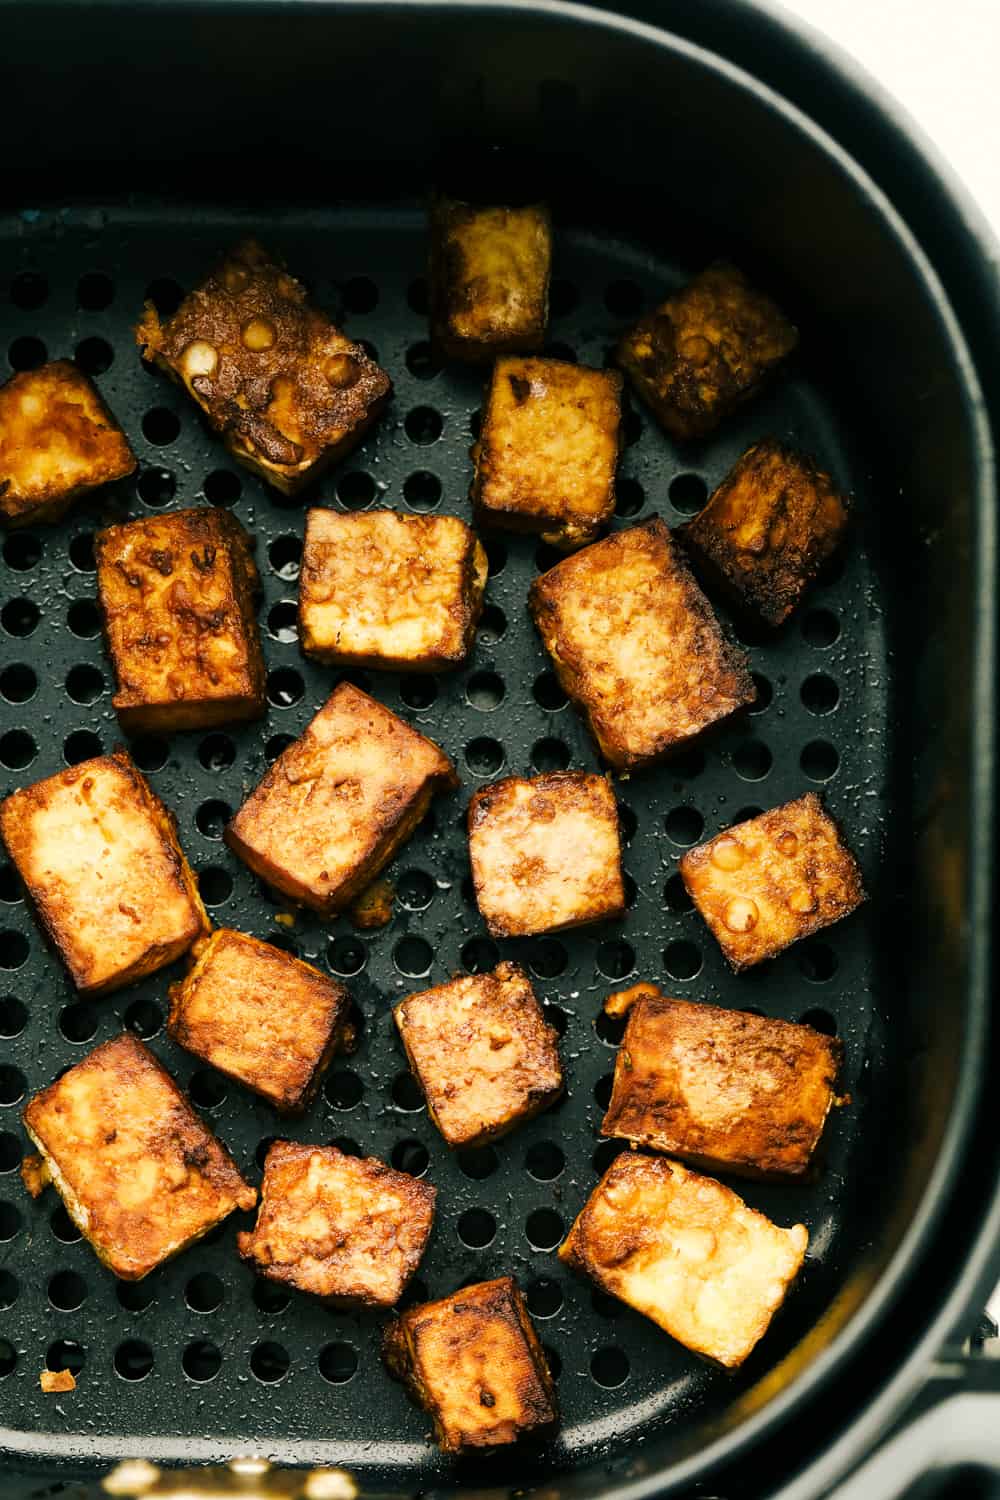
  3. Bake:  Place the tofu in the basket of an air fryer so they aren’t touching each other.  Turn the air fryer to 360 degrees.  Cook for 10 minutes.  Flip the tofu and cook for an additional 5-10 minutes until they are crisp. Cooking time will depend on how much moisture was left in the tofu.

Tofu being prepared and seasoned for the air fryer.

Types of Tofu and How to Use Them

Tofu comes in different degrees of firmness: silken, soft, firm, and extra-firm.

  • Silken is best for blending into smoothies and desserts.
  • Soft is often used in heartier soups, and stews.
  • Firm and extra-firm are best for stir-frying, and baking. Be sure to check your recipes to use the tofu that’ll work best for your dish.

All About Tofu

This air fryer recipe is the perfect way to try tofu for the first time. The results will have you coming back for more. Here is what you need to know about this fantastic food!

  • What is tofu? Tofu, sometimes called bean curd or soybean curd,  made from soybeans, water and a coagulant or curdling agent. The process of making tofu is similar to making cheese.
  • Where did it come from? Tofu is believed to have originated in China over 2,000 years ago by accident.
  • Is it good for you? A serving of tofu is only 70 calories and is considered a nutrient dense food. It high in protein and contains all the essential amino acids your body needs. It also contains a wide variety of vitamins and minerals. Including tofu in your diet might help protect against certain types of cancer, diabetes and heart disease.
  • What does Tofu taste like?  Tofu is a lot like chicken in that is pretty bland by itself. The curdling agent in tofu however, absorbs flavors incredibly making it ideal to use with spices, sauces and marinades.
  • Storing Tofu: Uncooked tofu needs to be kept immersed in water and sealed in its original packaging. Store the tofu the same way you purchased it. If it was in the fridge, keep it in the fridge , etc. Refrigerate any unused portion in a sealed container covered in water for up to 3 days.

Tofu cooked in the air fryer.

Tips and Variations For The Best Tofu

Air frying tofu is seriously the best way to cook it, and it’s super easy to customize.

  • Drain It: The first thing you must know about tofu for this air fryer recipe and any recipe is that it needs to be pressed so the moisture can be removed. The water will keep it moist and fresh while storing, but it needs to be drained before using.  Don’t skip this step. The more water you can press out of the tofu the crispier your air fried tofu will be.
  • Don’t overcrowd the basket: Air frying uses circulating air to cook your food, similar to a convection oven. For the air to circulate properly and give a good crisp all over, leave space between the tofu. Cook in batches if you need to.
  • How to use air fryer tofu: This is truly a must make air fryer recipe and you can use the tofu in so many ways. Add it to salads, buddha bowls, and stir-fry.  We love it in this Pad Thai recipe. Where ever you want to use it’ll be fantastic.
  • Spice it up: Feel free to play around with the spices. Using honey, spicy mustards, sriracha, garlic powder, onion powder, and don’t forget the marinades. Tofu absorbs flavor amazingly well. Marinate for an hour up to 24 hours before baking.
  • Leftovers: Store leftovers in the fridge for up to 4 days and reheat for a few minutes in the air fryer.

Using chopsticks to pick up air fried tofu with rice and broccoli.

More Air Fryer Recipes

Air frying is changing the culinary world and for the better. As you probably know it’s a miraculous way to cook food. It’s healthier, faster and super easy. It creates delicious crusts on the outside and it’s tender and juicy on the inside. Everything is always Perfect!

Print

Air Fryer Tofu

This Air Fryer Tofu is super crispy and full of flavor. The tofu is so easy to cook in the air fryer, it is a must try!
Course Dinner
Cuisine Asian American, Chinese
Keyword air fryer tofu
Prep Time 30 minutes
Cook Time 20 minutes
Total Time 1 hour
Servings 4 People
Calories 116kcal
Author Alyssa Rivers

Ingredients

  • 1 pound block extra firm tofu
  • 1/4 cup soy sauce
  • 1/2 teaspoon sesame oil
  • 1 Tablespoon Cornstarch

Instructions

  • Remove the tofu from the package. Press the tofu to remove the moisture. If you don't have a tofu press, you can simply just put the tofu in the center of a dishtowel and gently press to remove the moisture. Or you can put it in between two dishtowels and lay a heavy bottomed skillet on top of the tofu for 30 minutes.
  • In a medium sized bowl add sliced tofu, soy sauce and sesame oil and gently toss to coat. Sprinkle cornstarch on top and toss.
  • Place the tofu in the basket of an air fryer so they aren't touching each other. Turn the air fryer to 360 degrees. Cook for 10 minutes. Flip the tofu and cook for an additional 5-10 minutes until they are crisp. Cooking time will depend on how much moisture was left in the tofu.

Nutrition

Calories: 116kcal | Carbohydrates: 5g | Protein: 12g | Fat: 6g | Saturated Fat: 1g | Sodium: 815mg | Potassium: 31mg | Fiber: 1g | Sugar: 1g | Calcium: 145mg | Iron: 2mg


from The Recipe Critic https://ift.tt/3pkYrgv
https://ift.tt/3oiraRV

सोमवार, 25 जनवरी 2021

Crockpot Chicken Fajitas

Mexican dinner night is fun and easy with these Crockpot Chicken Fajitas! They are loaded with chicken, bell peppers, onion, and spices, then served with all your favorite toppings.

Be sure to serve your fajitas with Horchata, Tortillas and Rice for the full restaurant effect!

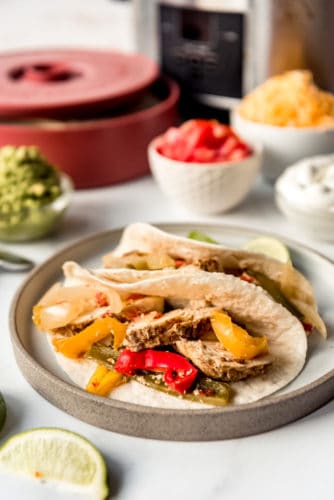
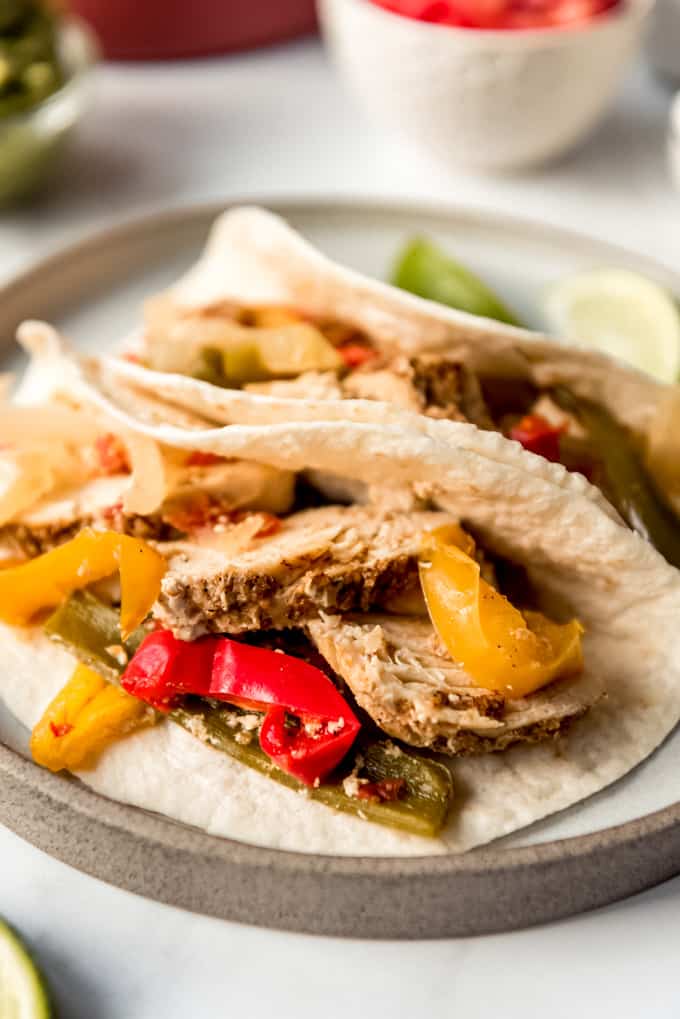
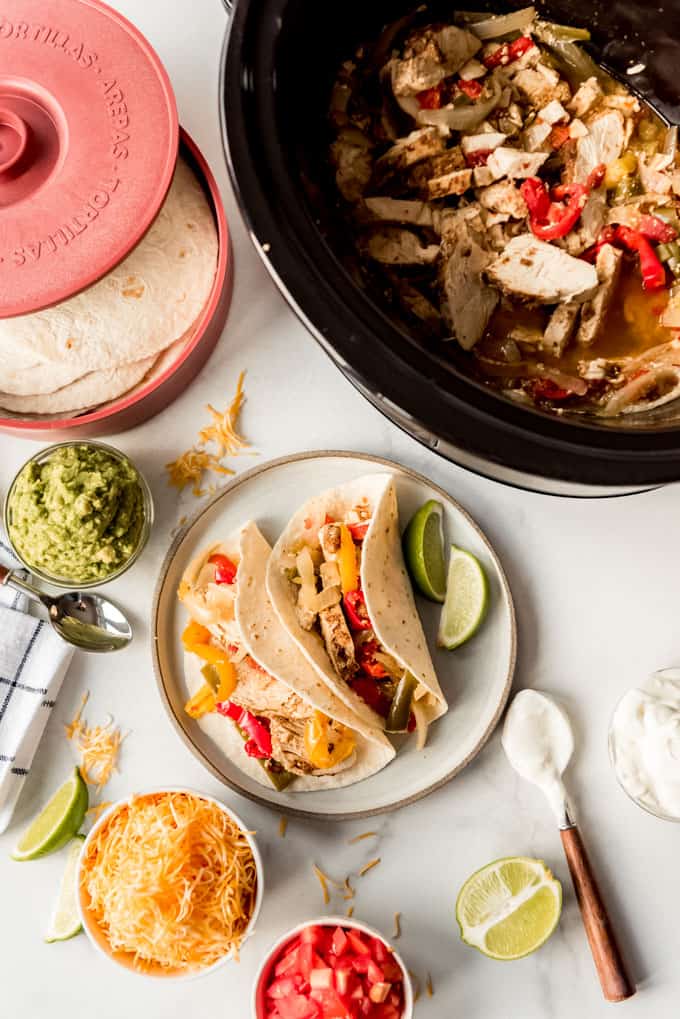
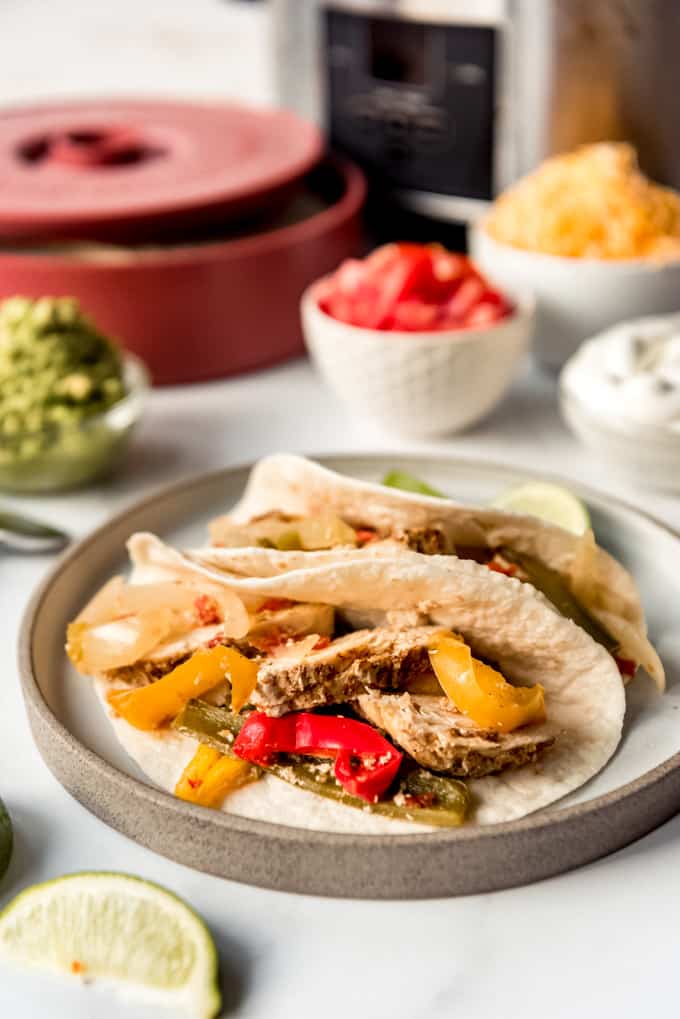
Crockpot chicken fajitas on tortillas on a plate.

Crockpot Fajitas

Fajitas are a go-to meal when I find myself with one of those big bags of bell peppers from Costco that I want to use up. There is a lot of healthy bang-for-your-buck in fajitas because of all the veggies. For some reason, kids go crazy for fajita veggies when they won’t always eat them otherwise!

The best part about fajitas is that you get to serve them family style with all the fixings like sour cream, guacamole, pico de gallo, and shredded cheese on the table. Then everybody assembles their own on soft flour tortillas. It’s great for casual family dinners and is a nice change from tacos!

Chicken fajitas with toppings next to a slow cooker.

What You Need for the Best Crockpot Chicken Fajitas

As long as I have a few bell peppers in the fridge, I know I’ve always got everything on hand to throw these fajitas together around lunchtime so that dinner is ready on days when we have lots of afternoon activities going on.

  • Chicken: If you have thawed chicken breasts, go ahead and use them! But did you know that you can put frozen chicken breasts in your crockpot and they will turn out just as good?
  • Peppers: I like to use a variety of red, yellow, and green peppers for color. And if you don’t like green bell peppers, try Anaheim or poblano peppers instead!
  • Onion: The sliced onions add so much flavor! They are one of my favorite parts of fajitas, so sometimes I double up on them.
  • Canned Tomatoes & Chilies: I always have a couple of cans of Rotel in my pantry. And I even add extra diced green chilies to the fajitas for their fantastic flavor.
  • Mexican Spices: Classic spices like cumin, chili powder, oregano, garlic, and coriander really boost the flavor quotient of these fajitas. If you are really pressed for time, you can cheat and just use a packet of fajita or even taco seasoning from the store.
  • All the Fixins’: You’ll want to have smaller, fajita-size tortillas, shredded cheese, sour cream, pico de gallo, cilantro leaves, and guacamole or sliced avocado to dress up your chicken fajitas. I also like to put out lime wedges for a squeeze of fresh lime flavor over mine!

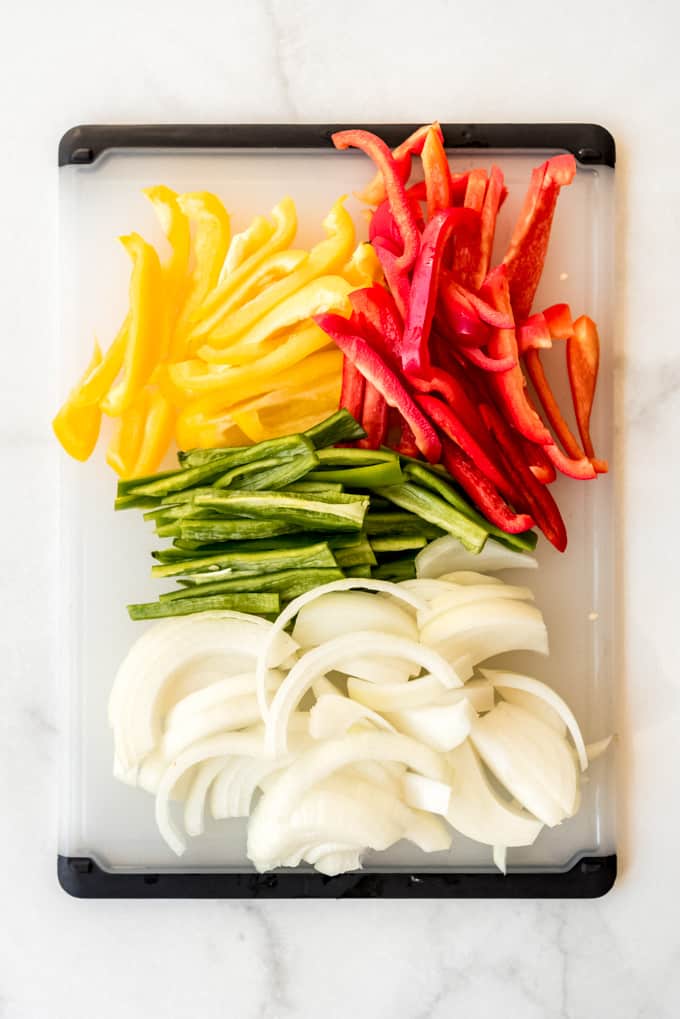
Sliced bell peppers and onions on a cutting board.

How to Make Tasty Chicken Fajitas in the Crockpot

This recipe is as easy as it gets! You can even chop all the veggies earlier in the week and keep them in the fridge so that there is less prep work on the day you know you will be busy!

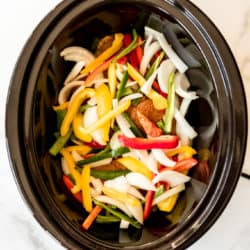
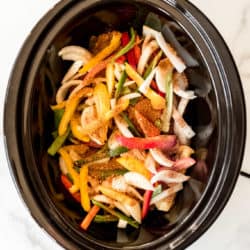
  1. Chop the veggies: This is the most hands-on part of the whole recipe, but you can use a shortcut and buy precut peppers and onions at many stores. Slice the peppers and onions into strips that are roughly the same size so they cook evenly.
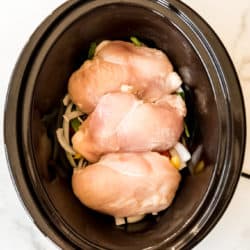
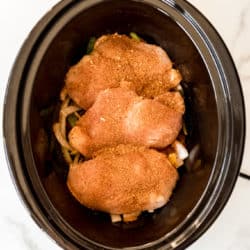
  2. Layer & season: Add half of the peppers and onions to the bottom of a 6-7 quart crockpot, then lay the chicken breasts directly on top. Sprinkle with half of the fajita seasoning, then dump the remaining veggies on top and sprinkle with the rest of the seasoning.
  3. Cook: Place the lid on your crockpot and cook on LOW for 4-6 hours or on HIGH for 2-3 hours. The fajitas will be ready when the chicken reaches 165 degrees F when tested with a meat thermometer. The longer you cook them, the more likely the chicken is to shred, so if you prefer slices of chicken, plan for the shorter amount of time.
  4. Slice and serve: When the chicken is done, lift the breasts out and slice them into thin strips. Remove excess cooking liquid from the slow cooker, then add the sliced chicken back in with the peppers and onions and toss. Serve hot with all the fixings!

Tips for Easy Crockpot Chicken Fajitas

Crockpot cooking is pretty straight forward and a great way to get dinner on the table without having to cook chicken and peppers in batches on the stovetop or stand manning the grill. Here are a few tips to help you make your chicken fajitas just how you like them!

  • Be sure to pick up fajita-sized tortillas at the store and warm them in the microwave to make them more pliable and delicious. You can use flour or corn tortillas, but the smaller size is best for fajitas!
  • If you prefer your vegetables more tender-crisp with a bite of bite to them, wait to add them until the last 30 minutes and just cook the chicken with the spices.
  • Unlike many cuts of beef which can seem to cook forever in the slow cooker without getting overdone, chicken will tend to dry out if cooked too long.
  • Leftovers are fantastic on a salad, in a burrito, or even on a baked potato the next day for lunch! You can just reheat in the microwave or on the stovetop for a couple of minutes.
  • If you like more peppers or onions, you can always double those amounts in this recipe!Chicken fajitas with peppers next to fajita toppings.

More Chicken Crockpot Recipes

Chicken is a go-to protein for many families because it’s healthy, convenient, cheap and so versatile. These are some of our other favorite chicken recipes that can be made in the crockpot!

Print

Crockpot Chicken Fajitas

Mexican dinner night is fun and easy with these Crockpot Chicken Fajitas! They are loaded with chicken, bell peppers, onion, and spices, then served with all your favorite toppings.
Course Dinner, Main Course
Cuisine Mexican
Keyword crockpot chicken fajitas
Prep Time 15 minutes
Cook Time 4 hours
Total Time 4 hours 15 minutes
Servings 6 servings
Calories 387kcal
Author Amy Nash

Ingredients

  • 1 1/2 to 2 pounds boneless skinless chicken breasts
  • 1 (14.5-ounce) can diced tomatoes with juice (I used fire roasted)
  • 2 (4-ounce) cans diced green chiles (I used mild)
  • 3 bell peppers, sliced (I use a variety)
  • 1 white or yellow onion
  • 2 teaspoons chili powder
  • 2 teaspoons ground cumin
  • 1 1/2 teaspoons salt
  • 1 teaspoon garlic powder
  • 1 teaspoon oregano
  • 1 teaspoon smoked paprika
  • 1/2 teaspoon ground coriander
  • 1/2 teaspoon black pepper

For serving

  • 12 fajita-size flour tortillas
  • Toppings: lime wedges, sour cream, shredded cheese, guacamole or sliced avocados, pico de gallo or salsa, cilantro leaves, shredded cheese

Instructions

  • Add the diced tomatoes and diced green chilies to the bottom of a 6-7 quart crockpot.
  • Remove the stems and slice the bell peppers into narrow strips. Slice the onion. Add half of the peppers and onions to the bottom of the crockpot.
  • Arrange the chicken breasts on top of the veggies. Mix the chili powder, cumin, garlic powder, oregano, smoked paprika, salt, coriander, and pepper together in a small bowl, then sprinkle half of it over the chicken.
  • Add the remaining peppers and onions on top of the chicken, then sprinkle with the remaining spices.
  • Cover and cook on LOW for 4-6 hours or on HIGH for 2-3 hours.
  • Remove the chicken breasts and slice into thin strips. Drain most of the liquid from the crockpot, then add the chicken back with the peppers and onions. Toss together, then serve hot with your fajita toppings.

Nutrition

Calories: 387kcal | Carbohydrates: 37g | Protein: 38g | Fat: 8g | Saturated Fat: 2g | Trans Fat: 1g | Cholesterol: 97mg | Sodium: 992mg | Potassium: 847mg | Fiber: 4g | Sugar: 6g | Vitamin A: 2281IU | Vitamin C: 79mg | Calcium: 91mg | Iron: 4mg


from The Recipe Critic https://ift.tt/3pffTTC
https://ift.tt/3iLUVcQ