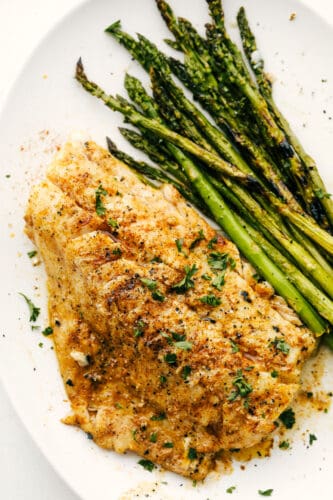
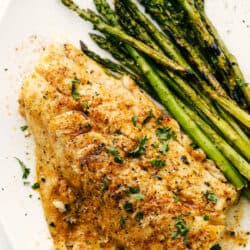
This Grilled Cajun Garlic Butter Cod is the only recipe you will need this summer! The cod is tender and juicy and the flavor is spicy and buttery, it’s insanely delicious!
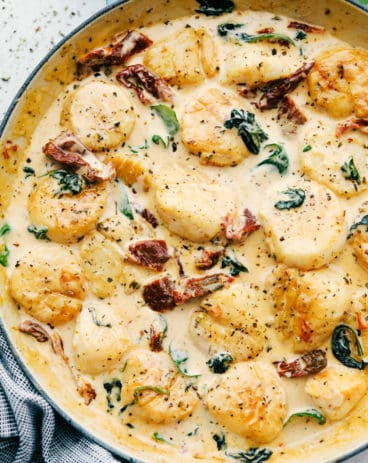
Grilling seafood is an incredible way to infuse flavor and get great texture. Try Salmon, Shrimp and Scallops, all on the grill!

Grilled Cajun Garlic Butter Cod
The moment I had my first bite of this grilled cod, I knew I had tasted something epic. I had to put that it was insanely good because anything less wouldn’t have done this dish justice. Similar to my Baked Cod Recipe, grilling the fish adds another layer of texture and flavor that kicks it up a notch. The buttery garlic sauce bastes the fish in an intense flavor that also adds moisture, perfect for grilling.
Summer is coming and with it the grilling season. I love being able to make dinner outside. It doesn’t heat up my kitchen and I can leave any smells outside as well. It frees up the oven if I do need it to make killer side dishes like Stick of Butter Rice or Sweet Potato fries. This cajun butter grilled cod could not be easier and is the perfect recipe if you are a beginner or a pro. This will grill up perfectly and taste fantastic! Be prepared to impress!
What You Need For Grilled Cod
Yes, it’s a mouthful of a title but just reading it makes my mouth water. This is definitely insanely good!
- Cod filet: You can use fresh or frozen for this recipe.
- Salt and pepper: Add to taste
- Butter melted: Butter is flavorful and the vehicle for the seasonings.
- Olive oil: With a higher smoke temperature, it helps prevent the outside from burning before the inside is done.
- Cajun Seasoning: Use your favorite or this is the one I used.
- Garlic Cloves: Mince your garlic.
Here is How to Grill Cajun Cod
Grilling is easy and a great way to cook all sorts of meats.
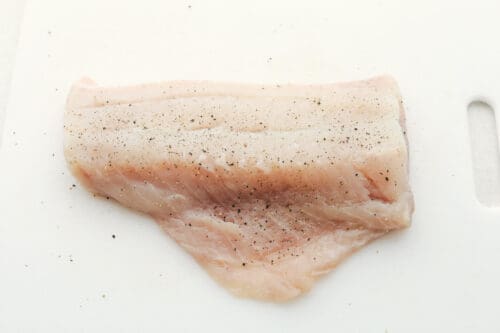
- Prep: Preheat the grill to 400 degrees. Salt and pepper the cod.
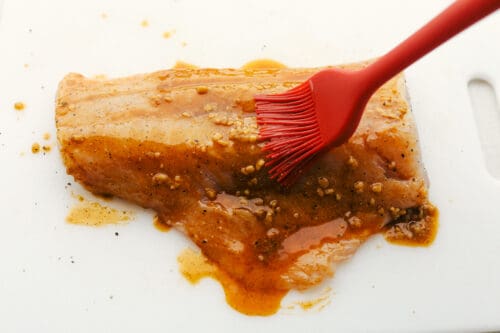
- Marinade: In a small bowl add the butter, cajun seasoning, olive oil, and garlic. Reserve half of the marinade.
- Season: Brush on each side of the cod and place on a well-oiled grill.
- Grill: Let it cook for 4-5 minutes. Carefully flip and cook the other side for 4-5 minutes or until it reaches an internal temperature of 130 degrees and flakes easily. Brush the reserved marinade on the fish right at the end.

All the Facts about Cod
Cod is beautiful white fish that is a favorite for many reasons, it’s sturdy, non-fishy mild-flavored fish that is ideal for adding lots of flavors and holds up to grilling, frying, and baking.
- What To Look For When Buying Cod: When buying fresh, look for cod fillets. This is will the largest part of the fish, free from bones and scales. Look for firm flesh that is translucent to light pink in color. It should not have any strong odors or weeping fluids. Buying Frozen is a great option too. Look for fish that has been processed fresh and frozen quickly for the best quality.
- Why Is Cod A Good Beginner Fish? If you are just starting out eating more fish and or cooking it, white fish is one of the best fishes to start with. They are a forgiving fish, with mild flavors that won’t overpower the taste buds. Cod is the choice of many recipes because it doesn’t fall apart as easily as some other seafood can. This makes it perfect for Fish and Chips and Fish Tacos.
- Good For You: Cod is a nutritious source of lean protein that is full of vitamins and minerals. Super low in trace mercury, it’s a favorite for every diet.
- Internal Temperature: Cod should be cooked till the internal temperature registers 130 degrees. It should be opaque and flake easily with a fork.

The Best Grilled Cod Tips
Cajun spice is the perfect blend of spices that give a ton of flavor with just a bit of spice.
- Prepare The Grill: One of the most important things you must do before every grill is to clean it. It prevents your food from sticking and protects foods from cross flavors and contamination. Heat your grill on high for several minutes. Then using a grill brush clean off the grill grate.
- Oil It: Using tongs, take a folded wad of paper towel that has been dipped in oil and grease the grill grates lightly. This will help keep the fish from sticking.
- Save Marinade: Before basting the fish, be sure to reserve some in a separate bowl. You do not want to use marinade that has been in contact with the raw fish. And you want to make sure you have some leftover marinade to brush on with a clean brush at the end. It is quite magical.

What to Serve with Your Cajun Garlic Butter Cod
This is a full-flavored dish with a bold taste, but a light flakey texture. It goes ideally with vegetables and fruit. Round it out a good carb and you have a superb dinner for any day of the week!
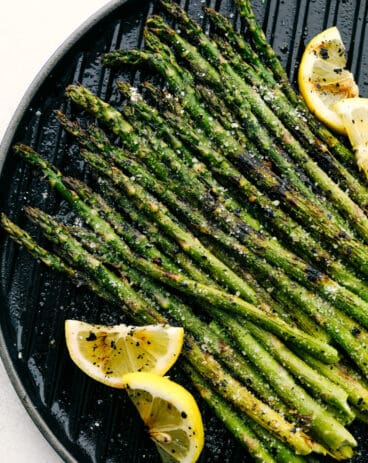
Side Dishes
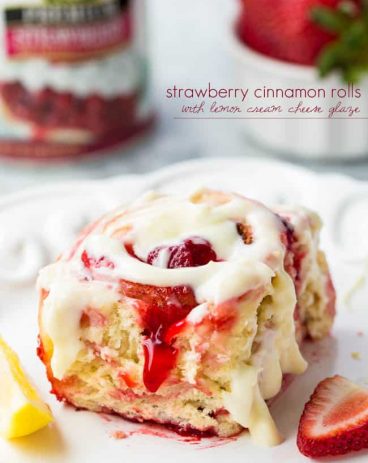
Grilled Asparagus Recipe
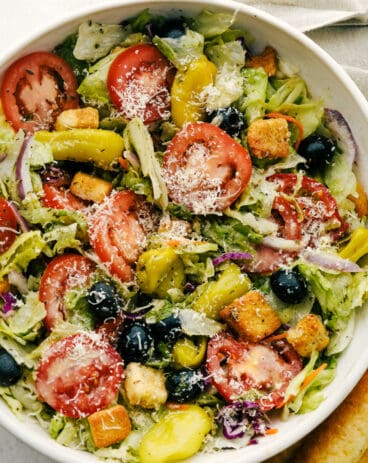
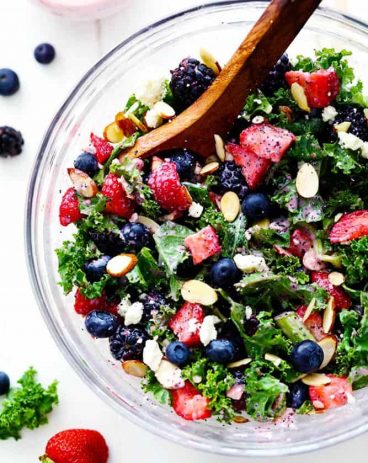
Salads
Copycat Olive Garden Salad
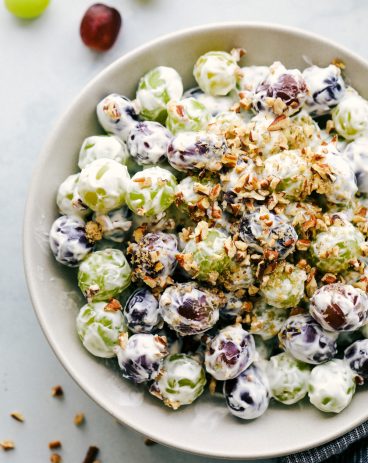
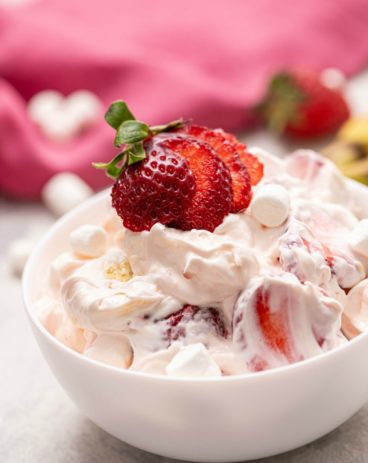
Salads
Creamy Grape Salad Recipe
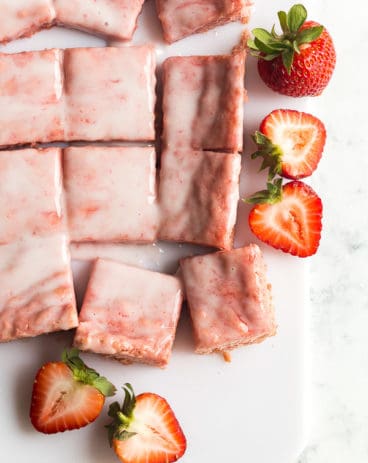
Side Dishes
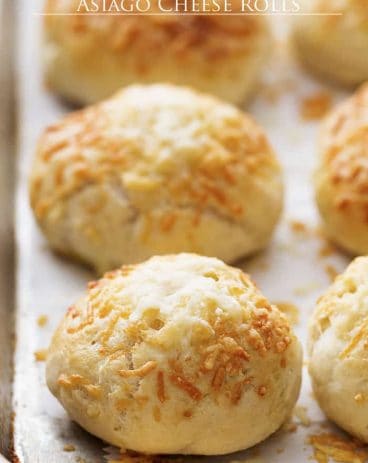
30 minute Asiago Cheese Rolls

More Seafood Recipes to Try
Grilled Cod
Ingredients
- 1 pound cod filet
- salt and pepper
- 1/4 cup butter melted
- 1 Tablespoon olive oil
- 1 Tablespoon Cajun Seasoning
- 2 cloves garlic minced
Instructions
-
Preheat the grill to 400 degrees. Salt and pepper the cod.
-
In a small bowl add the butter, cajun seasoning, olive oil, and garlic. Reserve half of the marinade.
-
Brush on each side of the cod and place on a well oiled grill.
-
Let it cook for 4-5 minutes. Carefully flip and cook the other side for 4-5 minutes or until it reaches an internal temperature of 130 degrees and flakes easily. Brush the reserved marinade on the fish right at the end.
Nutrition
from The Recipe Critic https://ift.tt/3vgBTAp
https://ift.tt/2RKTMJ8