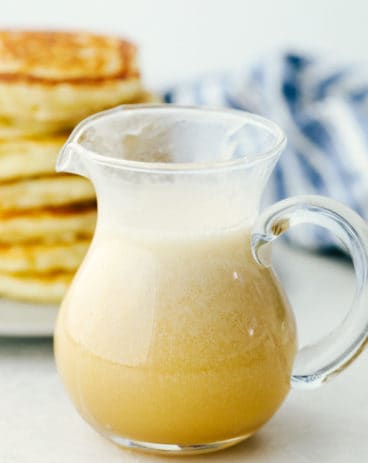
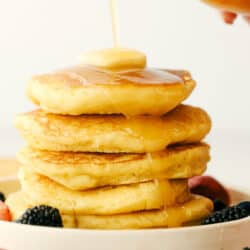
I am not joking when I say these are to die for Cornbread pancakes with honey butter syrup. These may well be the most amazing pancakes you will ever have!
Breakfast has to be one of the all-time favorite meals around, you can have it for breakfast, lunch, or dinner! Want more ideas, try French Toast, my Breakfast Casserole, or Pancakes!

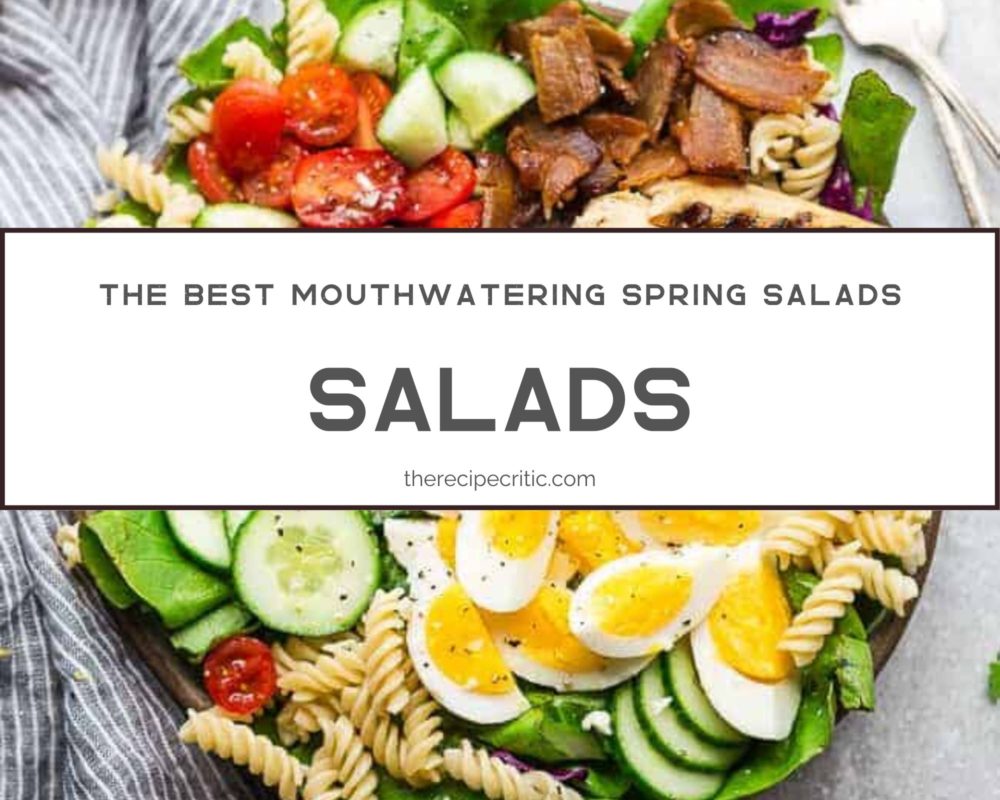
Cornbread Pancakes
The other day I was having this amazing cornbread slathered in butter and honey, and I just knew I needed more of this flavor combo in my life. Thus these incredible cornbread pancakes and honey butter syrup were made. If I could have that same beautifully balanced taste and texture for breakfast, then I knew I could get up in the morning, and so could the kids. It would be totally worth it.
The extra bit of texture that cornmeal adds is insanely delicious, and topped with my version of a honey butter turned into syrup is absolutely divine. Your whole family is going to gobble these up. You might want to make a double batch, just incase. These cornbread pancakes are just different enough to become addicting, yet still have that traditional fluffy tender texture you love in a pancake. They are sweet, golden, and oh so good!
What You Need For Cornmeal Pancakes
If you love the flavor of honey and cornbread, your going to fall in love with these pancakes.
- Flour: All-purpose is all you need.
- Cornmeal: Look for fine ground cornmeal.
- Baking soda: This is a leavening agent to help them be fluffy.
- Baking powder: Together with the soda, you will get that nice rise.
- Sugar: A nice little bit of sweetness.
- Salt: Balances the sweet.
- Buttermilk: Make your own if you do not have any on hand.
- Egg: Room temperature eggs work the best for mixing.
- Melted butter. Flavor and goodness in the butter.
How to Make Homemade Syrup
- Honey: Use good quality honey you love.
- Butter: Adds flavor and helps it become pourable.
- Vanilla: Flavor enhancer.
How to Make Cornbread Pancakes with Syrup
Super simple and quick you can have these on the table in no time! Cornbread pancakes are a family favorite!
- Pancakes: Preheat a medium non-stick pan on medium/high heat. In a large bowl whisk together the flour, cornmeal, baking soda, baking powder, sugar, and salt. In a separate bowl whisk the buttermilk, egg, and melted butter. Add the liquid mixture to the dry one and combine them together. Spray the pan and pour in ⅓ cup of the mixture. Cook for 2-3 mins on each side or until golden.
- Syrup: To make the syrup- In a small saucepan add the honey, butter, and vanilla. Whisk over medium/low heat for 5-7 mins until everything is melted. Remove from the heat and let it sit to thicken.

Tips For the Best Cornmeal Pancakes and Honey Syrup
If you want to make sure you get fluffy pancakes every time, then remember these few tips.
- Start with The Syrup: Make the syrup first and let it sit to thicken while you make the pancakes. This way your pancakes are not getting cold while you are making the syrup.
- Do Not Combine Till Ready To Cook: Do not combine the wet and the dry ingredients together till you are ready to cook the pancakes. Once you mix the buttermilk with the baking soda and powder it begins its chemical reaction which will allow the pancakes to fluff. The longer they sit the less of a rise you’ll get in your pancakes. You want to cook the pancakes immediately after combining the ingredients.
- Do not over mix: You want to just stir till the ingredients are combined. Over mixing will also knock the fluff out.
- Use Buttermilk: Buttermilk not only gives you that classic bit of tanginess in your pancakes but you need it to combine with the baking soda. When they combine they create those classic air bubbles that create light and incredibly delicious pancakes. You can make your own here.
- Variations: You can make these savory by adding paprika, chili powder, jalapenos, or green chilies to the mix and serve with salsa, sour cream, and cheese.

More Toppings to Try
The honey butter syrup is truly heavenly. The vanilla balances the flavors and the butter and honey melt together in the most beautiful way. It is so delicious. But there are many options for serving these incredible cornmeal pancakes. Get creative and have fun with the toppings. It makes it fun for the whole family to be able to customize to their likings. From spreads to syrups these cornmeal pancakes go with just about anything.
Breakfast
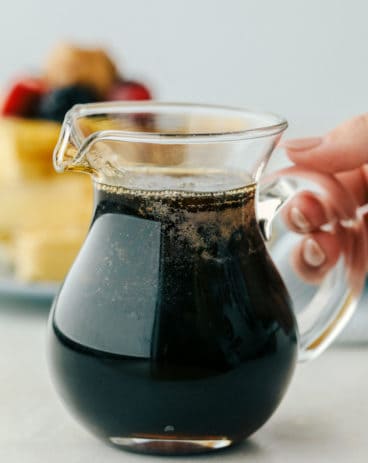
To Die For Homemade Buttermilk Syrup
Dressings, Sauces, and Dips
Homemade Maple Syrup
Dressings, Sauces, and Dips
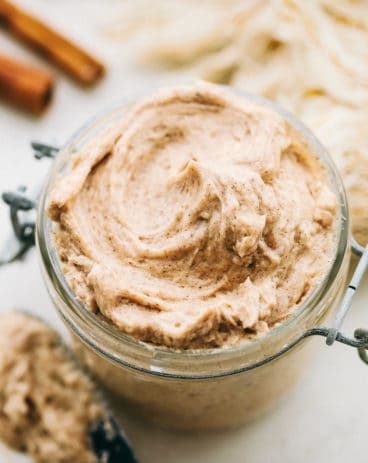
Cinnamon Honey Butter (Texas Roadhouse Copycat)
Dressings, Sauces, and Dips
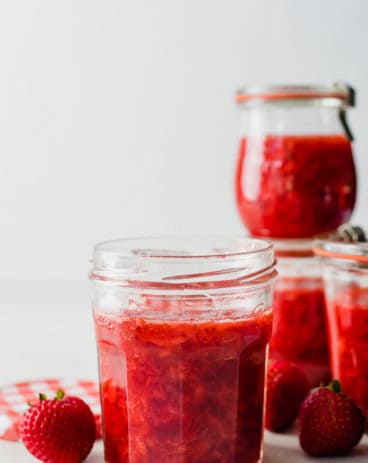
Homemade Strawberry Jam

Storing These Pancakes for Next Time
Super easy to double up, these will store perfectly to have all week long.
- Freeze: I love to make a double batch or maybe even three and freeze the extras. Once cooled freeze the pancakes in a freezer-safe plastic bag that seals tightly. Remove as much air as possible from the bag. These will keep for up to 3 months. When ready to use. Take out what you need for breakfast and pop in the microwave for a minute or less and then toast to crisp.
- Syrup: Keep leftover syrup in the fridge, tightly sealed for up to 2 weeks. Microwave to rewarm and serve.

More Breakfast Loving Recipes

To Die For Cornbread Pancakes with Honey Butter Syrup
Ingredients
- 3/4 cup flour
- 3/4 cup cornmeal
- 1/2 teaspoon baking soda
- 1 teaspoon baking powder
- 1 1/2 tablespoons sugar
- 1 teaspoon salt
- 1 1/2 cups buttermilk
- 1 large egg
- 3 tablespoons melted butter
For the Syrup
- 1 cup honey
- 1/2 cup butter
- 1 teaspoon vanilla
Instructions
-
Preheat a medium non-stick pan on medium/high heat. In a large bowl whisk together the flour, cornmeal, baking soda, baking powder, sugar, and salt. In a separate bowl whisk the buttermilk, egg, and melted butter.
-
Add the liquid mixture to the dry one and combine them together. Spray the pan and pour in ⅓ cup of the mixture. Cook for 2-3 mins on each side or until golden.
Honey Butter Syrup
-
In a small sauce pan add the honey, butter, and vanilla. Whisk over medium/low heat for 5-7 mins until everything is melted. Remove from the heat and let it sit to thicken.
Nutrition
from The Recipe Critic https://ift.tt/2QKZhr2
https://ift.tt/2Skcffu