सोमवार, 14 जून 2021

Lemon Ricotta Pancakes

Lemon Ricotta Pancakes are fluffy, tender pancakes that are elevated to a whole new level. The ricotta adds protein and a lightness that is absolutely divine while the lemon gives it a bit of a tangy taste that you are going to love!

Pancakes are a staple in our house! Try more delicious pancakes from my grandma, buttermilk or even wheat pancakes for your next breakfast.
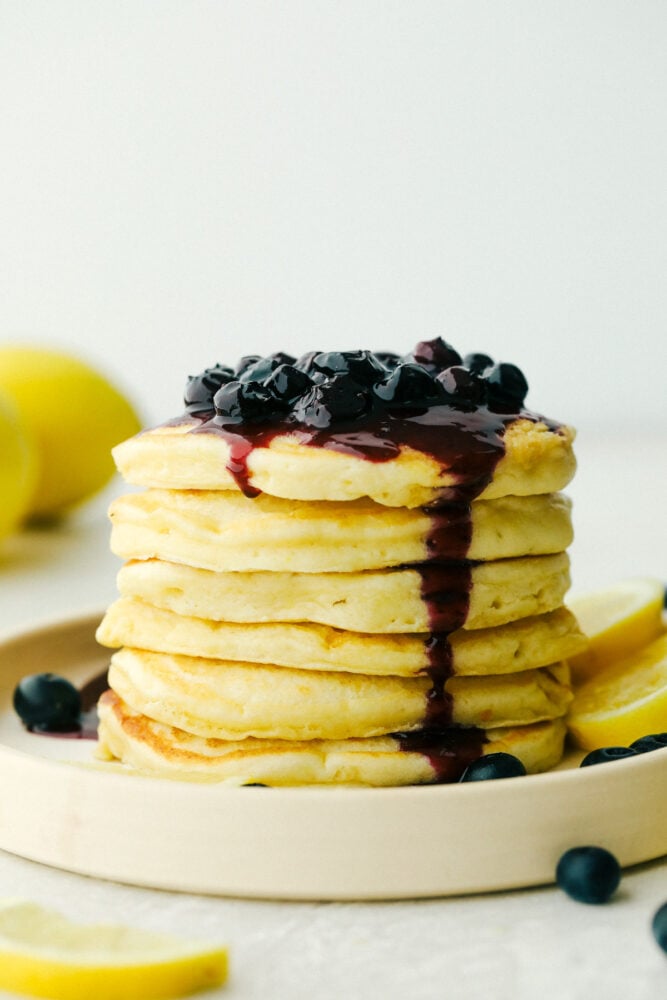
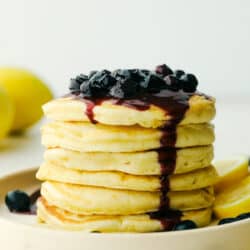
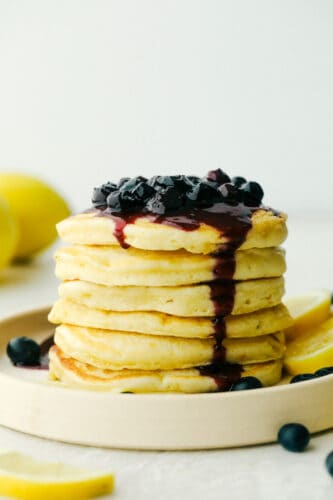
Stack of Lemon ricotta pancakes with blueberry sauce.

The Best Lemon Ricotta Pancakes Recipe

These tart, tangy, yet sweet, and velvety lemon ricotta pancakes are a must-make! If you have never tried ricotta pancakes then this is the recipe for you. You may be thinking that it is a little weird to have a cheese pancake, but ricotta is nothing like your ordinary cheese. Ricotta is a soft cheese with a soft moist grainy texture, but a smooth mild flavor. It creates moist, fluffy, tender pancakes that rival the best pancakes out there. These lemon ricotta pancakes will be rich and dense, but with a super moist fluffy consistency, plus ricotta adds protein!

Then comes the tart, zippy flavor from the lemon. You can add more or less lemon juice or zest to taste. But it goes perfectly with the slight tang of the ricotta. It gives the whole pancake a bright light flavor. And one of the best combinations out there is lemon and blueberries. See my Lemon and Blueberry Cheesecake Bars, Upside Down Cake, or Pound Cake to see what I mean. The sweet warm blueberry sauce just melts into these lemon pancakes for the best pancakes ever!

Ingredients for Ricotta Pancakes

Not much different from whipping up regular pancakes, theses lemon ricotta pancakes come together in no time! For all the recipe measurements see the recipe card below.

  • Flour: All-purpose flour or unbleached flour will both work.
  • Sugar: Helps give a bit of sweetness and balance the lemon.
  • Baking soda: This helps give the pancakes a bit of a lift.
  • Baking powder: If you want fluffy pancakes you’ll want to make sure you add baking powder.
  • Salt: Balances the sweet and gives ricotta pancakes flavor.
  • Milk: You can use skim, 1%, 2%, or even whole milk with excellent results.
  • Eggs: Use large eggs that are at room temperature if possible. They will mix in the best and give it moisture.
  • Ricotta: This is usually found near the cream cheese or near the Italian cheeses, like mozzarella. It will come in a tub usually like cottage cheese.
  • Vanilla: This will give it a nice sweet flavor.
  • Lemon and zest: Use all the juice of one lemon and the zest. If you do not want it that lemony use less.
  • Optional Blueberry Syrup: This may be optional but I highly recommend it! Here is all you need to know about making it.

How to Make Lemon Ricotta Pancakes from Scratch

Use oil or even butter, to grease your skillet before cooking. Serve these pancakes for a special breakfast or brunch! Add these tried and true recipes Sausage, Bacon, and Eggs to make it a breakfast they won’t forget.

  1. Dry Ingredients: In a medium-sized bowl whisk the flour, sugar, baking soda, powder, and salt.
  2. Wet Ingredients: In another medium-sized bowl add the milk, eggs, ricotta, vanilla, lemon juice, and zest.
  3. Mix together: Combine the wet ingredients with the dry ingredients.
  4. Cook and Enjoy: Preheat a skillet over medium heat. Spray with cooking spray and drop about ¼ cup of the batter onto the warm skillet. Once it forms bubbles then flip to the other side and cook until golden brown.
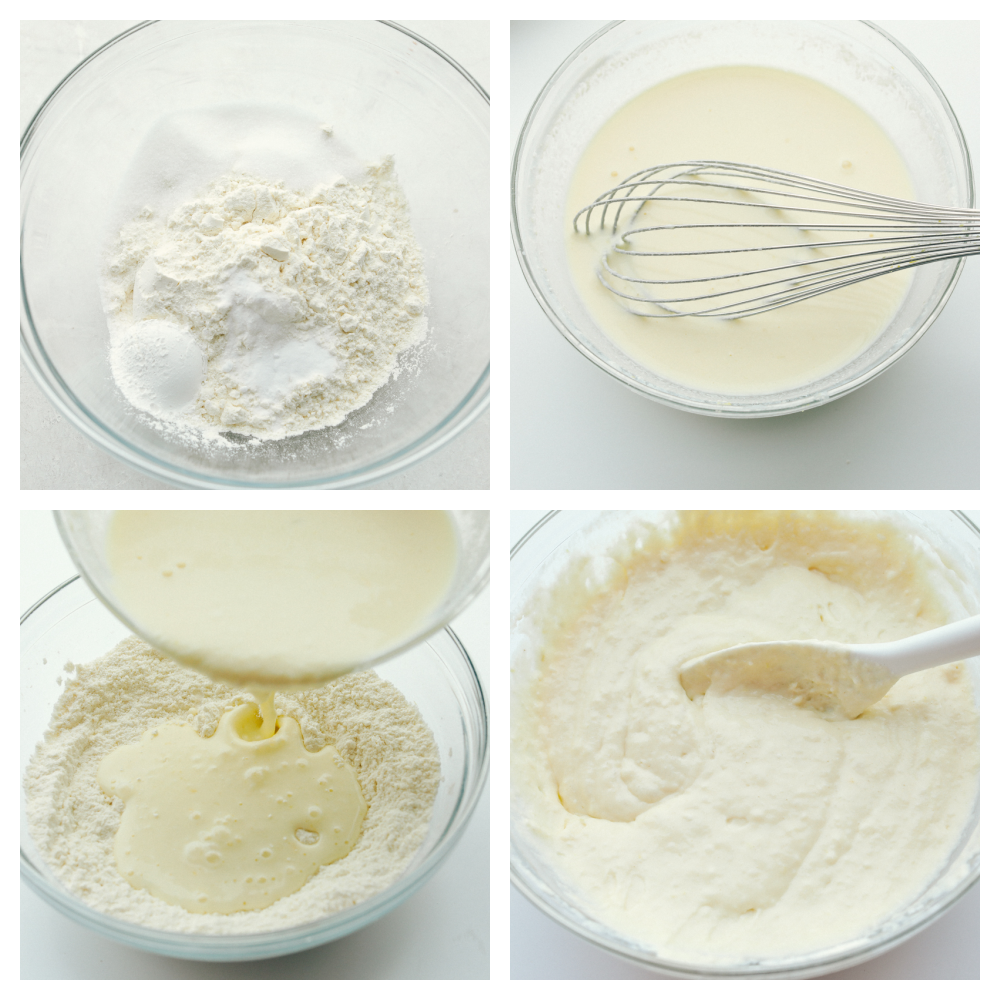
Mixing the dry ingredients, then the wet and combining them together.

Tips and Variations for Easy Ricotta Pancakes Recipe

Luscious and satisfying, these ricotta pancakes are going to stay in your breakfast rotation. They are full of flavor!

  • Ricotta: I recommend using full fat or low-fat ricotta. Either of these will give you better consistency and flavor over nonfat ricotta.
  • Do not over mix: It is super important not to overmix the wet and dry ingredients when you mix them together. Just blend until combined. It is ok if it has a few lumps.
  • When to flip: Like all pancakes, you want to look for air bubbles on the top of your ricotta pancakes and wait till the edges are firm and slightly browned before flipping. It should be 2-3 minutes per aside.
  • Get the Most From Your Lemon: Zest your washed lemon with a zester or the smallest holes of a cheese grater. Zest just the yellow part, stopping when you reach the pith or the white part of the lemon which can be bitter. Cut your lemon in half. Place the halves in the microwave on a plate and heat for 30 seconds. doing this will help the lemon release more of its juice.
  • Variations: These are quite perfect the way they are, but you can make a few changes and experiment with the flavors as you see fit. Add blueberries or raspberries to the pancake batter when combining the wet and dry ingredients for fruit cooked right in. Swap out the lemon for orange zest and juice and add mini chocolate chips for a different flavor.
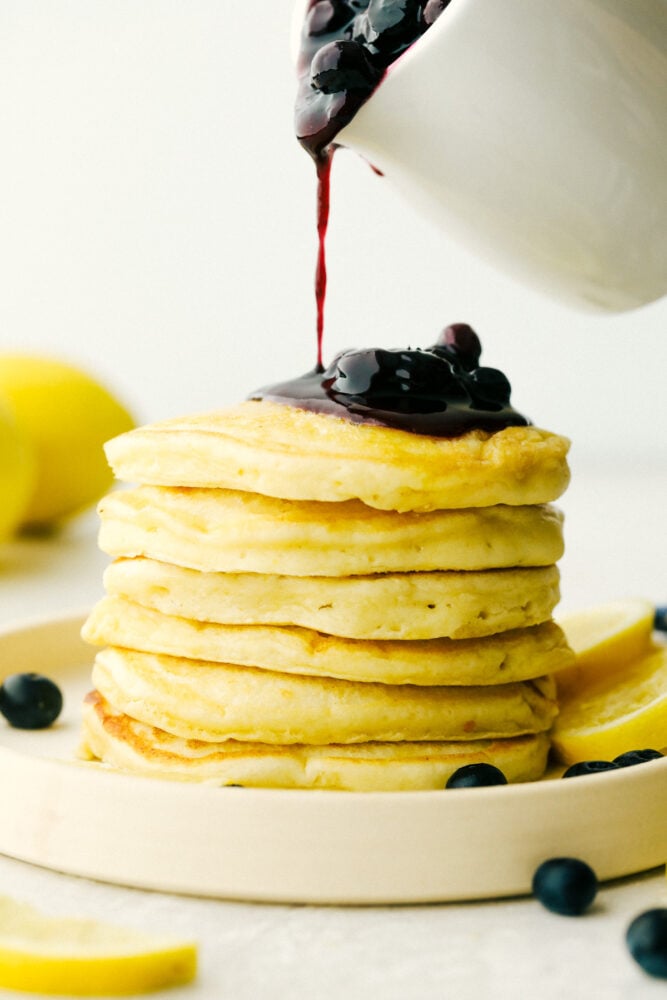
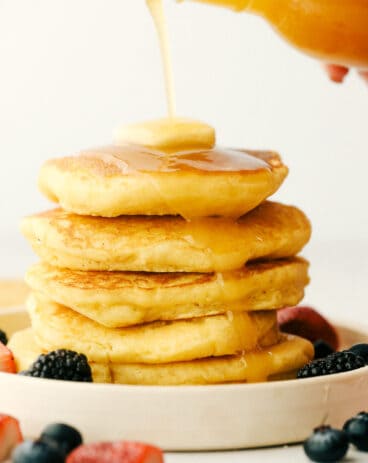
Pouring blueberry sauce over a stack of lemon pancakes.

Storing Pancake Leftovers

Make a double batch of these soft pillowy lemon ricotta pancakes and freeze for later. Then pull them out on busy weekday mornings for a breakfast worth getting up for!

  • Pancakes: For freezing, let the pancakes cool completely then place in a zip-top freezer bag, being careful to remove all the air. Pull out what you need and either warm up in the microwave or toaster. Top as desired.
  • Blueberry Sauce: This will keep best in a tightly sealed container in the fridge for up to a week. I do not recommend freezing it, the sauce can become runny.
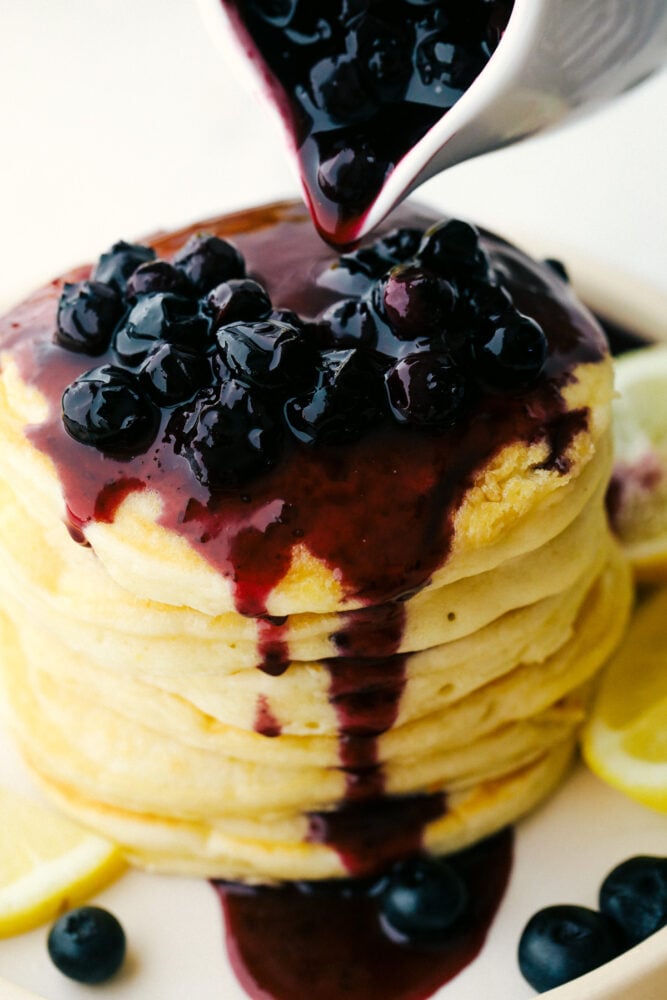
Blueberry sauce drips down a stack of ricotta pancakes.
Print

Lemon Ricotta Pancakes

Lemon Ricotta Pancakes are fluffy, tender pancakes that are elevated to a whole new level. The ricotta adds protein and a lightness that is absolutely divine while the lemon gives it a bit of a tangy taste that you are going to love!
Course Breakfast
Cuisine American
Keyword lemon ricotta pancakes
Prep Time 5 minutes
Cook Time 10 minutes
Total Time 15 minutes
Servings 12 pancakes
Calories 109kcal
Author Alyssa Rivers

Ingredients

  • 1 1/2 cups flour
  • 2 Tablespoons sugar
  • 1 teaspoon baking soda
  • 1 tablespoon baking powder
  • 1/4 teaspoon salt
  • 1 cup milk
  • 2 large eggs
  • 1/2 cup ricotta
  • 1 teaspoon vanilla
  • juice of one lemon and zest
  • Blueberry Syrup for serving

Instructions

  • In a medium sized bowl whisk the flour, sugar, baking soda, powder and salt.
  • In another medium sized bowl add the milk, eggs, ricotta, vanilla, lemon juice and zest.
  • Combine the wet ingredients with the dry ingredients.
  • Preheat a skillet over medium heat. Spray with cooking spray and drop about ¼ cup of the batter onto the warm skillet. Once it forms bubbles then flip to the other side and cook until golden brown.

Nutrition

Calories: 109kcal | Carbohydrates: 16g | Protein: 4g | Fat: 3g | Saturated Fat: 2g | Polyunsaturated Fat: 1g | Monounsaturated Fat: 1g | Trans Fat: 1g | Cholesterol: 38mg | Sodium: 170mg | Potassium: 167mg | Fiber: 1g | Sugar: 3g | Vitamin A: 124IU | Calcium: 95mg | Iron: 1mg


from The Recipe Critic https://ift.tt/3gvj32C
https://ift.tt/3woj5ju
रविवार, 13 जून 2021

Shrimp Pasta Salad

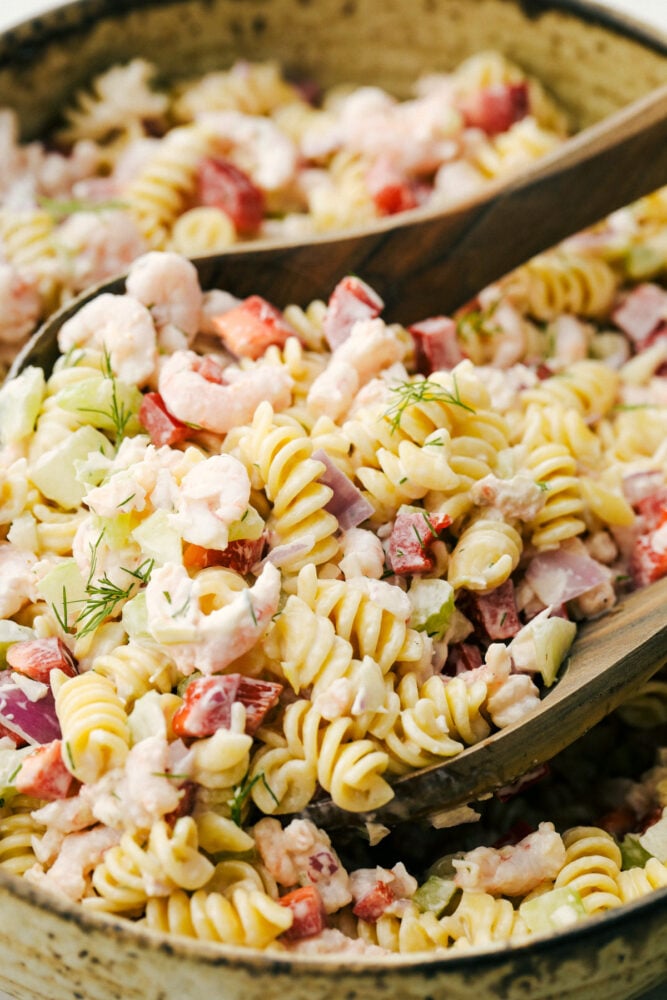
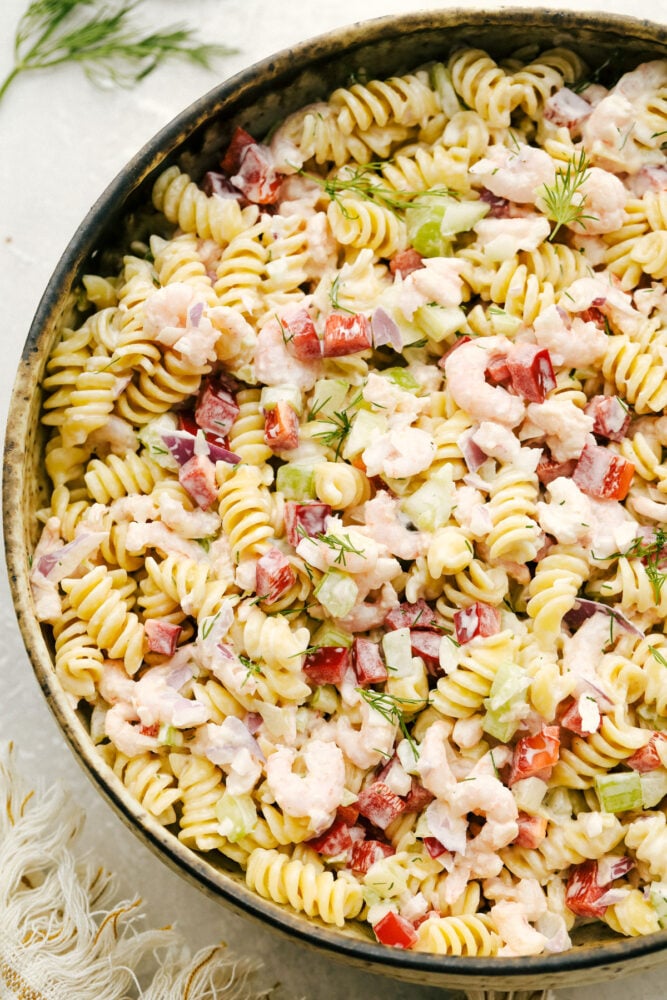
Shrimp Pasta Salad is going to become your new go-to for summer picnics and potlucks. With tender bits of shrimp, fresh veggies, and the fact that it is so easy to put together and take on the go, it is quickly becoming one of my favorite recipes of the season!

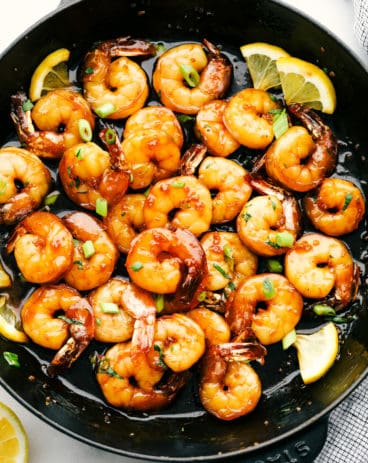
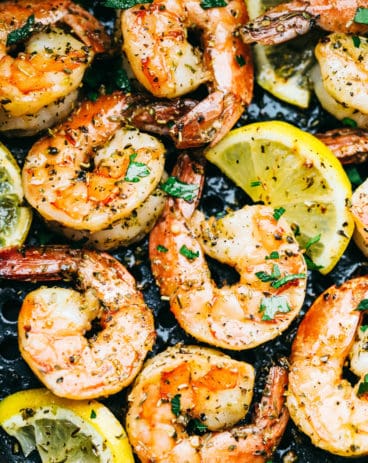
Using shrimp in classic dishes like pasta salad gives it an extra boost of delicious flavor and texture. You can use shrimp in so many ways- grilled, in a skillet, or pasta!

Shrimp pasta salad being mixed in a bowl

Cold Shrimp Pasta Salad

Pasta salads are always there for you. It is so easy to whip some up for the masses right before a potluck, with no hassle storage and transportation. But it is time to give your salad an upgrade and bring in light, summery flavors like fresh dill, lemon, and shrimp! These simple ingredient swaps are sure to make your pasta salad a crowd-pleaser. This quick and easy Shrimp Pasta Salad still comes together in minutes, but will impress your friends and family with its refined, zesty flavor!

I always love finding new pasta salad recipes because they really are the most versatile side dish. The best part is that you can add your own personal touches to your salad, whether it is a certain type of pasta, herb or vegetable! For more inspo, take a look at my Tuscan, Meditteranean, and Mexican pasta salads for more delicious variety!

What You Will Need to Make Shrimp Pasta Salad

All you need are a few fresh ingredients to put this amazing pasta salad together!

  • Rotini Noodles: I like using rotini noodles because they are fun to eat and the sauce gets trapped in the corkscrews, allowing for each bite to be flavorful!
  • Celery: Diced into very small pieces.
  • Red Bell Pepper: Adds sweetness and crunchy texture to your salad.
  • Red Onion: With a slight kick, this will give your salad an amazing brightness and add to the texture.
  • Cooked Salad Shrimp: Precooked shrimp makes this recipe even easier to put together. I like using small shrimp to match the size of the noodles and veggies. If you want more meat, you can opt for large or jumbo shrimp instead. Like with other kinds of seafood, if your shrimp smells like ammonia or has a slimy, sticky coating on the outside, it should not be used.
  • Mayonaisse: Will add a creaminess to your dressing.
  • Juice and Zest of Half a Lemon: Fresh is best!
  • Chopped Dill: Adds perfect summery zest to your pasta.
  • Salt and Pepper: To taste.

Making Your Shrimp Salad

Making this pasta salad is so quick and easy, it is perfect for on the go families!

  1. Boil: Bring a large pot of water to a boil.
  2. Cook Your Pasta: Cook noodles according to package directions, then drain and rinse.
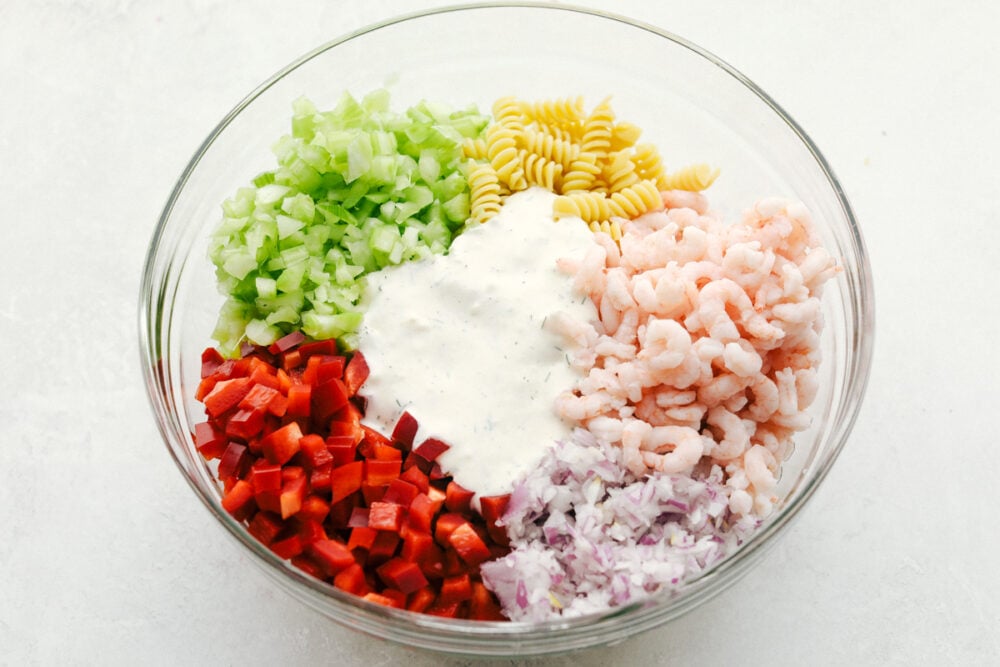
  3. Combine: In a large bowl, add the noodles, celery, bell pepper, red onion, and shrimp.
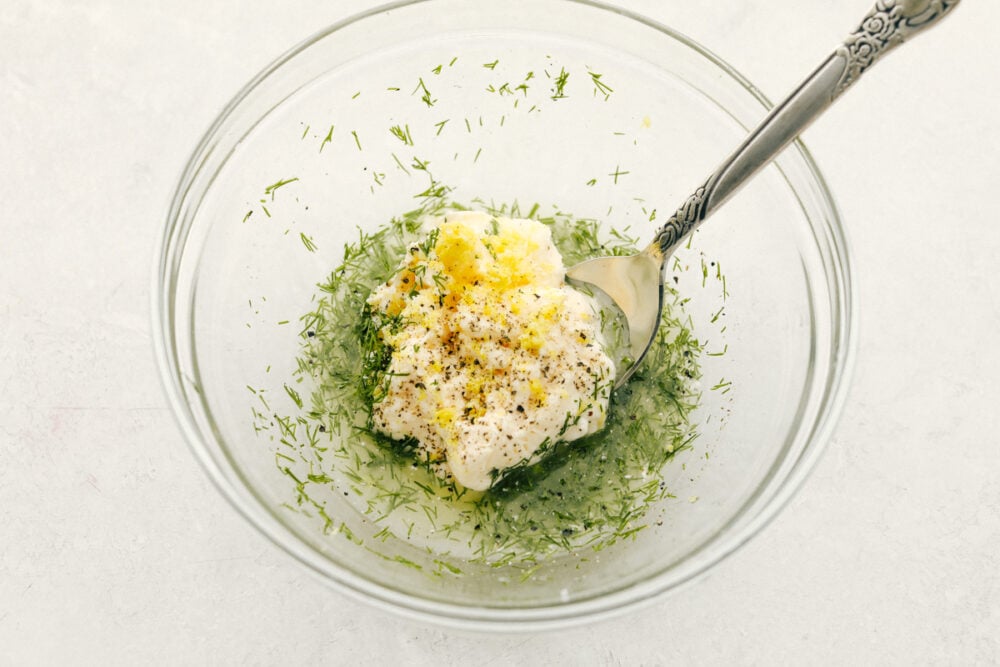
  4. Sauce: In a separate small bowl mix together the mayonnaise, lemon juice and zest, dill, and salt and pepper.
  5. Mix: Pour sauce over the top of the pasta and stir everything to combine.
Shrimp pasta salad ingredients in bowl before mixing

Quick Tips For Making the Best Shrimp Pasta Salad

If you really want to wow at the potluck, try out these tips to make your pasta salads taste even better!

  • Pasta: You can swap out rotini for another pasta that is small with deep grooves for holding sauce. I recommend also trying penne, fusilli, or cavatappi!
  • Adding Sauce: Adding sauce to your pasta salad while it is still warm helps it absorb flavor.
  • Texture: Since pasta hardens as it cools down, you can cook your pasta for an extra minute before preparing the salad. But make sure not to overcook your pasta or else the noodles will fall apart when mixing your ingredients together.
  • Spices: Adding a pinch of chili powder or cayenne can give your pasta salad a delicious Cajun twist!
  • Salt Pasta Water: Adding extra salt to your water when cooking pasta will help it to have extra flavor!
  • Raw Veggies: Adding raw veggies to your pasta salad will create a beautiful, colorful salad but also give you amazing texture and nutrition.
Shrimp pasta salad ingredients being mixed in a small bowl

What to Serve with Your Salad

For seafood lovers- my favorite food to pair this salad up with is salmon for a complete summer meal. It also goes great with other BBQ favorites like turkey burgers and grilled chicken! Serve with beef skewers for a selection of appetizers you and your family will not be able to get enough of! The bright, zesty flavors in this Shrimp Pasta Salad are so versatile, they will complement an array of different foods.

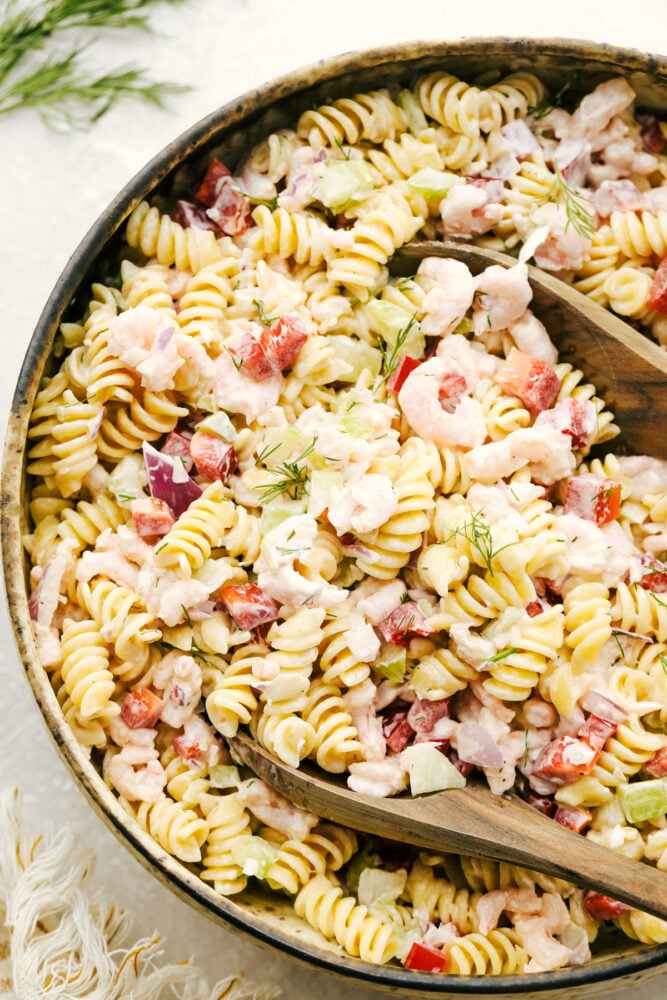
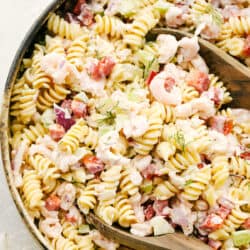
Up close photo with shrimp pasta salad and two wooden spoons in the salad.

Storing Shrimp Pasta Salad

  • Refrigerator: Cooked shrimp will last up to 3 days in an airtight container. The best part about pasta salad is that it can be eaten right out of the fridge! Whether it is for a quick meal, soccer practice, or a midnight snack, this pasta salad is ready.
  • Freezer: While pasta salad is best served within the first few days of making it, you can also store it in the freezer in a ziplock bag with pasta and any dressings separated. It will last for up to 3-4 months. Before serving, thaw in the fridge for a few hours. Note that if you are making your pasta salad with any cream products like sour cream or mayo, they may separate when thawed.
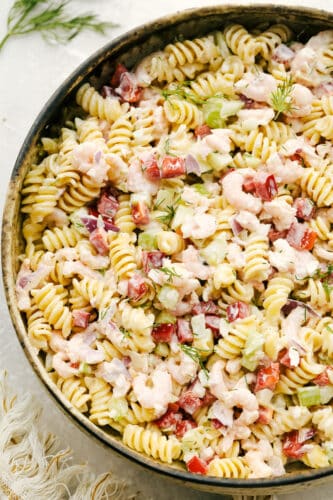
Shrimp pasta salad in serving bowl
Print

Shrimp Pasta Salad

This Shrimp Pasta Salad is going to become your new go-to for summer picnics and potlucks. With tender bits of shrimp, fresh veggies, and the fact that it is so easy to put together and take on the go, it is quickly becoming one of my favorite recipes of the season!
Course Salad, Side Dish
Cuisine American
Keyword shrimp pasta salad
Prep Time 15 minutes
Cook Time 10 minutes
Total Time 25 minutes
Servings 12 servings
Calories 231kcal
Author Alyssa Rivers

Ingredients

  • 1 pound package rotini noodles
  • 1 cup celery finely diced
  • 1 red bell pepper finely diced
  • 1/2 medium red onion finely diced
  • 1 12 ounce package cooked salad shrimp thawed

For the dressing:

  • 2/3 cup mayonnaise
  • Juice and zest of half a lemon
  • 2 tablespoons dill chopped
  • salt and pepper to taste

Instructions

  • Bring a large pot of water to a boil. Cook noodles according to package directions, then drain and rinse.
  • In a large bowl, add the noodles, celery, bell pepper, red onion, and shrimp. In a separate small bowl mix together the mayonnaise, lemon juice and zest, dill, and salt and pepper.
  • Pour over top of the pasta and stir everything to combine.

Nutrition

Calories: 231kcal | Carbohydrates: 30g | Protein: 5g | Fat: 10g | Saturated Fat: 2g | Polyunsaturated Fat: 6g | Monounsaturated Fat: 2g | Trans Fat: 1g | Cholesterol: 5mg | Sodium: 89mg | Potassium: 137mg | Fiber: 2g | Sugar: 2g | Vitamin A: 362IU | Vitamin C: 13mg | Calcium: 14mg | Iron: 1mg


from The Recipe Critic https://ift.tt/35clTEq
https://ift.tt/3zlRgKz

शनिवार, 12 जून 2021

Corn Dogs

Homemade corn dogs are crispy golden on the outside and perfectly cooked on the inside. These are super easy to make at home and the whole family is going to love how they taste!

If you love fair food, but a year is too long to wait, I have the solution for you. Bring the fair home to you with these Pickles, Corn, Cake and Churros!

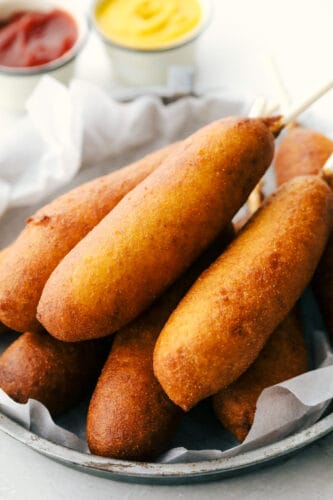
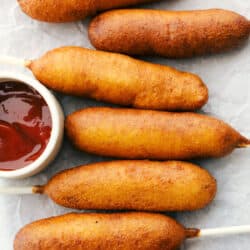
A plate of golden crisp corn dogs.

Corn Dogs Made from Scratch

These corn dogs are going to be the hit of the party. The cornbread like batter made light and tasty with the addition of buttermilk, smothers the hot dog perfectly. It fries up perfectly tender on the inside with a nice crunch on the outside. Exactly how a corn dog should be. Nothing beats a fresh corn dog straight from the fryer and into your mouth. Top it with your favorite condiments and have a party in your mouth.

One of the best things about making corn dogs at home is how much fun your kids will have helping you. I let them mix up the cornbread batter, skewer the hot dogs and the best part, dunk them! Adults need to do the frying but the kids will love helping with everything else. And the whole family is going to love the way these taste. You may never buy a corn dog at the fair again!

What You Need for Easy Corn Dogs

Always use your favorite brand of hot dogs to ensure the best flavor your family will love. These corn dogs will become a family favorite in no time! All measurements for homemade corn dogs is located in the recipe card below.

  • Canola Oil: Use 1 to 2 tablespoons just enough to cover the pan for frying.
  • Hot Dogs: Regular size and thickness is great for these corn dogs. Pick your favorite hot dog brand and style!
  • Hot Dog Sticks: Popsicle sticks, candy sticks, wooden skewers also work if you don’t have hot dog sticks.
  • Flour: This will help thicken the sauce for the outer layer.
  • Cornmeal: Creates that outer crusty flavor we all love!
  • Salt: Helps balances the sweet but also helps it to thicken.
  • Sugar: Sweetens the corn dog!
  • Baking powder: Helps to create a light fluffy outer layer when being dipped.
  • Egg: Gives it lift and texture on the corn dog.
  • Honey: A special ingredient that gives a slight hint of sweetness.
  • Buttermilk: Click the link to make your own buttermilk in a pinch or buy it at the grocery store.
  • Milk: Just enough to thin the corn dog crust, if needed!

How To Make Absolutely Delish Corn Dogs

Super easy and quick, dinner will be on in no time! Corn dogs are always a classic and family favorites. Since they are so simple to make you can create the perfect dinner for all ages any night of the week.

  1. Heat Oil: Heat about 2 inches of oil in a large pot or dutch oven to 350 degrees.
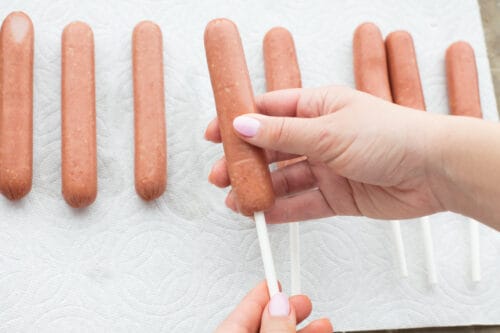
  2. Hot Dog Prep: Prep your hot dogs by patting them dry with paper towels and inserting the sticks. Set aside.
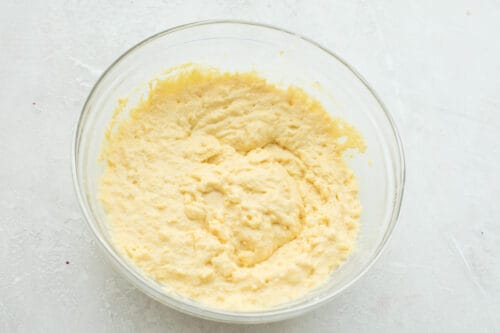
  3. Cornmeal batter: In a large bowl, whisk the flour, cornmeal, salt, sugar, and baking powder together. In another bowl or large liquid measuring cup, whisk the egg, honey, buttermilk, and milk together. Add the wet ingredients to the dry and combine thoroughly. The batter will be thick, but smooth enough to evenly coat the hot dog once it has been dipped.
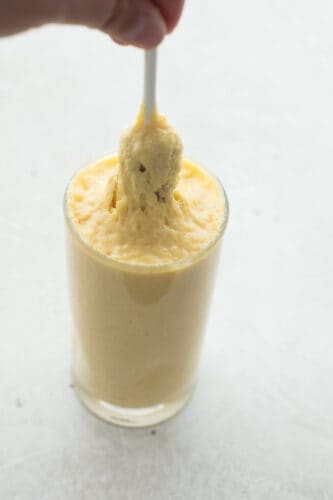
  4. Dunk it: Fill a tall drinking glass with batter. Dip the hot dogs all the way in the glass, going straight down and giving it a twirl in the glass. As you remove the hot dog, twirl it around to avoid leaving any air bubbles. If you see any bubbles or bare spots on the hot dog, dip it again.
  5. Fry: Gently drop the battered hot dog into the hot oil. Cook for about 2-3 minutes, until nice and golden brown on all sides. Remove from the oil and allow to drain on paper towels. Serve immediately.
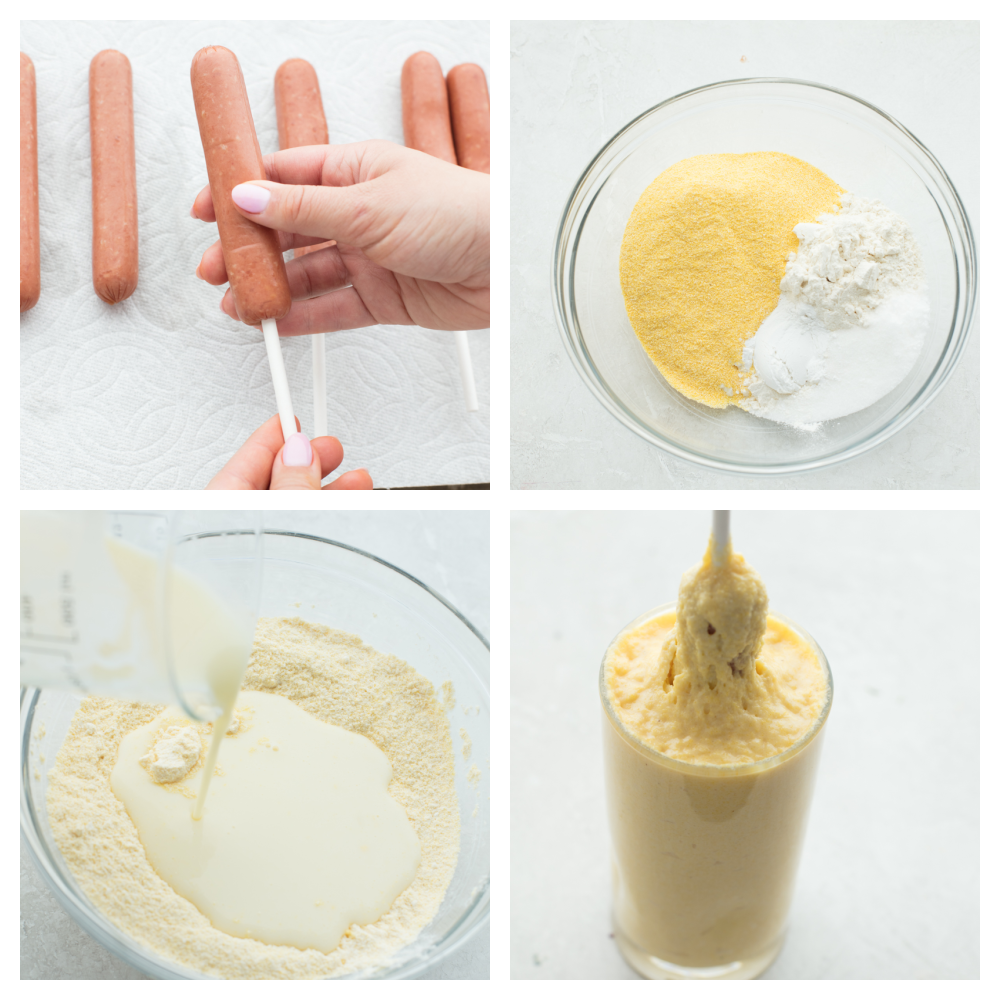
Skewering the hot dogs, making the cornmeal batter and coating them in the mix.

Homemade Corn Dog Tips and Tricks

Corn dogs are a family favorite, and once you try them you’ll understand why. With these tips and tricks you will be mastering homemade corn dogs in no time.

  • Cornmeal: Cornmeal is the main ingredient here, it brings the crunch and texture we all love. Look for finely ground cornmeal, avoid the coarse or medium ground cornmeal. If the package doesn’t say, it is mostly likely finely ground. It not only mixes up easier but will stick to the hot dog.
  • Hot Dog: Use your favorite brand, our family loves all-beef hot dogs, but you do what works for you and your family.
  • Hot Dog Sticks: When buying sticks for your hot dogs, make sure that you are not getting sticks too long for your fryer. They need to fit with the hot dog on them. Use candy apple, hot dog sticks, or even skewers.
  • Oil: Peanut or Canola oil are the best oils for frying. Use a thermometer to keep the oil at a steady 350 degrees.
  • Dipping the hot dog in the batter: You want to avoid air bubbles on the hot dog which can cause it to crack when frying. Stick the hot dog in the cup straight up and down. Twirl the hot dog till fully coated and keep twirling as you lift it out. If you notice bare spots, dip again.
  • Batter not sticking: Pat the hot dogs dry with a paper towel if you are having trouble getting the batter to stick. That should do the trick.
  • Too thick: If your batter is too thick, you can use a splash of milk to thin it. Be careful it doesn’t get too thin, it won’t stick to the hot dog.
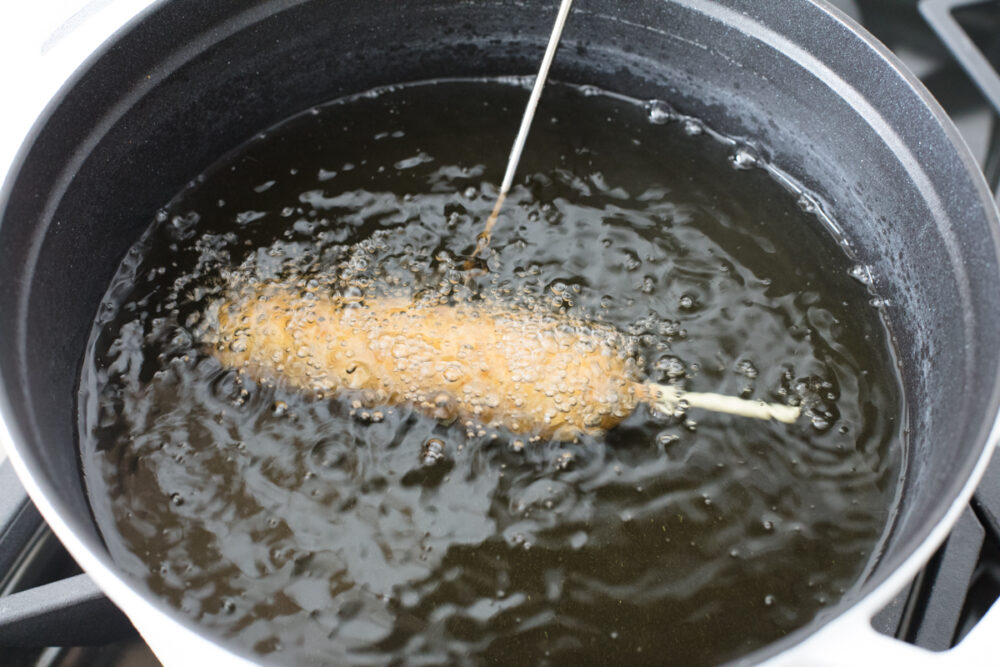
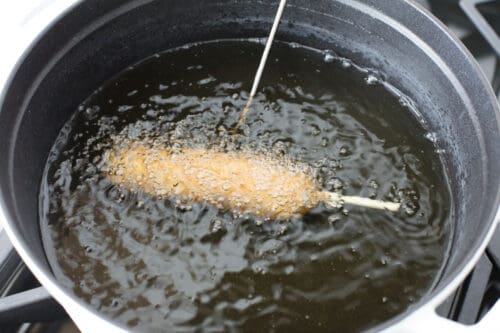
Frying the corn dogs.

What to Serve with the Best Corn Dog Recipe

There is a huge debate among corn dog eaters, and there are strong opinions out there. Are you a mustard person or a ketchup person. It can be quite a heated topic, even among family and friends. Whether you prefer the sweeter ketchup or the tangier mustard both will be the perfect companion for these homemade corn dogs. For other sides and fun serve up these recipes with them for a great anytime meal.

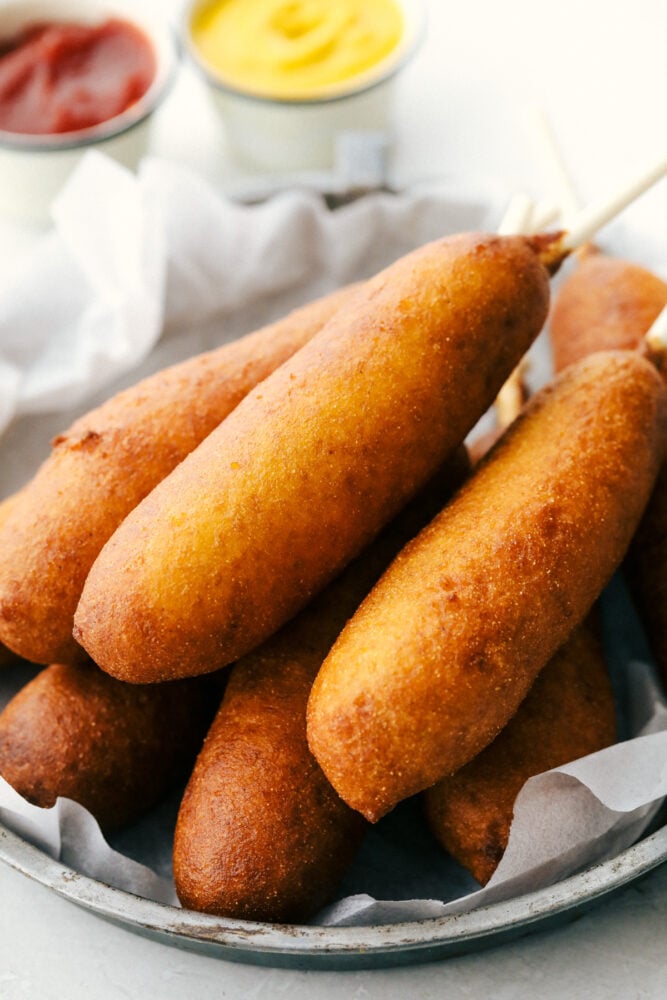
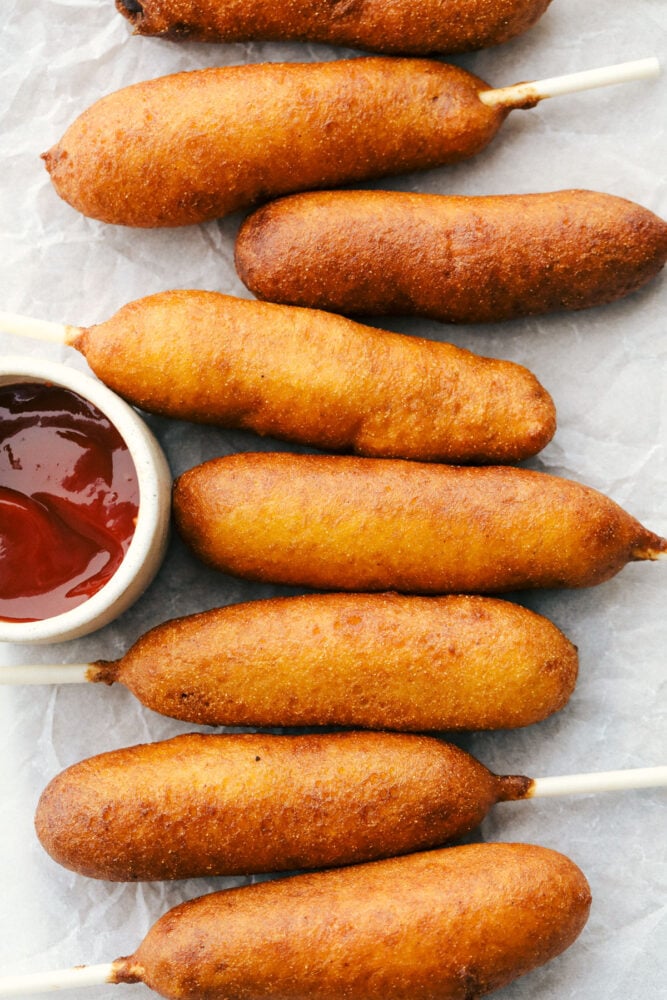
Corn dogs lined up ready to eat with a side of ketchup.

How to Store and Freeze Leftover Easy Corn Dogs

If you are lucky enough to have leftovers, they keep well and warm up beautifully.

  • Leftover Batter: Leftover batter can be kept for 2-3 days in the fridge so you can use it for another small round of mini corn dogs.
  • Store: Keep leftover corn dogs in an air-tight container in the fridge for up to 3 days.
  • Freeze: Once the corn dogs have cooled completely store in a freezer-safe zip-top bag for up to 3 months. You can reheat by microwaving and then crisping in the oven for a few minutes or in a skillet on the stove. Make sure the hot dog inside is thawed and cooked before eating.
  • Oil Leftovers: You can save your oil to use for later. Once it has completely cooled strain the oil to remove any chunks. Using a funnel place the strained oil in a glass container with a screw-top lid. I use a mason jar. Place in the fridge and pull out to use the next time you need oil. Note: the oil will take on the taste of what was cooked in it, but only slightly. It is best to fry similar items in the same oil. Once done with the oil, do not pour it down the drain. That will ruin your pipes and is bad for the environment. Place the used oil in a container with a lid and throw it away.
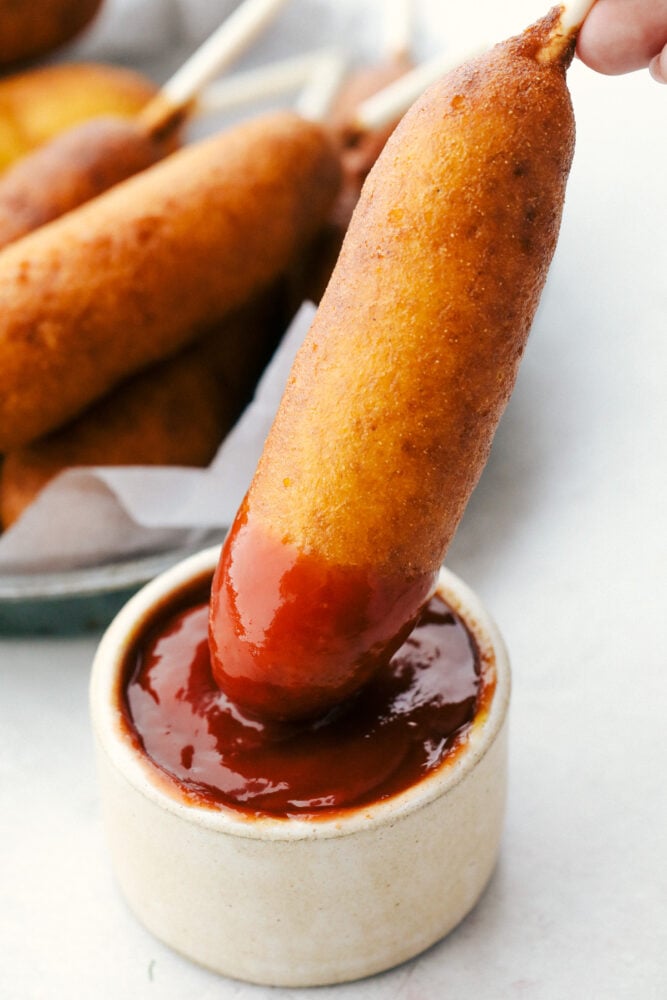
Dunking a corndog in ketchup.
Print

Corn Dogs

Homemade corn dogs are crispy golden on the outside and perfectly cooked on the inside. These are super easy to make at home and the whole family is going to love how they taste!
Course Dinner, Main Course
Cuisine American
Keyword corn dog recipe, corn dogs, homemade corn dogs
Prep Time 15 minutes
Cook Time 20 minutes
Total Time 35 minutes
Servings 12 hot dogs
Calories 241kcal
Author Alyssa Rivers

Ingredients

  • canola oil for frying
  • 12 hot dogs regular size and thickness
  • 12 hot dog sticks or popsicle sticks, candy sticks, wooden skewers, etc
  • 1 Cup all purpose flour
  • 1 cup cornmeal fine
  • ¼ teaspoon salt
  • 2 Tablespoons granulated sugar
  • 1 Tablespoon baking powder
  • 1 large egg
  • 2 Tablespoon honey
  • 1 cup buttermilk
  • ¼ cup milk

Instructions

  • Heat about 2 inches of oil in a large pot or dutch oven to 350 degrees.
  • Prep your hot dogs by patting them dry with paper towels and inserting the sticks. Set aside.
  • In a large bowl, whisk the flour, cornmeal, salt, sugar, and baking powder together. In another bowl, or large liquid measuring cup, whisk the egg, honey, buttermilk and milk together. Add the wet ingredients to the dry and combine thoroughly. The batter will be thick, but smooth enough to evenly coat the hot dog once it has been dipped.
  • Fill a tall drinking glass with batter. Dip the hot dogs all the way in the glass, going straight down and giving it a twirl in the glass. As you remove the hot dog, twirl it around to avoid leaving any air bubbles. If you see any bubbles or bare spots on the hot dog, dip it again.
  • Gently drop the battered hot dog into the hot oil. Cook for about 2-3 minutes, until nice and golden brown on all sides. Remove from the oil and allow to drain on paper towels. Serve immediately.
  • If you have leftover batter, it can be saved for 2-3 days in the fridge and used to fry up more dogs. With leftover dogs, they can be stored in the fridge in an airtight container for 2-3 days, or frozen.

Nutrition

Calories: 241kcal | Carbohydrates: 32g | Protein: 8g | Fat: 9g | Saturated Fat: 3g | Polyunsaturated Fat: 1g | Monounsaturated Fat: 4g | Trans Fat: 1g | Cholesterol: 38mg | Sodium: 387mg | Potassium: 262mg | Fiber: 2g | Sugar: 6g | Vitamin A: 64IU | Vitamin C: 1mg | Calcium: 88mg | Iron: 2mg


from The Recipe Critic https://ift.tt/3iACLwo
https://ift.tt/3pKaWDz