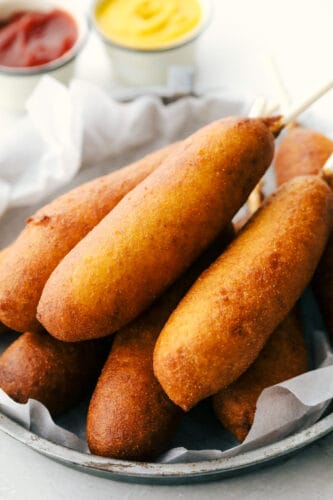
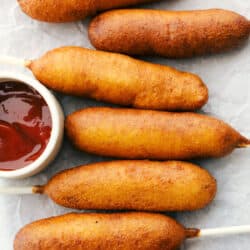
Homemade corn dogs are crispy golden on the outside and perfectly cooked on the inside. These are super easy to make at home and the whole family is going to love how they taste!
If you love fair food, but a year is too long to wait, I have the solution for you. Bring the fair home to you with these Pickles, Corn, Cake and Churros!

Corn Dogs Made from Scratch
These corn dogs are going to be the hit of the party. The cornbread like batter made light and tasty with the addition of buttermilk, smothers the hot dog perfectly. It fries up perfectly tender on the inside with a nice crunch on the outside. Exactly how a corn dog should be. Nothing beats a fresh corn dog straight from the fryer and into your mouth. Top it with your favorite condiments and have a party in your mouth.
One of the best things about making corn dogs at home is how much fun your kids will have helping you. I let them mix up the cornbread batter, skewer the hot dogs and the best part, dunk them! Adults need to do the frying but the kids will love helping with everything else. And the whole family is going to love the way these taste. You may never buy a corn dog at the fair again!
What You Need for Easy Corn Dogs
Always use your favorite brand of hot dogs to ensure the best flavor your family will love. These corn dogs will become a family favorite in no time! All measurements for homemade corn dogs is located in the recipe card below.
- Canola Oil: Use 1 to 2 tablespoons just enough to cover the pan for frying.
- Hot Dogs: Regular size and thickness is great for these corn dogs. Pick your favorite hot dog brand and style!
- Hot Dog Sticks: Popsicle sticks, candy sticks, wooden skewers also work if you don’t have hot dog sticks.
- Flour: This will help thicken the sauce for the outer layer.
- Cornmeal: Creates that outer crusty flavor we all love!
- Salt: Helps balances the sweet but also helps it to thicken.
- Sugar: Sweetens the corn dog!
- Baking powder: Helps to create a light fluffy outer layer when being dipped.
- Egg: Gives it lift and texture on the corn dog.
- Honey: A special ingredient that gives a slight hint of sweetness.
- Buttermilk: Click the link to make your own buttermilk in a pinch or buy it at the grocery store.
- Milk: Just enough to thin the corn dog crust, if needed!
How To Make Absolutely Delish Corn Dogs
Super easy and quick, dinner will be on in no time! Corn dogs are always a classic and family favorites. Since they are so simple to make you can create the perfect dinner for all ages any night of the week.
- Heat Oil: Heat about 2 inches of oil in a large pot or dutch oven to 350 degrees.
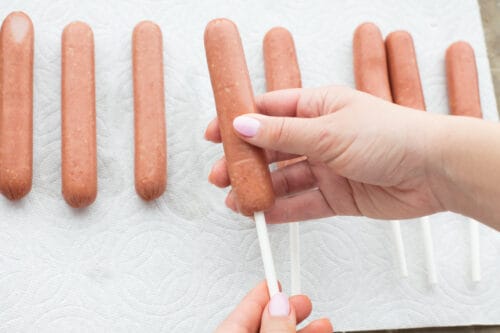
- Hot Dog Prep: Prep your hot dogs by patting them dry with paper towels and inserting the sticks. Set aside.
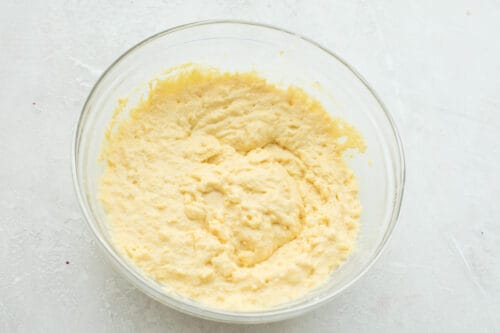
- Cornmeal batter: In a large bowl, whisk the flour, cornmeal, salt, sugar, and baking powder together. In another bowl or large liquid measuring cup, whisk the egg, honey, buttermilk, and milk together. Add the wet ingredients to the dry and combine thoroughly. The batter will be thick, but smooth enough to evenly coat the hot dog once it has been dipped.
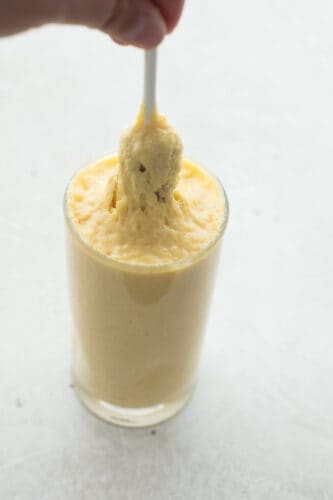
- Dunk it: Fill a tall drinking glass with batter. Dip the hot dogs all the way in the glass, going straight down and giving it a twirl in the glass. As you remove the hot dog, twirl it around to avoid leaving any air bubbles. If you see any bubbles or bare spots on the hot dog, dip it again.
- Fry: Gently drop the battered hot dog into the hot oil. Cook for about 2-3 minutes, until nice and golden brown on all sides. Remove from the oil and allow to drain on paper towels. Serve immediately.

Homemade Corn Dog Tips and Tricks
Corn dogs are a family favorite, and once you try them you’ll understand why. With these tips and tricks you will be mastering homemade corn dogs in no time.
- Cornmeal: Cornmeal is the main ingredient here, it brings the crunch and texture we all love. Look for finely ground cornmeal, avoid the coarse or medium ground cornmeal. If the package doesn’t say, it is mostly likely finely ground. It not only mixes up easier but will stick to the hot dog.
- Hot Dog: Use your favorite brand, our family loves all-beef hot dogs, but you do what works for you and your family.
- Hot Dog Sticks: When buying sticks for your hot dogs, make sure that you are not getting sticks too long for your fryer. They need to fit with the hot dog on them. Use candy apple, hot dog sticks, or even skewers.
- Oil: Peanut or Canola oil are the best oils for frying. Use a thermometer to keep the oil at a steady 350 degrees.
- Dipping the hot dog in the batter: You want to avoid air bubbles on the hot dog which can cause it to crack when frying. Stick the hot dog in the cup straight up and down. Twirl the hot dog till fully coated and keep twirling as you lift it out. If you notice bare spots, dip again.
- Batter not sticking: Pat the hot dogs dry with a paper towel if you are having trouble getting the batter to stick. That should do the trick.
- Too thick: If your batter is too thick, you can use a splash of milk to thin it. Be careful it doesn’t get too thin, it won’t stick to the hot dog.

What to Serve with the Best Corn Dog Recipe
There is a huge debate among corn dog eaters, and there are strong opinions out there. Are you a mustard person or a ketchup person. It can be quite a heated topic, even among family and friends. Whether you prefer the sweeter ketchup or the tangier mustard both will be the perfect companion for these homemade corn dogs. For other sides and fun serve up these recipes with them for a great anytime meal.
Side Dishes
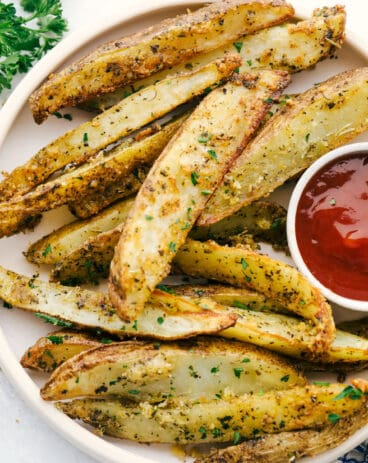
Air Fryer Potato Wedges
Salads
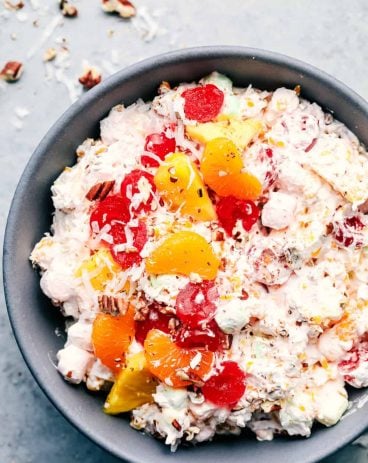
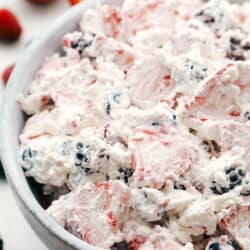
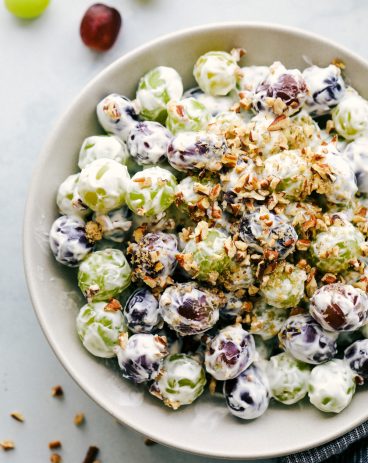
Creamy Grape Salad Recipe
Dressings, Sauces, and Dips
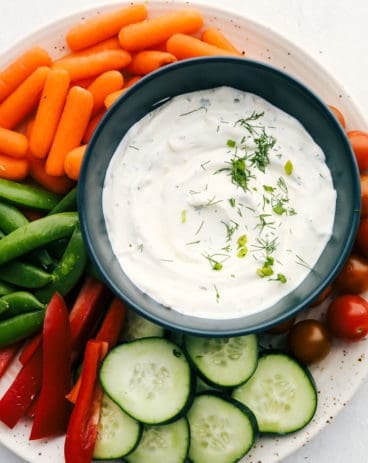
Easy Veggie Dip

Salads
7 Layer Salad

How to Store and Freeze Leftover Easy Corn Dogs
If you are lucky enough to have leftovers, they keep well and warm up beautifully.
- Leftover Batter: Leftover batter can be kept for 2-3 days in the fridge so you can use it for another small round of mini corn dogs.
- Store: Keep leftover corn dogs in an air-tight container in the fridge for up to 3 days.
- Freeze: Once the corn dogs have cooled completely store in a freezer-safe zip-top bag for up to 3 months. You can reheat by microwaving and then crisping in the oven for a few minutes or in a skillet on the stove. Make sure the hot dog inside is thawed and cooked before eating.
- Oil Leftovers: You can save your oil to use for later. Once it has completely cooled strain the oil to remove any chunks. Using a funnel place the strained oil in a glass container with a screw-top lid. I use a mason jar. Place in the fridge and pull out to use the next time you need oil. Note: the oil will take on the taste of what was cooked in it, but only slightly. It is best to fry similar items in the same oil. Once done with the oil, do not pour it down the drain. That will ruin your pipes and is bad for the environment. Place the used oil in a container with a lid and throw it away.

More Fried Foods to Try
Side Dishes
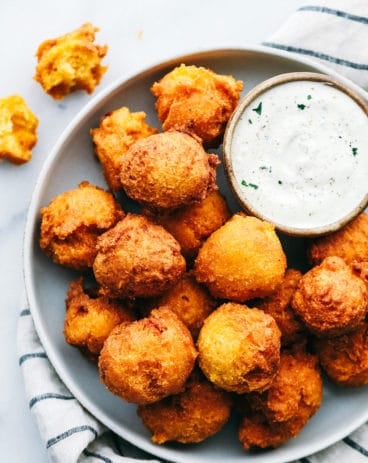
Southern Hush Puppies

Dinner
Fish and Chips

Appetizers
Crispy Onion Rings (Baked or Fried!)
American
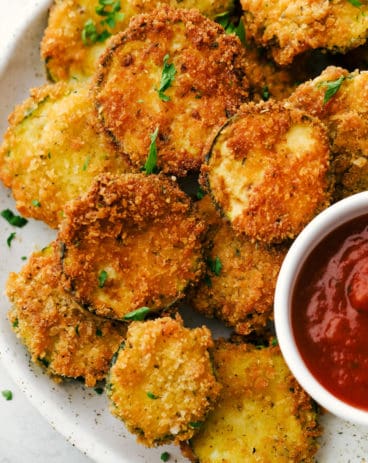
Crispy Parmesan Fried Zucchini
Corn Dogs
Ingredients
- canola oil for frying
- 12 hot dogs regular size and thickness
- 12 hot dog sticks or popsicle sticks, candy sticks, wooden skewers, etc
- 1 Cup all purpose flour
- 1 cup cornmeal fine
- ¼ teaspoon salt
- 2 Tablespoons granulated sugar
- 1 Tablespoon baking powder
- 1 large egg
- 2 Tablespoon honey
- 1 cup buttermilk
- ¼ cup milk
Instructions
-
Heat about 2 inches of oil in a large pot or dutch oven to 350 degrees.
-
Prep your hot dogs by patting them dry with paper towels and inserting the sticks. Set aside.
-
In a large bowl, whisk the flour, cornmeal, salt, sugar, and baking powder together. In another bowl, or large liquid measuring cup, whisk the egg, honey, buttermilk and milk together. Add the wet ingredients to the dry and combine thoroughly. The batter will be thick, but smooth enough to evenly coat the hot dog once it has been dipped.
-
Fill a tall drinking glass with batter. Dip the hot dogs all the way in the glass, going straight down and giving it a twirl in the glass. As you remove the hot dog, twirl it around to avoid leaving any air bubbles. If you see any bubbles or bare spots on the hot dog, dip it again.
-
Gently drop the battered hot dog into the hot oil. Cook for about 2-3 minutes, until nice and golden brown on all sides. Remove from the oil and allow to drain on paper towels. Serve immediately.
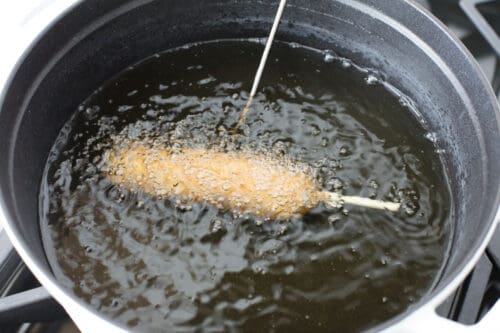
-
If you have leftover batter, it can be saved for 2-3 days in the fridge and used to fry up more dogs. With leftover dogs, they can be stored in the fridge in an airtight container for 2-3 days, or frozen.
Nutrition
from The Recipe Critic https://ift.tt/3iACLwo
https://ift.tt/3pKaWDz