रविवार, 20 जून 2021

Grilled Teriyaki Chicken

Grilled Teriyaki Chicken is the ultimate quick and easy, absolutely delicious dinner! Tender juicy chicken is soaked in the BEST Teriyaki Sauce then grilled to perfection!

It is grilling season and nothing tastes better on a warm summer day. Try these grilled recipes for your next BBQ, Steak, Asparagus, or Shrimp.
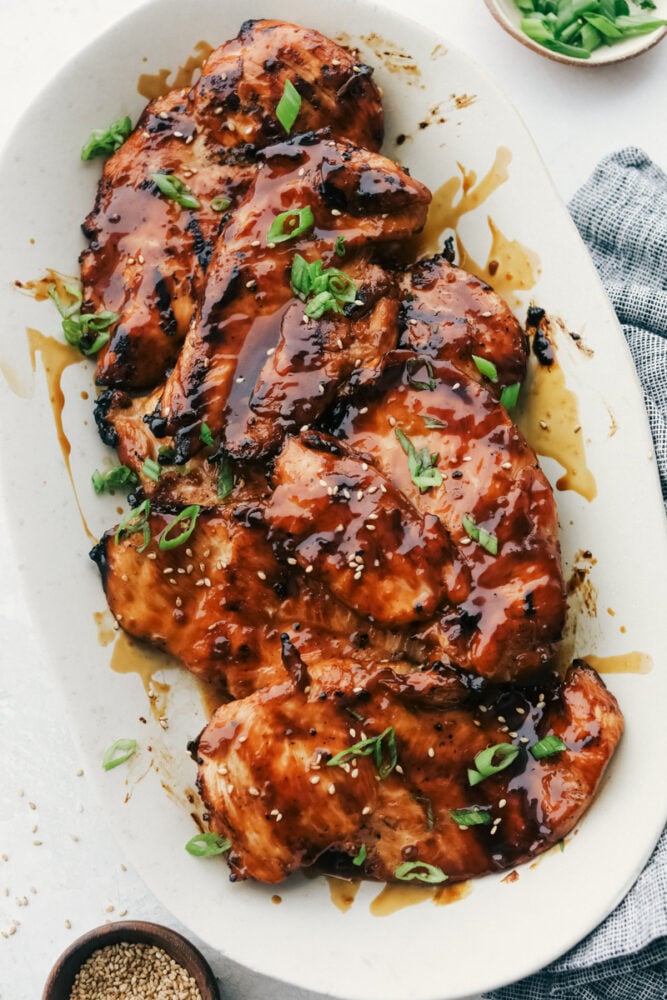
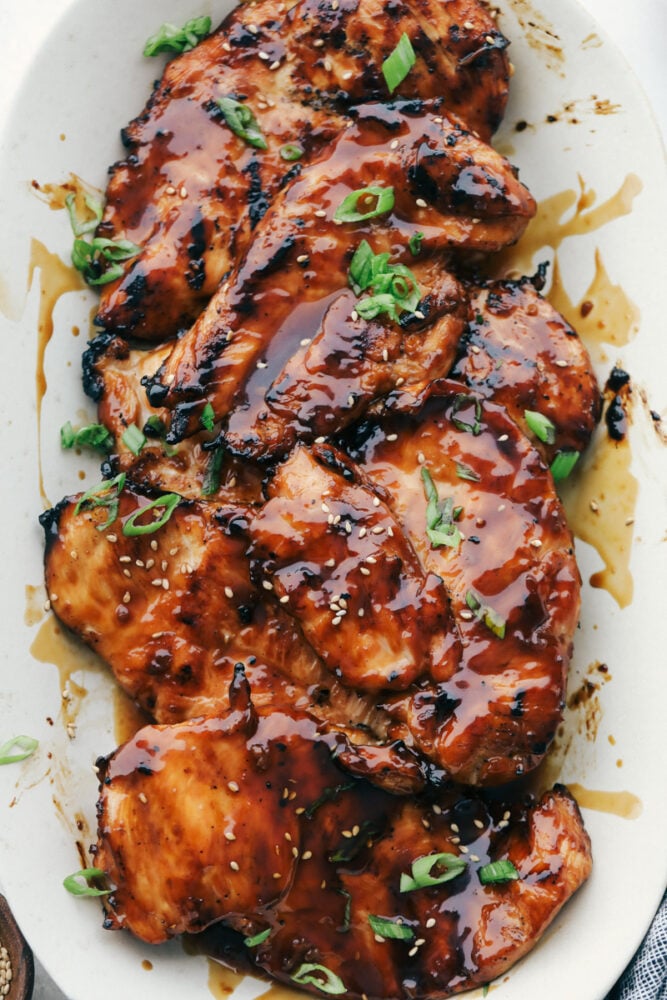
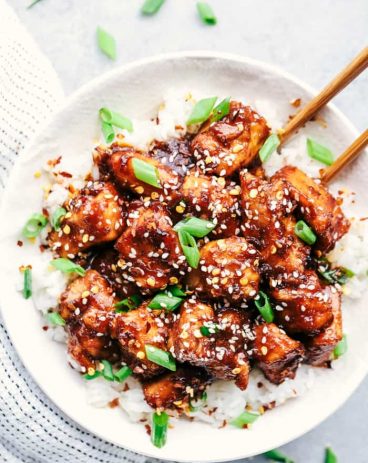
Grilled teriyaki chicken breasts on a platter garnished with green onions and sesame seeds.

Teriyaki Chicken Recipe

This is one of the easiest most tasty dinners ever! The homemade teriyaki sauce is absolutely to die for, and super simple to make with this chicken. Let the chicken sit in the marinade for as long as possible but not longer than 24 hours or it can start to break down the chicken. I try to always do a few hours, so plan ahead. The teriyaki sauce with its sweet and savory flavors is a favorite flavor and soaks into the chicken leaving it juicy and amazing every time!

Grilling can seem intimidating but it couldn’t be easier. Remember to heat the grill and clean it off before grilling. You do not want leftover food from your last grilling party to taint your chicken. Also don’t forget to oil your grill! Super important, so that the chicken doesn’t stick and rip when flipping. Use tongs to hold a wad of paper towels that have been dipped in some oil to grease your hot grill grates. This is one of my family’s favorites and I know it will be yours too!

Ingredients for Teriyaki Chicken

Let the chicken marinate for at least 30 minutes and up to 24 hours.

  • Boneless skinless chicken breasts: For best flavor and grilling use fresh over frozen chicken breasts.
  • Homemade Teriyaki: You can use your favorite bottled or you can make this out of this world homemade Teriyaki Sauce
  • Green onions and sesame seeds for garnish: These are optional but they add both flavor and color.

How to Make Grilled Teriyaki Chicken

  1. Marinated: In a medium-sized bowl add the chicken breasts. Add the prepared teriyaki sauce reserving ¼ cup.
  2. Grill: Preheat your grill to high heat. Add the chicken to the grill and cook on each side for 3-4 minutes or until cooked through and no longer pink.
  3. Cover and Enjoy: Baste the chicken with reserved glaze and put it on a plate and serve.
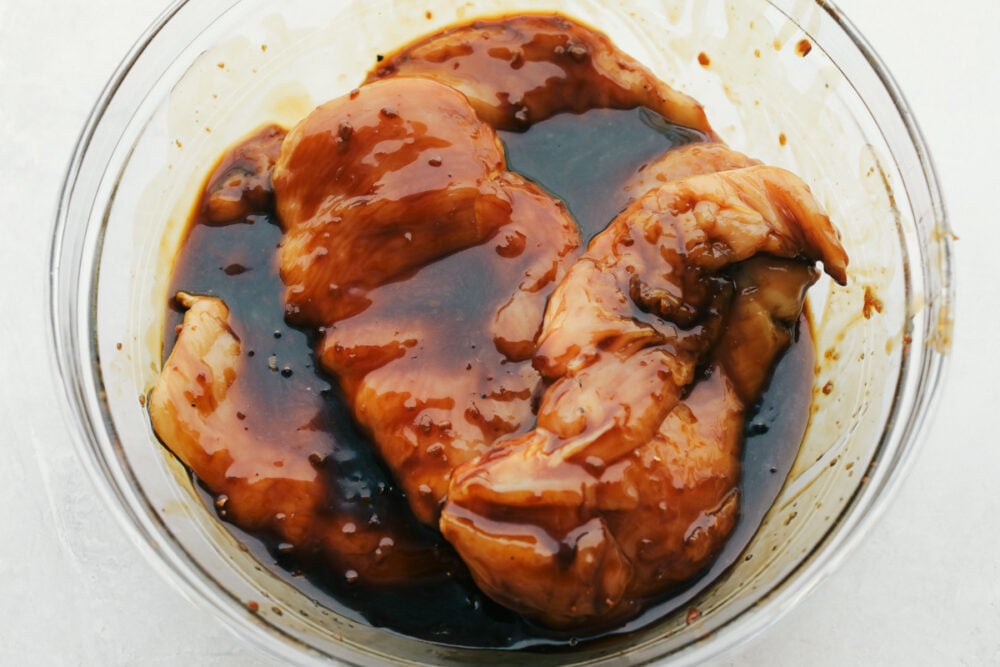
Raw chicken marinating in the teriyaki sauce.

The Best Teriyaki Chicken Tips

This is succulent and juicy and full of flavor!

  • Chicken: Chicken breasts are easy to grill and can be juicy and tender, with just a few tips.
  • Pound: Pound the chicken to even thickness.
  • Marinate: Let the teriyaki sauce sit on the chicken for at least 30 minutes and as long as possible up to 24 hours. The sauce will help the chicken remain juicy and full of flavor.
  • Temperature: Cook the chicken till the temperature is 155 degrees. Remove it from the grill, cover it and let it sit for up to 10 minutes. It will raise to the perfect temperature of 165 while sitting. Making it safe to eat.
  • Baste After it’s done grilling: Use the reserved teriyaki sauce (this is the part of the sauce that should not have come in contact with the raw chicken) to coat the chicken after it’s been removed from the grill. The sugars in the sauce will cause burning on the outside of the chicken if put on while grilling.
  • Baked: You can bake this instead of grilling, follow the instructions that you can find here.
  • Other: Change out the chicken breasts for chicken thighs if you desire.
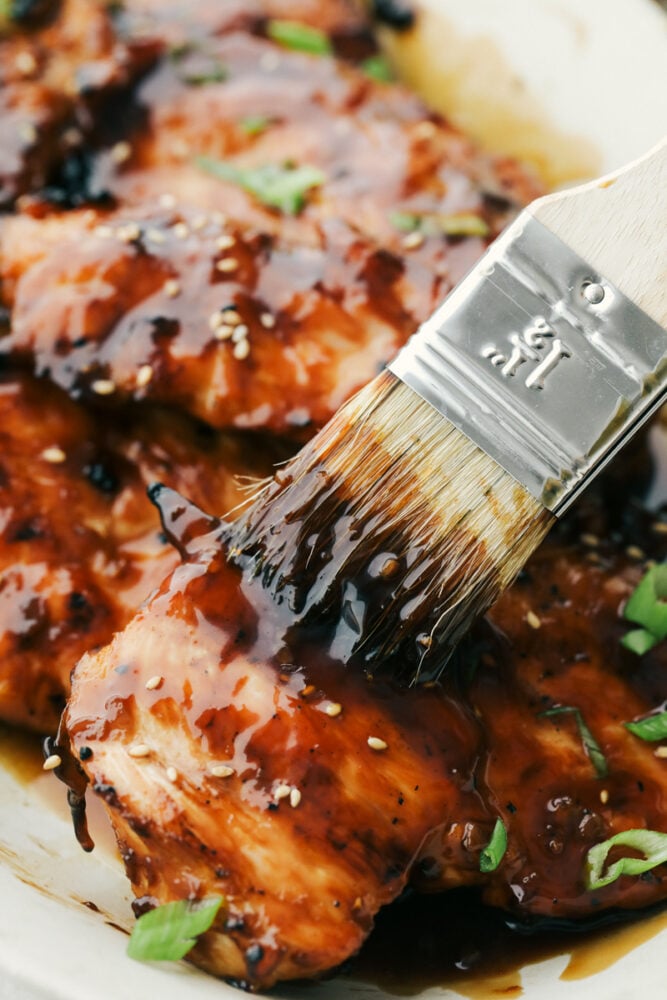
Basting the rest of the teriyaki sauce onto cooked chicken.

What to Serve with Grilled Teriyaki Chicken

Outdoor grilling is a wonderful way to keep the heat outside and the food delicious. We love to grill up extra teriyaki chicken and use it throughout the week in stir fry, this casserole, and salads. This chicken keeps beautifully in the fridge for up to 4 days. You can eat it warmed or cold. When we have it right off the grill I like to keep the rest of the sides light. It makes for a super refreshing meal. Top it off with a slice of this luscious lemon cake for the perfect meal.

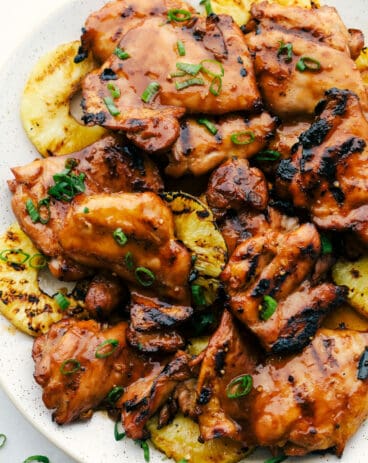
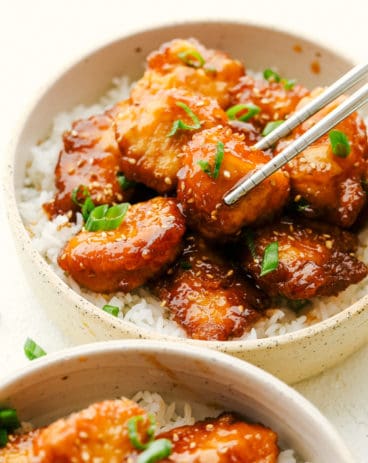
Grilled chicken with teriyaki sauce on a white plate.
Print

Grilled Teriyaki Chicken

Grilled Teriyaki Chicken is the ultimate quick and easy, absolutely delicious dinner! Tender juicy chicken is soaked in the BEST Teriyaki Sauce then grilled to perfection!
Course Dinner, Main Course
Cuisine American
Keyword grilled teriyaki chicken, teriyaki chicken
Prep Time 5 minutes
Cook Time 15 minutes
Total Time 20 minutes
Servings 6 people
Calories 173kcal
Author Alyssa Rivers

Ingredients

  • 2 pounds boneless skinless chicken breasts
  • 1 homemade teriyaki sauce or store bought
  • green onions and sesame seeds for garnish

Instructions

  • In a medium sized bowl add the chicken breasts. Add the prepared teriyaki sauce reserving ¼ cup.
  • Preheat your grill to high heat. Add the chicken to the grill and cook on each side 3-4 minutes or until cooked through and no longer pink.
  • Baste the chicken with reserved glaze and put on a plate and serve.

Nutrition

Calories: 173kcal | Carbohydrates: 1g | Protein: 32g | Fat: 4g | Saturated Fat: 1g | Polyunsaturated Fat: 1g | Monounsaturated Fat: 1g | Trans Fat: 1g | Cholesterol: 97mg | Sodium: 182mg | Potassium: 560mg | Sugar: 1g | Vitamin A: 45IU | Vitamin C: 2mg | Calcium: 8mg | Iron: 1mg


from The Recipe Critic https://ift.tt/3ddTKBp
https://ift.tt/3j0S81z

शनिवार, 19 जून 2021

Homemade Teriyaki Sauce

Teriyaki Sauce is super easy and way better than store-bought! Made with simple ingredients you can pronounce, this is going to become a staple in your family.

Making your own sauces is way easier and cheaper than you think. Try these other homemade sauces that you are going to love like this Fry, Cheese, and Yum Yum Sauce!

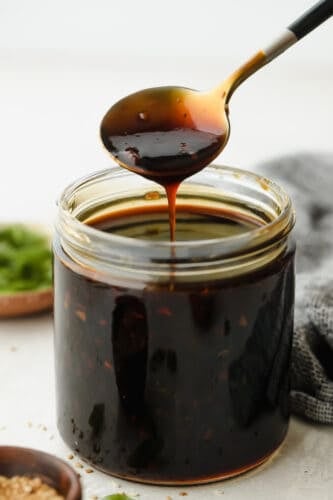
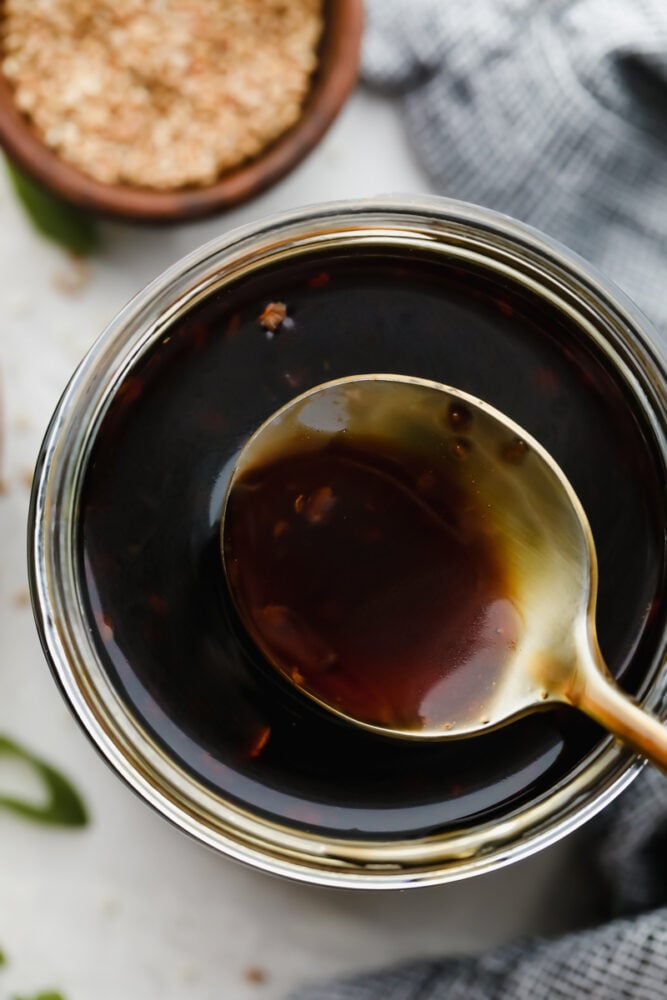
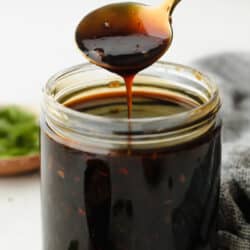
Spooning teriyaki sauce out of jar.

Teriyaki Sauce Recipe

Homemade anything is way better than store-bought, for many reasons. First, you know exactly what is in your sauce. No funny-sounding ingredients here. Second, you can control the amount and type of ingredients too. If you love a certain brand of soy sauce or want to use extra garlic or ginger you can. You can customize the teriyaki sauce to your family’s tastes. And making your own is way cheaper than buying it. You will never go back to the jarred teriyaki sauce again after you taste this.

Teriyaki sauce is a favorite flavor around here. It is a savory, sweet sauce that elevates whatever you serve it on. Interesting enough though, the word Teriyaki in Japanese technically means a type of cooking style, not a certain flavor. Regardless, this flavor has become one of the most popular Asian sauces. It’s tangy, thick and full of a perfect blend of sweet and spice. You are going to love how easy this teriyaki sauce is and how delicious it is too!

Easy Teriyaki Sauce Ingredients

Using fresh garlic and ginger is key here, it will create the best flavor in this teriyaki sauce. Find the list of measurements for each ingredient located in the recipe card below.

  • Low sodium soy sauce: I love using low sodium because it still has all the flavor and is better for the heart.
  • Brown sugar: You can use either dark or light brown sugar in this recipe with excellent results.
  • Apple cider vinegar: This gives it a bit of tang that is custom in teriyaki sauce.
  • Garlic cloves minced: You will want to use fresh garlic not jarred or powder. It will give you the best flavor this way.
  • Sesame oil: Look for sesame oil near the olive and canola oils. It can also be found near the bottles of vinegar.
  • Freshly grated ginger: Fresh ginger looks like a root, it is covered in a tough outer skin that’s brown and can be found in the produce section of the store.
  • Water: You will want to use cold water to mix better with the cornstarch.
  • Cornstarch: This will thicken the sauce to the most ideal consistency.

How to Make Teriyaki Sauce

Just heat, stir and serve and you have the best teriyaki sauce that is going to be awesome! It is quick and easy to make, plus will store well for you to use your homemade sauce over and over again.

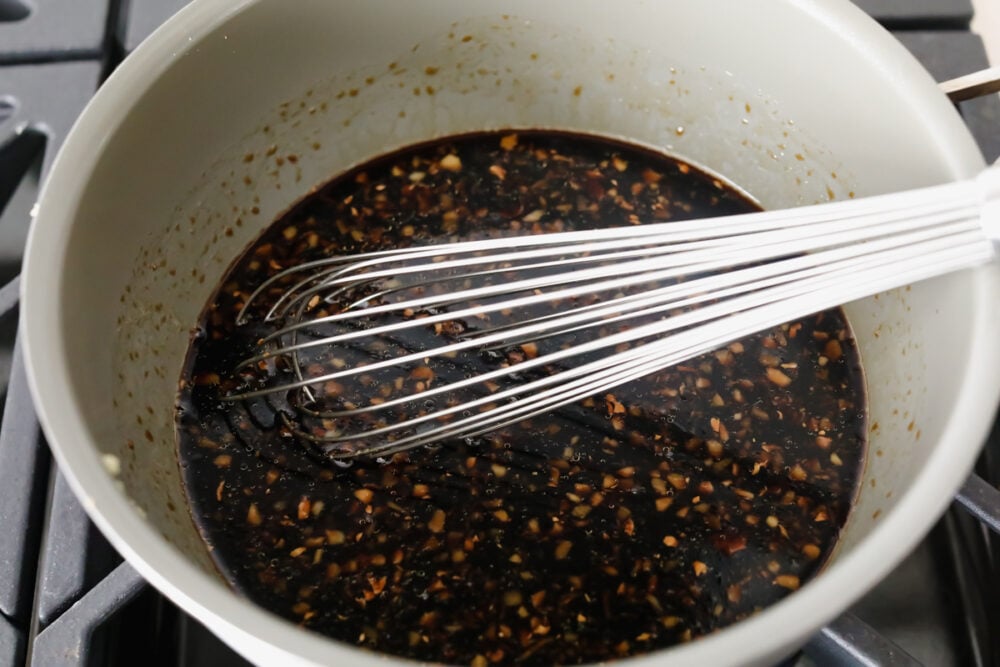
  1. Heat: In a medium-sized saucepan over medium-high heat whisk together soy sauce, brown sugar, apple cider vinegar, garlic, sesame oil, and ginger. Heat it to a simmer.
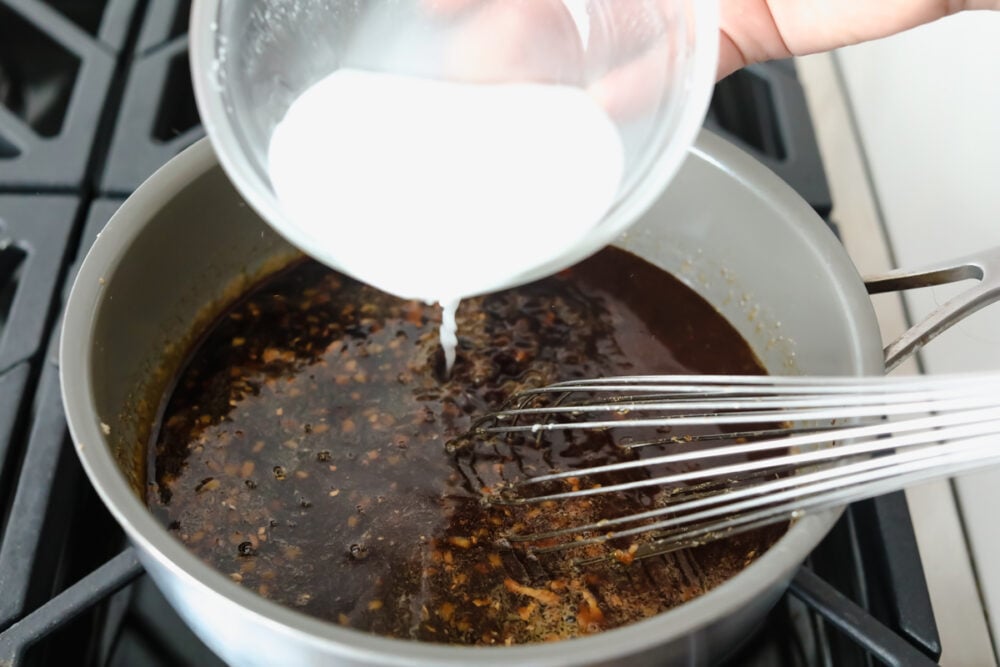
  2. Thicken: In a small bowl whisk together the water and cornstarch. Slowly whisk into the saucepan. Whisk the sauce constantly until it starts to thicken.
  3. Enjoy: Remove from heat and cool.
Mixing the ingredients in a saucepan to simmer.

Homemade Teriyaki Sauce Tips

This teriyaki sauce is the perfect combination of salty, sweet, spicy and savory! Try these extra tips for the best flavor!

  • Make it gluten-free: Look for gluten-free soy sauce and you have a luscious gluten-free sauce that will taste amazing.
  • Sugar Swap: You can trade out the brown sugar for honey or maple syrup if you desire. The honey and maple syrup will change the consistency and taste just a bit. So adapt the other ingredients as needed. You may need to add a bit more cornstarch slurry to thicken it as desired.
  • Brown Sugar: Light and dark brown sugar work great in this recipe. The dark brown sugar will give the sauce a deeper flavor.
  • Grating Ginger: Use a knife to peel back as much ginger as you need. Using the smallest holes of a cheese grater, grate as much ginger as you need. You can also use a zester to grate the ginger. To preserve the rest of the ginger for another use, only peel as much as you need. Cover the peeled end tightly with plastic wrap and store it in the fridge.

How to Store the Best Teriyaki Sauce

Use the homemade sauce immediately as needed or store it in a tightly sealed jar for up to two weeks. This teriyaki sauce is perfect to make ahead as the flavors actually meld together and the teriyaki sauce gets better with time.

Adding the cornstarch slurry to thicken the sauce.

How to Use Teriyaki Sauce as a Marinade

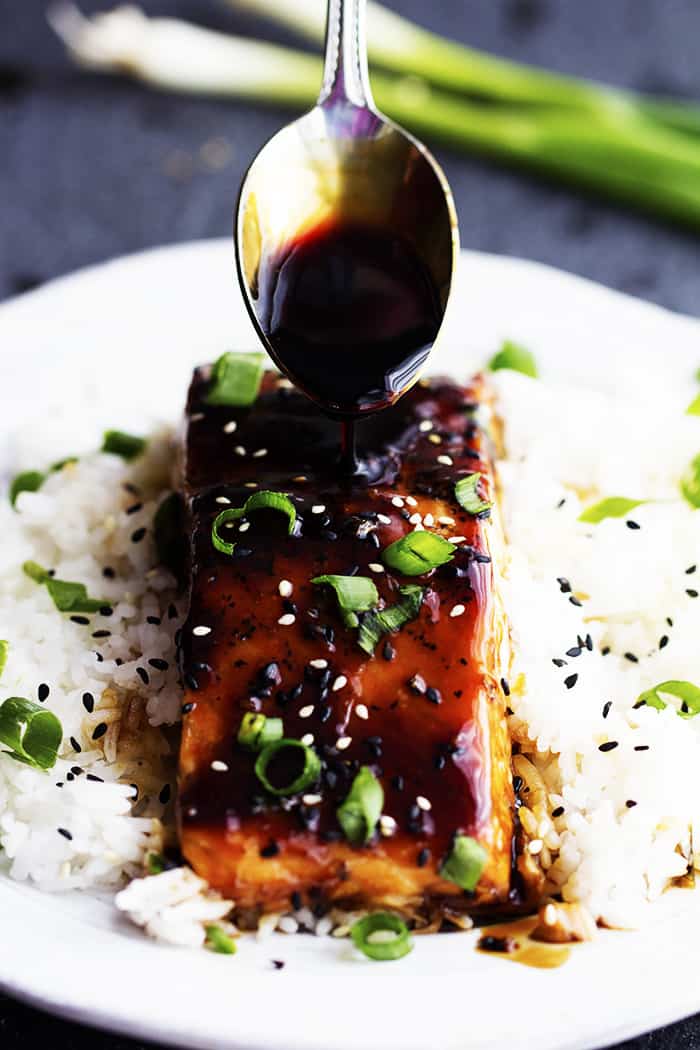
Teriyaki Sauce can be used in many different ways. You can use it as a marinade, salad dressing, and topping for all sorts of dishes. We love to use this sauce on simple stir fry, as the sauce for slow cooker chicken and to top salads. It also makes a great dipping sauce for your Egg Rolls and Pot Stickers! YUM! Use this incredible sauce whenever you need a great sauce to accompany an already wonderful meal. Here are more scrumptious recipes to use this homemade teriyaki sauce with.

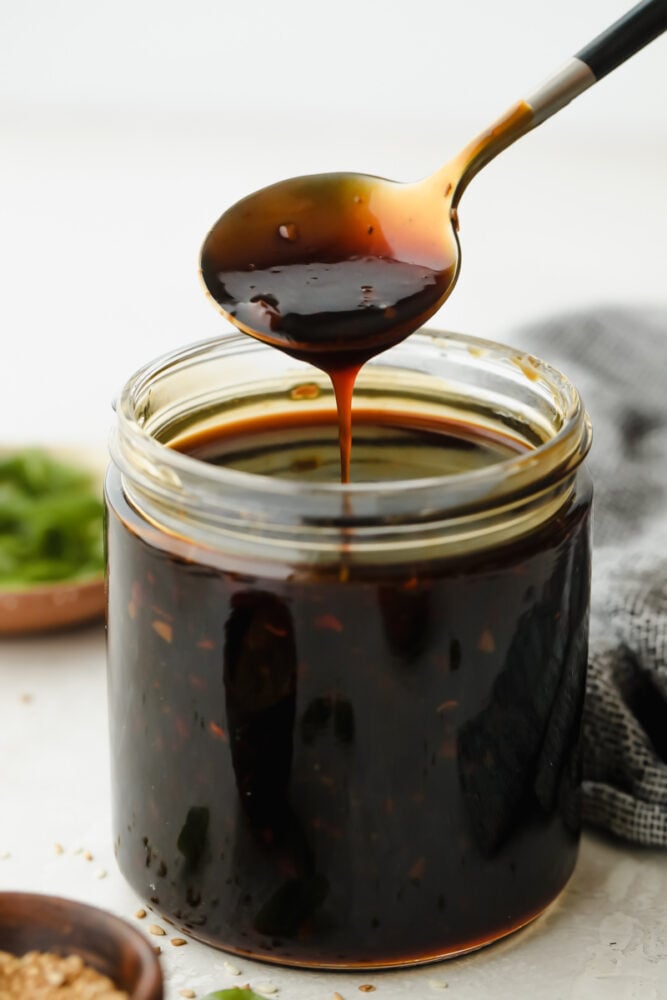
Scooping out a spoonful of teriyaki sauce from the jar.
Print

Homemade Teriyaki Sauce

Homemade Teriyaki Sauce is super easy and way better than store-bought! Made with simple ingredients you can pronounce, this is going to become a staple in your family.
Course Sauce
Cuisine Asian American
Keyword homemade teriyaki sauce, teriyaki sauce
Prep Time 5 minutes
Cook Time 5 minutes
Total Time 10 minutes
Calories 735kcal
Author Alyssa Rivers

Ingredients

  • 1 cup low sodium soy sauce
  • 1/2 cup brown sugar
  • 2 Tablespoons apple cider vinegar
  • 3 garlic cloves minced
  • 2 teaspoons sesame oil
  • 1 teaspoon fresh grated ginger
  • 1/4 cup water
  • 3 tablespoons cornstarch

Instructions

  • In a medium sized saucepan over medium high heat whisk together soy sauce, brown sugar, apple cider vinegar, garlic, sesame oil, and ginger. Heat it to a simmer.
  • In a small bowl whisk together the water and cornstarch. Slowly whisk into the saucepan. Whisk the sauce constantly until it starts to thicken.
  • Remove from heat and cool.

Nutrition

Calories: 735kcal | Carbohydrates: 155g | Protein: 14g | Fat: 8g | Saturated Fat: 1g | Polyunsaturated Fat: 3g | Monounsaturated Fat: 3g | Sodium: 8538mg | Potassium: 664mg | Fiber: 2g | Sugar: 111g | Vitamin A: 1IU | Vitamin C: 3mg | Calcium: 155mg | Iron: 6mg


from The Recipe Critic https://ift.tt/2TOYG8D
https://ift.tt/3gFPE70

शुक्रवार, 18 जून 2021

Perfect Rice Krispie Treats

Everyone loves a good rice Krispie treat. Sweet, soft, and extra ooey gooey, these Perfect Rice Krispie Treats will become your new favorite!

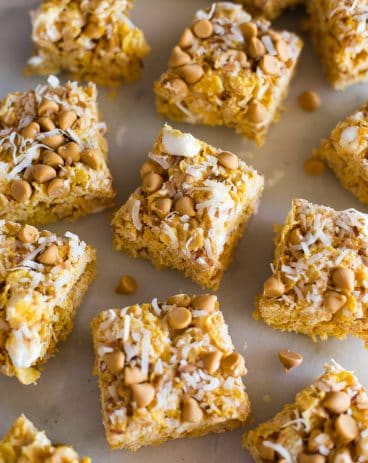
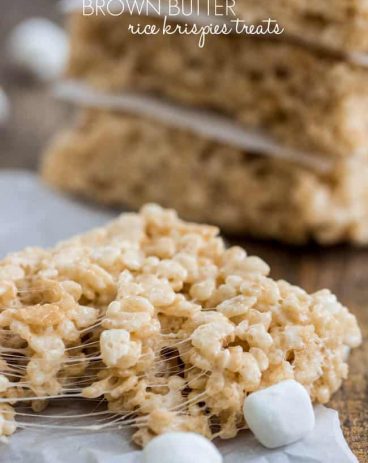
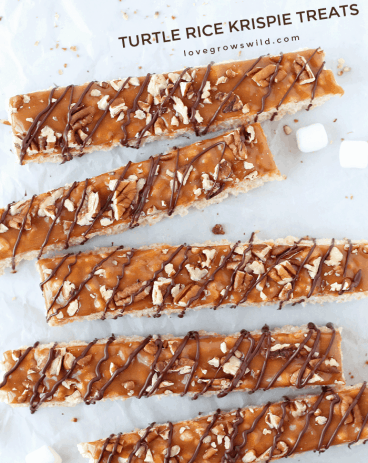
They are beyond quick and easy to put together but taste AMAZING! For other super easy cereal desserts that are sure to please, try out turtle and brown butter rice krispies and scotcharoos!

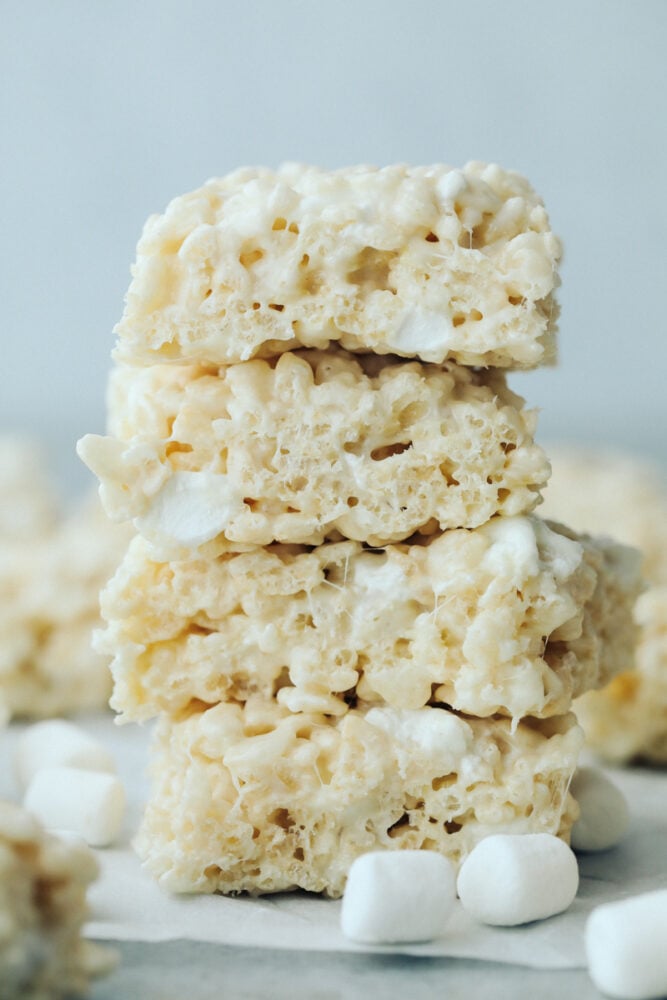
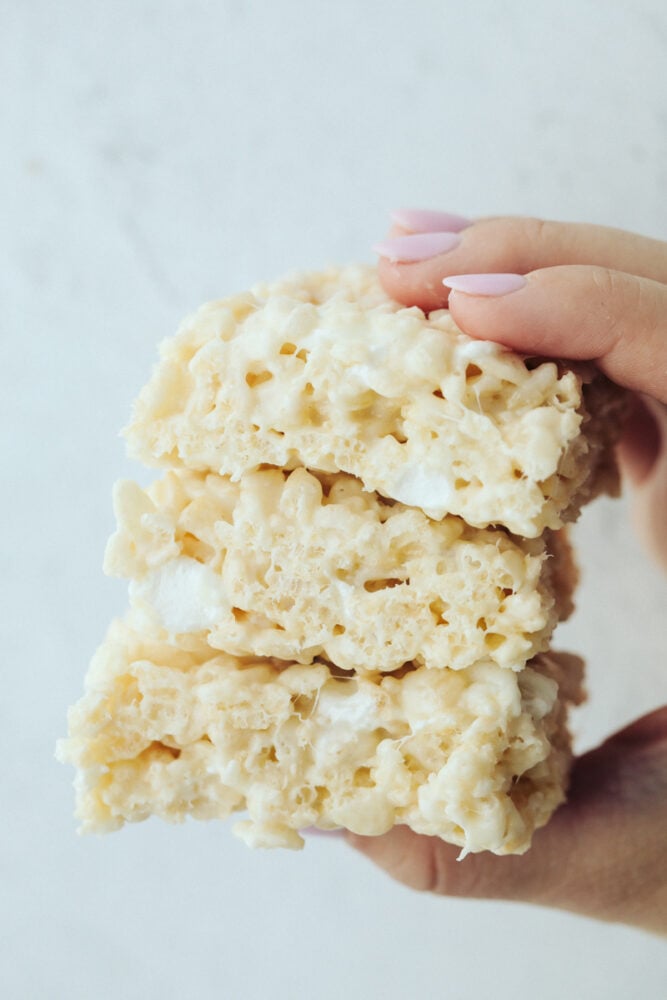
Four rice krispies in a stack

The Best Rice Krispie Treat Recipe

There are so many rice krispie treat recipes out there, but not all are created equal. If you like yours extra soft and marshmallowy like me, you have come to the right place! These are the BEST that I have ever put together and I am so excited to share this recipe with you! My Perfect rice Krispie treats come together in a snap with just a few simple, pantry staple ingredients. They come out perfectly every time and it is so hard not to just finish a pan by myself!

My kids are always asking for homemade rice Krispies treat, which is great because I love having them to snack on, too. I let them help with mixing the butter and marshmallow mixture together. In our house, the pan has usually been cleaned out before the Rice Krispies treats have even cooled completely. With the perfect combination of butter, marshmallows, and cereal, I am sure they will be a hit in your home as well!

Perfect Rice Krispie Ingredients

You only need 3 simple ingredients to put this delicious treat together! Individual ingredient measurements can be found at the end of the post.

  • Butter: You will need ½ cup. I like using salted butter to enhance flavor. This helps to make your rice Krispie treats rich and decadent!
  • Mini Marshmallows: One 10-ounce bag is needed. Save 1 cup for the end to add in extra marshmallows. This will give your rice krispies their perfectly fluffy texture.
  • Rice Krispies Cereal: I like using rice Krispie treats brand cereal because it creates the best texture in these kinds of treats. You can substitute for your favorite rice cereal.

Making Your Rice Krispies

These super easy instructions will yield you perfectly gooey rice Krispie treats every time! Make these as often as you would like with these quick and simple ingredients and instructions.

  1. Prep Pan: Line an 8×8 inch pan with parchment paper or spray with nonstick cooking spray. Set aside.
  2. Melt Butter: In a large pot melt ½ cup butter over medium-low.
  3. Add Marshmallows: Add in marshmallows and stir until melted and smooth.
  4. Add Cereal: Remove from heat and add in the cereal. Mix until combined. Add in the 1 cup additional marshmallows if desired.
  5. Transfer to Pan: Press firmly into the prepared pan. Let set for an hour until cooled.
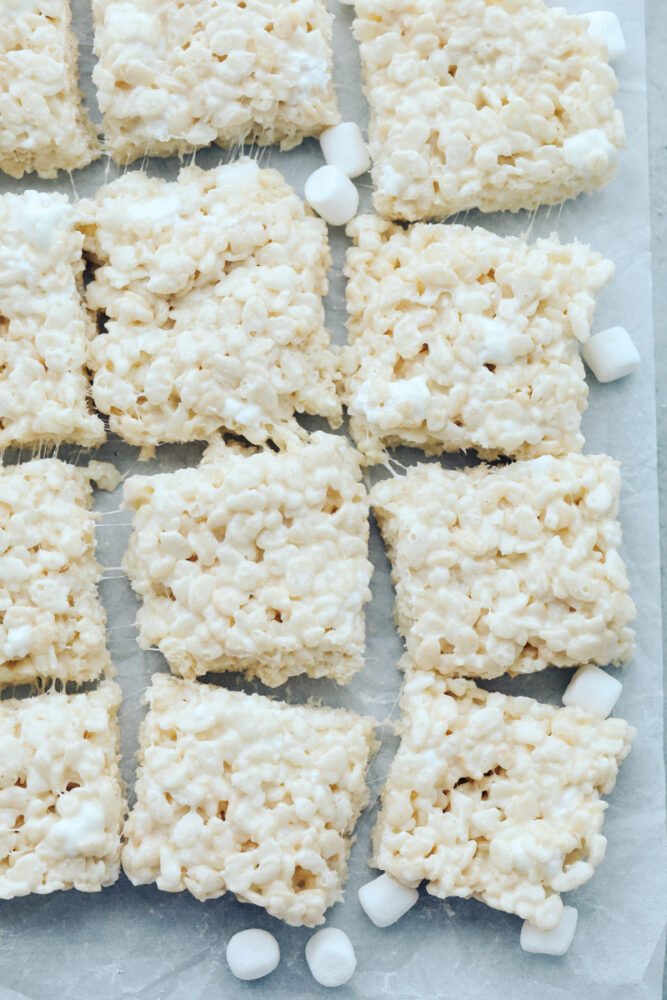
Cut rice krispies on baking sheet

Tips for Making the Perfect Rice Krispies

Here are tips to enhance and perfect your rice Krispie treats! These will help create the perfect treat every time!

  • Rice Krispies are Too Dry: If your rice krispies come out too try, this means that you have used too much cereal.
  • Rice Krispies are Too Sticky: This likely means that you have used too many marshmallows.
  • Brown Butter: Adding brown butter to your rice krispies gives them a delicious nutty flavor! See full recipe here.
  • Toppings: To spice up your rice krispies, you can top them with things like oreo pieces, chopped candy, chocolate, caramel, and nuts. Mix and match to create things like turtle and butterscotch peanut butter treats!
  • In the Microwave: You can use the microwave to melt down your butter and marshmallows. Add butter and marshmallows to a microwave-safe bowl and cook on high for 1 minute. Cook for additional 10-15 second intervals until the mixture is melted and smooth.
  • Overcooking Marshmallows: Be sure not to overcook your marshmallows. This will make your rice krispies too hard.
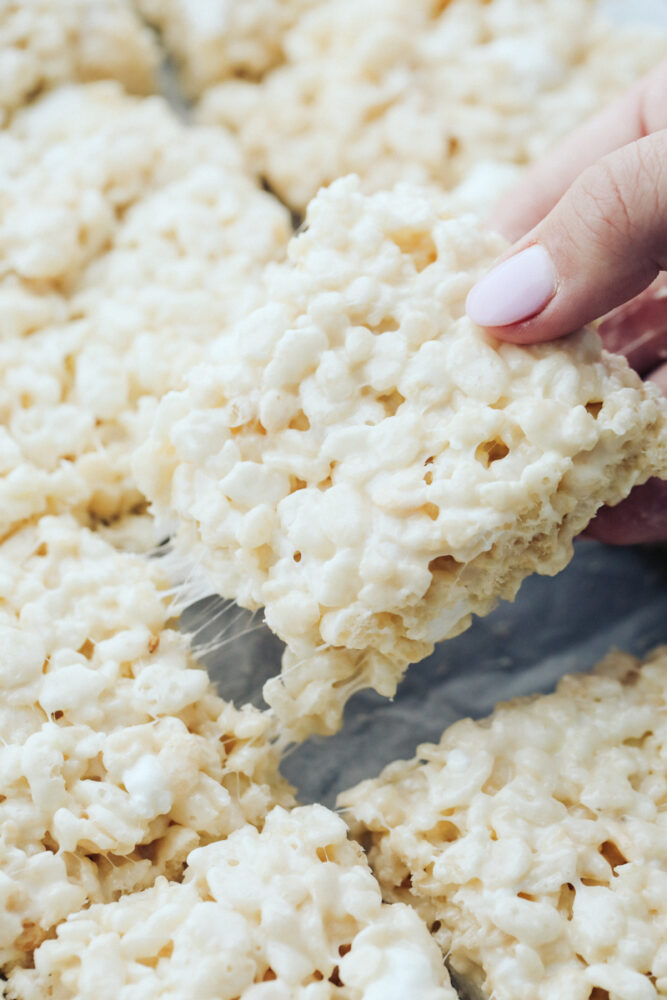
Rice krispie being pulled from pan

What to Serve With Your Perfect Rice Krispies

Rice Krispies treats are the easiest dessert to make for an event with lots of guests. I like to serve up rice Krispie treats alongside other simple crowd-pleasers like muddy buddies and no-bake desserts for a food table your guests will keep coming back to. These recipes pack rich, delicious flavor but are super quick, easy, and inexpensive to put together!

Storing Perfect Rice Krispies

Rice Krispie treats are best stored in an airtight container at room temperature for up to 5 days. For that just-made freshness, pop your rice krispies into the microwave for 10 seconds before eating. I’ve found that refrigerating or freezing your rice Krispie treats makes them too hard.

3 rice krispies in hand
Print

Rice Krispie Treats

Everyone loves a good rice krispie treat. Sweet, soft, and extra ooey gooey, these Perfect Rice Krispie Treats will become your new favorite!
Course Dessert
Cuisine American
Keyword rice krispie treat recipes, rice krispie treats
Prep Time 5 minutes
Cook Time 10 minutes
Total Time 15 minutes
Servings 16 slices
Calories 94kcal
Author Alyssa Rivers

Ingredients

  • 1/2 cup butter
  • 1 (10 ounce bag) mini marshmallows
  • 5 cups Rice Krispies cereal
  • 1 cup mini marshmallows optional

Instructions

  • Line a 8×8 inch pan with parchment paper or spray with non stick cooking spray. Set aside.
  • In a large pot melt ½ cup butter over medium low.
  • Add in marshmallows and stir until melted and smooth.
  • Remove from heat and add in cereal. Mix until combined. Add in the 1 cup additional marshmallows if desired.
  • Press firmly into the prepared pan. Let set for an hour until cooled.

Nutrition

Calories: 94kcal | Carbohydrates: 10g | Protein: 1g | Fat: 6g | Saturated Fat: 4g | Polyunsaturated Fat: 1g | Monounsaturated Fat: 2g | Trans Fat: 1g | Cholesterol: 15mg | Sodium: 99mg | Potassium: 13mg | Fiber: 1g | Sugar: 3g | Vitamin A: 759IU | Vitamin C: 6mg | Calcium: 2mg | Iron: 3mg


from The Recipe Critic https://ift.tt/3q5bFiR
https://ift.tt/3xqQ0Us