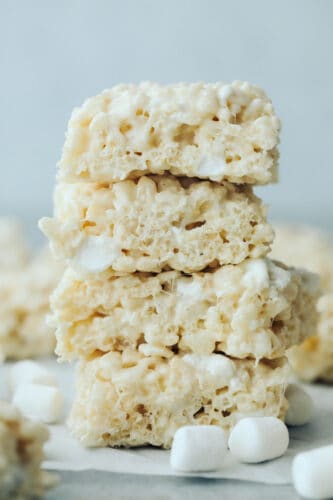
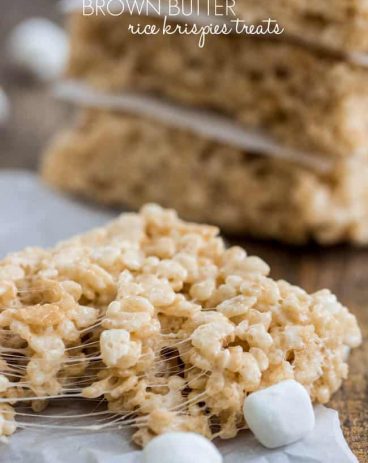
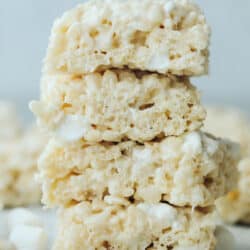
Everyone loves a good rice Krispie treat. Sweet, soft, and extra ooey gooey, these Perfect Rice Krispie Treats will become your new favorite!
They are beyond quick and easy to put together but taste AMAZING! For other super easy cereal desserts that are sure to please, try out turtle and brown butter rice krispies and scotcharoos!

The Best Rice Krispie Treat Recipe
There are so many rice krispie treat recipes out there, but not all are created equal. If you like yours extra soft and marshmallowy like me, you have come to the right place! These are the BEST that I have ever put together and I am so excited to share this recipe with you! My Perfect rice Krispie treats come together in a snap with just a few simple, pantry staple ingredients. They come out perfectly every time and it is so hard not to just finish a pan by myself!
My kids are always asking for homemade rice Krispies treat, which is great because I love having them to snack on, too. I let them help with mixing the butter and marshmallow mixture together. In our house, the pan has usually been cleaned out before the Rice Krispies treats have even cooled completely. With the perfect combination of butter, marshmallows, and cereal, I am sure they will be a hit in your home as well!
Perfect Rice Krispie Ingredients
You only need 3 simple ingredients to put this delicious treat together! Individual ingredient measurements can be found at the end of the post.
- Butter: You will need ½ cup. I like using salted butter to enhance flavor. This helps to make your rice Krispie treats rich and decadent!
- Mini Marshmallows: One 10-ounce bag is needed. Save 1 cup for the end to add in extra marshmallows. This will give your rice krispies their perfectly fluffy texture.
- Rice Krispies Cereal: I like using rice Krispie treats brand cereal because it creates the best texture in these kinds of treats. You can substitute for your favorite rice cereal.
Making Your Rice Krispies
These super easy instructions will yield you perfectly gooey rice Krispie treats every time! Make these as often as you would like with these quick and simple ingredients and instructions.
- Prep Pan: Line an 8×8 inch pan with parchment paper or spray with nonstick cooking spray. Set aside.
- Melt Butter: In a large pot melt ½ cup butter over medium-low.
- Add Marshmallows: Add in marshmallows and stir until melted and smooth.
- Add Cereal: Remove from heat and add in the cereal. Mix until combined. Add in the 1 cup additional marshmallows if desired.
- Transfer to Pan: Press firmly into the prepared pan. Let set for an hour until cooled.

Tips for Making the Perfect Rice Krispies
Here are tips to enhance and perfect your rice Krispie treats! These will help create the perfect treat every time!
- Rice Krispies are Too Dry: If your rice krispies come out too try, this means that you have used too much cereal.
- Rice Krispies are Too Sticky: This likely means that you have used too many marshmallows.
- Brown Butter: Adding brown butter to your rice krispies gives them a delicious nutty flavor! See full recipe here.
- Toppings: To spice up your rice krispies, you can top them with things like oreo pieces, chopped candy, chocolate, caramel, and nuts. Mix and match to create things like turtle and butterscotch peanut butter treats!
- In the Microwave: You can use the microwave to melt down your butter and marshmallows. Add butter and marshmallows to a microwave-safe bowl and cook on high for 1 minute. Cook for additional 10-15 second intervals until the mixture is melted and smooth.
- Overcooking Marshmallows: Be sure not to overcook your marshmallows. This will make your rice krispies too hard.

What to Serve With Your Perfect Rice Krispies
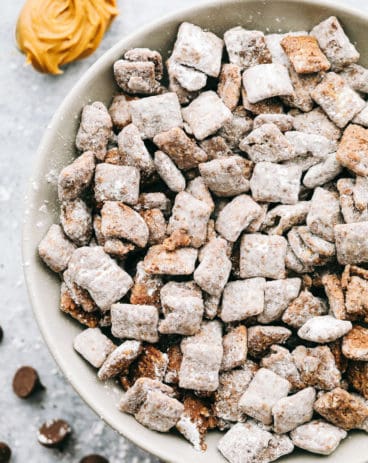
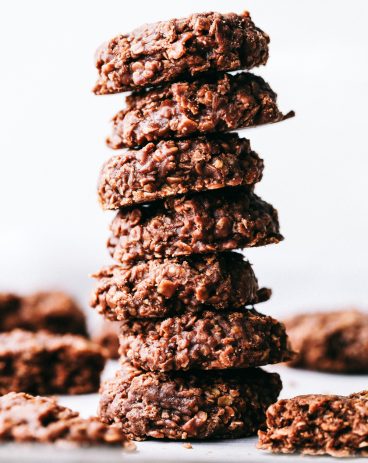
Rice Krispies treats are the easiest dessert to make for an event with lots of guests. I like to serve up rice Krispie treats alongside other simple crowd-pleasers like muddy buddies and no-bake desserts for a food table your guests will keep coming back to. These recipes pack rich, delicious flavor but are super quick, easy, and inexpensive to put together!

Storing Perfect Rice Krispies
Rice Krispie treats are best stored in an airtight container at room temperature for up to 5 days. For that just-made freshness, pop your rice krispies into the microwave for 10 seconds before eating. I’ve found that refrigerating or freezing your rice Krispie treats makes them too hard.

Other Amazing Cereal Treats
American
No Bake Butterscotch Bars

Desserts
Crunchy Peanut Butter Bars
Desserts
Brown Butter Rice Krispies Treats
Desserts
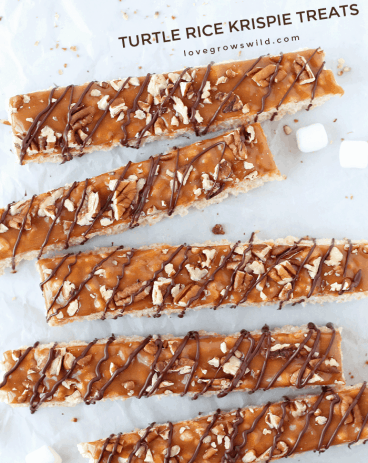
Turtle Rice Krispie Treats
Rice Krispie Treats
Ingredients
- 1/2 cup butter
- 1 (10 ounce bag) mini marshmallows
- 5 cups Rice Krispies cereal
- 1 cup mini marshmallows optional
Instructions
-
Line a 8×8 inch pan with parchment paper or spray with non stick cooking spray. Set aside.
-
In a large pot melt ½ cup butter over medium low.
-
Add in marshmallows and stir until melted and smooth.
-
Remove from heat and add in cereal. Mix until combined. Add in the 1 cup additional marshmallows if desired.
-
Press firmly into the prepared pan. Let set for an hour until cooled.
Nutrition
from The Recipe Critic https://ift.tt/3q5bFiR
https://ift.tt/3xqQ0Us