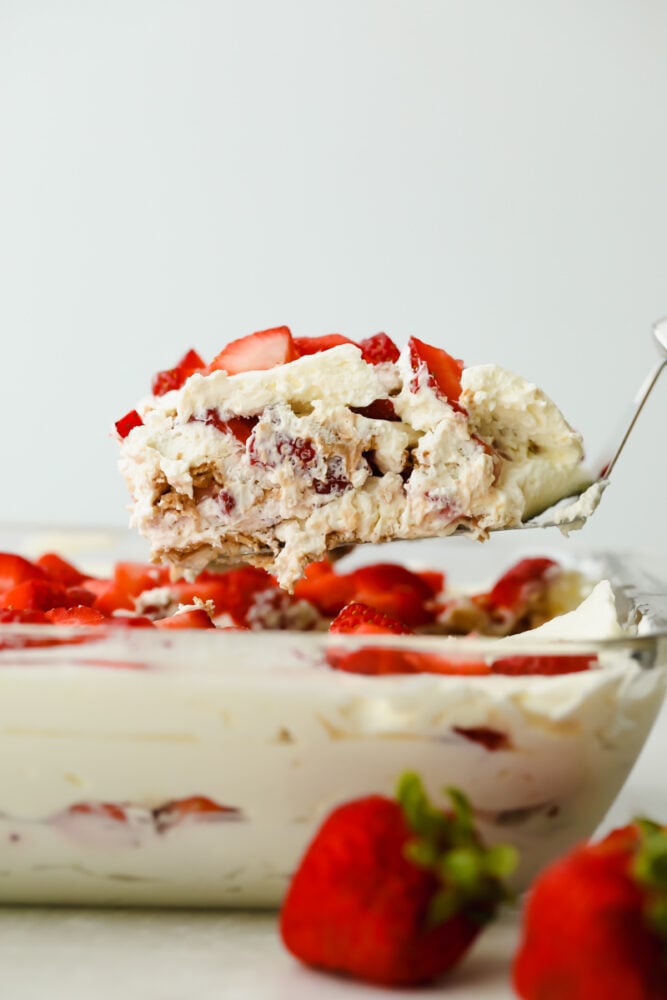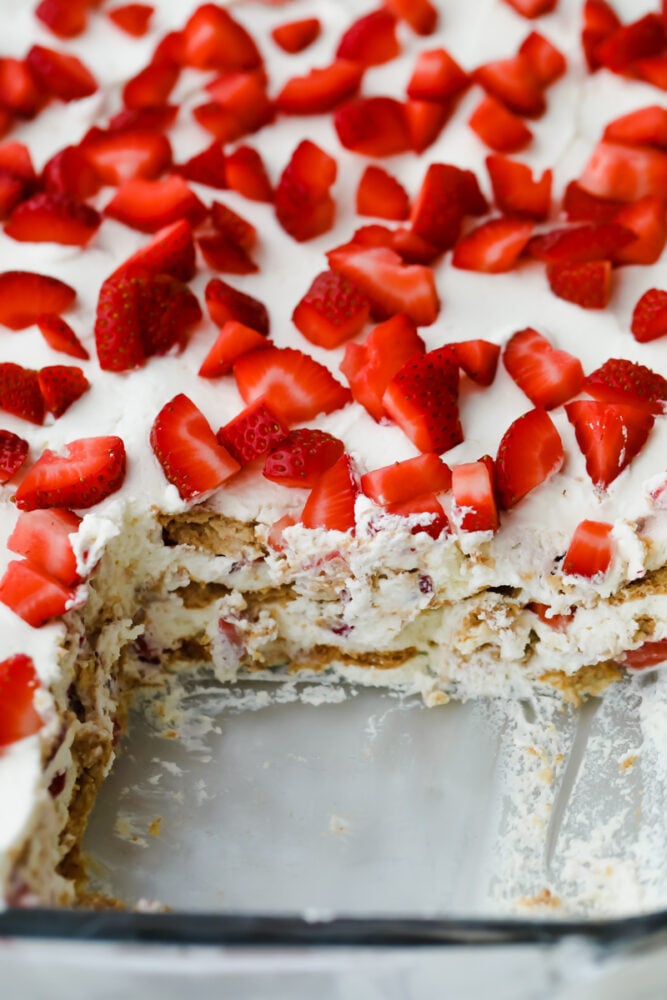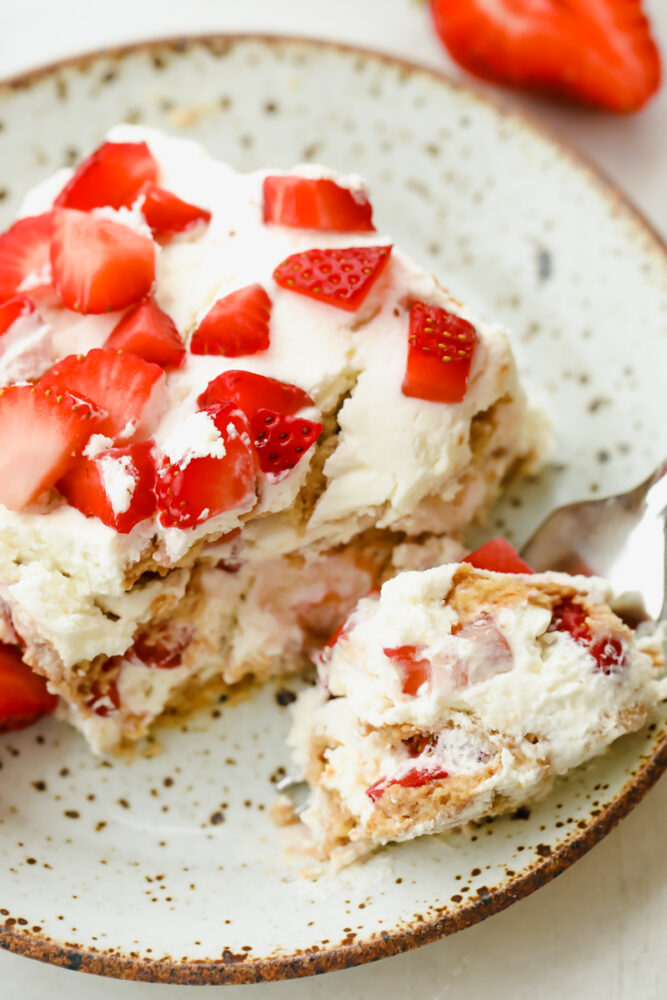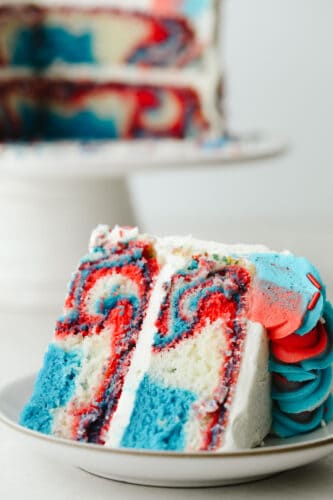
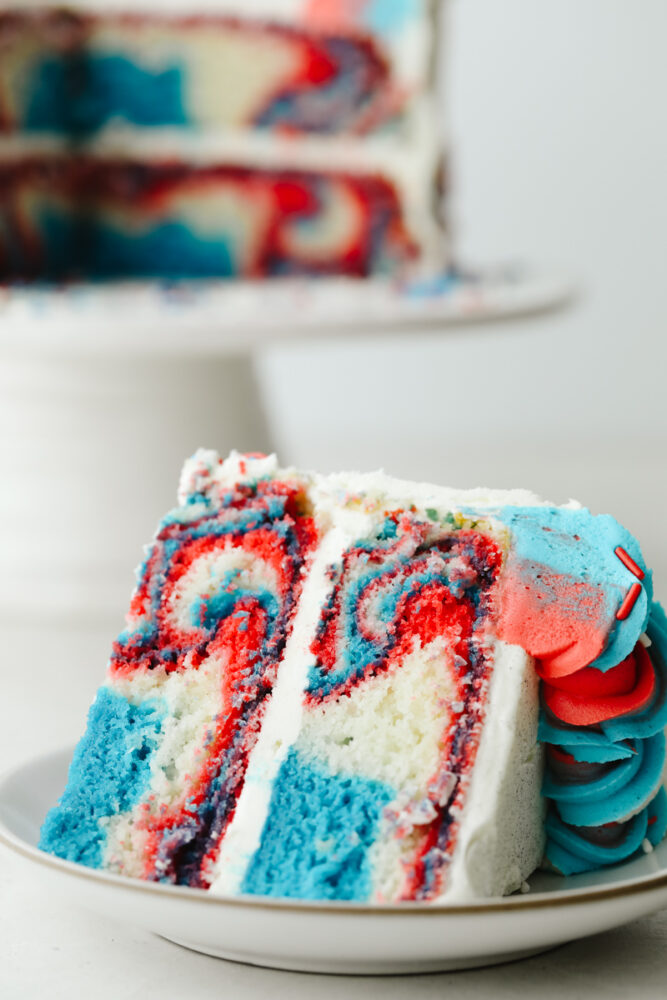
This Red, White and Blue Cake is going to steal the show for your 4th of July celebrations! Tender moist cake is swirled in the sweetest tie-dye pattern!
Classic American desserts or red, white, and blue are a must for the 4th. Here are some other celebratory desserts, Caramel Apple Slab Pie, Cherry Pie Bars, and Very Berry Cheesecake Salad.
Fourth of July Red, White, and Blue Cake
One of my favorite holidays is the 4th of July. I love the reason why we celebrate and all the festivities that come with it. The parades, the patriotism and of course the fireworks.Then there is the food! BBQs and family gatherings call for amazing dishes and even better desserts. This red, white and blue cake with it’s tie-dye effect is going to be the hit of the party.
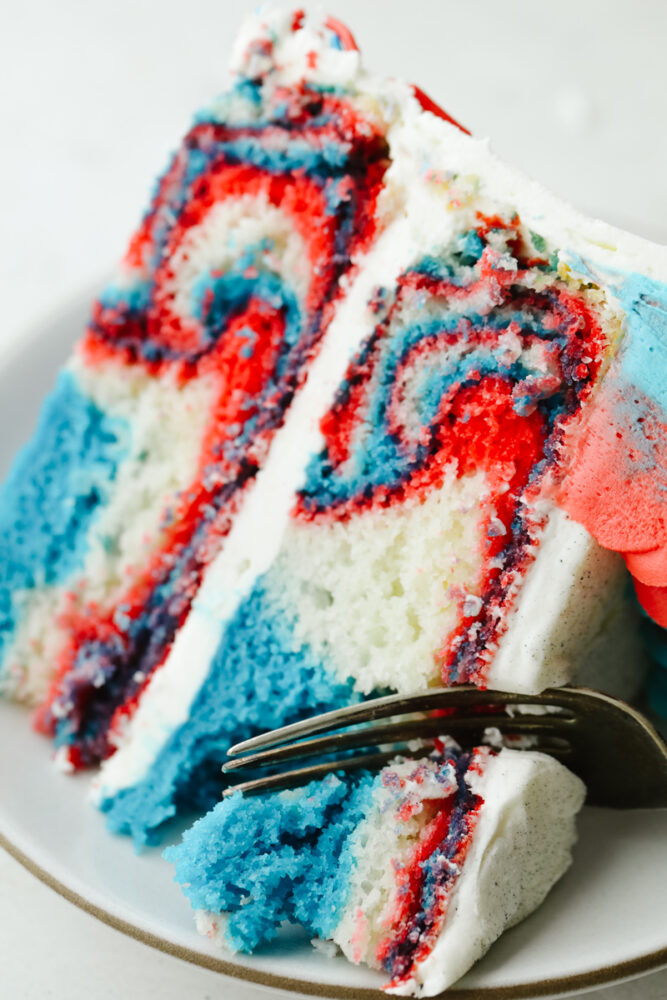
Not only does this look dazzling, but it also tastes spectacular. The inside is tender, moist, and has that perfect density that you want in a cake. The almond and vanilla flavors combine to create a unique smooth flavor that is balanced with the buttercream frosting. Adding the swirls looks hard but it is super easy, your family and friends are going to be impressed for sure! Make this red, white and blue cake this holiday and it will definitely be a crowd-pleaser!
Ingredients For the Tie-dye Cake
Red, white and blue cake is the perfect holiday dessert this Fourth of July! All ingredients are listed below with the measurements in the recipe card.
- All-Purpose flour: All-purpose flour will provide the cake with the structure you need.
- Baking powder: This helps give the cake rise and fluff.
- Baking soda: Make sure your baking soda is fresh so that your cake will cook up light and fluffy.
- Salt: Salt will balance all the flavors.
- Butter softened: Have the butter at room temperature or soften it in the microwave, but do not melt it.
- Granulated sugar: Sweet white sugar provides sweetness and moisture.
- Egg whites: Have your egg whites at room temperature by removing them from the fridge an hour or more ahead of time.
- Vanilla extract: Vanilla gives the cake a classic scrumptious flavor.
- Almond extract optional: This is optional but it provides an incredible flavor you are going to love.
- Milk whole: Using whole milk will provide a lovely rich, moist, and tender cake.
- Sour cream: Don’t question this secret ingredient, it provides a moist cake with a bit of tang you are going to love!
- White vinegar: Vinegar makes cake fluffy yet still moist. The acidity helps set the proteins in the flour.
- Red Food Coloring and Blue Food Coloring: To avoid adding more liquid to your batter try using a food coloring gel.
- Red White and Blue sprinkles: Look for these where they sell the sprinkles at your store. These are optional too.
Buttercream Frosting Ingredients
- Butter: Set your butter out a few hours before needed so it’s good and soft, but not melted.
- Powdered sugar: Sift your powdered sugar so it mixes in smoothly.
- Vanilla extract clear, if bright white icing is desired: If you can’t find this in your local grocery store you can find clear vanilla where they sell cake decorating supplies.
- Pinch of salt: This will balance out the sweetness.
- Heavy cream more if needed: This is only if you need to thin the frosting out a bit to make it spreadable.
How to Make the Red, White, and Blue Swirly Cake
This is so much easier than you think and the effect is stunning!
- Prep: Preheat the oven to 350°. Spray two 8 inch round cake pans with cooking spray and dust with flour. Set aside.
- Dry ingredients: In a medium bowl, sift together the flour, baking powder, baking soda, and salt. Set aside.
- Cream: In the bowl of your mixer, beat the butter until creamy. Add the sugar and beat again for about 3-5 minutes on medium-high speed until it turns white and fluffy. Mix in the egg whites one at a time and mix on medium until each one is fully mixed in.
- Combine: Add the extracts, milk, sour cream, and vinegar to the butter mixture and mix on medium speed until combined. Add the dry ingredients and mix until just combined.
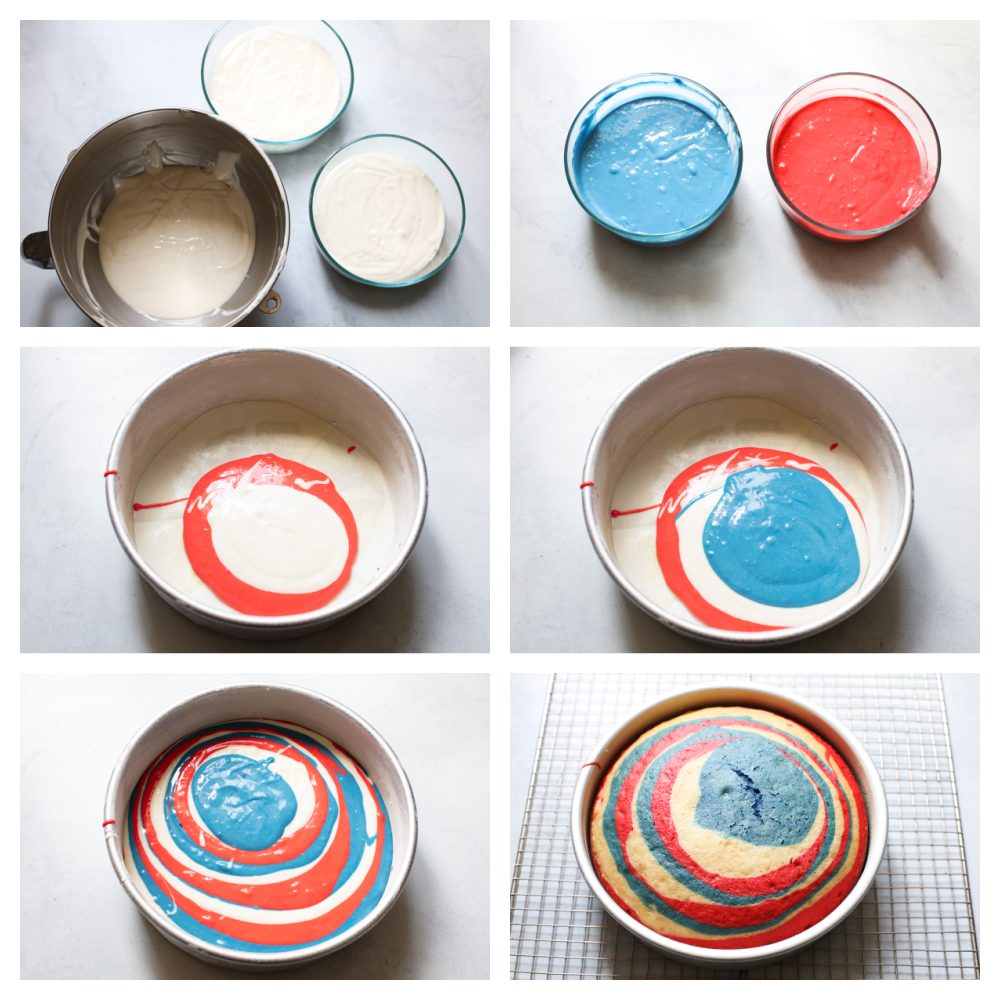
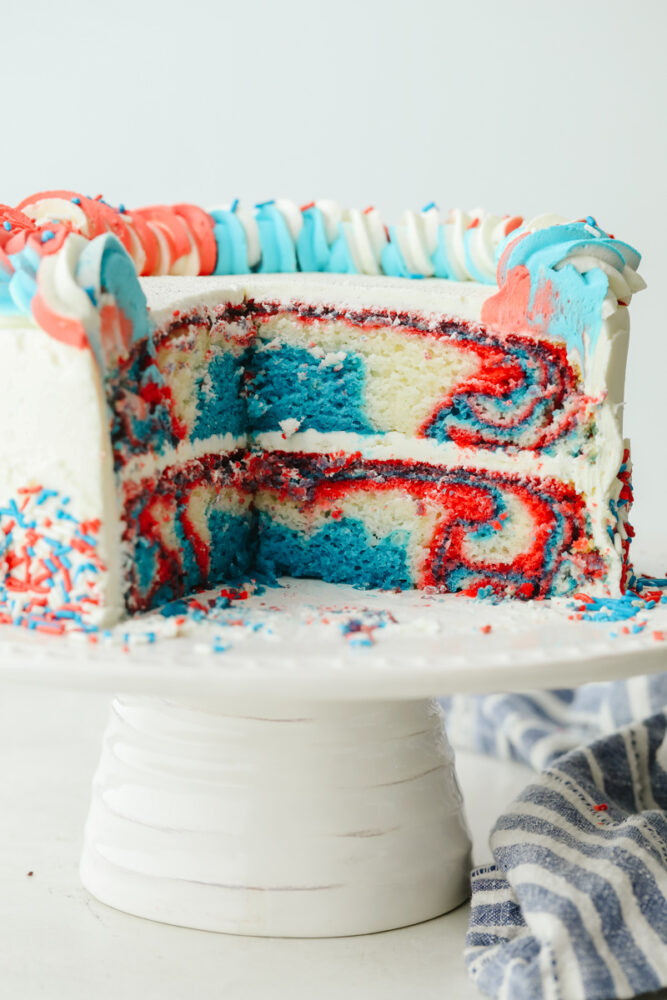
- Color: Split the batter evenly into three bowls. Tint one bowl red and one bowl blue. To get the tie-dyed effect you will layer scoops of colored batter into the cake pans. One scoop red followed by one scoop white and one scoop blue, repeated until each pan has about ⅓ of each color of batter.
- Cook: Bake for about 35-40 minutes, until the top of the cake springs back when lightly touched and a toothpick comes out clean from the center.
- Cool: Allow to cool in the pan on a cooling rack for about 10 minutes before turning upside down on the cooling rack to cool the rest of the way. Cooling the cakes upside down levels out the top so you have nice flay layers that make getting a level cake very easy.
- Freeze or Frost: Once the cake has cooled, you can either wrap the layers in plastic wrap and store them in the fridge overnight (chilled layers are typically easier to frost) or you can frost them the same day.
How to Frost the Firecracker Cake
- Frost and Layer: On a cake stand or plate, place one layer top-down. Add a generous dollop of frosting on top and smooth it evenly. Place the second layer and another dollop of frosting smoothed over the top. Add the top layer upside down and another dollop of frosting on top. Smooth a thin layer of frosting around the outside of the entire cake as a crumb coat. Chill in the fridge for 15-20 minutes.
- Frost the outside: Frost the outside of the cake. If you have a bench scraper or cake spatula, you can use this to get nice smooth sides and sharp corners at the top of the cake.
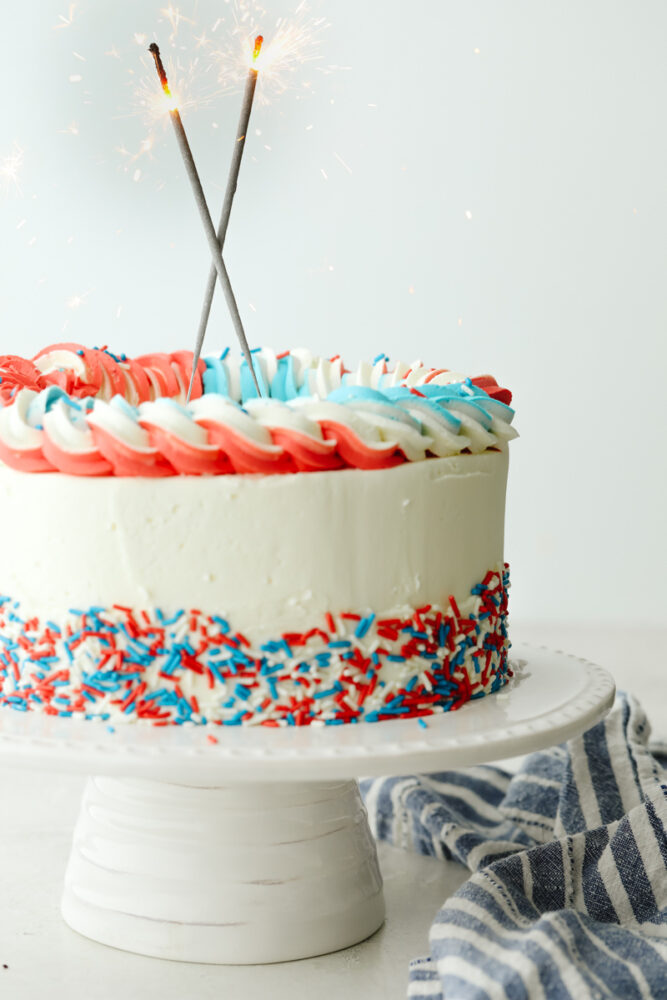
- Make it pretty: Use a large star tip, such as the Wilton 1M, to pipe a border around the top. Press sprinkles around the bottom of the cake and, if desired, sprinkle around the top border.
Mixing the Frosting Together
- Mix: In the bowl of a stand mixer, beat the butter until light and fluffy. Scrape down the sides of the bowl and add the powdered sugar 1 cup at a time, mixing at low speed until incorporated. Once all the sugar has been added, add the salt and the vanilla. Increase the speed to medium and beat for 2-3 minutes.
- Make a tint: If desired, tint a small amount of frosting red and a small amount blue for the border at the top of the cake.
Red, White, and Blue Cake Tips
The cake is going is going to impress as well as taste absolutely indulgent!
- Sour Cream: Adding sour cream to the cake adds moisture and a rich texture to the batter without thinning it out. It will also activate the baking soda because of the acidity which gives helps the cake rise. Trust me you are going to love having sour cream on your cake.
- Vinegar: This might seem like a weird ingredient, but it will make a huge difference in the texture of your cake, and do not worry it won’t taste like vinegar at all. The vinegar helps the protein in the flour to stabilize leaving a super moist yet fluffy cake.
- Do not stir: As tempting as it might be, to get the tie-dye swirl effect do not stir the colors together once placed in the tins. They will mix and become purple instead of individual colors. To create more intricate designs, drop your colored batter in a different pattern, small dollops, big dollops, etc, but do not stir.
- Chill: To make frosting your cakes easier be sure to chill them. This helps the cake firm up and the outside won’t leave crumbs in your frosting.
- Food coloring: I have found that using gel food coloring produces the brightest and most vibrant colors. You definitely do not want to under color your frosting.
- Sparklers: Using sparklers is obviously optional but it sure does look amazing. Just be sure to light them and serve outside if you use the sparklers.
Variations and Storage of Tie-dye Cake
This is going to look absolutely fabulous once cut.
- Tin: You do not have to make this in cake tins. You can make them in a 9×13, a bundt tin, or even cupcakes. Be sure to follow the same process for the cupcakes to get the swirl.
- Coloring: You can use the same cake recipe but use different colors to fit your celebration or holiday. Use red and green for Christmas. Blue and pink for a baby shower or a child’s favorite color for a birthday cake to impress.
- Decorations: There are so many different ways you can decorate this, you can color the frosting, add sprinkles, cookies, and whatever else you can think of. Frosting a cake is like painting on a blank slate. It is all about your imagination.
- Storage: To keep this cake fresh, cover lightly and keep it at room temperature for up to 3 days. It can keep even longer in the fridge, but take it out about an hour before serving so it can come to room temperature.
- Freeze: The cake can be frozen unfrosted for up to 2 months. It can be frosted frozen or let thaw partially before frosting.
Red White and Blue Cake
Ingredients
Cake
- 2 and 1/3 cup all purpose flour
- 2 teaspoons baking powder
- ½ teaspoon baking soda
- 2 teaspoons salt
- 1 ½ cup butter softened
- 1 ¾ cup granulated sugar
- 6 Egg whites room temperature
- 2 teaspoons vanilla extract
- 1 teaspoon almond extract optional
- 1 ½ cup milk whole
- ½ cup sour cream
- 2 Tablespoons white vinegar
- Red Food Coloring
- Blue Food Coloring
- Red White and Blue sprinkles
Frosting
- 1 pound unsalted butter softened
- 8 cups powdered sugar
- 1 Tablespoon vanilla extract clear, if bright white icing is desired
- pinch of salt
- 1-3 Tablespoon heavy cream more if needed
Instructions
How to Make the Cake
-
Preheat the oven to 350°. Spray two 8 inch round cake pans with cooking spray and dust with flour. Set aside.
-
In a medium bowl, sift together the flour, baking powder, baking soda and salt. Set aside.
-
In the bowl of your mixer, beat the butter until creamy. Add the sugar and beat again for about 3-5 minutes on medium high speed until it turns white and fluffy. Add in the egg whites one at a time and mix on medium until each one is fully mixed in.
-
Add the extracts, milk, sour cream and vinegar to the butter mixture and mix on medium speed until combined. Add the dry ingredients and mix until jut combined.
-
Bake for about 35-40 minutes, until the top of the cake springs back when lightly touched and a toothpick comes out clean from the center.
-
Allow to cool in the pan on a cooling rack for about 10 minutes before turning upside down on the cooling rack to cool the rest of the way. Cooling the cakes upside down levels out the top so you have nice flay layers that make getting a level cake very easy.
-
Once the cake has cooled, you can either wrap the layers in plastic wrap and store in the fridge overnight (chilled layers are typically easier to frost) or you can frost them the same day.
-
On a cake stand or plate, place one layer top down. Add generous dollop of frosting on top and smooth evenly. Add the second layer and another dollop of frosting smoothed over the top. Add the top layer upside down and another dollop of frosting on top. Smooth a thin layer of frosting around the outside of the entire cake as a crumb coat. Chill in the fridge for 15-20 minutes.
-
Frost the outside of the cake. If you have a bench scraper or cake spatula, you can use this to get nice smooth sides and sharp corners at the top of the cake.
-
Use a large star tip, such as the Wilton 1M, to pipe a border around the top. Press sprinkles around the bottom of the cake and, if desired, sprinkle around the top border.
How to Make Frosting
-
In the bowl of a stand mixer, beat the butter until light and fluffy. Scrape down the sides of the bowl and add the powdered sugar 1 cup at a time, mixing on low speed until incorporated. Once all the sugar has been added, add the salt and the vanilla. Increase the speed to medium and beat for 2-3 minutes.
-
If desired, tint a small amount of frosting red and a small amount blue for the border at the top of the cake.
Nutrition
from The Recipe Critic https://ift.tt/3ds6sMZ
https://ift.tt/2TbcpqF
