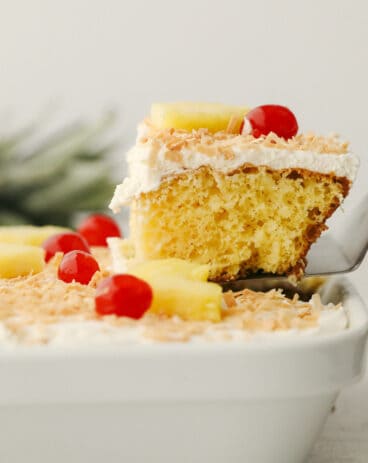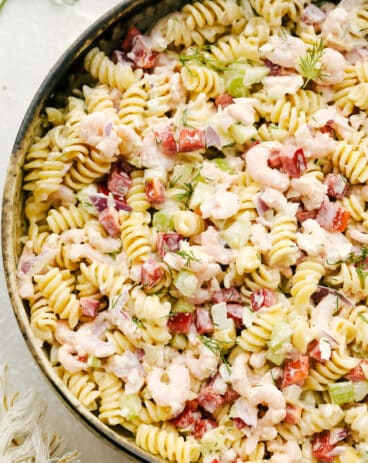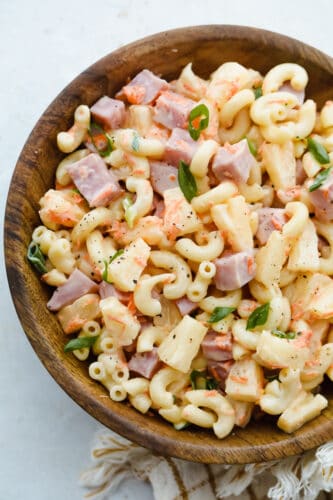
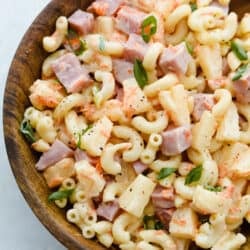
Hawaiian Macaroni Salad is the perfect side dish! It is a delicious macaroni pasta salad with ham, pineapple, shredded carrots, and green onions, and a tangy dressing.
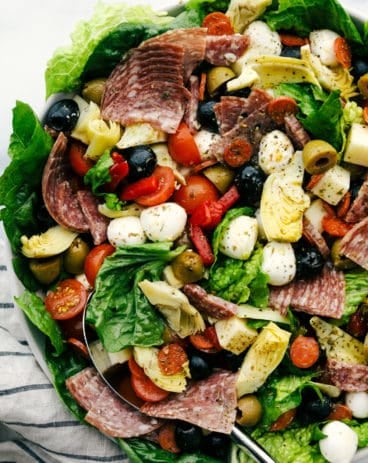
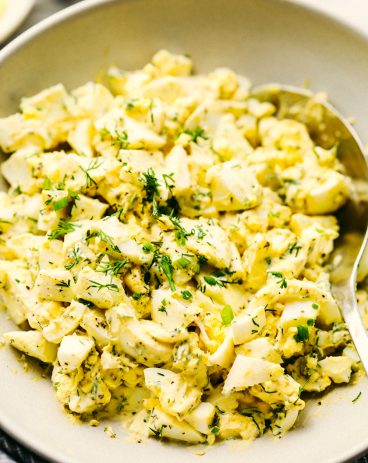
When I see a dish with elbow noodles in it, I know it is going to be decadent comfort food! Try these amazing recipes for yourself, Macaroni and Cheese, Salad, and Goulash!

Hawaiian Macaroni Salad Recipe
Isn’t it crazy to think that summer is halfway over! It is kind of a sad thought! I have been loving the sun and all of the fun activities that come with summer. Especially the BBQs and potlucks! I always love a good pasta salad when you go to a potluck. And this Hawaiian macaroni salad is truly incredible and unique! The ingredients are simple but come together so well. The ham and pineapple give this salad a Hawaiian feel and add such delicious flavor. This Hawaiian macaroni salad doesn’t need a lot added to it because the ham and pineapple are the stars of the show.
But let’s just talk about the one amazing thing that sets this Hawaiian macaroni salad apart from the others. The sweet and tangy pineapple dressing. It is so phenomenal and gives the salad such great flavor. It will set your macaroni salad apart from all of the rest and it is sure to be a huge hit! Serve this up at your next dinner and watch them all get taken to a bit of paradise! Try it today!
What You Need For Hawaiian Macaroni Salad
Bursting with flavor, this is a refreshing Hawaiian macaroni salad! For all ingredient measurements, follow the recipe card below.
- Dry elbow macaroni: prepared according to package directions and rinsed in cold water
- Pineapple chunks: 20 ounces, drained (reserve ½ cup liquid for dressing)
- Ham: cubed and cooked
- Carrot: shredded, use the finest holes of a cheese grater.
- Green onion:Sliced thinly.
Pineapple Dressing
A zesty and delicious dressing that will help add flavor and creaminess to the Hawaiian macaroni salad. You will love the combination this adds!
- Pineapple juice reserved: If needed you can use pineapple juice from a carton or bottle too.
- Light mayonnaise: Can use full fat if you prefer.
- Greek yogurt: Be sure to use plain greek yogurt and it can be low or nonfat as well.
- Apple cider vinegar: Adds a bit of tang and sharpness that pairs well with the sweet.
- Sugar: This takes the edge off of the apple cider vinegar and gives just a touch of sweetness.
- Salt and pepper: Add to taste
How to Make Hawaiian Salad
This Hawaiian macaroni salad is the perfect side dish for any potluck or BBQ! It is a family favorite and always a classic, MUST have pasta salad at any get together.
- Combine: In a large bowl, combine macaroni, pineapple chunks, ham, carrots, and green onion in a bowl. set aside.
- MIx: In a small bowl whisk together the mayonnaise, greek yogurt, cider vinegar, and sugar. Pour over pasta and stir to coat. Enjoy!

Tips and Variations for Macaroni Salad
The sweet pineapple is the perfect match for the savory salty ham, your whole family is going to love this! Follow these tips and variations for making the best Hawaiian macaroni salad!
- Noodles: Be sure to cook your noodles al dente, it keeps the noodles firm enough to hold up to the ingredients, but soft enough to love.
- Rinse: Make sure to rinse the noodles in cold water when done cooking to stop them from cooking any longer. They will get mushy if you don’t.
- Types of Noodles: Don’t worry if you do not have elbow macaroni, this salad can be made with a variety of noodles successfully. Try shell, rotini or even bowtie pasta. I would not, however, recommend spaghetti or long thin noodles for this salad.
- Ham: If you are really in a hurry you can buy already cubed ham at the store. It is cheaper however to buy a small ham and chop it yourself. Then you can use the leftovers to mix in your eggs for breakfast or make ham fried rice.
- Pineapple: I like to cut my chunks in half to make them a bit smaller and easeir to eat. If you can find tidbit pineapple, they are smaller than chunks.
- Add ins: You can add more flavor and texture by adding in, bacon, celery, peas, or peppers.
- Refidgerate: I like to make this at least 2 hours in advance and let the flavors meld together. This will keep in the fridge for 3 days and it will get better with time!
What to serve with Hawaiian Salad
This may not be super authentic, most hawaiian macaroni salad will not contain ham or pineapple, but this is still insanely delicious. It is a great addition to any meal. You can also serve as a main dish salad, since it has the ham in it. You can pair it with a side of watermelon, a nice rice and some rolls for a light lunch. Whatever you do, make this Hawaiian macaroni salad, you and your loved ones will be so glad you did!
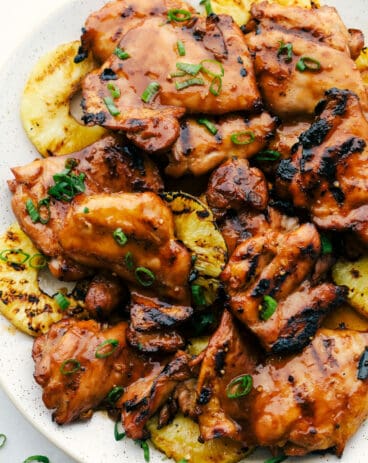
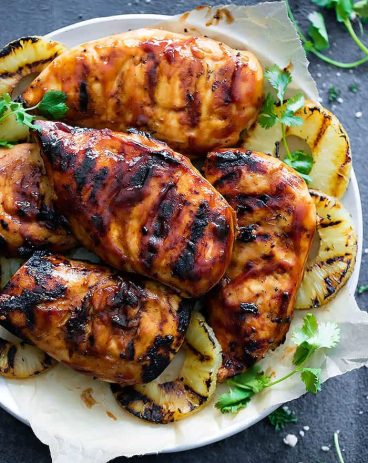
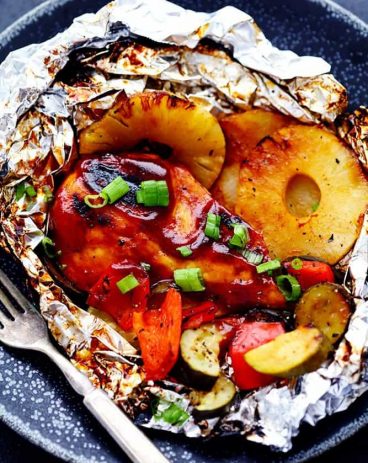
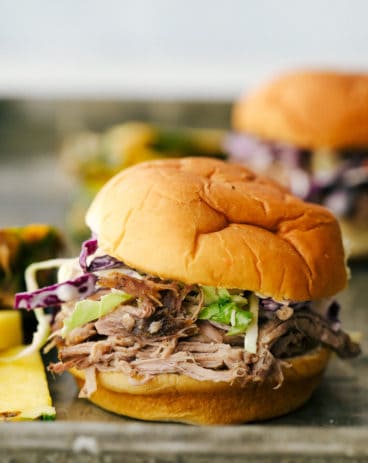

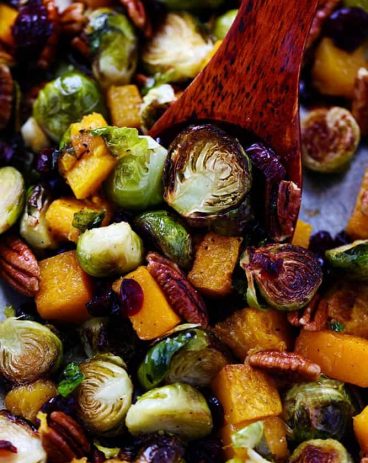
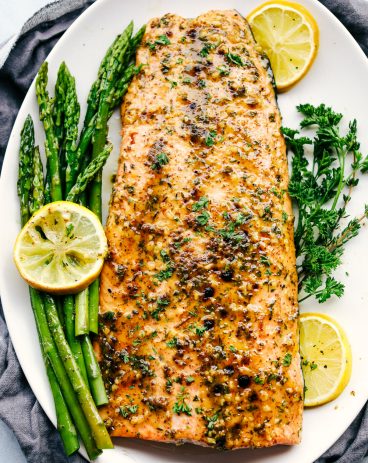
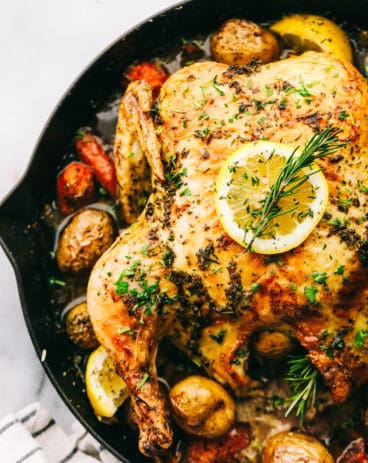
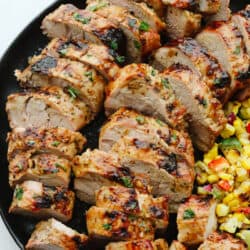
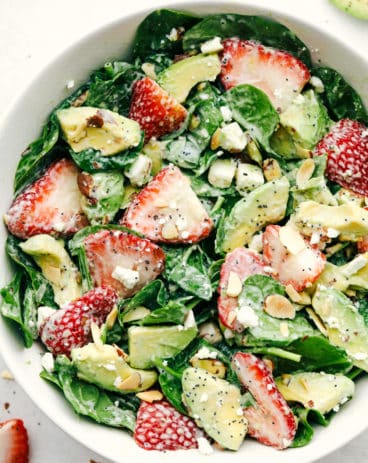
More Summer Side Dishes

Hawaiian Macaroni Salad
Ingredients
- 1/2 pound dry elbow macaroni prepared according to package directions and rinsed in cold water
- 1 can pineapple chunks 20 ounces, drained (reserve ½ cup liquid for dressing)
- 2 cups ham cubed cooked
- 1/2 cup carrot shredded
- 1/4 cup green onion
Pineapple Dressing:
- 1/4 cup pineapple juice reserved
- 1 and 1/2 cups light mayonnaise
- 1/2 cup greek yogurt
- 1 Tablespoon apple cider vinegar
- 1 Tablespoon Sugar
- salt and pepper to taste
Instructions
-
In a large bowl, combine macaroni, pineapple chunks, ham, carrots, and green onion in a bowl. set aside.
-
In a small bowl whisk together the mayonnaise, greek yogurt, cider vinegar, and sugar. Pour over pasta and stir to coat. Enjoy!
Notes
Nutrition
from The Recipe Critic https://ift.tt/3jWWWVY
https://ift.tt/2SUOcVn