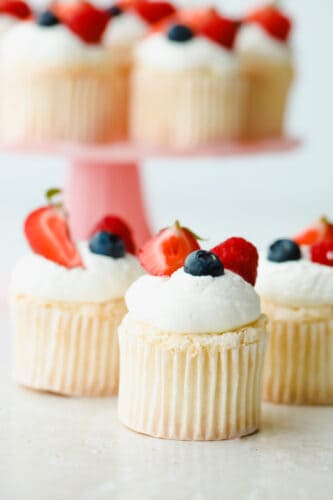
These ultra-fluffy, delicate angel food cupcakes are the best base for light and tasty summer treats. Top with fresh whipped cream frosting and berries for a dessert that is a perfect combination of airy and sweet.
Cupcakes are the best way to satisfy a cake craving in a bite-sized portion. Lemon, tres leches, and strawberry are more easy and delicious cupcake recipes, ready for a summer party.

The Best Angel Food Cupcake Recipe
There is no better summer dessert than one that is bite-sized, light-as-air, and tastes great with so many different fillings and toppings added. Angel food cupcakes has always been a favorite dessert of mine. When cooked properly, it has the most tender, fluffy texture. That texture plus fresh fruit creates a dessert that truly tastes heaven-sent, pun definitely intended.
Making angel food cake cupcake-style is perfect for large gatherings. With endless toppings and fillings, this is a super versatile dessert. Whether you want to top your cupcakes with fresh whipped cream and summer berries, lemon zest, or chocolate shavings, this bright white, tender cake is the perfect foundation. Ready to indulge in a little slice of heaven? Let’s get baking these sweet angel food cupcakes!
Angel Food Cake Cupcakes Ingredients
You probably already have all of the ingredients to make these delicious cupcakes!
- Cake Flour: The low protein content in cake flour makes it perfect for light, fluffy desserts. The smaller
- Salt: To enhance flavor.
- Granulated Sugar: For sweetness and to meld ingredients together.
- Egg Whites: From large eggs, at room temperature.
- Water: Warm.
- Cream of Tartar: This helps keep egg whites intact when whipped.
Homemade Whipped Cream
- Heavy Whipping Cream: For frosting base. Keep chilled up until you are ready to whip.
- Powdered Sugar: For sweetness and smooth texture.
- Vanilla Extract: Clear vanilla extract is best to keep frosting color pure white.
- Fruit Topping: You can use strawberries or any other fruit of your choosing!
How to Make Angel Food Cupcakes from Scratch
As long as you are gentle with your egg whites, this recipe will come together easily and give you delectable results every time!
- Preheat Oven and Prep Pan: Preheat oven to 325° and line a muffin pan with cupcake liners. Set aside.
- Sift: Sift together the flour and salt and set side.
- Mix Together Egg Whites and Sugar: In the bowl of a mixer, add the egg whites. Use the whisk attachment to whip on medium until frothy. Add the cream of tartar and 1-2 tablespoons of sugar. With the mixer on medium high, add the sugar in a little at a time. Whip until you achieve stiff peaks.
- Add Vanilla: Add in the vanilla and mix to combine.
- Add Flour to Egg White Mixture: In 2-3 additions add the flour to the egg whites and use a rubber spatula to fold it in. Be careful not to deflate the egg whites too much. Mix only until just combined.
- Add to Cupcake Liners: Scoop batter into the cupcake liners until they are about ¾ full. Bake for 20-23 minutes, until the tops start to turn golden brown.
- Cool: Cool the cupcakes in the pan for about 5 minutes and then flip them upside down in the pan. Allow to cool for 10 minutes more in the pan to prevent them from deflating.
Making the Whipped Cream
- Mix: In the bowl of a mixer use the whisk attachment to whip the heavy cream, powdered sugar, and vanilla until medium stiff peaks are reached.
- Frost and Add Toppings: You can pipe the whipped cream on cooled cupcakes, or you can simply spoon dollops on them. Top with strawberries or other fruit of choice.

Creating the Softest Angel Food Cupcakes
Angel food cake is like the cashmere of desserts. Looks great, feels great, but requires a little more TLC than other cakes. Because it needs certain conditions to reach optimal texture and consistency, it can be a bit tricky to perfect. I have listed out a few tips and tricks to help you make the best angel food cupcakes each and every time!
- Sift Well: Because the texture of Angel Food cupcakes is supposed to be light and fluffy, you want to make sure you sift your dry ingredients together to keep air in your mixture.
- Keep Egg Whites Fluffy: Egg whites are one of the most important parts of angel food cake. It is what gives it such an airy texture. Add the yolk and your cupcakes will end up too dense. Making sure you whip your egg whites until they are fluffy is key. From there, be extra careful when adding your egg whites to the rest of your mixture. A heavy hand can cause them to deflate.
- Keep Oven Closed: Use your oven light rather than opening your oven to check on your cupcakes. This can let out hot air and cause your cupcakes to not cook evenly.
- Don’t Grease Your Pans: Unlike other cupcakes, your Angel Food Cupcakes need something to stick to in order to rise, so it is best not to grease your pans.
- When Your Cupcakes Are Done: You will know your cupcakes are done when they become golden brown and have a slightly springy feel to them.
Add Toppings and Filling to Your Angel Food Cupcakes
Add your favorite fruit, sauce or even jam to top these sweet and delicious angel food cupcakes. Mix and match how you top and fill your cupcakes!
- Toppings: In addition to berries, you can also add lemon zest and candied lemons, or pieces of shredded chocolate. Because the cake itself has a neutral flavor, it works well with all different kinds of toppings!
- Fillings: You can add fillings to your cupcakes once they have cooled down completely. Simply cut a small hole into the top of them and then fill it with chocolate, lemon curd, raspberry curd, custard, or more whipped cream frosting for a boost of creaminess.
Desserts
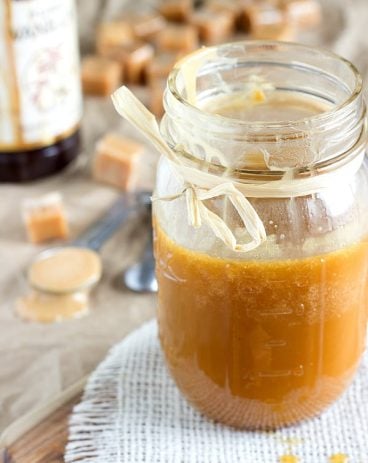
Homemade Salted Caramel Sauce
Dressings, Sauces, and Dips
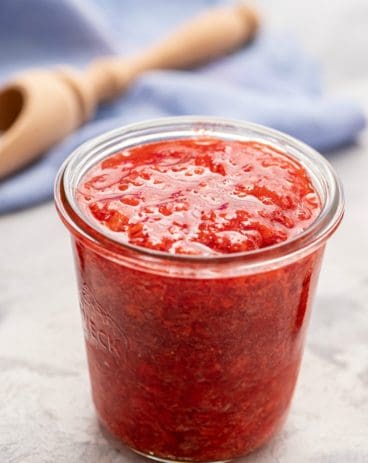
Homemade Strawberry Freezer Jam

Storing Leftover Angel Food Cupcakes
- At Room Temperature: Cupcakes will keep when covered at room temperature for up to 2 days.
- In the Refrigerator: Wrap cupcakes in plastic wrap. They will keep in the fridge for up to a week.
- In the Freezer: You can store unfrosted cupcakes in the freezer, wrapped tightly in plastic wrap, for 3-4 months. Keep in the fridge overnight to thaw.

More Perfect Cupcake Recipes
Desserts
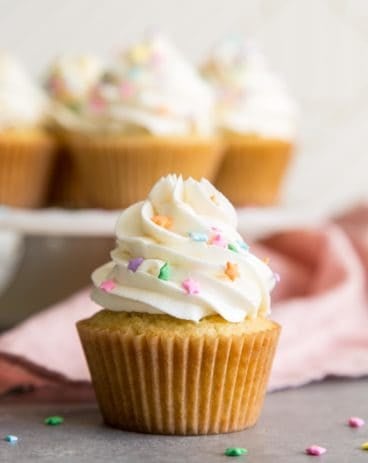
The Best Vanilla Cupcakes
Desserts
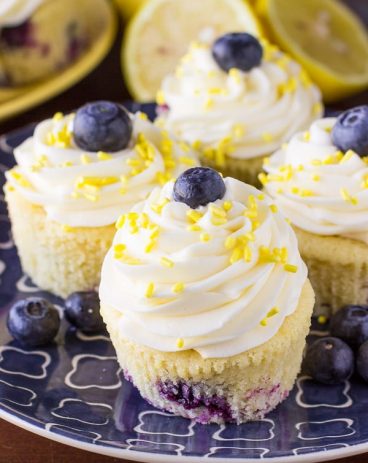
Lemon Blueberry Cupcakes

Desserts
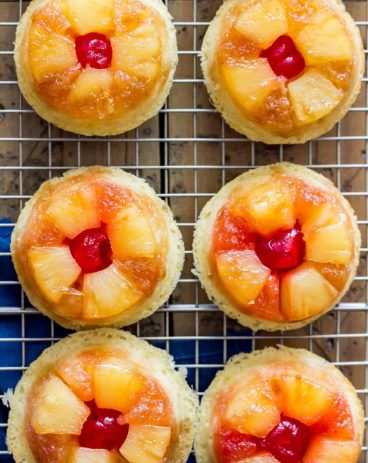
Pineapple Upside-Down Cupcakes

Angel Food Cupcakes
Ingredients
- ½ cup Cake Flour
- A dash of Salt
- 2/3 cup Granulated Sugar
- 4 large Egg whites room temperature
- 2 Tablespoon warm water
- ½ teaspoon Cream of Tartar
Whipped Cream
- 1 cup Heavy Whipping Cream
- 2 Tablespoon powdered sugar
- 1 teaspoon vanilla extract
- Strawberries or other fruit for topping
Instructions
-
Preheat oven to 325° and line a muffin pan with cupcake liners. Set aside.
-
Sift together the flour and salt and set side.
-
Add in the vanilla and mix to combine.
-
In 2-3 additions add the flour to the egg whites and use a rubber spatula to fold it in. Be careful not to deflate the egg whites too much. Mix only until just combined.
-
Scoop batter into the cupcake liners until they are about ¾ full. Bake for 20-23 minutes, until the tops start to turn golden brown.
-
Cool the cupcakes in the pan for about 5 minutes and then flip them upside down in the pan. Allow to cool for 10 minutes more in the pan to prevent them from deflating.
Whipped Cream
-
In the bowl of a mixer use the whisk attachment to whip the heavy cream, powdered sugar, and vanilla until medium stiff peaks are reached. You can pipe the whipped cream on cooled cupcakes, or you can simply spoon dollops on them. Top with strawberries or other fruit of choice.
Nutrition
from The Recipe Critic https://ift.tt/3wHN45p
https://ift.tt/2U4QnX3