Add a hint of delicious Thai cuisine with this super easy sauce that is the perfect blend of savory and sweet. Peanut Sauce is so addictive, you will want to put it on everything!
Thai dishes are some of my absolute favorites. Try other amazing Thai-inspired dishes like basil beef, ginger noodles, and pad thai!

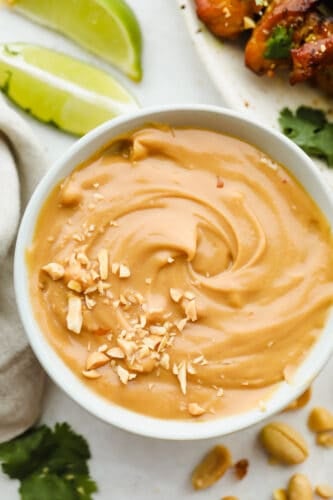
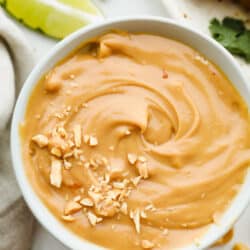
The Most Amazing Peanut Sauce Recipe
If you have never had peanut sauce before, I am going to need you to make some right now. Peanut Sauce is top tier. I can’t even begin to explain how delicious the flavors are! Peanut Sauce is a delectable blend of savory and creamy, with a mouthwatering umami flavor that enhances literally anything you add it to. Between this and Yum Yum sauce, I think I use them more than anything else. Most people know peanut sauce from it being served alongside fresh spring rolls. Delicious. One of my other favorite ways I’ve had it at a restaurant is for dipping boiled meats in, Hotpot-style. Double delicious. There are so many ways you can utilize this super easy, super delicious sauce.
In Thailand, this sauce is known as ‘satay sauce.’ This is because it is most commonly used as a dressing for ‘chicken satay,’ which are skewers of tasty, juicy pieces of chicken marinated to perfection. Savory Peanut Sauce is perfect for enhancing the rich, umami flavor of meat. Whether you are using this sauce over skewers, salads, rice bowls, or noodles, you will not be able to get enough of its drool-worthy, savory flavor! The best part is that this sauce is made with just a handful of pantry ingredients and whips up in seconds for a tasty punch of flavor any time!
What You Will Need to Make Peanut Sauce
You may need to go to your local Asian supermarket to find some of these ingredients. It is great to have them on hand; they work so well to add delicious flavor to so many types of dishes!
- Peanut Butter: Creamy peanut butter works best in this recipe to create a perfectly smooth sauce.
- Rice Vinegar: This adds a slightly sweet tang to your Peanut Sauce.
- Soy Sauce: I always use Kikkoman in my cooking for the best flavor.
- Honey: Honey will add a hint of sweetness to your Peanut Sauce. You can also use brown sugar, but I think honey works better to achieve the perfect texture.
- Garlic: Garlic is integral to the savory flavor of this sauce. You will want to make sure it is either diced or pressed.
- Sesame Oil: Ottogi makes my favorite sesame oil. This adds moisture and a nutty flavor to your sauce.
- Coconut Milk: Coconut Milk is widely used in Thai cuisine. You can use water instead, but I have found that coconut milk adds more flavor and gives your sauce a better consistency.
- Lime: You will need one lime for adding fresh juice.
- Water: Use water to thin your sauce if it is becoming too thick.
- Sriracha: Optional- you can use sriracha to add tanginess and spice to taste.
- Red Pepper Flakes: Optional- A pinch of red pepper flakes can add extra spice and texture to your sauce.
Making The Most Amazing Peanut Sauce
A single step creates the most AMAZING sauce! It is a beyond-easy way to add flavor to an array of dishes!
- Whisk Ingredients Together: In a small bowl whisk together peanut butter, rice vinegar, soy sauce, honey, garlic, sesame oil and coconut milk. Add in water for desired consistency and optional spice if desired.

Tips for Making the Best Peanut Sauce
Use these simple tips to make sure your sauce has the best flavor and consistency possible!
- Peanut Allergy: If you have a peanut allergy, you can still make this recipe by substituting peanut butter with almond butter or tahini!
- Use Warm Water: Adding warm water to your sauce rather than cold will make your ingredients mix together better.
- Flavor Enhancers: You can add ginger, cilantro or the juice of a lemon or lime for a brighter flavor.
- Sauce Is Too Thick: If your sauce is too thick, add a tablespoon of warm water as needed until you reach a smooth consistency.
- What to Pair Peanut Sauce With: Peanut sauce works well as a sauce, dip, and dressing! I have recently been adding it into fried rice for a creamy pop of flavor. You can use it to dip meats in for tender, savory goodness. It also makes a great salad dressing or topping for rice and noodle bowls.
Storing Leftover Peanut Sauce
- In the Refrigerator: Store in an airtight container or jar for in the fridge for up to a week.
- In the Freezer: In an airtight container, peanut sauce will keep in the freezer for up to a month. Thaw overnight before use.
- To Reheat: Pop your peanut sauce in the microwave at 10 second intervals until warm and smooth. You can also reheat over the stove at medium heat, stirring frequently.

Other Tasty Homemade Sauces
Dressings, Sauces, and Dips
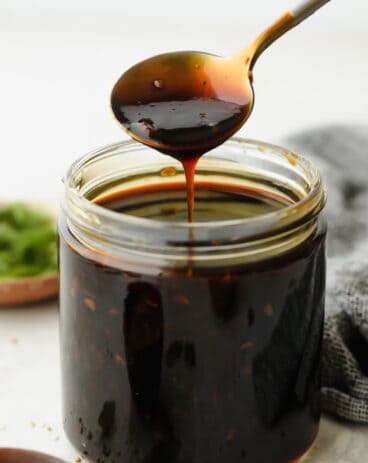
Homemade Teriyaki Sauce
Dressings, Sauces, and Dips
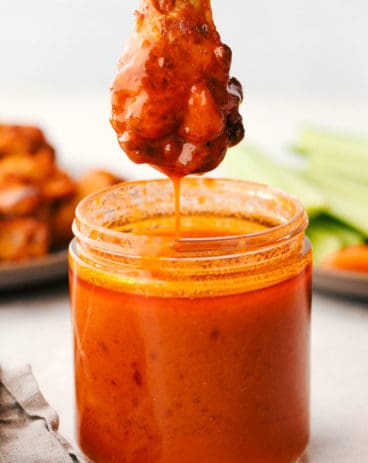
Homemade Buffalo Sauce
Dressings, Sauces, and Dips
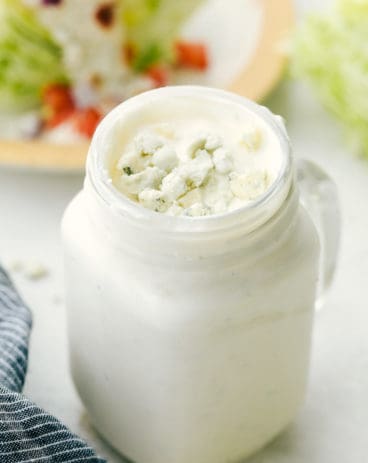
Homemade Blue Cheese Dressing
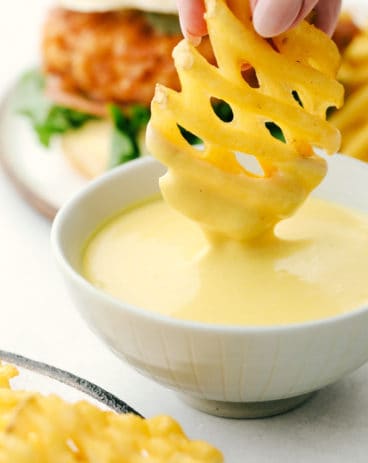
Dressings, Sauces, and Dips
Copycat Chick fil A Sauce Recipe
Peanut Sauce
Ingredients
- 1/2 cup peanut butter
- 2 Tablespoons rice vinegar
- 3 Tablespoons soy sauce
- 3 Tablespoons honey
- 1 clove garlic pressed or finely diced
- 1 teaspoon sesame oil
- 2 Tablespoons coconut milk
- juice of one lime
- 1/4 cup water for thinning more or less to preference
optional for spice:
- 1 teaspoon sriracha
- pinch of red pepper flakes
Instructions
-
In a small bowl whisk together peanut butter, rice vinegar, soy sauce, honey, garlic, sesame oil and coconut milk. Add in water for desired consistency and optional spice if desired.
Nutrition
from The Recipe Critic https://ift.tt/3xTvGf9
https://ift.tt/3kA6ab2