मंगलवार, 20 जुलाई 2021

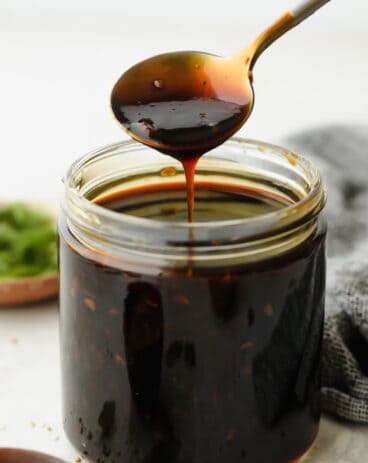
Peanut Sauce

Add a hint of delicious Thai cuisine with this super easy sauce that is the perfect blend of savory and sweet. Peanut Sauce is so addictive, you will want to put it on everything!

Thai dishes are some of my absolute favorites. Try other amazing Thai-inspired dishes like basil beef, ginger noodles, and pad thai!
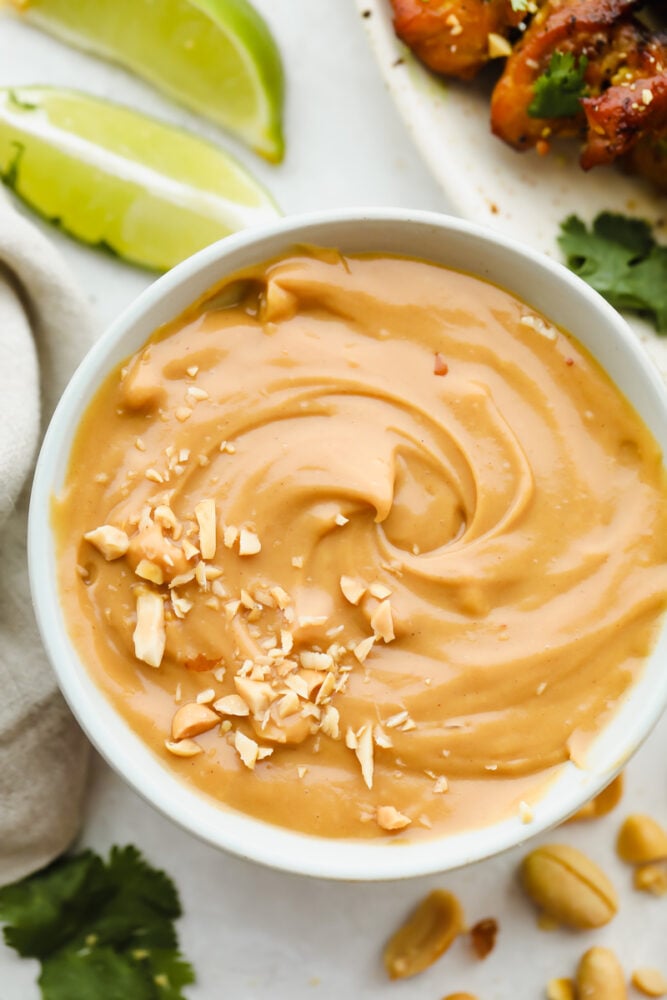
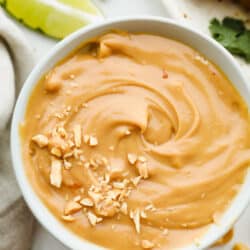
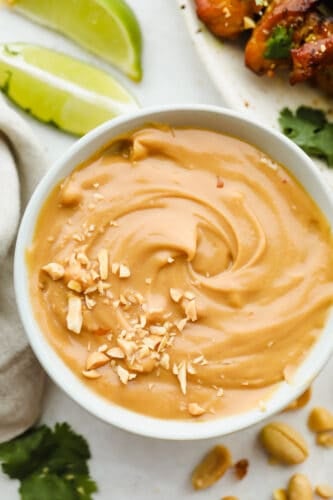
Bowl of peanut sauce with peanut garnish.

The Most Amazing Peanut Sauce Recipe

If you have never had peanut sauce before, I am going to need you to make some right now. Peanut Sauce is top tier. I can’t even begin to explain how delicious the flavors are! Peanut Sauce is a delectable blend of savory and creamy, with a mouthwatering umami flavor that enhances literally anything you add it to. Between this and Yum Yum sauce, I think I use them more than anything else. Most people know peanut sauce from it being served alongside fresh spring rolls. Delicious. One of my other favorite ways I’ve had it at a restaurant is for dipping boiled meats in, Hotpot-style. Double delicious. There are so many ways you can utilize this super easy, super delicious sauce.

In Thailand, this sauce is known as ‘satay sauce.’ This is because it is most commonly used as a dressing for ‘chicken satay,’ which are skewers of tasty, juicy pieces of chicken marinated to perfection. Savory Peanut Sauce is perfect for enhancing the rich, umami flavor of meat. Whether you are using this sauce over skewers, salads, rice bowls, or noodles, you will not be able to get enough of its drool-worthy, savory flavor! The best part is that this sauce is made with just a handful of pantry ingredients and whips up in seconds for a tasty punch of flavor any time!

What You Will Need to Make Peanut Sauce

You may need to go to your local Asian supermarket to find some of these ingredients. It is great to have them on hand; they work so well to add delicious flavor to so many types of dishes!

  • Peanut Butter: Creamy peanut butter works best in this recipe to create a perfectly smooth sauce.
  • Rice Vinegar: This adds a slightly sweet tang to your Peanut Sauce.
  • Soy Sauce: I always use Kikkoman in my cooking for the best flavor.
  • Honey: Honey will add a hint of sweetness to your Peanut Sauce. You can also use brown sugar, but I think honey works better to achieve the perfect texture.
  • Garlic: Garlic is integral to the savory flavor of this sauce. You will want to make sure it is either diced or pressed.
  • Sesame Oil: Ottogi makes my favorite sesame oil. This adds moisture and a nutty flavor to your sauce.
  • Coconut Milk: Coconut Milk is widely used in Thai cuisine. You can use water instead, but I have found that coconut milk adds more flavor and gives your sauce a better consistency.
  • Lime: You will need one lime for adding fresh juice.
  • Water: Use water to thin your sauce if it is becoming too thick.
  • Sriracha: Optional- you can use sriracha to add tanginess and spice to taste.
  • Red Pepper Flakes: Optional- A pinch of red pepper flakes can add extra spice and texture to your sauce.

Making The Most Amazing Peanut Sauce

A single step creates the most AMAZING sauce! It is a beyond-easy way to add flavor to an array of dishes!

  1. Whisk Ingredients Together: In a small bowl whisk together peanut butter, rice vinegar, soy sauce, honey, garlic, sesame oil and coconut milk. Add in water for desired consistency and optional spice if desired.
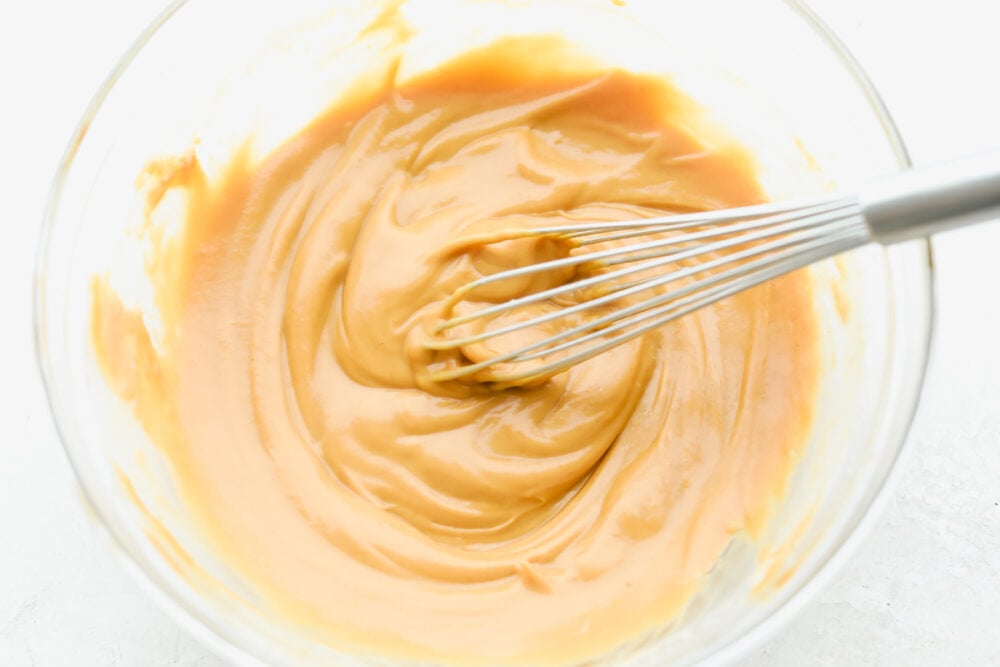
Whisking Peanut Sauce ingredients together.

Tips for Making the Best Peanut Sauce

Use these simple tips to make sure your sauce has the best flavor and consistency possible!

  • Peanut Allergy: If you have a peanut allergy, you can still make this recipe by substituting peanut butter with almond butter or tahini!
  • Use Warm Water: Adding warm water to your sauce rather than cold will make your ingredients mix together better.
  • Flavor Enhancers: You can add ginger, cilantro or the juice of a lemon or lime for a brighter flavor.
  • Sauce Is Too Thick: If your sauce is too thick, add a tablespoon of warm water as needed until you reach a smooth consistency.
  • What to Pair Peanut Sauce With: Peanut sauce works well as a sauce, dip, and dressing! I have recently been adding it into fried rice for a creamy pop of flavor. You can use it to dip meats in for tender, savory goodness. It also makes a great salad dressing or topping for rice and noodle bowls.

Storing Leftover Peanut Sauce

  • In the Refrigerator: Store in an airtight container or jar for in the fridge for up to a week.
  • In the Freezer: In an airtight container, peanut sauce will keep in the freezer for up to a month. Thaw overnight before use.
  • To Reheat: Pop your peanut sauce in the microwave at 10 second intervals until warm and smooth. You can also reheat over the stove at medium heat, stirring frequently.
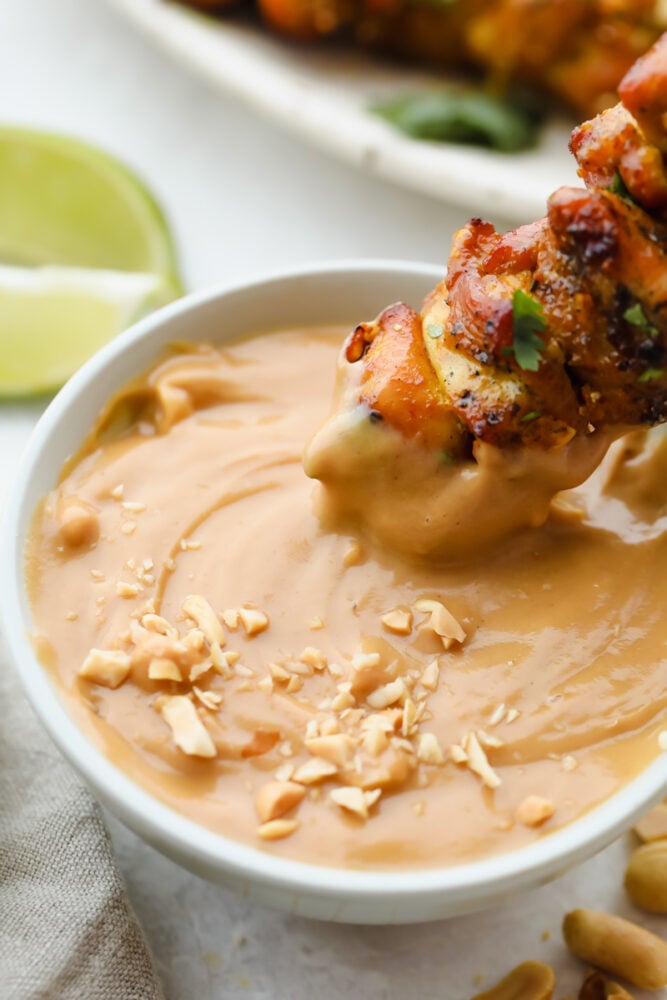
Dipping a skewer in Peanut Sauce.
Print

Peanut Sauce

Add a hint of delicious Thai cuisine with this super easy sauce that is the perfect blend of savory and sweet. Peanut Sauce is so addictive, you will want to put it on everything!
Course Sauce
Cuisine Asian American
Keyword peanut sauce, peanut sauce recipe
Prep Time 10 minutes
Total Time 10 minutes
Servings 16 Tablespoons
Calories 68kcal
Author Alyssa Rivers

Ingredients

  • 1/2 cup peanut butter
  • 2 Tablespoons rice vinegar
  • 3 Tablespoons soy sauce
  • 3 Tablespoons honey
  • 1 clove garlic pressed or finely diced
  • 1 teaspoon sesame oil
  • 2 Tablespoons coconut milk
  • juice of one lime
  • 1/4 cup water for thinning more or less to preference

optional for spice:

  • 1 teaspoon sriracha
  • pinch of red pepper flakes

Instructions

  • In a small bowl whisk together peanut butter, rice vinegar, soy sauce, honey, garlic, sesame oil and coconut milk. Add in water for desired consistency and optional spice if desired.

Nutrition

Calories: 68kcal | Carbohydrates: 5g | Protein: 2g | Fat: 5g | Saturated Fat: 1g | Polyunsaturated Fat: 1g | Monounsaturated Fat: 2g | Sodium: 233mg | Potassium: 67mg | Fiber: 1g | Sugar: 4g | Vitamin A: 1IU | Vitamin C: 1mg | Calcium: 5mg | Iron: 1mg


from The Recipe Critic https://ift.tt/3xTvGf9
https://ift.tt/3kA6ab2
सोमवार, 19 जुलाई 2021

Caramel Apple Pie

Caramel apple pie is the traditional American dessert, but totally elevated. Sour tart apples are smothered in caramel, it’s insanely delicious.

Pie is about as scrumptious as it gets for desserts. Try one of these tried and true pies that are some of the best, Strawberry, Peach, and Chocolate.

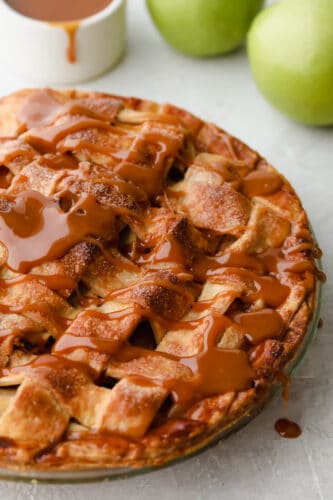
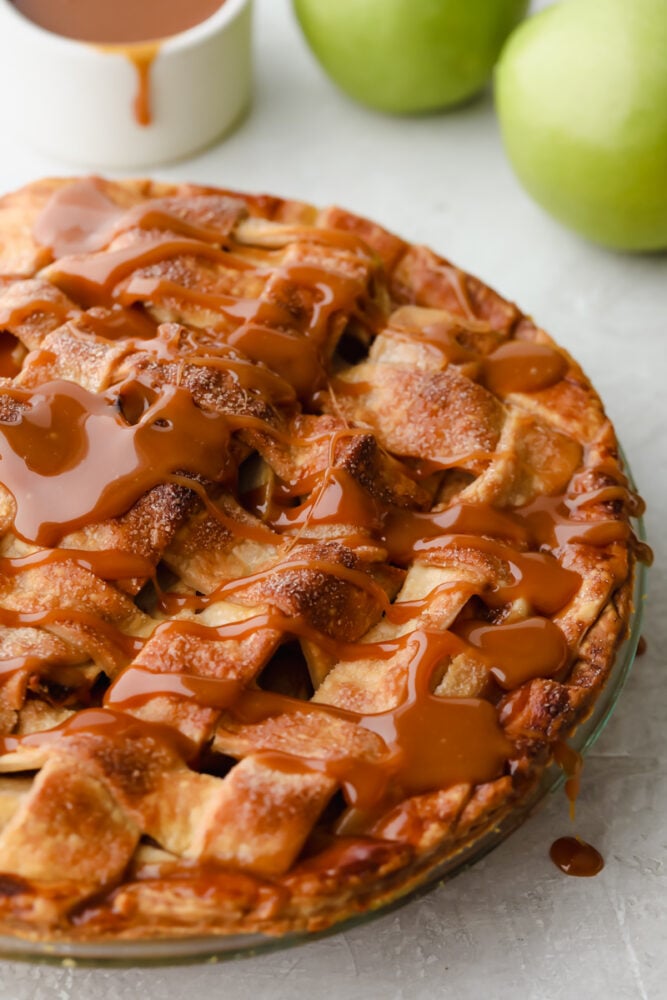
Caramel apple pie with caramel drizzled on top.

Caramel Apple Pie Recipe

Caramel Apple Pie is a twist on an all-American Pie that is absolutely incredible. The caramel takes the pie to a whole new level. Apples and caramel were meant to be together like in these Caramel apple cinnamon rolls or these Caramel apple cheesecake bars. Divine! Everyone will love this pie, even my friends who don’t love apple pie at all, LOVED this pie. The sweet caramel makes all the difference.

This is a great pie to take to a party. Wait to get to your destination and you’re ready to serve it before pouring the caramel on top. This is going to be the show-stopper dessert for sure. This is such a fabulous pie, you won’t want to just save it for Thanksgiving or the fall. You are going to want to make this pie year round! Don’t fret, this pie is easier than you think, just try it and you’ll never go back to regular apple pie again!

Ingredients For Apple Pie

  • 2 Premade or homemade pie crust: Make one for the bottom crust and one for the lattice top
  • 8 Large granny smith apples: Wash the apples and peel, core and slice them.
  • Fresh lemon juice: Using the lemon juice helps keep the lemon juice from browning the apples.
  • Granulated sugar: Sweet sugar to help with the tartness of the apples.
  • Cornstarch: Thickens the filling.
  • Ground cinnamon: Cinnamon is a spice of choice for appples.
  • Ground nutmeg: Balances the cinnamon.
  • Dash of salt: You have to have the salt to balance the sweet.
  • 1 Egg yolk plus 2 tbsp water for egg wash: The egg wash will help the crust brown perfectly.

Salted Caramel Sauce

  • Heavy cream: Need to have the heavy cream for the best caramel.
  • Granulated sugar: Sweet sugar melted down makes the caramel sweet.
  • Light corn syrup: This helps to stabalize the corn syrup.
  • Salt: Need a little bit of salt to balance the caramel.
  • Salted butter: Need the butter to help make great caramel sauce.
  • Vanilla extract: Needed to make the caramel decadent.

How To Make Caramel Apple Pie

  1. Prep: Prepare the caramel sauce and set aside.
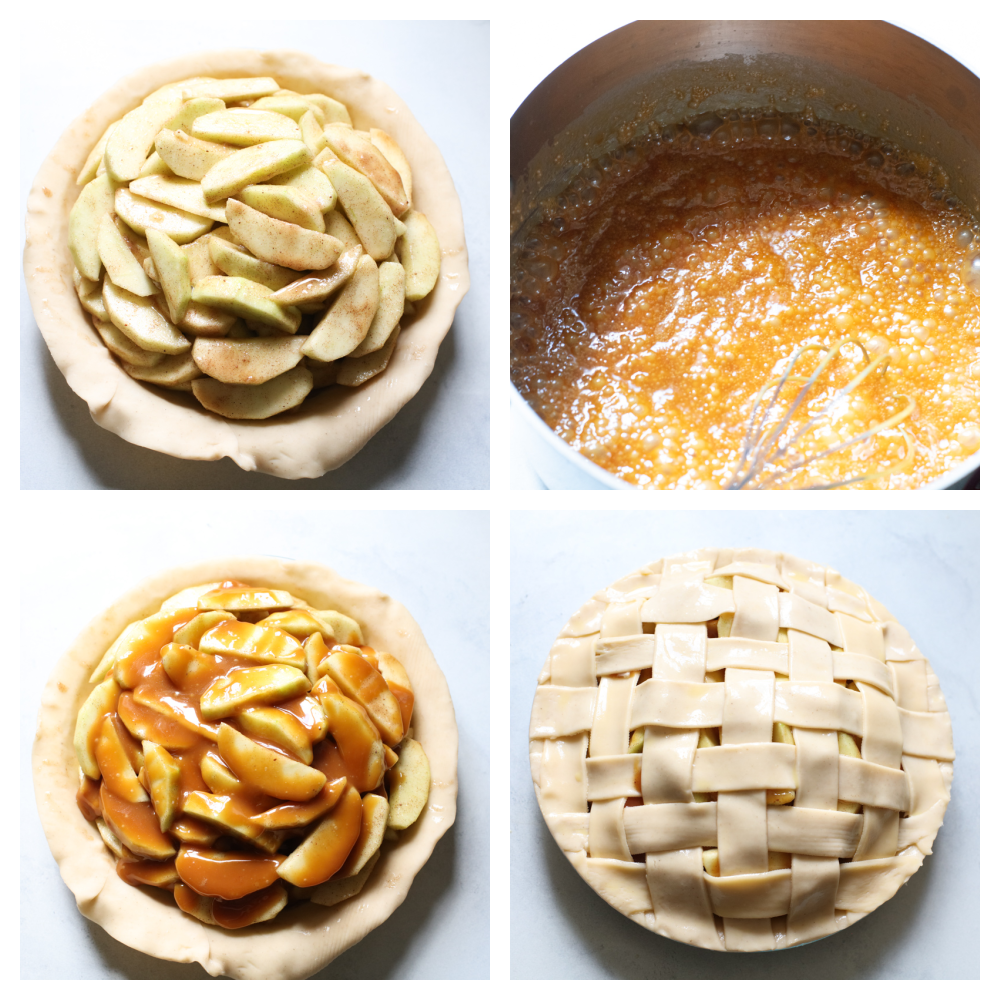
  2. Pie Crust: Preheat the oven to 400°. Press the bottom crust into a 9 inch pie pan and trim the excess with a sharp knife. Set in the fridge until the filling is ready.
  3. Pie Mixture: In a small bowl mix the sugar, cornstarch, cinnamon, nutmeg and salt. In a medium bowl toss the sliced apples together with the spiced sugar mixture and the lemon juice. Pour into the chilled pie shell.
  4. Caramel Drizzle: Generously drizzle about half of the caramel sauce over the apples and then top with the lattice crust. Brush the top crust with the egg wash and sprinkle with course sugar.
  5. Bake: Place the pie on a baking sheet to prevent over spilling on the bottom of your oven and bake for 50 minutes, or until the filling is bubbling and the crust is nice and golden brown.
  6. Cool: Allow to cool on a rack for 20-30 minutes before drizzling more caramel sauce over the top.

Salted Caramel Sauce

  1. Microwave: In the microwave, heat the cream until steaming, about 45 seconds. Set aside.
  2. Don’t Stir: In a heavy bottomed sauce pan heat the sugar, corn syrup and salt over medium high heat until it begins to turn an amber color. Try not to stir it, as that can cause your caramel to crystalize. Instead swirl the pan if you see a spot turning darker faster than the rest of the sugar. Once it is all a nice amber color, turn the heat down to medium and whisk in the butter.
  3. Cool: Once the butter has been completely absorbed remove from the heat and slowly add in the warm cream. The mixture will bubble up with the butter and cream, so it’s important to make sure it’s in a medium pot, not a small one. Whisk in the vanilla and add more salt if needed. Set aside to cool. It may need to be gently warmed in the microwave before pouring on your pie, as it will set up as it cools.
Apples piled in the pie crust, the caramel on the stove then drizzled over the apples and the finished latticed pie.

Quick Tips Title

Making this pie takes a bit of time, but it is totally worth it!

  • Apples: Because you are adding sweet caramel you will want to use a tart apple for the pie. Granny smith are the best choice, not only because they are tart, but they are also firm and hold up to the cooking.
  • Cutting Apples: You can either leave your apples in slices or chop them into bite sized pieces for easier eating. I use an apple cutter to make cutting the apples faster after I’ve peeled them.
  • Not to thick or too thin: When cutting your apples keep them uniform so that they will cook at the same rate. Also cut them so that they are not super thick or too thin. I usually cut my apples slices lenght ways in half after I’ve used an apple slicer to get a perfect size. You want them to cook evenly.
  • Pie Crust: You can make your own pie crust, use this recipe found here. Or you can buy your pie crust for easier prep.
  • Lattice: The lattice top is attractive and the holes allow the pie to vent, which is important. If you do not wish to do the lattice or do not have time you can simply put the second rolled out pie dough on top and using a knife create several slits for venting. Add the egg wash and sprinkle with turbinado sugar if desired.
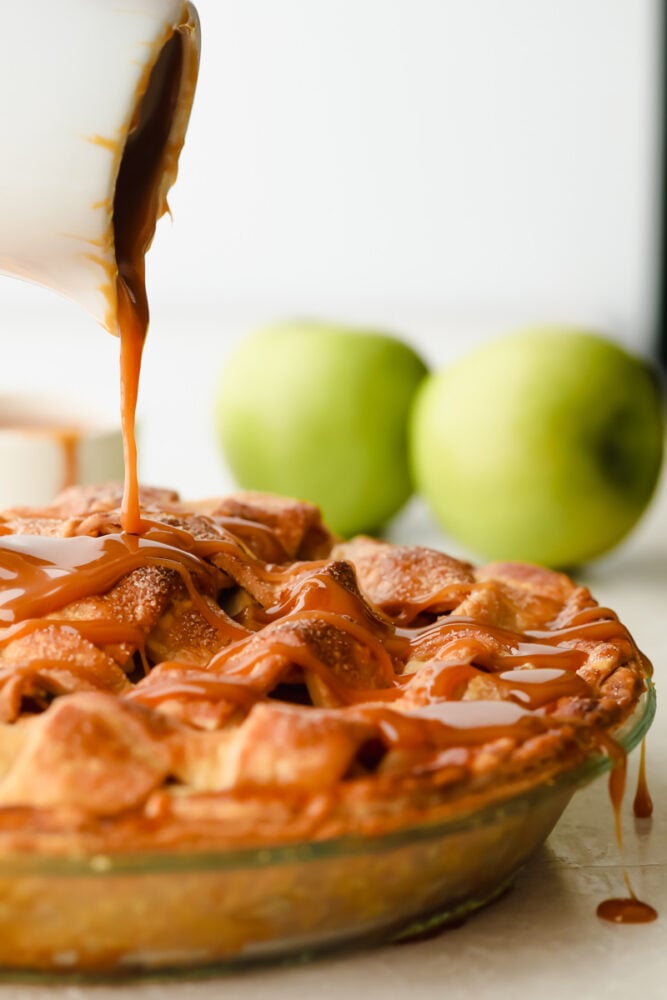
Pouring the caramel over the apple pie.

How to Make Caramel

Making a good quality caramel is all about patience and time. Since caramel can go from perfect to burnt in a matter of minutes, you will have to pay attention to it.

  • Size of Pot Matters: First of all you want to make sure you use a medium to large pot, it will bubble and rise as you add the butter and cream so you do not want it to overflow.
  • Stirring: There is a time to stir and a time not to stir. When you are melting the sugar in the beginning try not to stir it. The sugar will clumb up before it melts which is ok. You can swirl the pan to help the sugar melt evenly if you desire, but less is more. This process can take up to 15 minutes so be patient.
  • Candy Thermometer: You do not have to have a candy thermometer to make caramel, although it can take some of the guess work out making it. Focus on color instead of temperature. Once the caramel is an amber color and is melted is when you want to start adding the butter and turning down the heat. If you use a thermometer it should be at 350 degrees before adding the butter and next steps.
  • Quality Ingredients: To get the best caramel use good quality ingredients. You will have to use full fat cream, half and half will not set up right. Buy good quality butter as well. After you taste how good and rich it is, you’ll be glad you did.
  • Storing: The caramel will continue to thicken as it cools so if you need to reheat it you can either use the microwave or place in a pot on the stove. It will keep in the fridge for up to 3 weeks. It can even be frozen for up to 2 months.
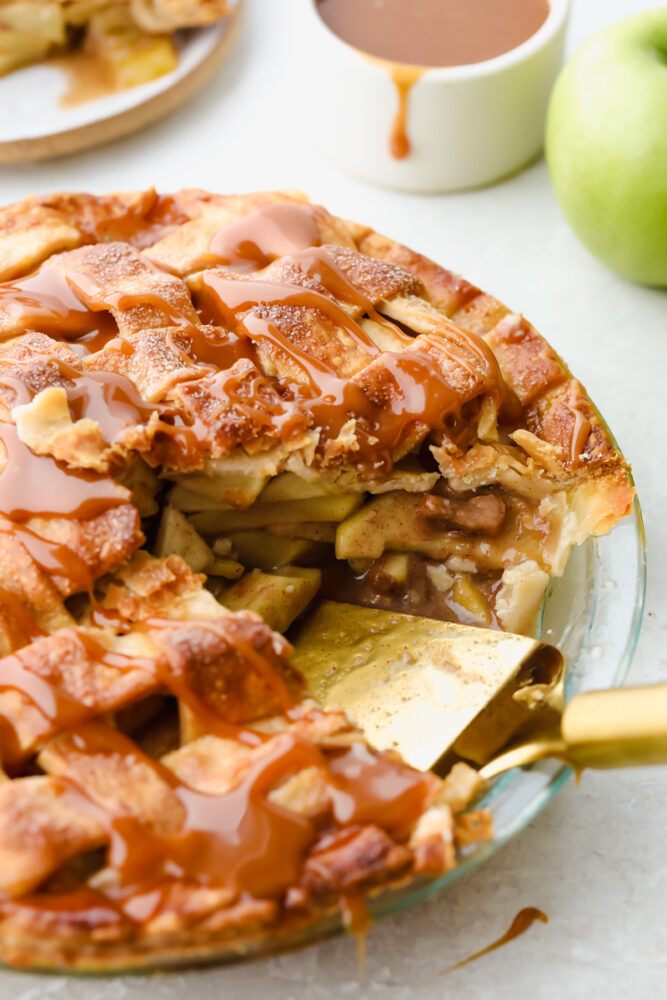
A slice missing from finished pie.

Storing Caramel Apple Pie

This pie is best eaten the day it is made. But if you have leftovers you tightly cover the apple pie and place in the fridge for up to 3 days. Reheat individual pieces in the microwave and top with ice cream and caramel sauce before serving. This truly is one delicious pie!

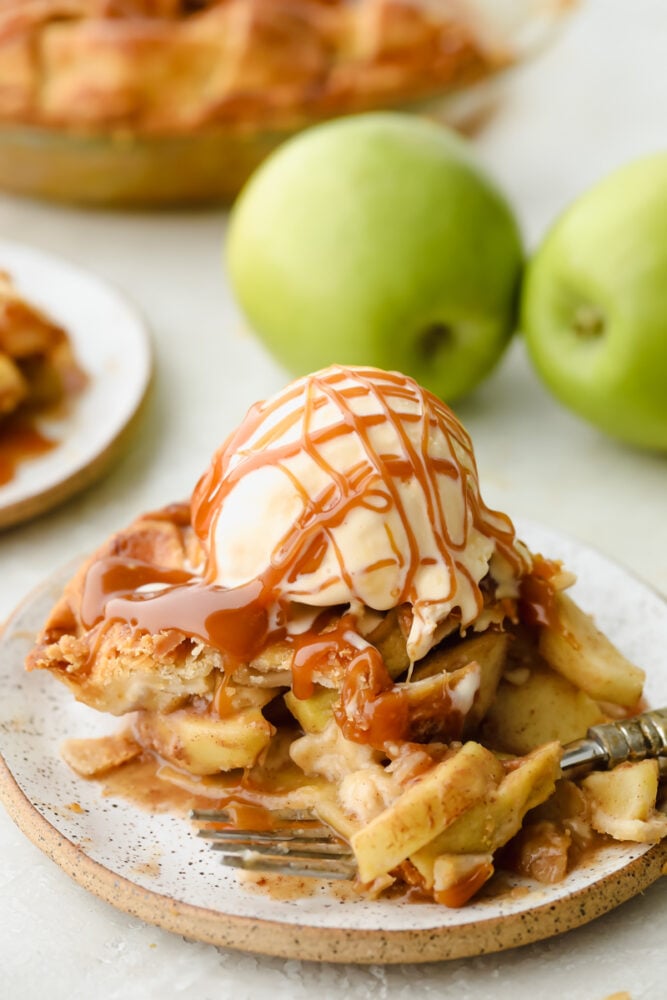
A slice of caramel apple pie with ice cream and caramel drizzled on top.
Print

Caramel Apple Pie

Caramel apple pie is the traditional American dessert, but totally elevated. Sour tart apples are smothered in caramel, it's insanely delicious.
Course Dessert
Cuisine American
Keyword apple pie, caramel apple pie, caramel apple pie recipe
Prep Time 50 minutes
Cook Time 50 minutes
Total Time 1 hour 40 minutes
Servings 12 slices of pie
Calories 366kcal
Author Alyssa Rivers

Ingredients

  • 2 homemade pie crust or pre-made pie crust (one for the bottom crust and one for the lattice top)
  • 8 large granny smith apples peeled, cored, sliced
  • 1 Tablespoon fresh lemon juice
  • ¾ cup granulated sugar
  • 1/4 cup cornstarch
  • 1 teaspoon ground cinnamon
  • ¼ teaspoon ground nutmeg
  • dash of salt
  • 1 Egg yolk plus 2 tbsp water for egg wash

Salted Caramel Sauce

  • 1 1/2 cups heavy cream
  • 1 cup granulated sugar
  • 1/3 cup light corn syrup
  • 1 teaspoon salt
  • ¼ cup salted butter
  • 1 teaspoon vanilla extract

Instructions

  • Prepare the caramel sauce and set aside.
  • Preheat the oven to 400°. Press the bottom crust into a 9 inch pie pan and trim the excess with a sharp knife. Set in the fridge until the filling is ready.
  • In a small bowl mix the sugar, cornstarch, cinnamon, nutmeg and salt. In a medium bowl toss the sliced apples together with the spiced sugar mixture and the lemon juice. Pour into the chilled pie shell.
  • Generously drizzle about half of the caramel sauce over the apples and then top with the lattice crust. Brush the top crust with the egg wash and sprinkle with course sugar.
  • Place the pie on a baking sheet to prevent over spilling on the bottom of your oven and bake for 50 minutes, or until the filling is bubbling and the crust is nice and golden brown.
  • Allow to cool on a rack for 20-30 minutes before drizzling more caramel sauce over the top.

Salted Caramel Sauce

  • In the microwave, heat the cream until steaming, about 45 seconds. Set aside.
  • In a heavy bottomed sauce pan heat the sugar, corn syrup and salt over medium high heat until it begins to turn an amber color. Try not to stir it, as that can cause your caramel to crystalize. Instead swirl the pan if you see a spot turning darker faster than the rest of the sugar. Once it is all a nice amber color, turn the heat down to medium and whisk in the butter.
  • Once the butter has been completely absorbed remove from the heat and slowly add in the warm cream. The mixture will bubble up with the butter and cream, so it’s important to make sure it’s in a medium pot, not a small one. Whisk in the vanilla and add more salt if needed. Set aside to cool. It may need to be gently warmed in the microwave before pouring on your pie, as it will set up as it cools.

Nutrition

Calories: 366kcal | Carbohydrates: 61g | Protein: 1g | Fat: 15g | Saturated Fat: 9g | Polyunsaturated Fat: 1g | Monounsaturated Fat: 4g | Trans Fat: 1g | Cholesterol: 51mg | Sodium: 247mg | Potassium: 186mg | Fiber: 4g | Sugar: 52g | Vitamin A: 636IU | Vitamin C: 8mg | Calcium: 33mg | Iron: 1mg


from The Recipe Critic https://ift.tt/2UZYLqA
https://ift.tt/3euB6FO

Pretzel Rolls

With a soft, tender inside and outside that has that cooked-to-perfection, pretzel texture we all love, these Pretzel Rolls are an instant favorite! Upgrade dinnertime with this irresistible side!

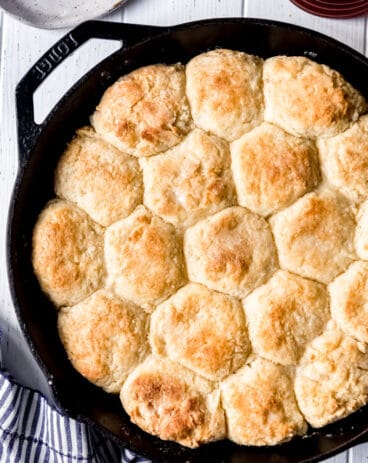
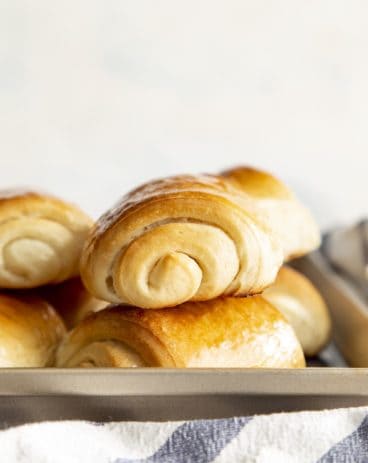
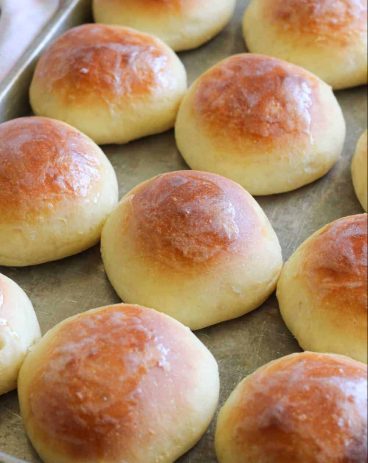
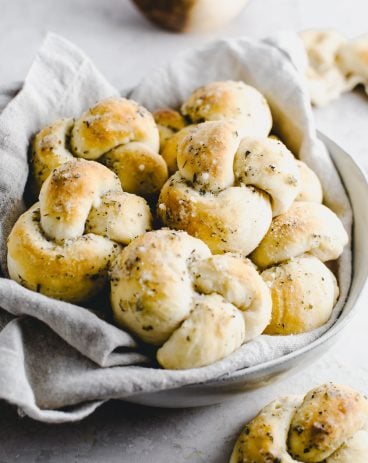
It is time to switch up the usual dinner roll. Sweet Hawaiian, potato, and Parker House rolls can easily add delicious flavor and texture to any dinner!

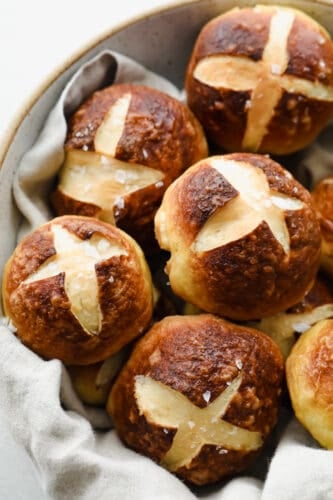
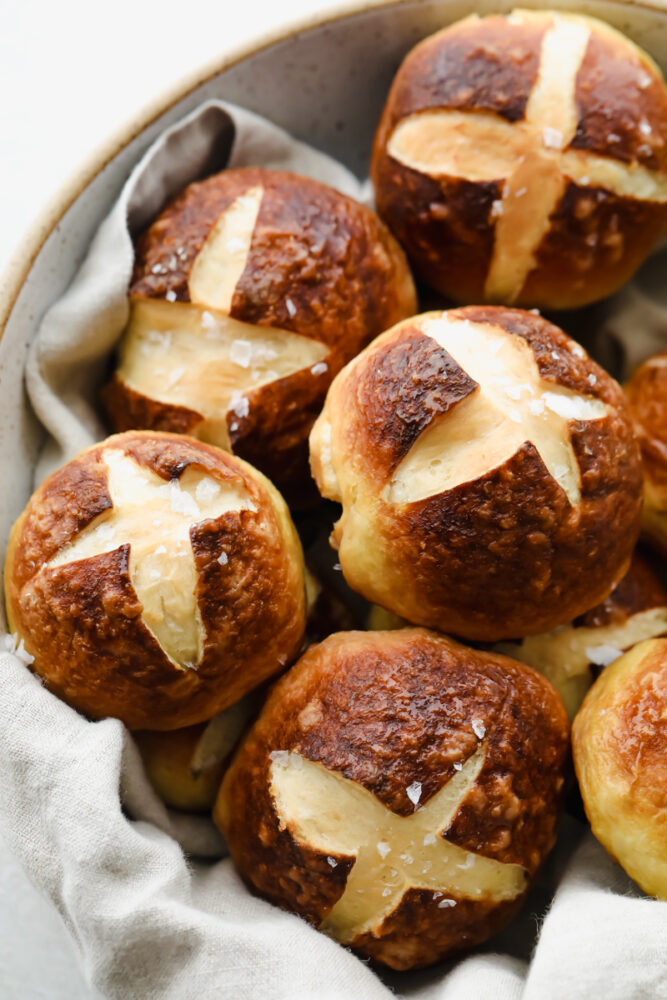
Pretzel Rolls topped with coarse salt in a bowl.

The Best Pretzel Rolls Recipe

Let’s talk about these pretzel rolls. Golden, glistening with butter, soft, and warm. They have all of the irresistible, chewy goodness of a pretzel from the mall but in one small, easy-to-eat bun! This gets dangerous, though, because it’s hard to keep myself from just eating 10 of them in succession. They are brushed with butter for that perfect bakery shine and topped with coarse salt to really make their flavor pop!

Because you are baking with yeast, this recipe requires a bit of TLC but is still extremely easy to make. It only takes a few pantry staples to create! Whether you eat these on their own, as a sandwich or slider, or to accompany dinner, I know your family is going to go crazy over their amazingly soft, chewy texture and hearty, buttery flavor.

Homemade Pretzel Rolls Ingredients

Because of their basic ingredients, Pretzel rolls are a delicious treat you can make any time! Individual measurements can be found in the recipe card at the end of the post.

  • Dry Active Yeast: Gives pretzel rolls their perfect rise and roundness.
  • Warm Water: This will be mixed with the yeast.
  • Brown Sugar: For sweetness and to help yeast grow.
  • Butter: It is best salted and melted ahead of time. For use in dough and for brushing on top.
  • Egg: For use as a binding agent in the bread.
  • Salt: To enhance flavor with just a pinch.
  • Flour: All-purpose flour works great in this recipe. No need to worry about bread flour.
  • Water: There is a lot of water but it is going into a big pot for a baking soda bath.
  • Baking Soda: When you boil your rolls in baking soda, it gives them their dark coloring and pretzel texture.
  • Coarse Salt: To top rolls with.

Making Pretzel Rolls from Scratch

Pretzel rolls are so easy to make at home! With how tasty, buttery, and golden these are, you won’t want to leave the house to get a pretzel again!

  1. Prepare Yeast: In a mixing bowl mix together yeast, water, and sugar. Let sit for 5-7 minutes, until it begins to get frothy.
  2. Whisk In: Egg and butter.
  3. Mix In Dry Ingredients: Add flour and salt and mix with a dough hook on medium-low speed for 6-7 minutes, until smooth and elastic.
  4. Let Dough Rise: Oil a large bowl and transfer the dough into it. Spray plastic wrap with cooking spray and cover the bowl with the sprayed side facing the dough. Let rise until doubled in size, about 40-60 minutes.
  5. Preheat: Preheat oven to 425.
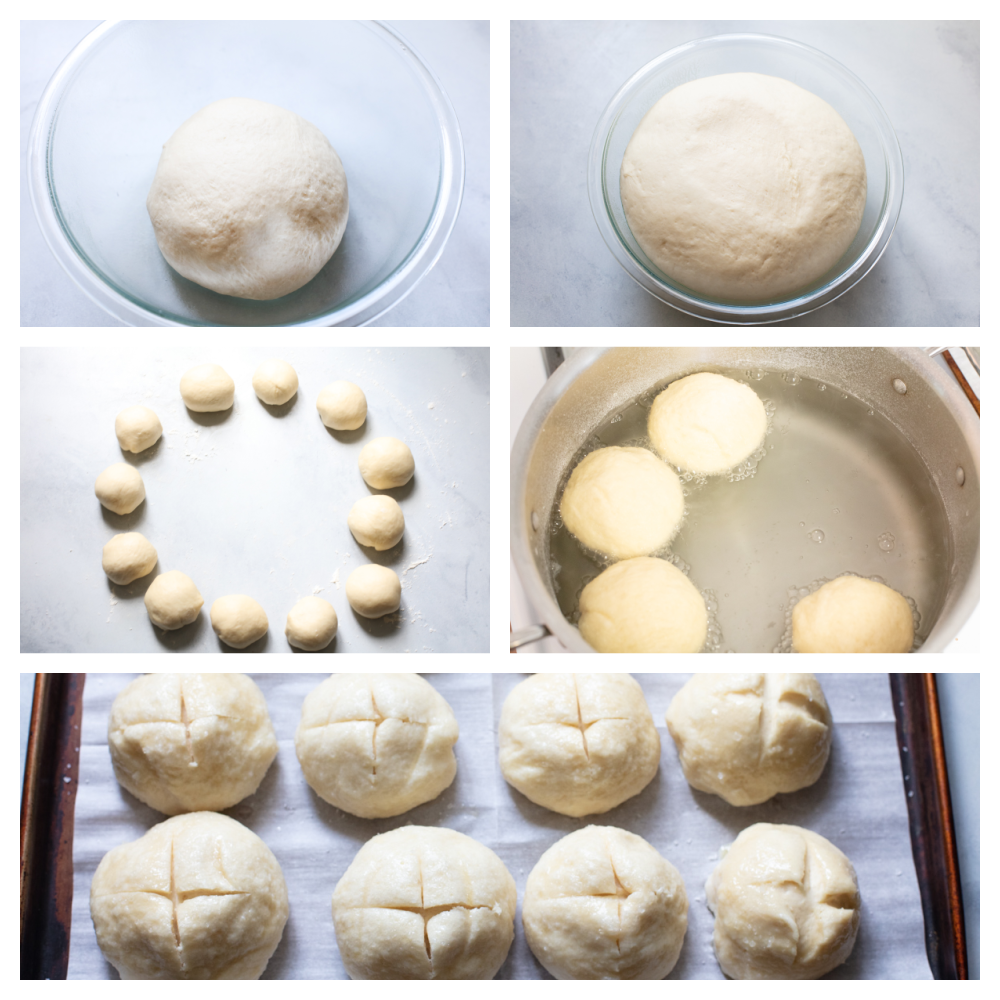
  6. Shape: When dough has doubled in size, cut into 12 equal portions. Form your dough into balls, keeping the seam at the bottom of the rolls.
  7. Prepare Soda Bath: Let rest for 10 minutes. While the dough is resting place a large pot or dutch oven on the stove and bring the water and baking soda to a boil.
  8. Boil Rolls: After the dough is done resting, boil the dough balls in batches of 3-4 at a time, boiling for 1 minute on each side. Use a slotted spoon to remove them and place them on a parchment lined baking sheet.
  9. Brush With Butter and Add Salt: Brush with melted butter and sprinkle with coarse salt. Use a very sharp knife or razor blade to score the tops of the buns.
  10. Bake: Bake for 10 minutes then rotate the pan and bake for 6-8 more minutes, until browned. Allow to cool before serving.
The process of making pretzel rolls, step by step.

Tips For Making the Ultimate Pretzel Rolls

These great tips can help you make pretzel rolls that rival anything you can get from a bakery or the grocery store. Customize and perfect your pretzel rolls!

  • Knead Long Enough: Be sure to knead long enough. This helps your dough relax and give you a tender, soft, and chewy result.
  • Don’t Skip the Soda Bath: The baking soda bath is what will make your pretzel rolls actually taste like pretzels. It also gives them their golden-brown color and chewy texture.This happens because of what is called a ‘maillard reaction’- where amino acids and sugars react to develop a brown color and distinct flavor. When you finish boiling them, they will be slightly wrinkled. This just means that the reaction took place and they are ready for baking!
  • Score Your Rolls: When you cut the tops of your rolls, you are allowing them to expand and cook thoroughly.
  • Adding Different Flavors: You can easily change the flavor of your Pretzel Rolls by adding fresh grated cheese, cinnamon sugar, or toppings like everything bagel seasoning at the time of brushing butter on the tops of them.
  • Dips and Spreads: Pretzel Rolls taste great when broken and dipped in homemade cheese sauce. You can also cut these bad boys open and add some honey butter for a truly sweet and decadent treat. I could honestly probably live off of soft rolls with honey butter.
  • Other Uses: I love to use Pretzel Rolls as buns for little pub-style sliders. You can make anything from pulled pork, to cheeseburgers, to buffalo chicken sliders, and the pretzel texture adds a little extra tastiness.
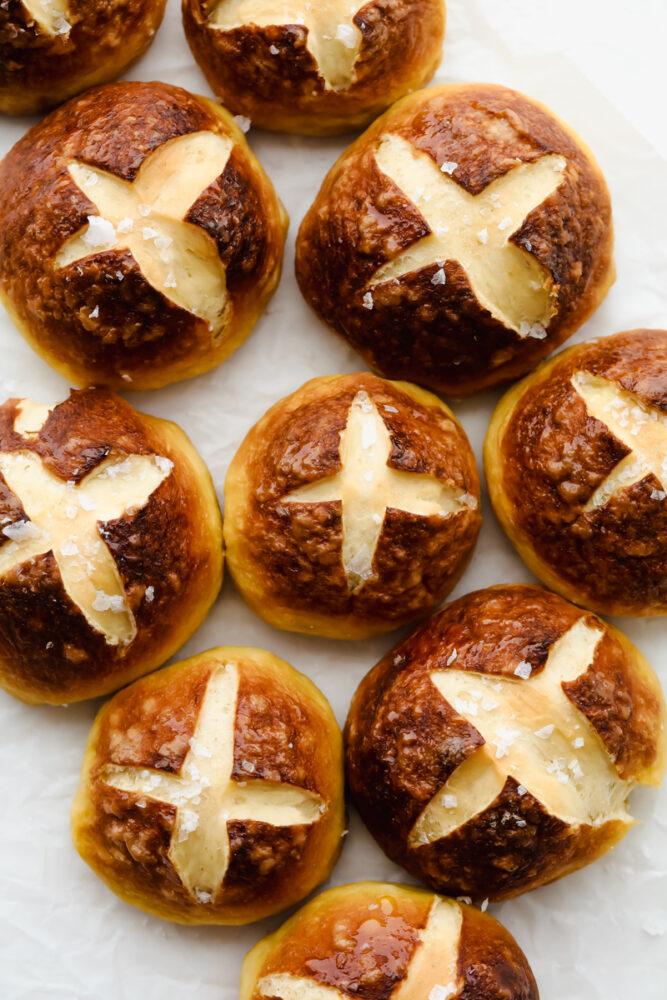
Pretzel Rolls with coarse salt on parchment paper.

How to Store Leftover Pretzel Rolls

Pretzel rolls are perfect for warming up in the oven for a warm, delicious treat! These are always a go-to for me.

  • At Room Temperature: Either cover baked Pretzel Rolls with plastic wrap or keep them in an airtight container for up to 3 days.
  • In the Refrigerator: Dough that has risen and been kneaded can be kept for 2 days in the fridge. Simply shape into balls and let rise again before baking them.
  • In the Freezer: Both unbaked dough and cooked rolls can be kept in the freezer for up to 2 months. For unbaked dough, thaw overnight and then let rise at room temperature before baking. To reheat cooked rolls, put them in the oven at 350 degrees Fahrenheit for 15-20 minutes.
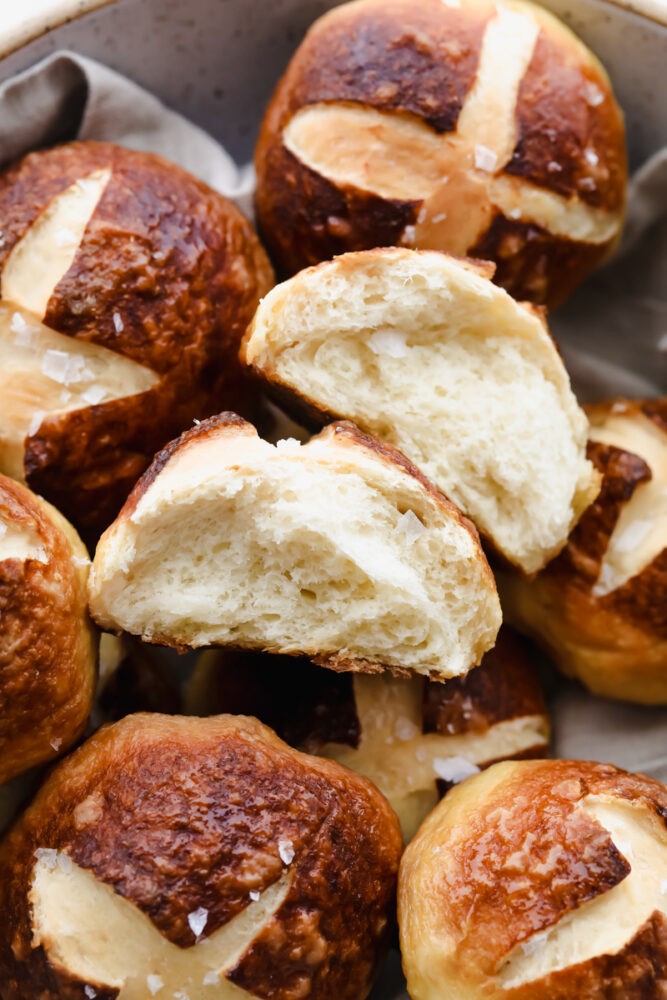
Close-up of Pretzel Roll being torn in half.
Print

Pretzel Rolls

With a soft, tender inside and outside that has that cooked-to-perfection, pretzel texture we all love, these Pretzel Rolls are an instant favorite! Upgrade dinnertime with this irresistible side!
Course Bread, Side Dish
Cuisine American
Keyword pretzel roll recipe, pretzel rolls
Prep Time 40 minutes
Cook Time 18 minutes
Rise 1 hour 10 minutes
Total Time 2 hours 8 minutes
Servings 12 Rolls
Calories 197kcal
Author Alyssa Rivers

Ingredients

  • 1 packet dry active yeast
  • 1 cup warm water
  • 3 Tablespoon brown sugar
  • 1/3 cup butter melted
  • 1 large egg
  • 1 teaspoon salt
  • 3 ½ cups flour
  • 10 cups water
  • ½ cup baking soda
  • Salted Butter for brushing on top melted
  • Coarse Salt

Instructions

  • In a mixing bowl mix together yeast, water, and sugar. Let sit for 5-7 minutes, until it begins to get frothy.
  • Whisk in egg and butter.
  • Add flour and salt and mix with a dough hook on medium-low speed for 6-7 minutes, until smooth and elastic.
  • Oil a large bowl and transfer the dough into it. Spray plastic wrap with cooking spray and cover the bowl with the sprayed side facing the dough. Let rise until doubled in size, about 40-60 minutes.
  • Preheat oven to 425.
  • When dough has doubled in size, cut into 12 equal portions. Form your dough into balls, keeping the seam at the bottom of the rolls.
  • Let rest for 10 minutes. While the dough is resting place a large pot or dutch oven on the stove and bring the water and baking soda to a boil. After the dough is done resting boil the dough balls in batches of 3-4 at a time, boiling for 1 minute on each side. Use a slotted spoon to remove them and place them on a parchment lined baking sheet.
  • Brush with melted butter and sprinkle with coarse salt. Use a very sharp knife or razor blade to score the tops of the buns.
  • Bake for 10 minutes then rotate the pan and bake for 6-8 more minutes, until browned. Allow to cool before serving.

Nutrition

Calories: 197kcal | Carbohydrates: 31g | Protein: 5g | Fat: 6g | Saturated Fat: 3g | Polyunsaturated Fat: 1g | Monounsaturated Fat: 2g | Trans Fat: 1g | Cholesterol: 29mg | Sodium: 1625mg | Potassium: 56mg | Fiber: 1g | Sugar: 3g | Vitamin A: 180IU | Vitamin C: 1mg | Calcium: 19mg | Iron: 2mg


from The Recipe Critic https://ift.tt/3iEtBh1
https://ift.tt/2TjMIUJ