शुक्रवार, 13 अगस्त 2021

Zucchini Pizza Bites

These melty, cheesy zucchini pizza bites have all the goodness of pizza without the carbs! In just 15 minutes, you have a tasty appetizer that you can feel great about eating!

Indulging in pizza doesn’t have to break your diet. Eggplant, keto, and whole-wheat pizzas are more health-conscious varieties to try out!
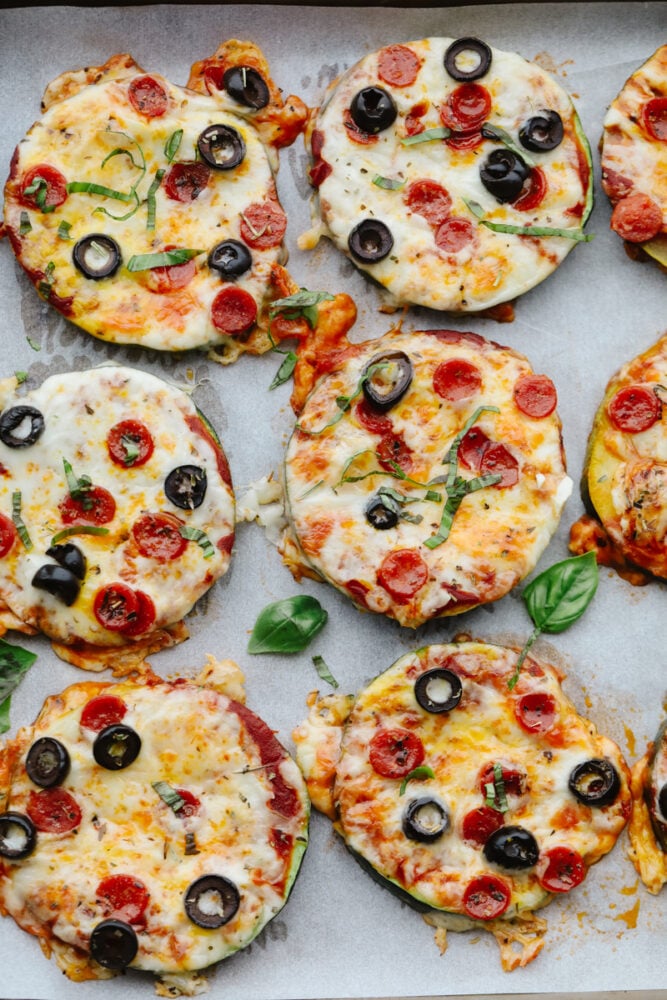
Zucchini pizza bites on a baking sheet lined with parchment paper.

Easy Baked Zucchini Pizza Bites

It is time to introduce you to the king of healthy snacking- zucchini pizza bites! This is the most ingenious recipe. It is honestly 100% as satisfying as a slice of pizza. It has all of the cheesy, perfectly seasoned flavor of pizza but on bite-sized zucchini pieces. Don’t let the thought of veggie as a pizza crust deter you. If you didn’t already know, zucchini is one of the most versatile veggies around! Zucchini doesn’t have an overpowering flavor. This makes it work as a substitute for basically anything. Try it in this casserole, lasagna, and even fries!

Next time you are wanting to make a pan of pizza rolls or bagel bites, go for the healthier option of zucchini pizza bites! You can utilize all of your leftover zucchini and have a delicious dinner ready in minutes. When baked, zucchini becomes amazingly tender. It also absorbs the flavor of pizza sauce, cheese, and toppings. Each bite is loaded with flavor! These are every bit as good, if not better, than traditional pizza and I love that they keep portions small. It makes it easy to customize toppings too. That way everyone in your family can get in on the action and create their own pizza bite! These zucchini bites are truly easy! Delicious and the perfect way to snack while fueling your body with the low-carb, antioxidant-packed goodness of zucchini.

What You Need For Zucchini Pizza Bites

The best thing about this recipe is that it uses basic pizza ingredients, just swapping out a crust for sliced zucchini. You have the freedom to switch up these pizza bites with whatever sauces and toppings your heart desires! For all measurements of ingredients, see the recipe card below.

  • Zucchini: I use large zucchini in this recipe, but any kind of zucchini works! You can use smaller zucchini for more bite-sized pieces. 8 ball and yellow zucchini are also great substitutes!
  • Salt and Pepper: To enhance the flavor of your zucchini pizza bites. I add to taste.
  • Marinara: You can use any marinara you like here, or swap out for a different sauce like BBQ, buffalo, or alfredo. In this recipe, I use homemade marinara for the best fresh flavor!
  • Mozzarella Cheese: I love how Mozzarella melts down in the oven. It is the perfect stretchy, ooey-gooey cheese. For substitutes, provolone and cheddar have a similar effect and taste great, too!
  • Pepperoni: Pepperoni makes everything better! I use mini pepperoni to match the sizing of the zucchini slices.
  • Olives: I use black olives, sliced into small pieces.
  • Italian Seasoning: A pinch of Italian seasoning really enhances the overall flavor of these pizza bites. You can make it at home! It really comes in handy for so many different recipes.
  • Basil: Who doesn’t love a good basil garnish? It is the perfect aromatic addition and makes your pizza bites look fancy, too.

Making Zucchini Pizza Bites

Making your pizza bites only requires a touch more effort than throwing premade snacks in the oven. The results are mind-blowing! I know you will become addicted to the fresh, delicious flavor of these easy snacks! These are always a hit!

  1. Prep: Preheat oven to 400 degrees. Slice a zucchini into ¼ inch slices. Put them on a single layer on a baking sheet and salt and pepper.
  2. Add Sauce and Toppings: Add marinara sauce then top with cheese and pepperoni and olives. Sprinkle the tops with Italian seasoning.
  3. Bake and Serve: Bake for 10-12 minutes or until the cheese is melted and zucchini is soft. Garnish with chopped basil.
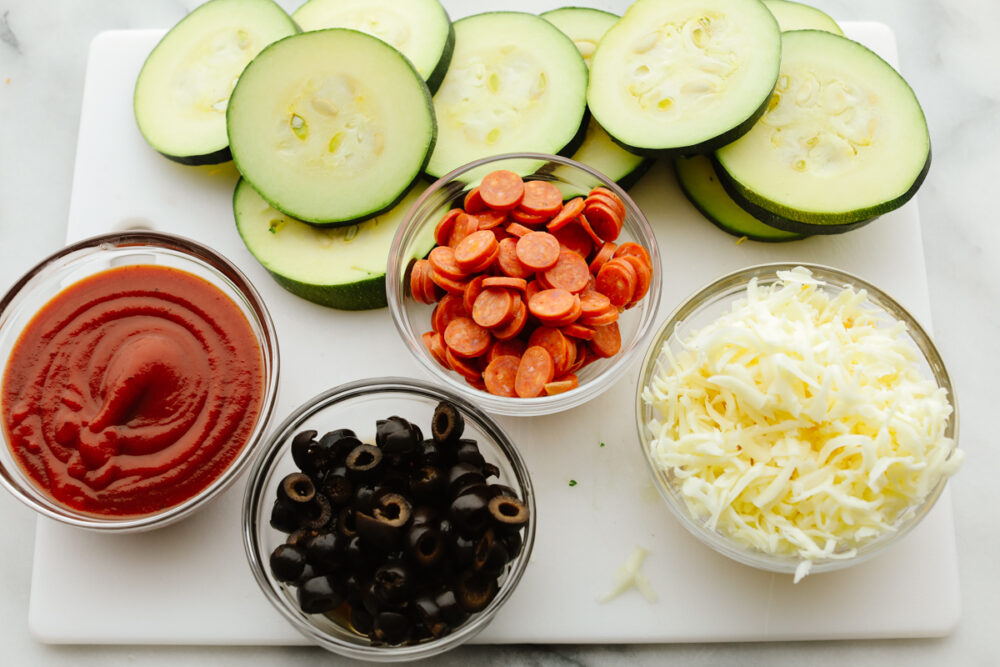
Zucchini pizza bite ingredients separated into small glass bowls.

Tips for Making Zucchini Pizza Bites

This recipe is super easy and straightforward! Here are a few extra tips to keep in mind so you get the best results! So many options for a great dinner!

  • Cutting Zucchini: Try to cut your zucchini into uniform slices. This way, they cook at the same rate!
  • Pat Zucchini Slices Dry: Zucchini naturally has a very high water content. If you are having trouble with your pizza bites becoming soggy, first salt your zucchini and then pat dry before baking.
  • Zucchini Sticking to Pan: If you don’t have parchment paper to line your baking sheet with, you can toss your zucchini slices with olive oil before baking to ensure they don’t stick to the pan.
  • Keep Skin On: I like to keep the skin on my zucchini. It is completely safe to eat and isn’t difficult to bite through. Additionally, Zucchini skin contains healthy cartenoids that boost your immune system and support things like eye health. Time to put away that peeler!
  • Other Toppings: You can easily mix and match toppings to get different pizza flavors. The sky is the limit! For buffalo-style pizza bites, add buffalo sauce, chicken crumbles, red onions, blue cheese, and drizzle with ranch. Another easy variation would be alfredo pizza bites. Simply coat your zucchini in alfredo and top with mozzarella cheese, chicken crumbles and Italian seasoning!
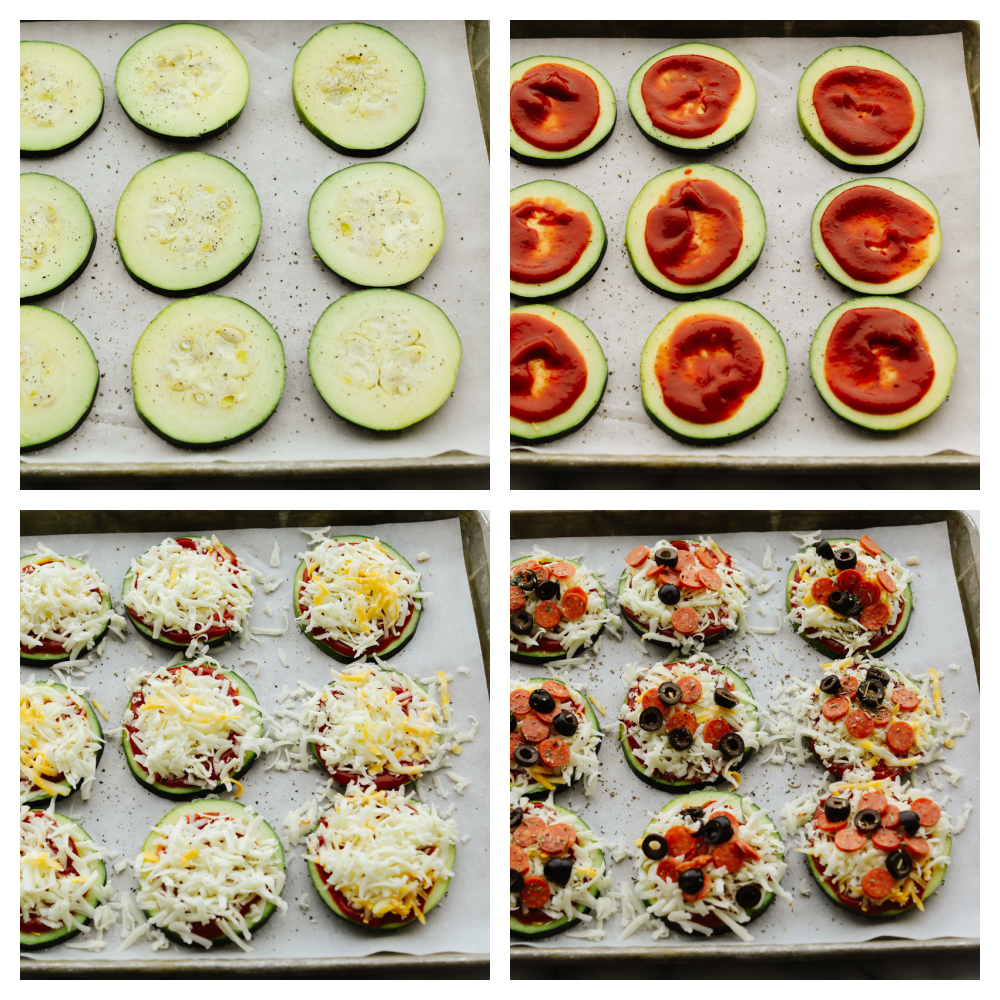
Adding sauce and pizza toppings to zucchini slices.

What to Serve With Zucchini PIzza Bites

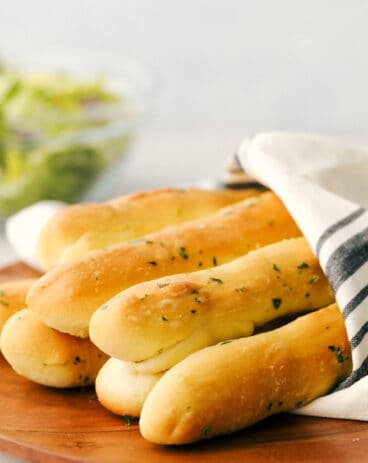
The great thing about these pizza bites is that they work as an easy snack, an appetizer, or even the main meal! For a complete meal, serve your pizza bites alongside breadsticks, salad, or soup for a dinner à la Olive Garden. Zucchini pizza bites also taste great with an assortment of other appetizers, perfect for get-togethers and game days! No matter what you serve your pizza bites with, their incredible flavor will shine through!

Close-up of zucchini pizza bites with basil garnish.

Storing Leftover Pizza Bites

Zucchini pizza bites are best when served fresh. They can also be kept in the fridge and heated up for a quick and easy treat! My kids love having these on hand and popping them in the microwave for an after-school snack. It’s a great way to sneak more veggies into their diet!

  • In the Refrigerator: Zucchini pizza bites will keep in an airtight container for up to 3 days.
  • Reheating: You can easily reheat your pizza bites in a skillet, microwave, or even an air fryer! I like to reheat mine in the oven until warmed through to preserve flavor and texture.
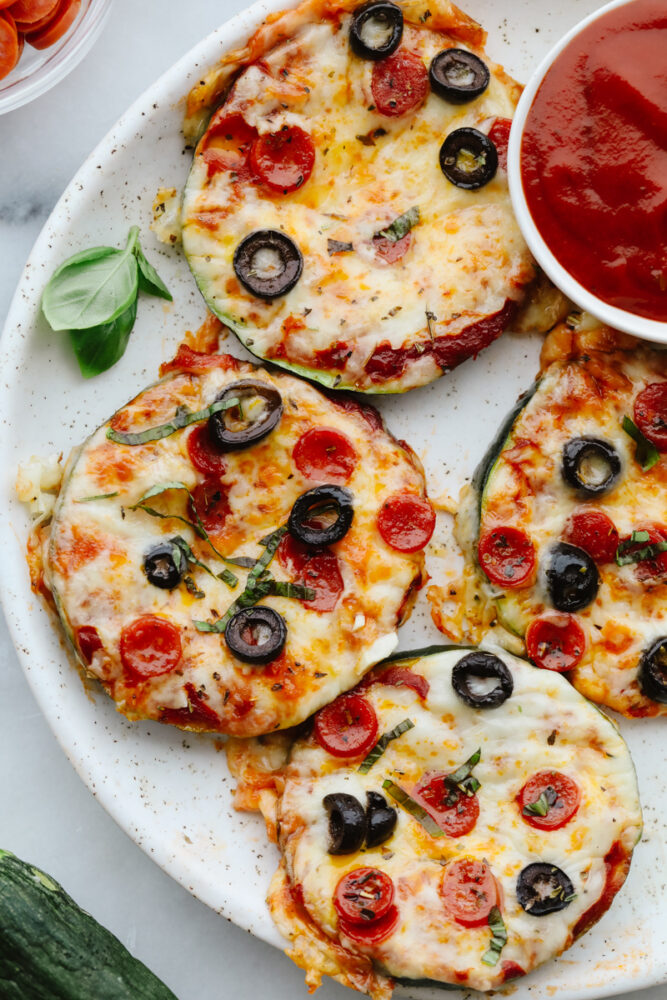
Pizza bites on a white plate with marinara dipping sauce.
Print

Zucchini Pizza Bites

These melty, cheesy zucchini pizza bites have all the goodness of pizza without the carbs! In just 15 minutes, you have a tasty appetizer that you can feel great about eating!
Course Dinner, Main Course
Cuisine American
Keyword zucchini pizza bites
Prep Time 5 minutes
Cook Time 12 minutes
Total Time 17 minutes
Servings 6 pizzas
Calories 254kcal
Author Alyssa Rivers

Ingredients

  • 1 large zucchini
  • salt and pepper
  • 1/2 cup marinara
  • 2 cups mozzarella cheese
  • 1 cup mini pepperoni
  • 1 cup sliced olives
  • 1 Tablespoon Italian seasoning
  • chopped basil for garnish

Instructions

  • Preheat oven to 400 degrees. Slice zucchini into ¼ inch slices. Put them on a single layer on a baking sheet and salt and pepper.
  • Add marinara sauce then top with cheese and pepperoni and olives. Sprinkle the tops with Italian seasoning.
  • Bake for 10-12 minutes or until the cheese is melted and zucchini is soft. Garnish with chopped basil.

Nutrition

Calories: 254kcal | Carbohydrates: 5g | Protein: 14g | Fat: 20g | Saturated Fat: 8g | Polyunsaturated Fat: 1g | Monounsaturated Fat: 8g | Trans Fat: 1g | Cholesterol: 49mg | Sodium: 1027mg | Potassium: 309mg | Fiber: 2g | Sugar: 3g | Vitamin A: 551IU | Vitamin C: 11mg | Calcium: 229mg | Iron: 1mg


from The Recipe Critic https://ift.tt/3m4ACLn
https://ift.tt/3yHLPF1
गुरुवार, 12 अगस्त 2021

Homemade Cajun Seasoning

Cajun seasoning is the perfect blend of spices to add a little zest to your dish. Completely versatile and delicious, this homemade spice can be added to a wide variety of recipes giving them just the yummy kick you were looking for!

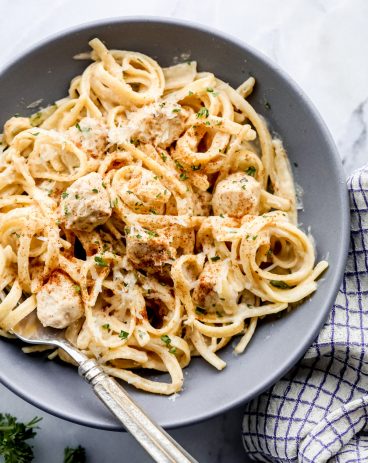
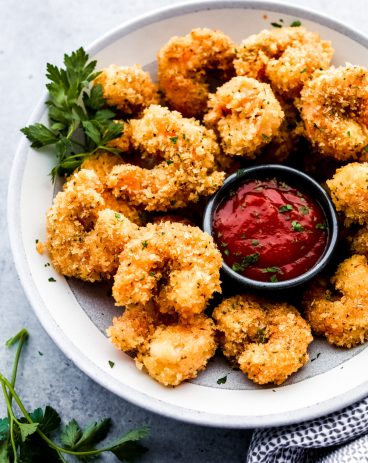
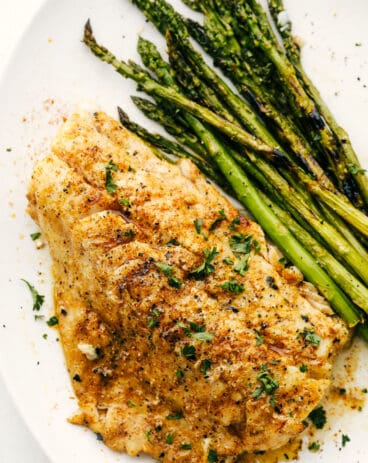
This amazing and savory flavoring takes just minutes to put together but can completely take a dish to the next level! I absolutely love the spice that it brings. If you love cajun food, try this cajun shrimp and sausage, pasta, and cod!

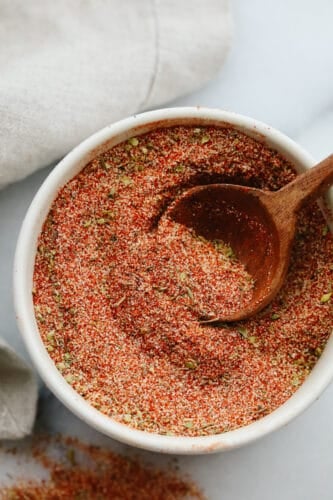
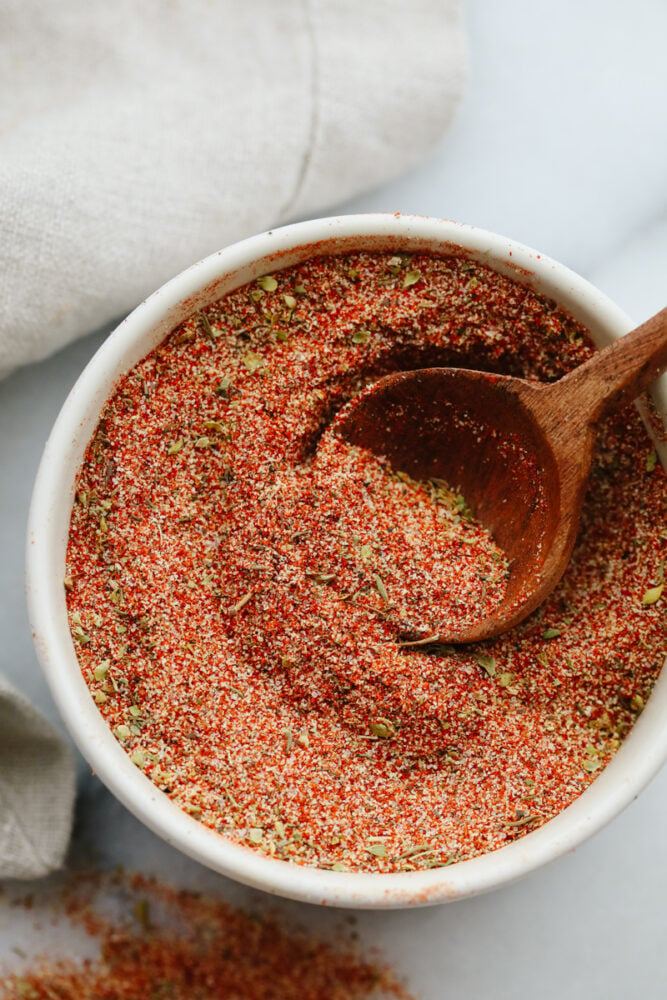
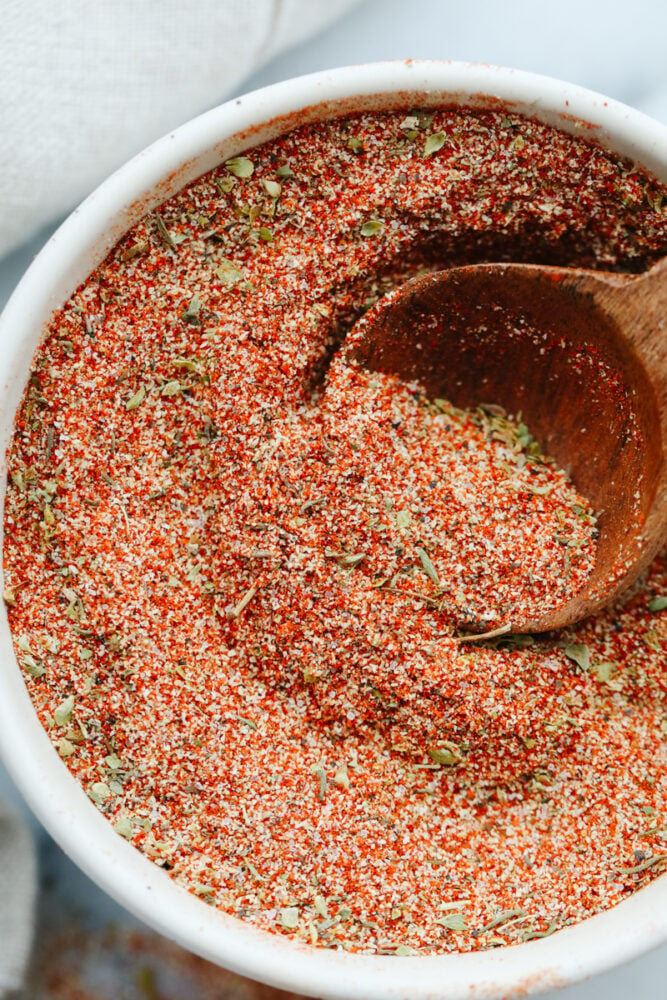
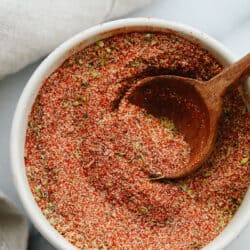
Cajun seasoning with a spoon.

Cajun Seasoning Mix

Homemade spices don’t have to be complex and complicated and can be used in a lot of different ways! This recipe is a brilliant blend of spices that can be used on vegetables, chicken, fish, shrimp, burgers, and steak. As a result, anything that you love will become even more delicious by adding this delicious flavor to it! The key to making any recipe stand out, it how it’s seasoned. I especially love this specific mixture because although it has a tiny kick, the heat is not too much to handle. Making your own seasonings is such an easy and unique way to make a dish your own. This recipe uses very common ingredients that you are likely to already have on hand!

I love making my own homemade spices because I realized how expensive they are at the store! You can make this at home (double or triple this recipe so that you always have some on hand!) using basic ingredients. Because cajun seasoning hails from Louisiana, it will bring that delicious southern cooking right to your own home! It’s yummy, zesty, and it will add exactly the extra taste that your recipes need! You will want it in your spice drawer for years to come!

Cajun Seasoning Ingredients

The best part about this seasoning is that you probably already have all of the spices in your spice drawer, ready to go! Just get them out, mix them together and you will have a bold flavor ready to add to all of your favorite foods!! See the recipe card below for exact measurements.

  • Paprika: You can use regular or smoked paprika depending on your preference or what you have on hand.
  • Garlic powder: Garlic powder is more mellow than actual garlic cloves so it is perfect for seasoning!
  • Cayenne: This is the ingredient that will bring the heat to your dish. Go light on this for less heat.
  • Dried oregano: Oregano will add a warm, peppery flavor to this mixture.
  • Dried thyme: Make sure that you are using dried thyme and not ground time. Your measurements will be different if you change this up!
  • Onion powder: Onion powder adds a sweet and savory flavor to certain dishes that you arent able to get from fresh onions.
  • Kosher salt: Because of its larger size and ability to blend well, kosher salt is preferred to table salt. It does a great job drawing out the flavor of any meats that you put it on.
  • Black pepper: I like to use freshly ground black pepper.

How to Make Cajun Seasoning

This cajun seasoning is so easy to make, you will never go back to buying this again! Because of how simple it is, you can double or triple this recipe because once you try it, you are definitely going to want more! The seasonings are all combined and stored in an airtight container.

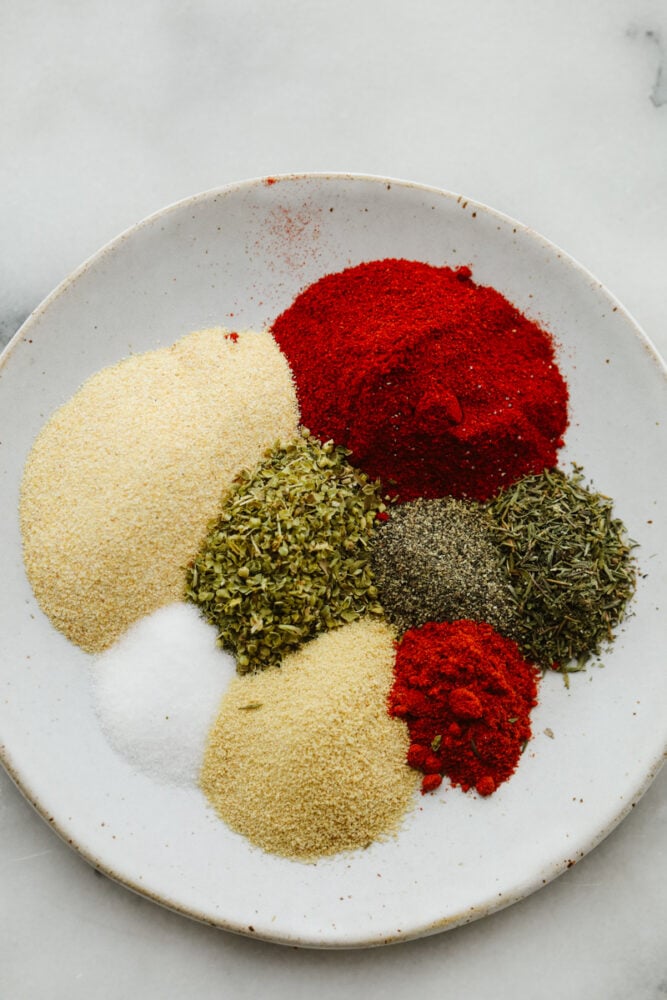
Spices ready to be mixed together in a bowl.

DIY Cajun Seasoning

Here are some ways that you can use this seasoning! This spice blend can be used in SO many different recipes. I regularly use it for my jambalaya but here are a few other ways to use it!

  • Protiens: This seasoning can be used as a rub on shrimp, steak, burgers, chicken and pork. Rub a little olive oil on your protien, pat this seasoning on and cook as usual. Your meat will be full of delicious flavor!
  • Potatoes: You can use this on all kinds of vegetables but it is especially tasty on any kind of potatoes (fries, roasted or baked).
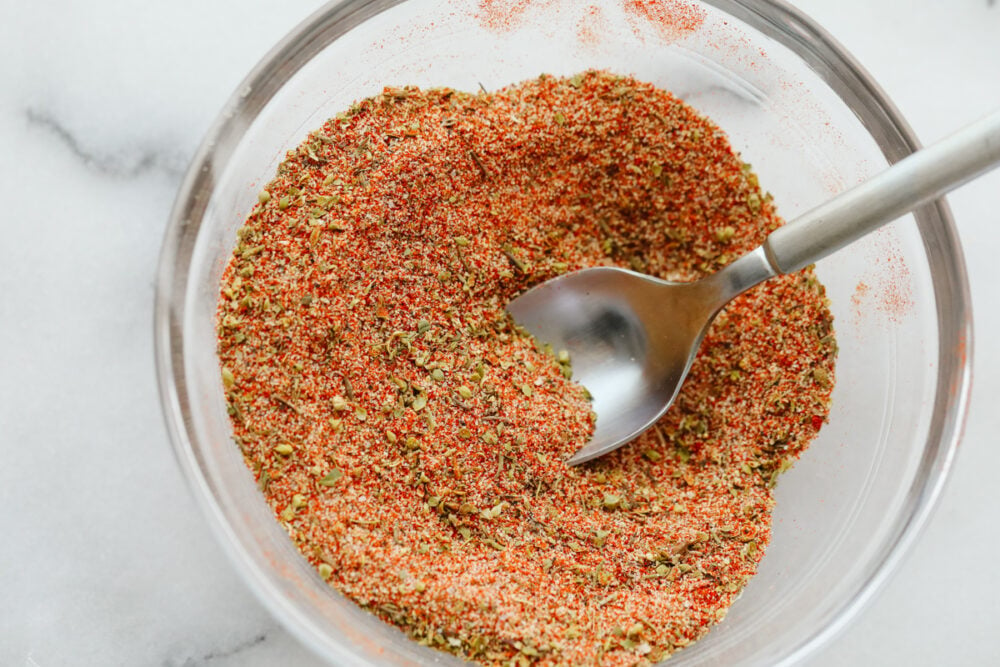
Cajon seasoning mixed in a bowl with a spoon.

Making the Best Cajun Seasoning

Sometimes, you just need someone to tell you EXACTLY how to make something your own! I am here to help you out with some expert tips that will help you make this seasoning the best for you!

  • Adjust the heat: If you would like this spice to have more or less heat, adjust the amount of cayenne pepper. Use more if you want it spicer!
  • Ground vs dried: Use dried ingredients in this recipe. Ground ingredients are more condensed offering more flavor in smaller amounts. The measurements of this recipe are based on DRIED ingredients. If you only have ground spices on hand, reduce the amount of these seasonings (oregano and thyme).
  • Less salt: If you find it a tad too salty, reduce the salt a little bit at a time.
Cajon seasoning being dished with a spoon.

Storing Homemade Cajun Seasoning

Cajun seasoning is something to have on hand to add to any and all of your recipes. Its super easy to store and will last a long time. Here is how you store it!

  • Storing: You can reuse an old spice jar, buy a new, empty spice jar or even use a ziplock bag! Just make sure that whatever you use is a sealed, airtight container otherwise your spices will clump together!
  • How long can this be stored? This cajun seasoning can be stored for up to 3 years in a sealed, airtight container!
Print

Homemade Cajun Seasoning

Cajun seasoning is the perfect blend of spices to add a little zest to your dish. Completely versatile and delicious, this homemade spice can be added to a wide variety of recipes giving them just the yummy kick you were looking for!
Course Seasoning
Cuisine American, Southern
Keyword cajun seasoning, cajun seasoning recipe
Prep Time 5 minutes
Servings 9 tablespoons
Calories 19kcal
Author Alyssa Rivers

Ingredients

  • 2 tablespoons paprika
  • 2 tablespoons garlic powder
  • 2 teaspoons cayenne
  • 2 tablespoons dried oregano
  • 1 teaspoon dried thyme
  • 1 tablespoons onion powder
  • 1 tablespoons kosher salt
  • 2 teaspoons freshly ground black pepper

Instructions

  • Combine all ingredients and store in an airtight container.

Nutrition

Calories: 19kcal | Carbohydrates: 4g | Protein: 1g | Fat: 1g | Saturated Fat: 1g | Polyunsaturated Fat: 1g | Monounsaturated Fat: 1g | Sodium: 778mg | Potassium: 94mg | Fiber: 2g | Sugar: 1g | Vitamin A: 977IU | Vitamin C: 1mg | Calcium: 31mg | Iron: 1mg


from The Recipe Critic https://ift.tt/3fZJsWC
https://ift.tt/37CJVcM

बुधवार, 11 अगस्त 2021

Incredible Garlic Butter Shrimp

Garlic, butter, and shrimp. It doesn’t get much tastier than those three ingredients! Combine them together and you will have a melt in your mouth, smack your lips kind of food that you will go back to over and over again!

I love the unbelievable taste that this dish delivers. The shrimp are juicy and dripping with flavor. Try this asparagus, broccoli, or rice with this shrimp and you will experience a meal that will be absolutely delightful to your tastebuds!

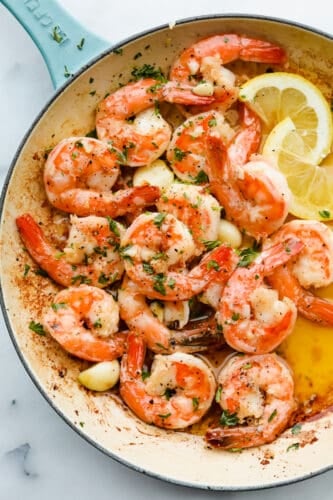
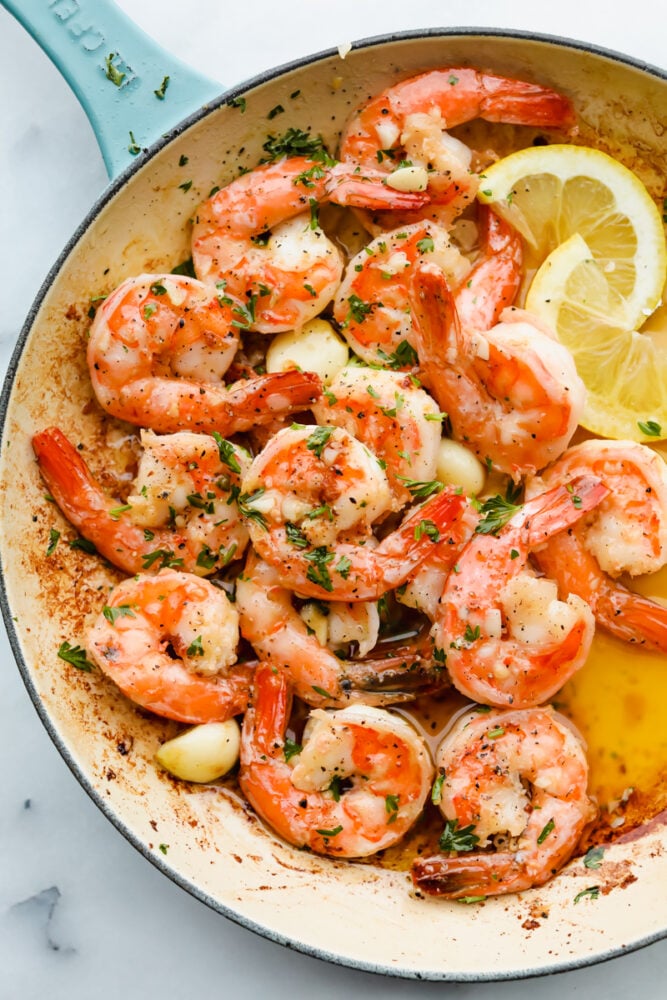
Cooked shrimp with garnish in a dish.

Garlic Butter Shrimp Recipe

Let’s chat about what makes shrimp SO delicious and how you can make your shrimp at home just as good as any restaurant. Shrimp is not a complicated dish once you know what you are working with. You typically want to start with fresh, RAW shrimp that is peeled and deveined. This will help your dish have more flavor, take less time, and taste as professional as a chef. You CAN use frozen shrimp but you will need to make sure that it is properly thawed and deveined before proceeding with any shrimp recipe!

Did you know that shrimp is also super healthy for you?? It contains a lot of vitamins and minerals that our bodies may be lacking. Shrimp is also a great form of protein! Also… shrimp cooks fast. I mean FAST as in, your dish will take 3-4 minutes and the shrimp is DONE. It’s a fantastic ingredient to add to things such as fried rice or pasta. I especially love this recipe for garlic butter shrimp because it is also great as a stand-alone appetizer at a party! It’s hard not to love it with its finger-licking, buttery taste!

What Ingredients You Will Need

Easy recipes that taste delicious are my FAVORITE. This one is sure to check off both of those boxes and all you will need are some fresh shrimp and a few staple kitchen ingredients! See the recipe card below for exact measurements.

  • Large shrimp: The shrimp should be fresh, raw, peeled and deveined!
  • Salt and pepper: Use this to add some flavor to the fresh shrimp.
  • Butter: Use unsalted butter! The butter will soak into the shrimp creating a deep, delicious flavor.
  • Lemon: You can use fresh lemon or lemon juice that you may already have on hand.
  • Garlic cloves: Minced garlic and garlic cloves are both necessary to create a depth of flavor.
  • Parsley: Garnish with FRESH parsley!

How to Cook Garlic Butter Shrimp

This recipe is literally just a few easy steps and you are done! In fact, it goes so quickly that you’ll want to make sure to keep your eye on it as it cooks because it cooks FAST. Just follow these few easy steps and your shrimp will go from ordinary to extraordinary!

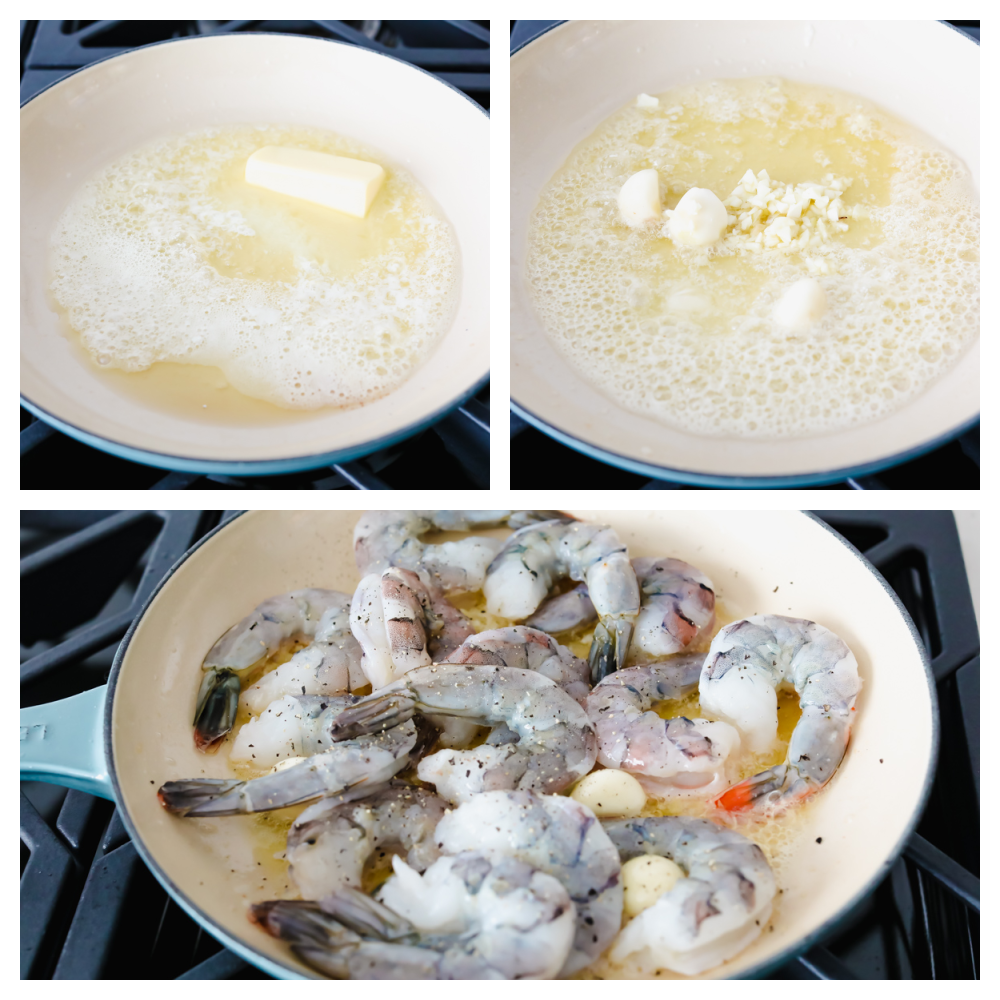
  1. Season shimp and melt butter: Salt and pepper the shrimp. In a medium sized skillet over medium high heat, melt the butter. Add in the juice from one lemon.
  2. Add garlic: Add in the minced garlic and garlic cloves.
  3. Cook the shrimp: Add the shrimp and cook in the garlic butter for 3-4 minutes or until shrimp is opaque.
  4. Garnish and enjoy! Garnish with chopped parsley.
3 pictures of melting butter and cooking shrimp.

Tips for Cooking Shrimp

All you need to be able to cook shrimp perfectly is a few tips and tricks. Once you understand and practice these, you will be cooking all sorts of new shrimp dishes in no time!

  • Raw Shrimp: Make sure your shrimp is RAW (not precooked!) and look for shrimp that is already peeled and deveined. It will make this cooking process SO much faster!
  • Don’t overcook it! The only way you can truly ruin shrimp is to overcook it. To avoid this, as soon as they look like a bit of an opaque pink color and curl up a bit, they are done! This will happen in just 3-4 minutes so watch carefully!
  • Tails on or off: It doesn’t matter if you leave the tails on or off. This won’t affect how they taste or cook. Tails on usually makes them a bit easier to pick up and eat but it’s totally up to you!
  • Frozen shrimp: You can use fresh or frozen shrimp, just make sure it’s raw and not precooked! Frozen shrimp is typically cheaper and easier to come by when you don’t live near the coast! Just make sure that you thaw it completely in the fridge before starting into your recipe!
  • Fast cook time: Because shrimp cooks SO fast, it’s important that you have everything ready to go before you begin! Otherwise, any time spent prepping while the shrimp is cooking will mean overdone shrimp!

Storing Your Cooked Shrimp

So many people wonder if you can prepare any of this recipe ahead of serving time and also wonder how to store any leftovers! You totally can do both! Here are a few tips for that.

  • Prepping ahead: Because this dish is so quick to cook, we don’t suggest cooking the shrimp ahead of time. However, if you would like to have the shrimp thawed, deveined, peeled and ready to go in your fridge ahead of cooking time, this will make cooking SO fast and much easier.
  • Storing in the Refrigerator: Keep the shrimp in a sealed, airtight container for up to 2-3 days.
  • Freezing Leftovers: In a sealed container, your shrimp will last in the freezer for up to 2 months.
  • Reheating frozen, cooked shrimp: Pop the frozen, cooked shrimp in the mircowave until desired temperature is reached!
Close up of cooked shrimp.
Print

Incredible Garlic Butter Shrimp

Garlic, butter, and shrimp. It doesn't get much tastier than those three ingredients! Combine them together and you will have a melt in your mouth, smack your lips kind of food that you will go back to over and over again!
Course Dinner
Cuisine American
Keyword butter shrimp, garlic butter shrimp, garlic shrimp, shrimp recipes
Prep Time 5 minutes
Cook Time 10 minutes
Total Time 15 minutes
Servings 4 people
Calories 107kcal
Author Alyssa Rivers

Ingredients

  • 1 pound large shrimp peeled and deveined
  • salt and pepper
  • 1/4 cup butter
  • juice of one lemon
  • 2 garlic cloves minced
  • 3 garlic cloves whole
  • chopped parsley for garnish

Instructions

  • Salt and pepper the shrimp. In a medium-sized skillet over medium-high heat, melt the butter. Add in the juice from one lemon.
  • Add in the minced garlic and garlic cloves.
  • Add the shrimp and cook in the garlic butter for 3-4 minutes or until shrimp is opaque.
  • Garnish with chopped parsley.

Nutrition

Calories: 107kcal | Carbohydrates: 1g | Protein: 1g | Fat: 12g | Saturated Fat: 7g | Polyunsaturated Fat: 1g | Monounsaturated Fat: 3g | Trans Fat: 1g | Cholesterol: 31mg | Sodium: 102mg | Potassium: 18mg | Fiber: 1g | Sugar: 1g | Vitamin A: 355IU | Vitamin C: 1mg | Calcium: 10mg | Iron: 1mg


from The Recipe Critic https://ift.tt/2U6FbZO
https://ift.tt/2U6FT9q

Amazing Street Tacos

Street Tacos are delicious, amazing, and oh so mouthwatering. I cannot stop thinking about these! They are SOO delicious. You will want to gobble these all up at once!

These street tacos are completely jam-packed with flavor and they are so easy to make. I love how the meat is so tender and juicy and only takes an hour to marinate! If you absolutely love tacos like me, try out these other amazing taco recipes! These taco-stuffed avocados, Baja fish tacos, and ground beef tacos will not disappoint!!

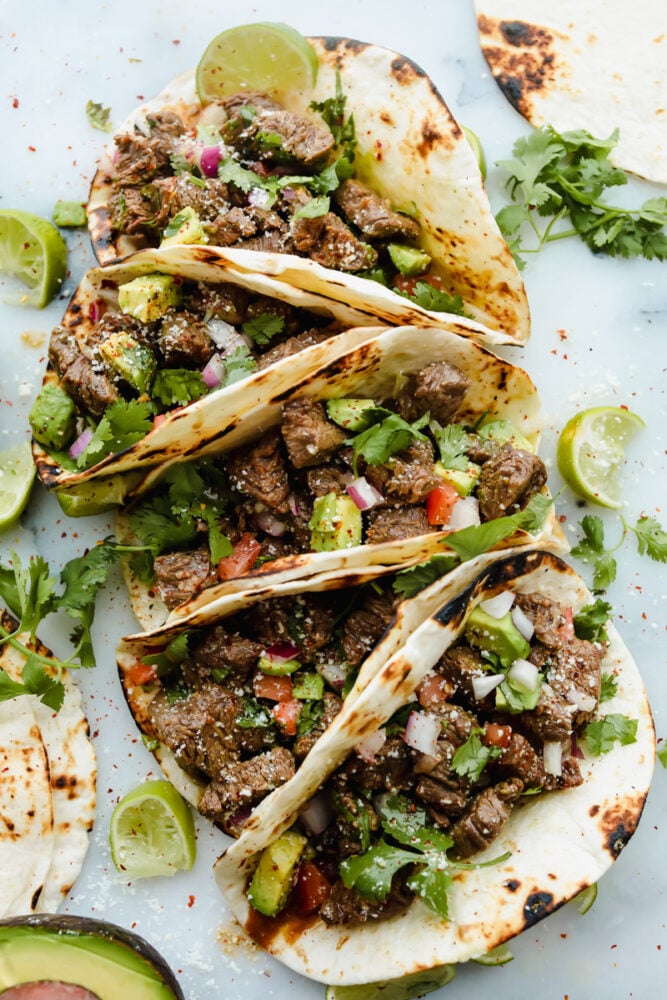
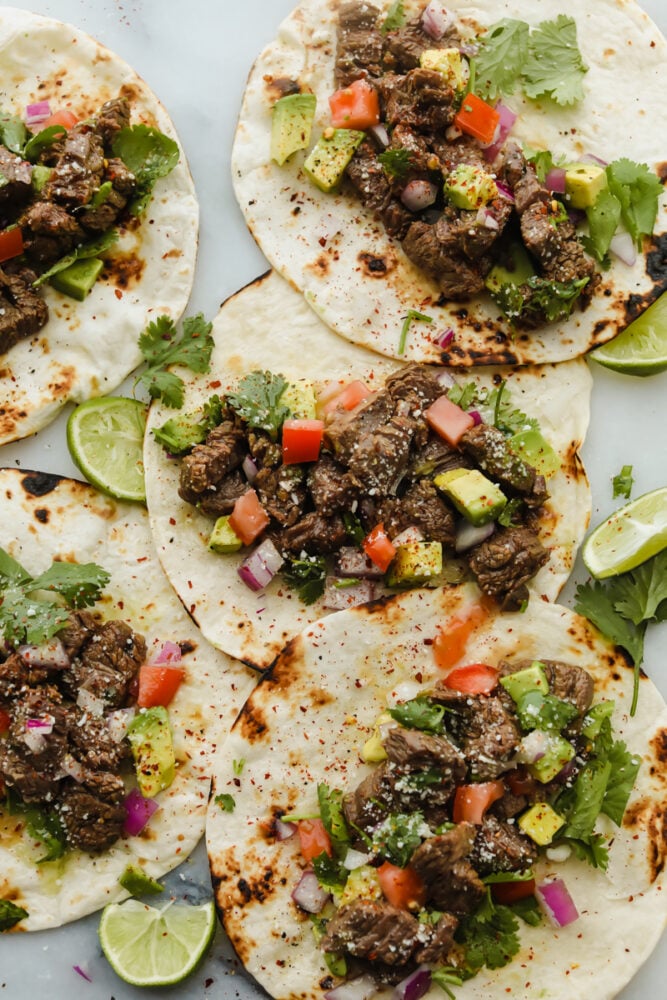
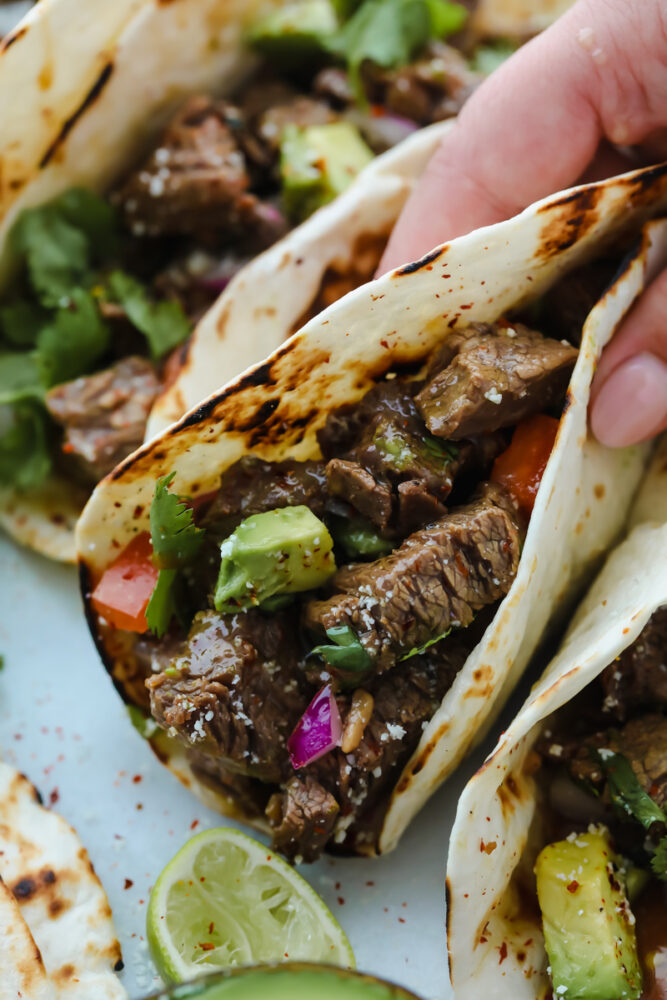
Street tacos with toppings.

What is the Difference Between Street Tacos and Regular Tacos?

Street Tacos have gotten more and more popular over the years. The difference between these and “regular tacos” is that these are typically in smaller tortillas. The reason they are smaller is that when people ordered them off of the vendor carts or food trucks, they wanted them to be able to hold the taco with one hand while walking down the street. Hence the name “street tacos.”

Typically filled completely full of ingredients (trying to get as much into that smaller tortilla as possible) street tacos are never lacking in flavor! Street tacos are different because you typically don’t have any lettuce or tomatoes. But don’t think that this makes street tacos complicated to make. In fact, I love that these tacos can be prepared ahead of time with the marinated steak. Because of this, it is a recipe that’s so easy to throw together once it is time for dinner! This meal takes just 3 easy steps! You marinate the steak, cook it up on your stove, and add in the fresh toppings. You will not want to stop after just one and you are going to love these as much as I do!!

Ingredients You Will Need

Simple, quick, and easy don’t often go along with a description of juicy, tender steak. But luckily, these tacos do! Make sure to take the time to marinate that steak beforehand and you will experience mouthwatering, restaurant-quality steak in no time! See the recipe card below for full ingredient measurements.

  • Flank steak or skirt steak: Preparation of the steak is key to this dish. Don’t forget to marinate!!!
  • Soy Sauce: Try my using favorite soy sauce!
  • Worcestershire sauce: This will be your friend on this steak. It brings the marinade together.
  • Lime: You can use lime juice from a fresh lime or any juice that you may already have on hand (about 2 Tablespoons).
  • Minced garlic: If you aren’t using fresh garlic cloves, you can use the minced garlic you already have (½ tsp usually equals 1 clove of garlic).
  • Cilantro: This garnish is optional!
  • Chili powder: This will give you a little bit of spice without too much heat.
  • Cumin: Cumin adds in an interesting flavor, don’t forget this spice!
  • salt and pepper: Add this in to your preferred taste.
  • Flour or corn tortillas: Make sure that you are using the smaller tortillas (not burrito size).

How to Make Street Tacos

This is the part that is so incredible because it’s EASY! Again, I can’t stress enough that the marinating of the meat is the most necessary part of this dish. It will make it amazing and you won’t regret preparing that ahead of time!

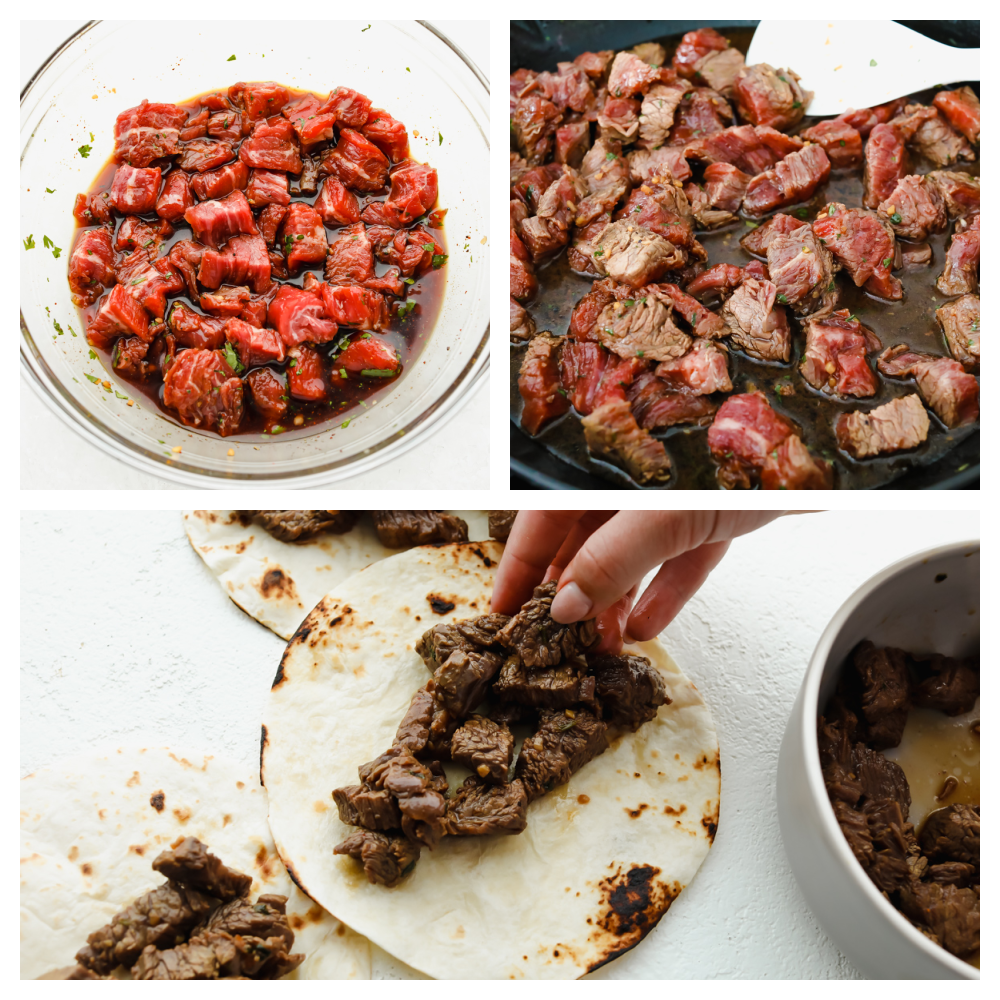
  1. Cut and mix: Cut the flank steak into one inch pieces. In a medium sized bowl add the soy sauce, Worcestershire, juice from one lime, cilantro, chili powder, cumin, and salt and pepper.
  2. Marinate: Add the steak and let marinate in the fridge for 1-2 hours.
  3. Cook the meat: Heat a medium sized skillet to medium high heat. Add the steak and marinade and cook for about 5-7 minutes or until no longer pink.
  4. Add toppings: Put the steak in the center of your tortilla with desired toppings.
3 pictures showing steak marinating.

Yummy Varitations of Street Tacos

The best part about these tacos is that you can make them completely your own through toppings or even changing up the dish! Here are a few yummy ideas for you!

  • Don’t want to use it in a tortilla? No problem! Put this marintaed meat on top of the salad greens of your choice, add in your favorite toppings and you have a delicious steak taco salad!
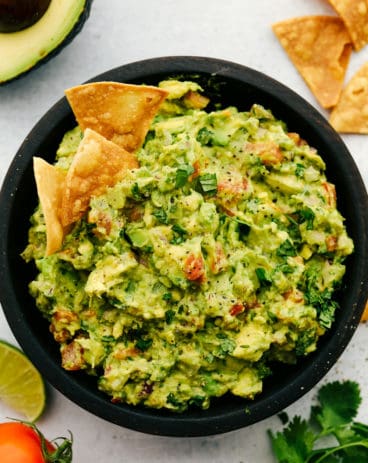
  • Did someone say guacamole?? Try making this homemade guacamole and adding it as a topping to your tacos!
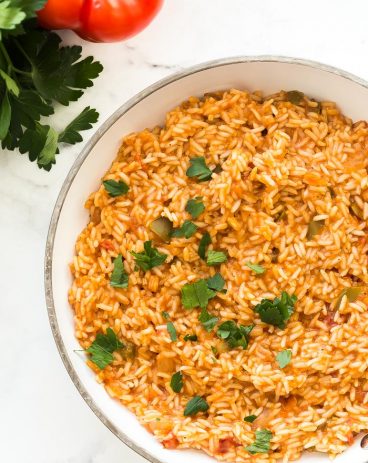
  • Make a rice bowl: Use this delicious meat on top of some mexican rice and it will fill you right up!
  • Use larger tortillas: If you are stuffing your tacos too full, your tortilla might break! You can use a larger tortilla to fit it all if thats easier for you!
  • Different meat: If you cant to change these up, try using some chicken breast instead!
Tortillas being topped with steak and taco toppings.

Can I Store My Leftovers?

Yes! You can definitely store this and enjoy it later! Here is how you can do that to have the freshest tasting leftovers!

  • Refrigerate: Once cooked, place the steak in an airtight container and it can last in the refrigerator for 2-3 days.
  • Freezer:  Place the steak in a airtight ziplock bag or container and then freeze. You can freeze the meat for up to 3 months. 
  • Reheat: To reheat your tacos, thaw the meat in the fridge. Then you can simply microwave the meat until heated through, place them on a tortilla, add your toppings and enjoy!
A taco folded up being held and ready to eat.
Print

Amazing Street Tacos

Street Tacos are delicious, amazing, and oh so mouthwatering. I cannot stop thinking about these! They are SOO delicious. You will want to gobble these all up at once!

Ingredients

  • 1 pound flank steak or skirt steak
  • 1/2 cup soy sauce
  • 1 Tablespoon Worcestershire sauce
  • juice from one lime
  • 3 cloves garlic minced
  • 2 Tablespoons cilantro chopped
  • 1 teaspoon chili powder
  • 1/2 teaspoon cumin
  • salt and pepper to taste
  • 6-8 small flour or corn tortillas

Optional Toppings:

  • chopped tomatoes
  • chopped red onion
  • avocado diced
  • cilantro chopped
  • cotija cheese

Instructions

  • Cut the flank steak into one inch pieces. In a medium sized bowl add the soy sauce, Worcestershire, juice from one lime, cilantro, chili powder, cumin, and salt and pepper.
  • Add the steak and let marinate in the fridge for 1-2 hours.
  • Heat a medium sized skillet to medium high heat. Add the steak and marinade and cook for about 5-7 minutes or until no longer pink.
  • Put the steak in the center of your tortilla with desired toppings.


from The Recipe Critic https://ift.tt/3xFByrs
https://ift.tt/37BFmzz