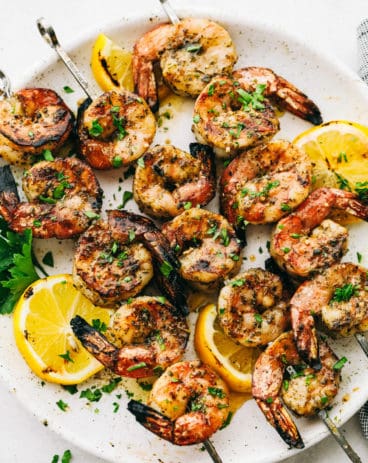
Garlic, butter, and shrimp. It doesn’t get much tastier than those three ingredients! Combine them together and you will have a melt in your mouth, smack your lips kind of food that you will go back to over and over again!
I love the unbelievable taste that this dish delivers. The shrimp are juicy and dripping with flavor. Try this asparagus, broccoli, or rice with this shrimp and you will experience a meal that will be absolutely delightful to your tastebuds!

Garlic Butter Shrimp Recipe
Let’s chat about what makes shrimp SO delicious and how you can make your shrimp at home just as good as any restaurant. Shrimp is not a complicated dish once you know what you are working with. You typically want to start with fresh, RAW shrimp that is peeled and deveined. This will help your dish have more flavor, take less time, and taste as professional as a chef. You CAN use frozen shrimp but you will need to make sure that it is properly thawed and deveined before proceeding with any shrimp recipe!
Did you know that shrimp is also super healthy for you?? It contains a lot of vitamins and minerals that our bodies may be lacking. Shrimp is also a great form of protein! Also… shrimp cooks fast. I mean FAST as in, your dish will take 3-4 minutes and the shrimp is DONE. It’s a fantastic ingredient to add to things such as fried rice or pasta. I especially love this recipe for garlic butter shrimp because it is also great as a stand-alone appetizer at a party! It’s hard not to love it with its finger-licking, buttery taste!
What Ingredients You Will Need
Easy recipes that taste delicious are my FAVORITE. This one is sure to check off both of those boxes and all you will need are some fresh shrimp and a few staple kitchen ingredients! See the recipe card below for exact measurements.
- Large shrimp: The shrimp should be fresh, raw, peeled and deveined!
- Salt and pepper: Use this to add some flavor to the fresh shrimp.
- Butter: Use unsalted butter! The butter will soak into the shrimp creating a deep, delicious flavor.
- Lemon: You can use fresh lemon or lemon juice that you may already have on hand.
- Garlic cloves: Minced garlic and garlic cloves are both necessary to create a depth of flavor.
- Parsley: Garnish with FRESH parsley!
How to Cook Garlic Butter Shrimp
This recipe is literally just a few easy steps and you are done! In fact, it goes so quickly that you’ll want to make sure to keep your eye on it as it cooks because it cooks FAST. Just follow these few easy steps and your shrimp will go from ordinary to extraordinary!
- Season shimp and melt butter: Salt and pepper the shrimp. In a medium sized skillet over medium high heat, melt the butter. Add in the juice from one lemon.
- Add garlic: Add in the minced garlic and garlic cloves.
- Cook the shrimp: Add the shrimp and cook in the garlic butter for 3-4 minutes or until shrimp is opaque.
- Garnish and enjoy! Garnish with chopped parsley.

Tips for Cooking Shrimp
All you need to be able to cook shrimp perfectly is a few tips and tricks. Once you understand and practice these, you will be cooking all sorts of new shrimp dishes in no time!
- Raw Shrimp: Make sure your shrimp is RAW (not precooked!) and look for shrimp that is already peeled and deveined. It will make this cooking process SO much faster!
- Don’t overcook it! The only way you can truly ruin shrimp is to overcook it. To avoid this, as soon as they look like a bit of an opaque pink color and curl up a bit, they are done! This will happen in just 3-4 minutes so watch carefully!
- Tails on or off: It doesn’t matter if you leave the tails on or off. This won’t affect how they taste or cook. Tails on usually makes them a bit easier to pick up and eat but it’s totally up to you!
- Frozen shrimp: You can use fresh or frozen shrimp, just make sure it’s raw and not precooked! Frozen shrimp is typically cheaper and easier to come by when you don’t live near the coast! Just make sure that you thaw it completely in the fridge before starting into your recipe!
- Fast cook time: Because shrimp cooks SO fast, it’s important that you have everything ready to go before you begin! Otherwise, any time spent prepping while the shrimp is cooking will mean overdone shrimp!
Storing Your Cooked Shrimp
So many people wonder if you can prepare any of this recipe ahead of serving time and also wonder how to store any leftovers! You totally can do both! Here are a few tips for that.
- Prepping ahead: Because this dish is so quick to cook, we don’t suggest cooking the shrimp ahead of time. However, if you would like to have the shrimp thawed, deveined, peeled and ready to go in your fridge ahead of cooking time, this will make cooking SO fast and much easier.
- Storing in the Refrigerator: Keep the shrimp in a sealed, airtight container for up to 2-3 days.
- Freezing Leftovers: In a sealed container, your shrimp will last in the freezer for up to 2 months.
- Reheating frozen, cooked shrimp: Pop the frozen, cooked shrimp in the mircowave until desired temperature is reached!

More Shrimp Recipes to Love
Dinner
THEE BEST Grilled Shrimp
Appetizers
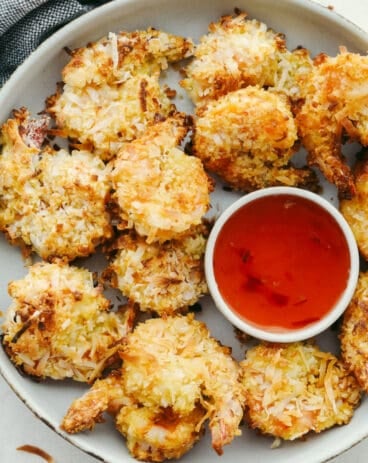
Super Easy Baked Coconut Shrimp
Salads
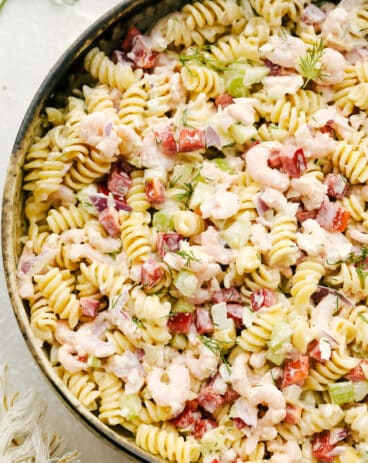
Shrimp Pasta Salad
Dinner
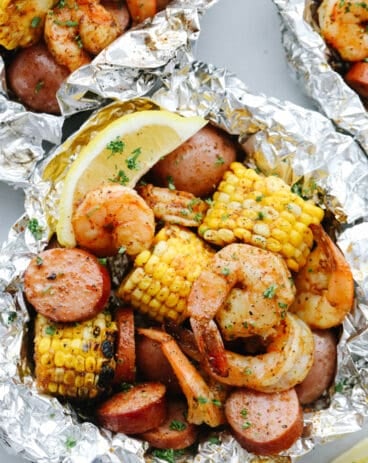
Shrimp Boil Foil Packets
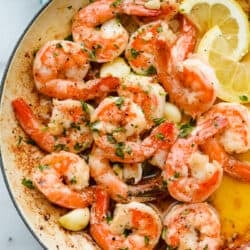
Incredible Garlic Butter Shrimp
Ingredients
- 1 pound large shrimp peeled and deveined
- salt and pepper
- 1/4 cup butter
- juice of one lemon
- 2 garlic cloves minced
- 3 garlic cloves whole
- chopped parsley for garnish
Instructions
-
Salt and pepper the shrimp. In a medium-sized skillet over medium-high heat, melt the butter. Add in the juice from one lemon.
-
Add in the minced garlic and garlic cloves.
-
Add the shrimp and cook in the garlic butter for 3-4 minutes or until shrimp is opaque.
-
Garnish with chopped parsley.
Nutrition
from The Recipe Critic https://ift.tt/2U6FbZO
https://ift.tt/2U6FT9q