These buffalo chicken sliders are perfect for feeding a hungry crowd quickly and easily. Whether it’s a weeknight dinner or a casual get-together, everyone will love the spicy rotisserie chicken sandwiched between soft dinner rolls with ranch dressing, melted cheese, and crunchy coleslaw.
Complete the game-day menu with this dill pickle dip, some honey garlic chicken wings, and pizza pinwheels.

Chicken Buffalo Sliders
Slightly spicy, tender chicken, creamy ranch dressing, crunchy slaw, melty cheese, all wrapped up in a warm bun is a combination that tastes (almost) too good to be true. Their small size makes them ideal to serve as an appetizer with other hand-held bites. But we also love eating a few of these and calling it dinner.
And as buffalo sauce has a mild heat that is tempered with the creamy ranch, even our youngest taste tester loved this recipe. But if you’re looking for a real spicy kick, add the optional habanero hot sauce to kick it up a notch.
Ingredient Buffalo Sliders
And just like that, you have made a recipe that everyone will be raving about! See the full recipe in the recipe card below.
- Dinner rolls: Look for the ones that come in packages of 6 or 12.
- Rotisserie chicken: You can also use leftover cooked chicken, although it may not be as tender and juicy as rotisserie chicken.
- Frank’s Buffalo Sauce: This is our preferred brand as the flavor is just right. It’s tangy and not too spicy.
- Ranch dressing: Go for your favorite brand or try making your own.
- Shredded mozzarella: The kind in bags will work fine for this recipe.
- Coleslaw: You can either make your own or buy a bag. You won’t need the whole bag for this recipe so either prepares a little of it or serve the rest as an aside.
- Butte: Use salted butter for the best flavor.
- Italian seasoning: If you don’t have any on hand, try making your own. It’s easy!
How to Make Buffalo Chicken Sliders Recipe
These sliders are incredibly simple to make. We use a few store-bought ingredients so you can whip these up in minutes.
- Prepare rolls: Slice the package of dinner rolls in half – try your best to keep them all together. But don’t worry if any rolls break off; you can still use them. Now put the bottom half of the rolls into a baking dish and sprinkle half of the cheese over top.
- Chicken mix: Mix the rotisserie chicken with the buffalo sauce and ranch dressing then spread this onto the cheese-covered buns.
- Topping: Now top the buns with some coleslaw and more cheese, then put the other half of the buns on top.
- Bake: Baste the tops of the buns with seasoned butter then baked them until the cheese is melty and delicious.

Variations of Sliders
- Sauce: Take these sliders to the next level by making homemade Hawaiian sweet rolls. You can even try making your own buffalo sauce and ranch dressing!
- Dip: Buffalo flavor and blue cheese go amazingly well together. Try using blue cheese dressing instead of ranch.
- Cheese: Swap the mozzarella for cheddar, jack, or any other melty cheese.
- Individual Sliders: Make individual sliders by assembling them individually. They will look a little fancier this way.

Can this Recipe be Made Ahead of Time?
While the buns will go soggy if these sliders are prepped ahead of time, you can get all the ingredients ready to go. Once you have the ingredients prepped, assembling these buffalo chicken sliders is a breeze!
- Slice the buns in half.
- Mix the chicken with the buffalo sauce and ranch.
- Shred the cheese.
- Make the coleslaw.
- Melt the butter with Italian seasoning.
What to Serve with Sliders
If you’re having these for dinner, serve them with the rest of the bagged coleslaw that you’ll have leftover after making this recipe. It’ll make dinner a breeze! But if you’re serving these as part of a game-day feast, try these other fun appetizer recipes.
Appetizers
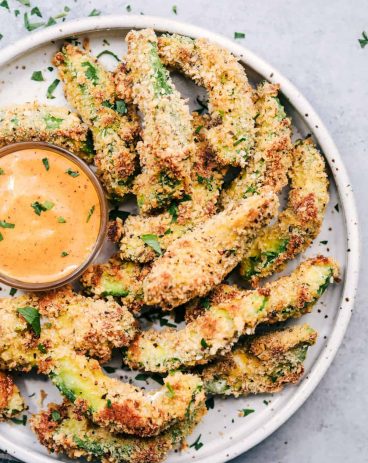
Crispy Garlic Avocado Fries (Baked)
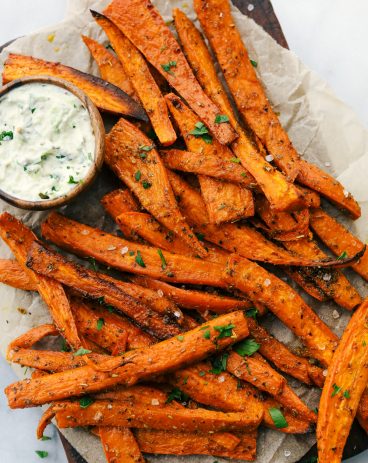
Side Dishes
Crispy Garlic Sweet Potato Fries Recipe
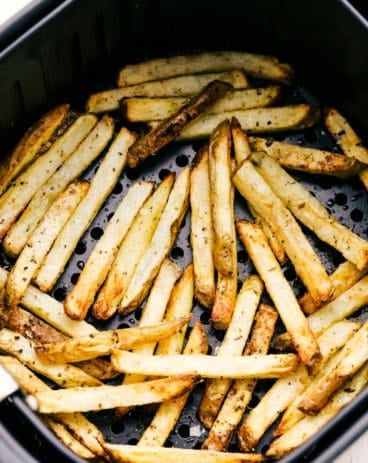
Side Dishes
Amazing Air Fryer French Fries

Popular Slider Recipes
Dinner
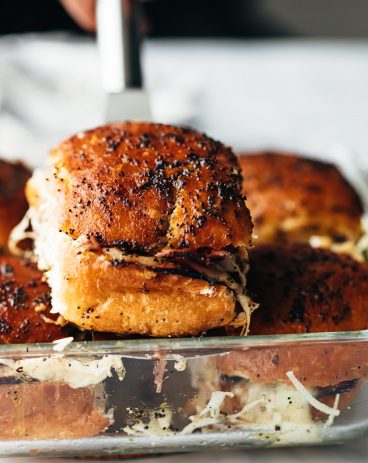
Hot Pastrami Sliders
Dinner
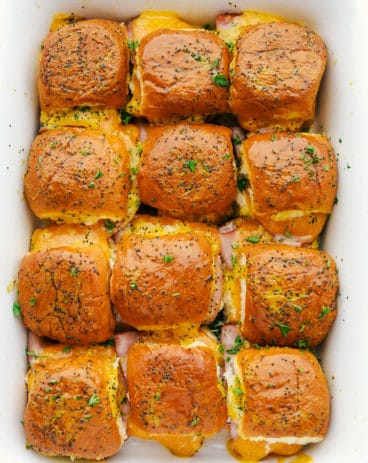
Ham and Cheddar Sliders
Dinner
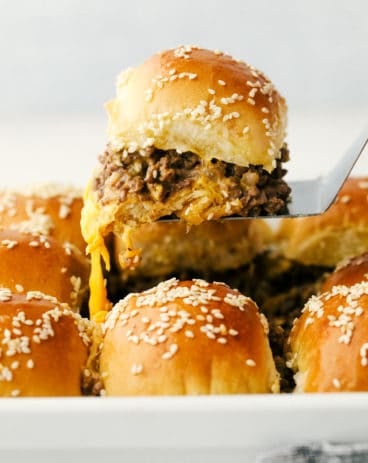
Cheeseburger Sliders
Appetizers
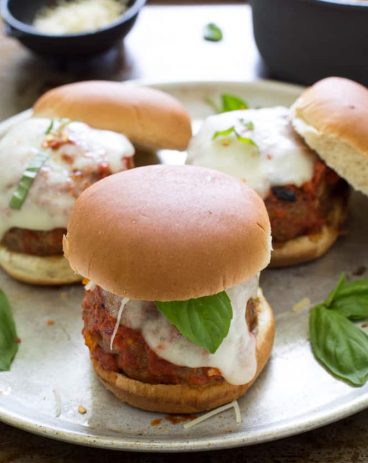
Italian Meatball Sliders

Buffalo Chicken Sliders
Ingredients
- 1 12 pack dinner rolls
- 2 cups shredded mozzarella
- 3 cups rotisserie chicken shredded
- ½ cup Frank's Buffalo Sauce
- ½ cup ranch dressing
- 1 tablespoon habanero hot sauce (optional, if you want it really spicy)
- 2 cups premixed bagged coleslaw
- 2 tablespoons butter
- 1 teaspoon Italian seasoning
Instructions
-
Cut the dinner rolls in half so you have a top and bottom piece. Place the bottom half in a large baking dish (a lasagna pan works well) and sprinkle half of the shredded mozzarella over the top.
-
In a large bowl, mix the shredded chicken, buffalo sauce, ranch dressing, and if using, the habanero hot sauce. Spread this evenly over the buns in the baking dish.
-
Mix the bagged coleslaw them spread it on top of the buffalo chicken. Top with the remaining mozzarella then put the tops of the buns on top.
-
Melt the butter, mix in the Italian seasoning, then brush the butter over the buns.
-
Cover the baking dish with foil then bake for 15 minutes. Remove the foil and bake for another 5 minutes, or until the sliders are hot, the cheese is melted, and the tops of the buns are golden. Cut into individual sliders and serve immediately.
Nutrition
from The Recipe Critic https://ift.tt/37U1fub
https://ift.tt/3z10zPz