Homemade Gnocchi is light, fluffy, and tender potato pasta that you are going to love! Super easy with only 5 ingredients, you will never buy store-bought gnocchi again!
Make an all-Italian Dinner with this gnocchi and pair it with some fan favorites. Pair homemade gnocchi with a nice Italian Salad, some exquisite Alfredo, and Cheesy Bread Sticks.

Gnocchi Recipe
When I first thought of making gnocchi, I thought it was way too complicated and difficult. I couldn’t be more wrong, Making homemade gnocchi is really quite easy and similar to making pasta, except you use potatoes. It creates a pillowy soft, light, and fluffy pasta. It is perfect in these recipes, Creamy Chicken Gnocchi Soup, Fried Gnocchi in Browned Butter, and Spinach and Sausage Gnocchi. All of these are absolutely divine. It is the perfect dinner choice for a party or a nice weekend meal.
Pair this gnocchi recipe with simple ingredients to allow the gnocchi flavor to really shine through. Simple sauces like marinara, or pesto work perfectly. The gnocchi will also stand up to a rich hearty ragu as well. The wonderful thing about gnocchi is that it is so versatile and will taste amazing just tossed with some olive oil and parmesan cheese. You are going to absolutely love this recipe, you just have to try it!
Ingredients for Gnocchi
With just 5 ingredients this is an easy recipe to follow. The biggest thing is the time it will take to roll and shape the gnocchi. The little bit of time it takes is totally worth it, however. You have to try this homemade gnocchi for yourself.
- Potatoes: For good texture you should either russet or yukon gold potatoes.
- All purpose flour: This is a good basic flour that provides structure.
- Salt: Provides the flavor, do not leave out and more or less to taste.
- Butter melted: Melting the butter will make sure it mixes thoroughly and completely.
- Egg: Beat the egg before adding to th dough.
How to Make Gnocchi from Scratch
Do not fret too much about the shape and making the grooves. This is a forgiving recipe. Even if the shape of homemade gnocchi isn’t quite right, the flavor is out of this world!
- Potatoes:Bring a large pot of water to a boil. Add the potatoes whole with the skins on. Boil until the potatoes are tender, then remove and let cool. Remove the skins and press through a potato ricer.
- Make Dough: On a flat surface mix the flour and salt and form a well in the middle. Add the riced potatoes, melted butter and beaten egg to the center of the well. Use your hands to bring the ingredients together and knead to form a soft dough.
- Rest: Cover the dough with plastic wrap and allow to rest for 20 minutes.
- Shape: Roll out ropes of dough to ¾ inch width and cut into ½ inch pieces. Use a fork, or a a gnocchi roller if you have one, to gently press and roll the pieces to create grooves on the pieces.
- Flour: Toss the pieces with a little flour to prevent them from sticking.
- Boil: Cook in boiling salted water for about 3 minutes, or until they begin to float. Drain and toss with the pasta sauce of your choice.

Tips for the Best Gnocchi
Gnocchi is a simple pasta and uses ingredients you most likely already have on hand!
- Picking Your Potatoes: Stick with a good baking potato for your gnocchi. You want a starchy potato which is naturally drier, moisture is the enemy of a good gnocchi. Russet or yukon gold are a great choice!
- Boil: Leave the skins on the potatoes when you boil them. This will keep the potatoes from absorbing any extra water.
- Potato ricer is a must: In order to get your potatoes silky smooth it’s best to invest in a potato ricer. If it comes with multiple sized plates, go with the smallest to ensure your potatoes are smooth enough.
- Avoid Oxidization: If you choose to make your gnocchi ahead of time, it has to be frozen or cooked in order to avoid oxidization. Because of the high content of potatoes the dough could begin to turn gray if made too far in advance.
- Cook Until They Float: As soon as your gnocchi is floating, it’s done! Don’t let it boil in the pot for longer than necessary, otherwise you will end up with overcooked gnocchi.
- Crisp in Butter: If you like a crispy gnocchi, try tossing the cooked gnocchi in a skillet with some butter and let it cook over medium high heat until browned before tossing with your chosen sauce.
- Imperfect is PERFECT: Homemade gnocchi rarely turns out perfect in shape and appearance. Don’t let it defeat you if your gnocchis aren’t all uniform or looking picture perfect. Sometimes the best thing about homemade meals is admiring the imperfections.
- Gnocchi Texture: You do not have to add the fork marks if you do not want to. Just cut them into bite sized pieces.

Storing Homemade Potato Gnocchi
Homemade gnocchi has a relatively short shelf life, but it can be frozen uncooked and tossed right into boiling water if you want to make a large batch for multiple meals.
- Immediate Use: After gnocchis have been rolled they are ready to be cooked right away. Toss with sauce and enjoy immediately.
- Reheating: Cooked gnocchi can be stored in the fridge in an airtight container for up to 2 days and can be reheated gently in the microwave, using 30-second intervals.
- Freezing Uncooked Gnocchi: After sprinkling gnocchis with flour, arrange on a parchment-lined baking sheet being sure they don’t touch each other. Wrap the pan well with multiple layers of plastic wrap before placing it in the freezer. Once they are completely frozen (about 24 hours) you can put them in a ziplock bag or an airtight container and return them to the freezer. They will keep for up to 3 months. To cook, add the frozen gnocchi directly to boiling water until they float.

More Italian Recipes to Try
Dinner
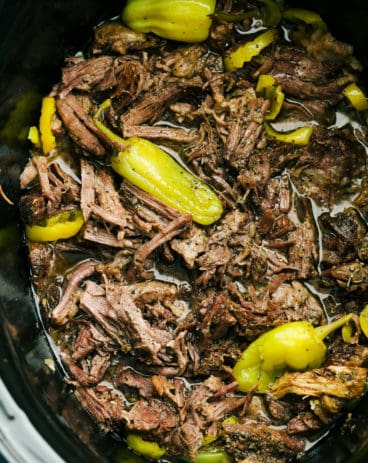
Slow Cooker Italian Beef

Salads
Antipasto Salad Recipe
Dinner
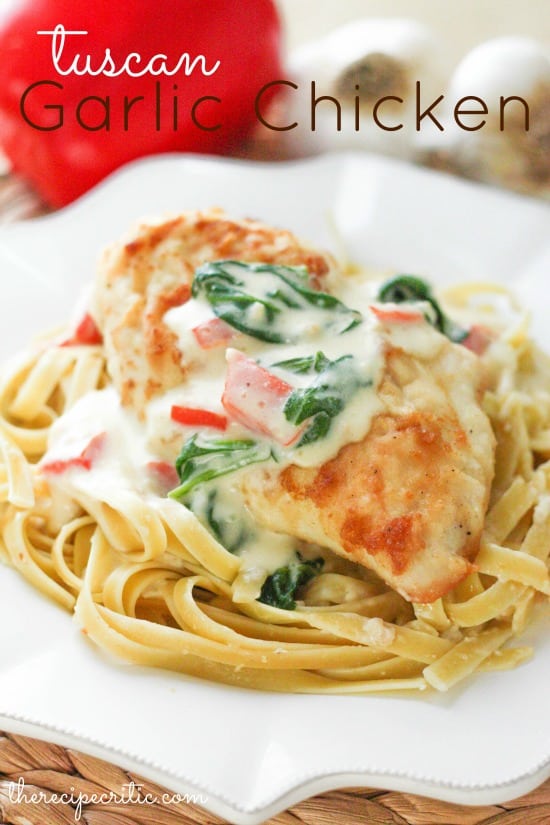
Tuscan Garlic Chicken
Dinner
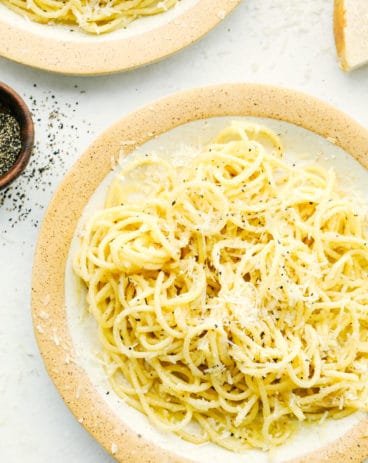
Cacio e Pepe

Homemade Gnocchi
Ingredients
- 2 pounds potatoes russet or yukon gold
- 2 cups all purpose flour
- 2 teaspoons salt
- 2 Tablespoons butter melted
- 1 large egg beaten
Instructions
-
Bring a large pot of water to a boil. Add the potatoes whole with the skins on. Boil until the potatoes are tender, then remove and let cool. Remove the skins and press through a potato ricer.
-
On a flat surface mix the flour and salt and form a well in the middle. Add the riced potatoes, melted butter and beaten egg to the center of the well. Use your hands to bring the ingredients together and knead to form a soft dough.
-
Cover the dough with plastic wrap and allow to rest for 20 minutes.
-
Roll out ropes of dough to ¾ inch width and cut into ½ inch pieces. Use a fork, or a a gnocchi roller if you have one, to gently press and roll the pieces to create grooves on the pieces.
-
Toss the pieces with a little flour to prevent them from sticking.
-
Cook in boiling salted water for about 3 minutes, or until they begin to float. Drain and toss with the pasta sauce of your choice.
Nutrition
from The Recipe Critic https://ift.tt/3kclLMb
https://ift.tt/3mkMhWv