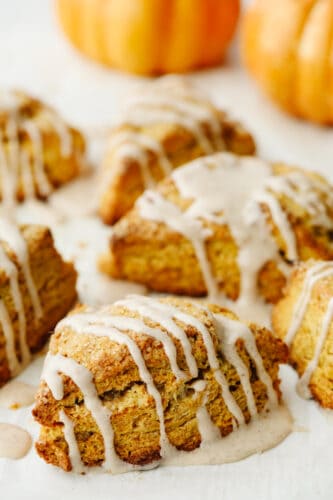
Pumpkin scones are absolutely mouthwatering and delicious! Filled with pumpkin flavor and drizzled with cinnamon icing, this is a breakfast option that you won’t be able to pass up!
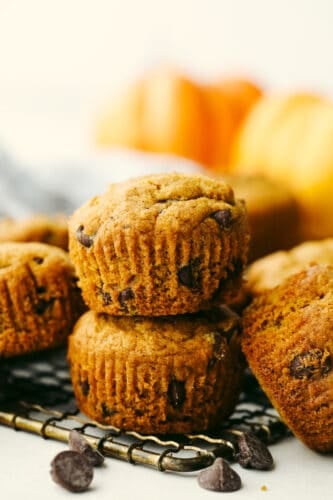
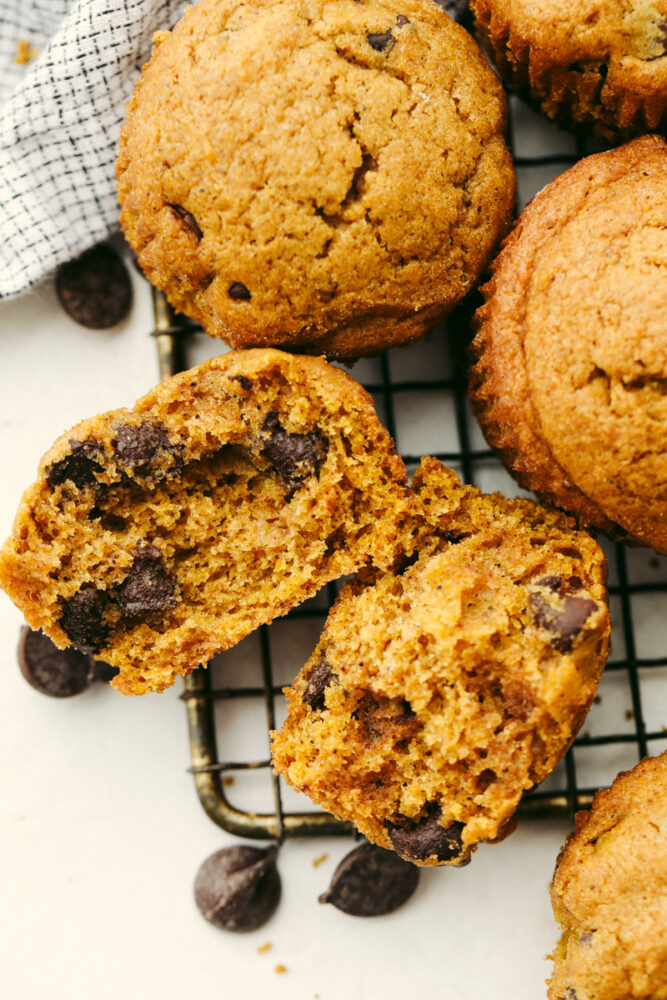
These scones are SO GOOD and are a great option to kick off all of your fall recipes! In fact, host a fall brunch and try these delicious Pancakes, these yummy Cream Cheese Muffins, and these Pumpkin Muffins. They are the perfect combo and you will love them all!

Pumpkin Scones are the Perfect Fall Breakfast
I don’t know that you can find a better breakfast option out there for fall than pumpkin scones. The texture is soft and flaky and it just crumbles in your mouth! And once you get a taste of that icing… well, it’s game over! You will be hooked. In fact, these are so good that you may even want to double the recipe. They will fly off your counter so fast that you will be glad you had some extra! These are rich and delightful and I bet you won’t be able to stop at just one!
The pumpkin flavor in these scones is just right. It’s not too overpowering but it’s just enough to make you taste the flavor and enjoy it. It mixes well with the creamy, cinnamon icing on top and it makes a lovely combination. You can eat these when they are warm or they also taste delightful at room temperature. I have a long list of all of the pumpkin recipes that I love and I’m not sure if I love these pumpkin scones, this Pumpkin Bread Pudding, or these Pumpkin Cream Cheese Truffles the best! You should try them all and decide for yourself. It’s a tough call!
What’s IN Pumpkin Scones?
Packed with some delicious fall flavors, these pumpkin scones are absolutely divine! These will be so good that once you are done you’ll be tempted to make them again right away! See the recipe card below for a list of exact ingredient measurements.
- Flour: I used all purpose flour for these scones!
- Brown sugar: This is my favorite way to sweeten a recipe! The flavor is deep and delicious!
- Baking powder: Baking powder is used to help the pumpkin scones rise. It help makes them soft and fluffy!
- Salt: Salt will enhance the flavors of the other ingedients.
- Cinnamon: You will use this in the scones and the icing, then they complement each other nicely!
- Nutmeg: There is not better holiday spice than nutmeg! Its so rich and earthy.
- Ground ginger: Make sure that you get the ground ginger and then it will dissolve better.
- Ground cloves: This will mix with the other spices and finish off that perfect fall taste.
- Butter: I used unsalted butter that was chilled!
- Heavy cream: I took this straight out of the fridge to use it. Chilled will work the best!
- Pumpkin puree: Don’t confuse this with pumpkin pie filling when you buy it at the store! They are different!
- Egg: I used a large egg for this recipe.
- Vanilla extract: This adds a simple flavor to the sweetness.
- Sugar crystals: These will be used as a topping! If you don’t have any sugar crystals, you can use coarse sugar instead!
Icing
- Powdered sugar: This is used instead of granulated sugar because it dissolves faster and creates that smooth texture!
- Heavy cream: The heavy cream combines all of the ingredients and makes it creamy and thick.
- Vanilla extract: This adds a simple flavor to the sweetness.
- Cinnamon: The cinnamon complements the cinnamon in the scones!
Let’s Bake Some Scones!
Once you mix everything together, these pumpkin scones come together so quickly! Soon, you will be enjoying the most delicious breakfast food that is perfect for fall!
- Prep: Preheat the oven to 400° and line a baking sheet with parchment paper then set it aside.
- Whisk dry ingredients: In a large bowl whisk the flour, sugar, baking powder, salt, cinnamon, nutmeg, ground ginger, and ground cloves together.
- Grate and mix butter and flour: Use a box grater to grate the cold butter into the dry ingredients. Use your hands to lightly mix the butter into the flour.
- Combine together: In a medium bowl, combine the cream, pumpkin puree, egg and vanilla extract. Pour over the butter and dry ingredients and mix until just combined. Try to work the dough as little as possible. Turn it out onto a lightly floured surface and work into a ball then flatten into an 8-9 inch disc. If desired, sprinkle with sugar crystals or course sugar. Use a sharp knife to cut into 8 equal pieces.
- Bake, cool and add icing: Arrange the pieces on the prepared baking sheet, leaving about 2 inches between each one. Bake for 20-22 minutes, or until nice and golden brown. Allow to cool for at least 5-10 minutes before drizzling the icing over the top.
Easy Icing
- Whisk ingredients: In a small bowl whisk together the powdered sugar, heavy cream, vanilla and cinnamon. If it seems too thick, add 1 more tablespoon of heavy cream.

Baking Tips
Pumpkin scones are so easy to make! They don’t take long and they look gorgeous when they are drizzled with icing. I’ve come up with a few helpful tips that will make them turn out just right!
- Cold butter: I know this is different than normal but you are going to grate your butter! Use a box grater to shred frozen butter. This helps your butter incorporate into the flour more evenly and results in a tender, crumbly scone.
- Don’t overmix: Scone dough should be handled as little as possible. You want to mix until just barely combined and formed into a circle. This will keep the butter from melting and make sure your scones turn out nice and soft.
- Remove moisture from pumpkin: If the canned pumpkin you have seems to be a little watery you can use cheesecloth to squeeze out some of that excess moisture from it. Without the extra water your scone texture won’t be so dense and cake like.
- Maple Icing: Try substituting the vanilla extract in the glaze for maple extract to give your scones a nice maple kick!

How to Store Leftovers
These pumpkin scones are so delicious and will fly off of your table! But, if you are lucky enough to have a few of these leftovers, then here is how you can store them for later!
- At room temperature: Store your scones in an airtight container on your counter for up to 3 days.
- Refrigerator: You can store your pumpkin scones in the fridge in an airtight container for up to 6 days. Allow them to come to room temp before serving.

More Scone Recipes to Try
Baked
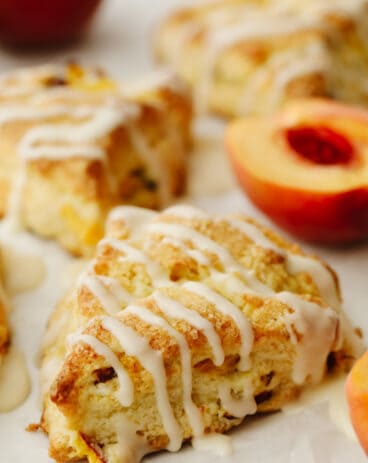
Peach Scones
Breakfast
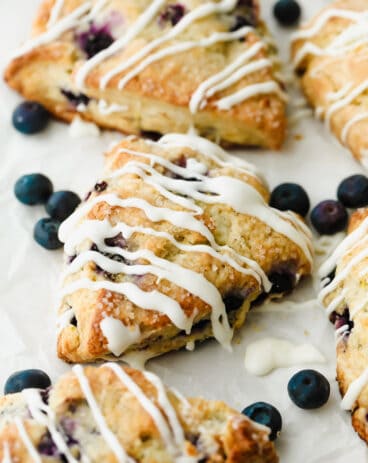
Blueberry Scones

Breakfast
Cranberry Orange Scones
Breakfast
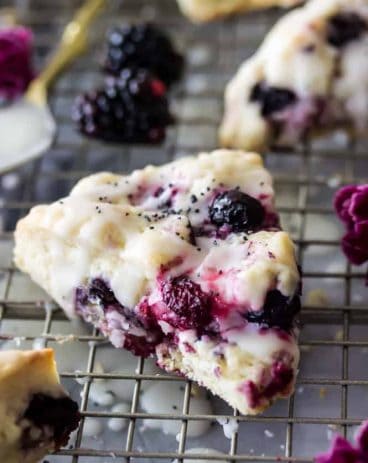
Summer Berry Scones
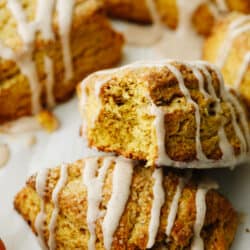
The Perfect Pumpkin Scones
Ingredients
- 2 cups all purpose flour
- ½ cup brown sugar
- 2 teaspoons baking powder
- ½ teaspoon salt
- 1 teaspoon cinnamon
- ¼ teaspoon nutmeg
- ¼ teaspoon ground ginger
- 1 pinch ground cloves
- ½ cup unsalted butter chilled
- ¼ Cup heavy cream chilled
- ½ Cup Pumpkin Puree
- 1 large egg large
- 1 teaspoon vanilla extract
- Sugar crystals for topping Or coarse sugar
Icing
- 1 cup powdered sugar
- 2 Tablespoons heavy cream
- ½ teaspoon vanilla extract
- ¼ teaspoon cinnamon
Instructions
-
Preheat the oven to 400° and line a baking sheet with parchment paper. Set aside.
-
In a large bowl whisk the flour, sugar, baking powder, salt, cinnamon, nutmeg, ground ginger, and ground cloves together.
-
Use a box grater to grate the cold butter into the dry ingredients. Use your hands to lightly mix the butter into the flour.
-
In a medium bowl, combine the cream, pumpkin puree, egg, and vanilla extract. Pour over the butter and dry ingredients and mix until just combined. Try to work the dough as little as possible, turn it out onto a lightly floured surface, and work into a ball. Flatten into an 8-9 inch disc. If desired, sprinkle with sugar crystals or coarse sugar. Use a sharp knife to cut into 8 equal pieces.
-
Arrange the pieces on the prepared baking sheet, leaving about 2 inches between each one. Bake for 20-22 minutes, or until nice and golden brown. Allow cooling for at least 5-10 minutes before drizzling the icing over the top.
Icing
-
In a small bowl whisk together the powdered sugar, heavy cream, vanilla, and cinnamon. If it seems too thick, add 1 more tablespoon of heavy cream.
Nutrition
from The Recipe Critic https://ift.tt/3BeNGm9
https://ift.tt/3oq1aYE