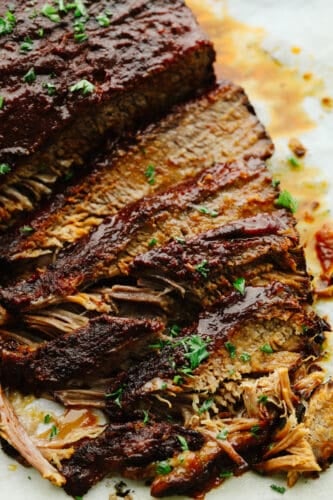
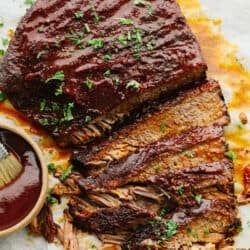
Slow cooker beef brisket is insanely delicious! Perfectly tender and juicy, this cut of beef is infused with the most amazing flavors! Use it for your next family dinner and everyone will go crazy over it!
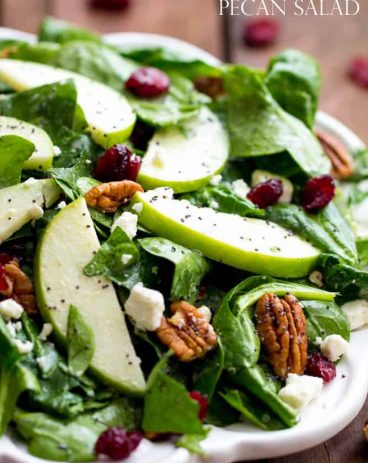
A cut of beef that is covered with a delicious sauce that slices up like butter is not something that you want to miss! Pair it with this amazing Italian Chopped Salad, these soft Potato Rolls, and eat this sweet Classic Chocolate Cake for dessert! Then, you will really have a meal that everyone will remember!

What is a Beef Brisket?
I love meat that is so juicy and tender! This recipe takes the meat to the next level by topping it with a sweet rub and some BBQ sauce. It is insanely delicious! Slow cooker beef brisket is a cut of meat you cook all day long. Something unique about a beef brisket is that it keeps its shape while cooking so that you can slice it. But that doesn’t mean it’s not tender! You will put it on your fork and it will be so juicy that it will fall apart in your mouth? It’s THAT good!
Cooking up this slow cooker beef brisket takes some time but man is it worth it! It will take all day in your slow cooker but luckily, you don’t have to be around for that part of the cooking! You just get it ready and put it in the slow cooker. Then, you come home to the most amazing smell in your house and food ready to put on your table! Cook it up for dinner this week. You won’t regret it!
Ingredients You Need for This Slow Cooker Beef Brisket
You don’t need to have fancy ingredients for this restaurant-quality meat! You will probably already have all of the ingredients in your pantry! See the recipe card below for a list of exact measurements.
- Beef brisket: I always like to use a flat cut for this recipe. To get the best one, just ask your local butcher to pick out a flat cut of beef brisket for you!
- Brown sugar: Using brown sugar is the best way to give this recipe a sweet flavor.
- Paprika: I love using paprika as a spice. It brings a unqie flavor that doesn’t have any heat!
- Garlic powder: You can never go wrong using garlic flavoring on meat!
- Onion powder: Used to season the meat, this onion powder really brings in a delicious subtle flavor.
- Salt and pepper: These seasonings will enhance the other flavors beings used to make this meat so delicious!
- Onion: You are going to quarter the onion to place in the slow cooker with the meat!
- BBQ Sauce: You can use this amazing Homemade BBQ Sauce recipe or you can use your favorite store bought BBQ sauce.
How to Make Slow Cooker Beef Brisket
This slow cooker beef brisket takes some time but it’s completely handed off! You just have to prepare it and let it cook on its own all day. It’s SO easy and totally worth the wait!
- Prepare meat and rub: Prepare the brisket by trimming the fat. In a small bowl combine the brown sugar, paprika, garlic powder, onion powder, salt and pepper. Rub generously on each side of the brisket and place in the bottom of the slow cooker.
- Cook: Place the onion in the slow cooker and then add the BBQ sauce on top. Cook on low for 8-10 hours or high for 5-6.

Tips for Cooking Meat in a Slow Cooker
Whether you use your slow cooker all the time or you are new to it, this recipe is a great place to start! Cooking meat in a slow cooker really makes some amazingly tender and juicy meat! Here are some tips to make it the best!
- Cut of beef: The best cut to get for this is of course a brisket! That’s beaucse it holds its shape even when it’s tender. Then it can be easily sliced! If you cannot get your hands on a beef brisket then the best substitute for it would be a chuck beef roast.
- The fat on the cut: Normally you go about trimming the fat on your meat before it gets cooked! But in this case, if you want to get an extra juicy cut of meat, you can leave that until afterwards. The fat keeps the beef from drying out while its cooking. You can trim away the fat once you are ready to slice it and serve it! That way it will get extra juicy!
- Let it rest!! This is one of the most important steps you cannot skip! Once your meat is done cooking and you take it out and set it on a serving platter, don’t touch it! Leave it alone for about 10 minutes. This is when the meat actually absorbs most of those juices. So cutting into it too soon dries it out. Don’t let all of that slow cooking go to waste! Let that meat rest!

How to Store Leftovers
Slow cooker beef brisket leftovers are so yummy! Follow these instructions and you can enjoy it just as tender and juicy on day 2!
- Refrigerator: Once your brisket has cooled, place it in an airtight container and put it into your fridge. It will last 3-4 days!
- Reheat: To reheat your brisket and keep it juicy, preheat your oven to 325 degrees. Take your leftover brisket out of the fridge and let it sit on a baking sheet on your counter for 20 minutes. Cover it with some beef broth. Cover the brisket with a thick layer of foil and make sure it’s sealed tight with no holes! Bake up your sliced brisket for 20 minutes and enjoy tender and juicy meat round 2!

Make it a Meal
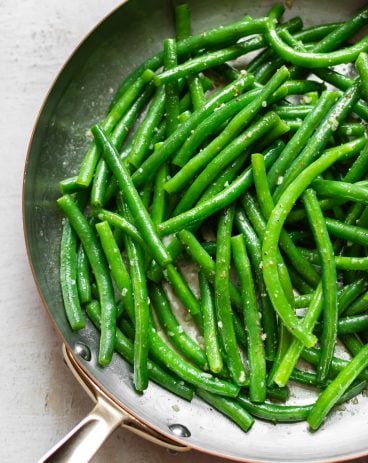
Side Dishes
Garlic Butter String Beans

Side Dishes
30 minute Asiago Cheese Rolls
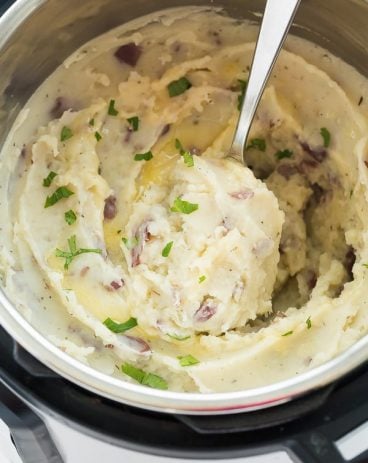
Side Dishes
Instant Pot Mashed Potatoes
Slow Cooker Beef Brisket
Ingredients
- 3-4 pounds beef brisket flat
- 1 Tablespoon brown sugar
- 2 teaspoons paprika
- 1 teaspoon garlic powder
- 1 teaspoon onion powder
- 1 teaspoon salt
- 1/2 teaspoon pepper
- 1 small onion quartered
- 1 cup Homemade BBQ Sauce (or store-bought)
Instructions
-
Prepare the brisket by trimming the fat. In a small bowl combine the brown sugar, paprika, garlic powder, onion powder, salt, and pepper. Rub generously on each side of the brisket and place it in the bottom of the slow cooker.
-
Place the onion in the slow cooker and then add the BBQ sauce on top. Cook on low for 8-10 hours or high for 5-6.
Nutrition
from The Recipe Critic https://ift.tt/3jpNae6
https://ift.tt/3poIsRm