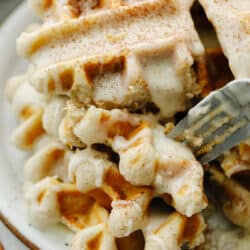
Pepperoni rolls are absolutely delicious and savory! These only take about 20 minutes to make and are the perfect meal for those on the go nights!
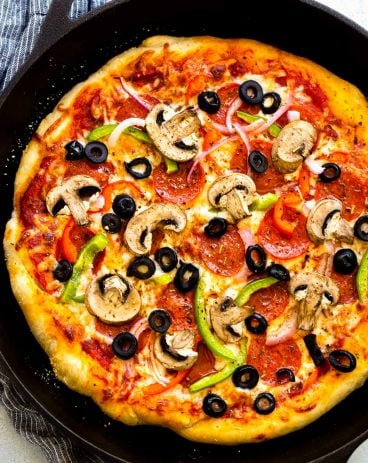
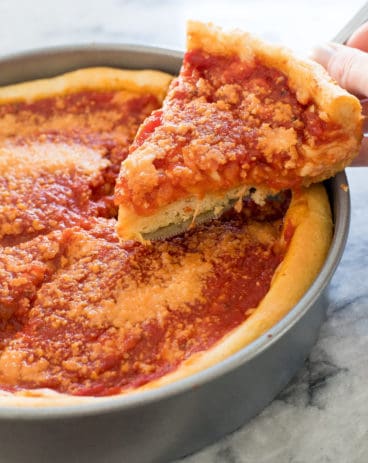
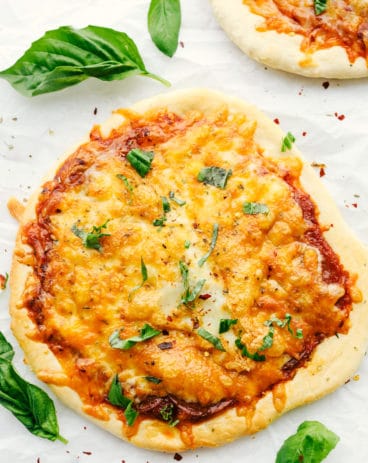
I love anything that has to do with pizza and so do my kids! Once you are done making this delicious recipe then go ahead and try this French Bread Pizza, these Pizza Sliders, and this amazing Eggplant Pizza!

What is a Pepperoni Roll?
If you are looking for a delicious and easy meal that you can make over and over with your kids, this is it! This pepperoni roll is a super simple way to make a pepperoni pizza but it looks fancy and tastes incredible. You just spread out some dough, cover it with all of your favorite sauces, cheeses and toppings and roll it up! It cooks up to perfection and because of how it’s rolled up, then you get the amazing flavor in every single bite. Plus, there is no crust to worry about for those picky eaters!
You can also switch up this pizza roll easily! Change out your sauce to BBQ sauce and add in some cheese and cooked grilled chicken. Or instead of pepperoni, you could add in some ham and pineapple! That’s why this recipe is so fun! You and your kids can easily change things up and make it unique to you and whatever you like to eat the best! Serve it with this yummy salad and lemonade and then your meal is done! Give it a try! It’s so quick and easy you will be making this again and again!
Ingredients in a Pepperoni Roll
The main list of ingredients is so easy and simple! And like I said, you can add or take away whatever you need to make this your own! See the recipe card below for a list of exact ingredient measurements.
- Rhodes white bread: I like to keep things simple and just buy the dough already pre-made!
- Pepperoni: Switch this up for any kinds of meat that you like! Or, go ahead and add even more in addition to the pepperoni.
- Pizza sauce: You can get pizza sauce from the store or you can use some Homemade Pizza Sauce
- Mozerella cheese: This classic cheese is perfect for this recipe! Use as much or as little as you would like!
- Parmesan cheese: You can use shredded parmesan cheese or the kind from the can in your fridge!
- Garlic salt: By garnishing the tip with this,you get the best subtle flavor added to the pepperoni roll!
- Butter: You will need to melt you butter to use to brush on top of the pepperoni roll. This give it that crisp, golden brown color and texture.
How to Make a Pepperoni Roll
This dinner is perfect for those busy nights when you are running all over the place! It only takes 20 minutes and is so delicious!
- Prepare the pizza: Let bread thaw out from the freezer for a few hours. Roll the dough out to about an 11×11 square. Spread your sauce with a large spoon and then add on your mozzarella cheese. Lay the pepperoni in rows covering the top. Roll the dough up.
- Brush on butter, add garnish and bake: Melt the butter and brush it on top of the rolled dough. Sprinkle it with parmesan cheese and some garlic salt. Bake at 375 for 15-25 minutes.

Ideas for Different Toppings
These pepperoni rolls are so easy to change up! You could make them different each time and then still have them often. If you do this then no one will ever get sick of them! Here are a few ideas:
- Meat: You can add in different meats! Try ham, sausage, salami, canadian bacon, grilled chicken or even cooked regular bacon!
- Sauce: Change up the sauce and then make it an entirely different pizza! You can try alfredo sauce or this homemade BBQ sauce.
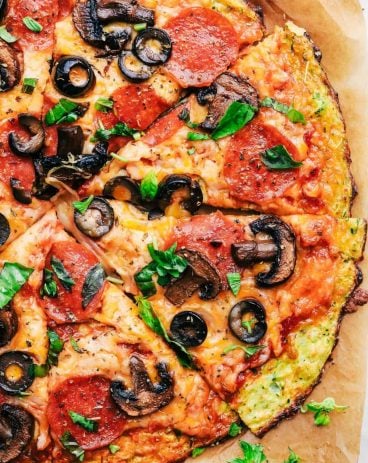
- Toppings: This is where you can really switch things up! Add in olives, peppers, tomatoes, pepperoni… Really, anything that you love on a pizza, throw it on now! It will not only change up the taste but it adds in some healthy toppings as well!

Dip It!
If you want to level up this pepperoni roll then you can make some dips for it! Slice it up and put them on a platter with some Homemade Pizza Sauce, Homemade Ranch Dressing, or some Homemade Marinara. This takes it from an easy meal to a delicious appetizer or even an after-school snack!

How to Store Leftovers
You can double the recipe and eat these for leftovers all week! They are super delicious!
- Refrigerator: Store the pepperoni rolls in an airtight container in your fridge. Then, they will last 3-4 days!
- Freezer: Wrap up your baked pizza roll in plastic wrap or tinfoil and store it in an airtight container (make sure you write the date on it!). It will last up to 3 months!
- Reheating: If you are reheating from frozen then bake them at 350 degrees for 25-30 minutes or until heated through.

More Pizza Recipes to Try

Quick and Easy Pepperoni Rolls
Ingredients
- 1 package Rhodes white bread
- 1 can pizza sauce or use this Homemade Pizza Sauce
- Pepperoni
- Mozzarella cheese
- Parmesan cheese
- Garlic salt
- Butter for top (melted)
Instructions
-
Let bread thaw out from the freezer for a few hours. Roll the dough out to about an 11×11 square. Spread your sauce with a large spoon and then add on your mozzarella cheese. Lay the pepperoni in rows covering the top. Roll the dough up.
-
Melt the butter and brush it on top of the rolled dough. Sprinkle it with parmesan cheese and some garlic salt. Bake on a baking sheet at 375 for 15-25 minutes.
Notes
Nutrition
from The Recipe Critic https://ift.tt/3jXgA3t
https://ift.tt/3BG1q8S