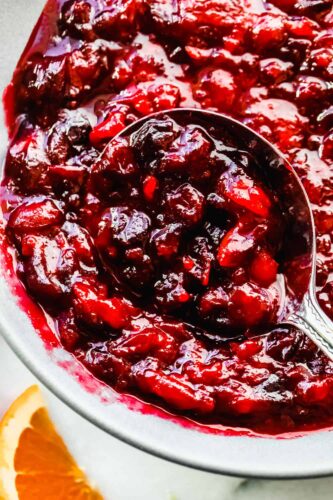
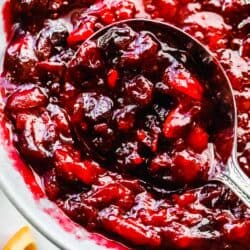
This cranberry sauce is the perfect mixture of sweet and tart! It’s made with fresh cranberries and topped with orange zest to really set it apart!
Making Thanksgiving dinner just got more delicious with this cranberry sauce. If you love cranberries like I do try this Cranberry Pecan Sweet Potato with Rice Pilaf, Cranberry Cheesecake Fluff, or this Cranberry Pecan Cheese Ball to have at your Thanksgiving dinner table.

The Easiest Cranberry Sauce Recipe
Your holiday dinner just got better with this amazing cranberry sauce! It’s one of my favorite side dishes to make during the holidays! It is simple, easy and so fresh tasting! You will not want to buy a can again and will love how quick and easy it is to make. What sets this cranberry sauce apart from others is definitely the subtle orange flavor. It’s the ingredient that you didn’t know it needed until you taste it! And then you’ll never want to have it without!
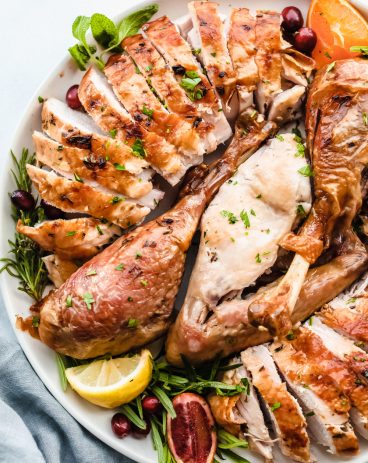
You can never go wrong with picking a fresh side dish over one from a can. It’s so delicious that it will for sure have your family and friends passing it around the table until it is gone! It is one of my all-time favorite side dishes, especially for Thanksgiving! I love to make this cranberry sauce with all my Juicy Butter Herb Turkey or Slow Cooker Turkey Breast. It will make your holiday meal complete!
Ingredients to Make Cranberry Sauce
Enjoy this cranberry sauce next to all your other delicious side dishes this holiday season! See the recipe card below for a list of exact ingredient measurements.
- Bag of fresh cranberries: Fresh cranberries are best but you can use frozen if needed.
- Sugar: The sugar sweetens up the cranberries.
- Orange Juice: This ingredient is added as a sweetener and brings out a more flavorful taste.
- Water: The water added to the sauce aids in popping the cranberries.
- Zest from one orange: The orange brightens and adds a hint of sweet orange flavor!

Let’s Make Some Cranberry Sauce!
This cranberry sauce recipe is so simple to make and doesn’t last long. It is simple to make and adds so much color and zest to all your holiday dishes!
- Mix ingredients together and cook: In a saucepan add the cranberries, sugar, orange juice, water and orange zest. Over medium low heat cook the cranberries until the sugar has dissolved and the cranberries start to soften.
- Cooking until cranberries burst: Increase the heat to medium and continue to stir and cook for another 5-6 minutes until the cranberries burst. Remove from heat and let cool to room temperature. Sauce will thicken as it cools.

How to Zest an Orange
Orange zest is one of my favorite ways to add zest and a hint of orange zing to any dish that I am making! The color is bright and it just pops!
- To zest an orange you will want to use a grater with fine teeth or microplane. (A vegetable peeler will also work well too.) With a grater, simply run the rough, outside surface of the orange against it and you will then see the orange peel fall. Move your orange around to get the brightest orange skin that you can. You will want to make sure you do not grate past the white layer under the orange. It tends to become bitter at that point. If you are using a vegetable peeler, cut off the outside orange layer and peel from your fingers.

Tips for Making Cranberry Sauce
This sauce is super quick and easy to make! I’ve come up with a few tips that will help it turn out perfectly for you this holiday season!
- How to pick out cranberries: When you are trying to pick out cranberries at the store, look for full and unbroken cranberries. They will be bright pink or red in color!
- Fresh cranberries: If you are using fresh cranberries, gently rinse them and remove any stems or debris on them. Add in your cranberries whole.
- Frozen cranberries: If you dont have fresh cranberries available then frozen will work! Don’t worry about defrosting them first.
- Added flavor: For more flavoring you can add in more orange juice and leave out the water. You can also use other juices to replace the water with. The added citrus enhances this sauce immensely.
- Fresh orange juice: Squeezing your own orange juice is a little more work but the taste is amazing and adds a freshness to your cranberry sauce recipe.
- Thicker sauce: The longer the sauce sits, the thicker it will be become.

Variations to Try
You can totally switch up this sauce to change it up! It’s super easy to do and it adds so much to your holiday dinner! So, if you love to add in more flavoring and extras to make it your own here are a few ways to do so.
- Add more fruit: Diced apple or apple sauce, cherries, crushed pineapple or diced pear.
- Juice: Ginger ale, apple juice or cranberry juice are always great to add in instead of the orange juice.
- Nuts: Toss in a few pecans, walnuts or cashews for an added crunch and texture.
- Seasonings or spices: Add a pinch of ginger, cinnamon or nutmeg are fun to add in for warmth.

How to Store Cranberry Sauce
Whether you are storing leftovers or are making this ahead of time for your holiday feast, this cranberry sauce is delicious!
- Refrigerating cranberry sauce: Let your cranberry sauce cool completely. Then, add it to an airtight container where it can be stored in the refrigerator for 4 to 5 days.
- Freezing cranberry sauce: Cook your cranberry sauce through then let it cool completely. Once it is cooled, add it to an airtight container or a ziplock bag to be frozen. Lay flat if it is in a ziplock bag. Freeze for up to 1 month in the freezer. When reheating, your sauce will not be as thick with the added water from being frozen. You can thicken it up by simmering for a few extra minutes. Thaw in the refrigerator over night before warming up.
- Reheating cranberry sauce: When you are ready to warm it up then simply reheat it over medium heat in a skillet. Simmering the sauce will help thicken this sauce back up from being frozen!
Make it a Complete Thanksgiving Meal
Dinner
Oven Baked Herb Turkey
Side Dishes
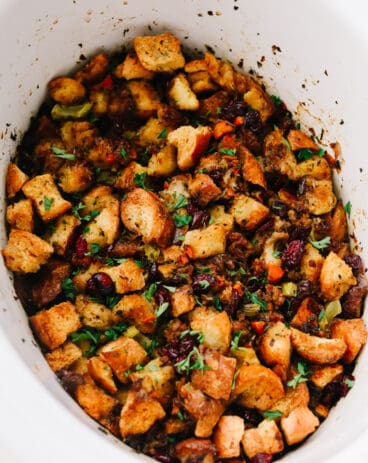
Slow Cooker Sausage Herb Stuffing
Dressings, Sauces, and Dips
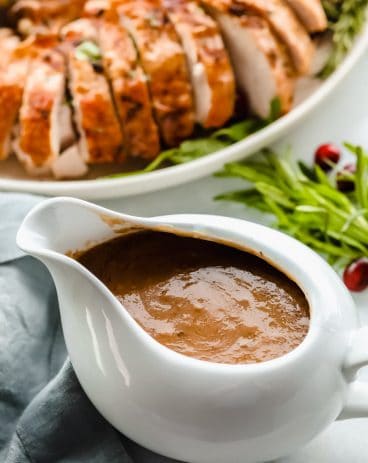
Easy Turkey Gravy
Side Dishes
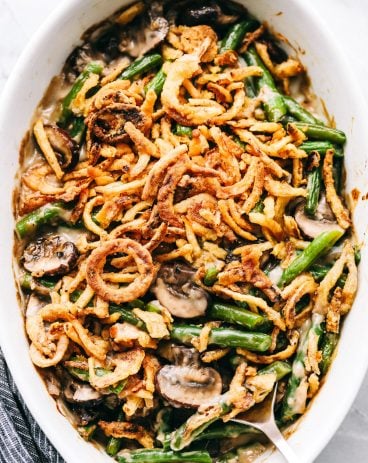
World’s Best Green Bean Casserole
The Easiest Cranberry Sauce
Ingredients
- 12 ounce bag of fresh cranberries
- 1 cup sugar
- 1/4 cup orange juice
- 1/2 cup water
- zest from one orange
Instructions
-
In a saucepan add the cranberries, sugar, orange juice, water, and orange zest. Over medium-low heat cook the cranberries until the sugar has dissolved and the cranberries start to soften.
-
Increase the heat to medium and continue to stir and cook for another 5-6 minutes until the cranberries burst. Remove from heat and let cool to room temperature. The sauce will thicken as it cools.
Notes
Nutrition
from The Recipe Critic https://ift.tt/2WvKFds
https://ift.tt/3GWf7nT