शुक्रवार, 26 नवंबर 2021

Eggnog Pancakes

These eggnog pancakes are a MUST TRY this holiday season! They are soft and sweet and will melt right in your mouth. The hint of eggnog will have everyone coming back for more!

I love pancakes! Especially when they have an interesting twist to them like this fluffy Sourdough, these Lemon Ricotta, or these To Die For Cornbread Pancakes!
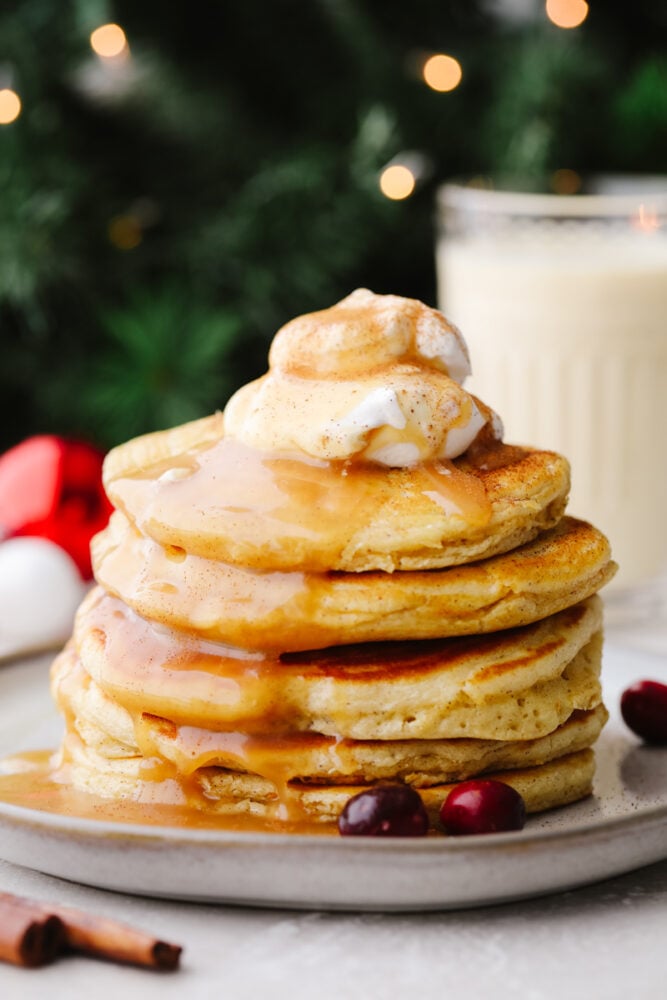
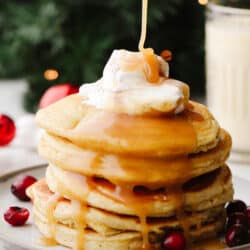
A stack of eggnog pancakes with caramel sauce and whipped cream.

What Are Eggnog Pancakes?

If you are wondering what exactly eggnog pancakes are and what they taste like, then I am here to tell you! I mean pancakes are a staple in every home right? They are quick, easy and just about everyone loves them. So why not try some pancakes like this that have new and delicious flavors in them! (Like these Pumpkin Spice Pancakes or these Delicious Cinnamon Roll Pancakes). These eggnog pancakes are super fluffy and have the perfect texture. Then, instead of using milk to bind them all together, you use eggnog!

By using eggnog in the batter, you are bringing in that classic holiday flavor without it being too overwhelming. If you are the person who likes eggnog but has to add some sprite to it because it’s too rich on its own… Then these pancakes are for you! They are the perfect combination of having a delicious flavor but it’s not so overpowering that you can only take a bite or two. In fact, I bet that you love these so much that you have a hard time stopping after just one! Try topping them with this Homemade Caramel Sauce to really take them to the next level!

Ingredients for Eggnog Pancakes

Grab yourself some eggnog at the store and these pancakes will be super simple and easy! In fact, you probably have everything else to make them already at home! See the recipe card below for a list of exact measurements.

  • Egg: A large egg at room temperature will mix in the best!
  • Oil: I used canola oil for this recipe, but you can use whatever you have on hand.
  • Eggnog: You can use store bought eggnog or you can try making this eggnog recipe! It’s super delicious!
  • Vanilla: The vanilla is used to add a tiny bit of flavor!
  • Flour: All purpose flour is what I used in this recipe.
  • Salt: This will enhance the flavors of all of the other ingredients!
  • Sugar: You don’t need too much to sweeten these pancakes up.
  • Baking powder: This helps your pancakes to rise and become soft and fluffy!
  • Cinnamon: I like to add a little bit of cinnamon in to give it a bit more flavor.

Let’s Make Some Pancakes!

These eggnog pancakes will only take a few minutes to whip up and soon you will be enjoying such a yummy holiday meal! Trust me, you don’t want to miss out on these!

  1. Whisk and combine: In a medium sized bowl whisk together egg, oil, eggnog and vanilla. In a separate bowl combine flour, salt, sugar, baking powder, and cinnamon. Then, add the dry ingredients into the wet ingredients and combine.
  2. Cook and flip: Preheat a skillet over medium heat. Then, spray it with cooking spray and drop about ⅓ cup of the batter onto the warm skillet. Once it forms bubbles then flip to the other side and cook until golden brown.
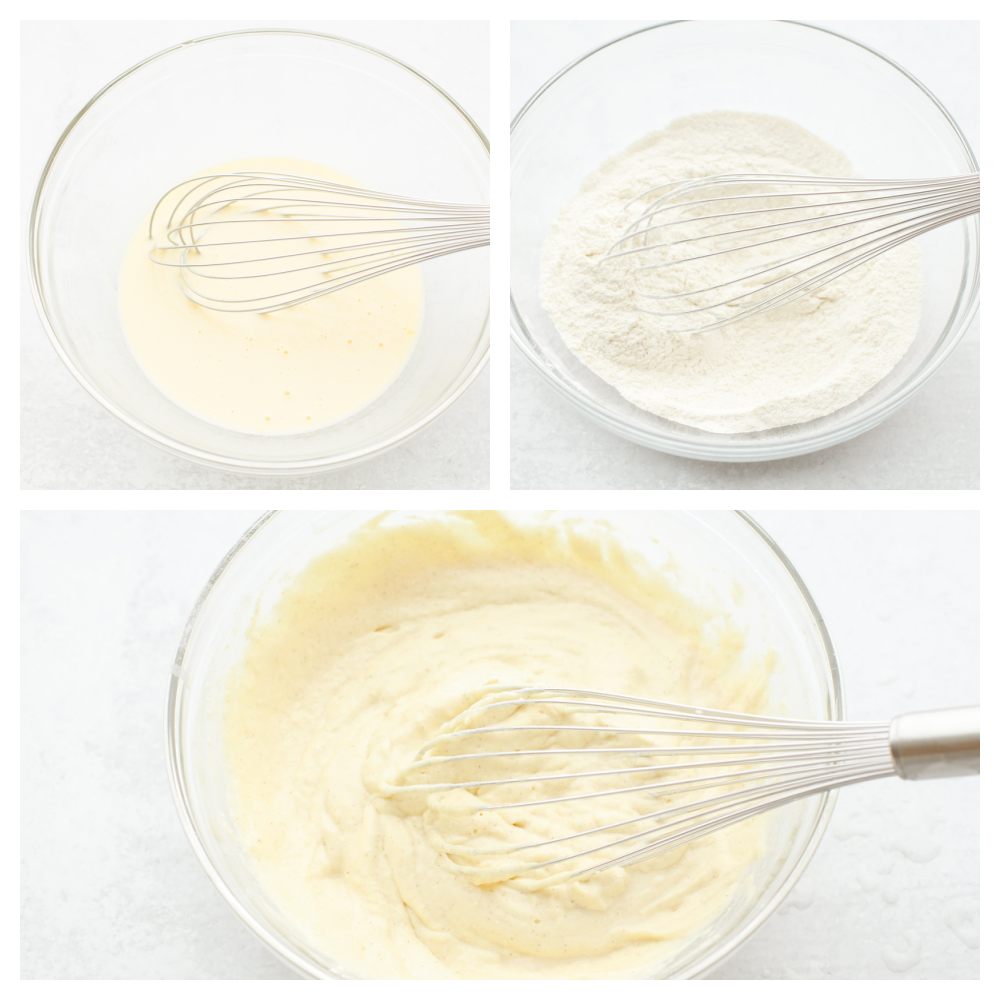
3 pictures showing how to whisk batter.

Pancake Tips

Cooking pancakes is super easy, anyone can do it! Here are a few tips that will make these eggnog pancakes turn out just perfectly!

  • Make sure that your baking powder is fresh! If your baking powder is old then you will end up with flat pancakes. If you want soft and fluffy pancakes then you should definitely check the expiration date just in case!
  • Don’t overmix: When you over mix or set your mixer to mix on high then you add more air to your batter and makes it sticky and rubbery. So just use a whisk to mix everything up!
  • Room temperature ingredients: I know that this can take a bit of thought beforehand but it really helps! Make sure to take all of your refrigerated ingredients out and put them on the counter before you plan on baking. Bringing your ingredients to room temperature really helps them mix nicely together and makes the batter really smooth! 
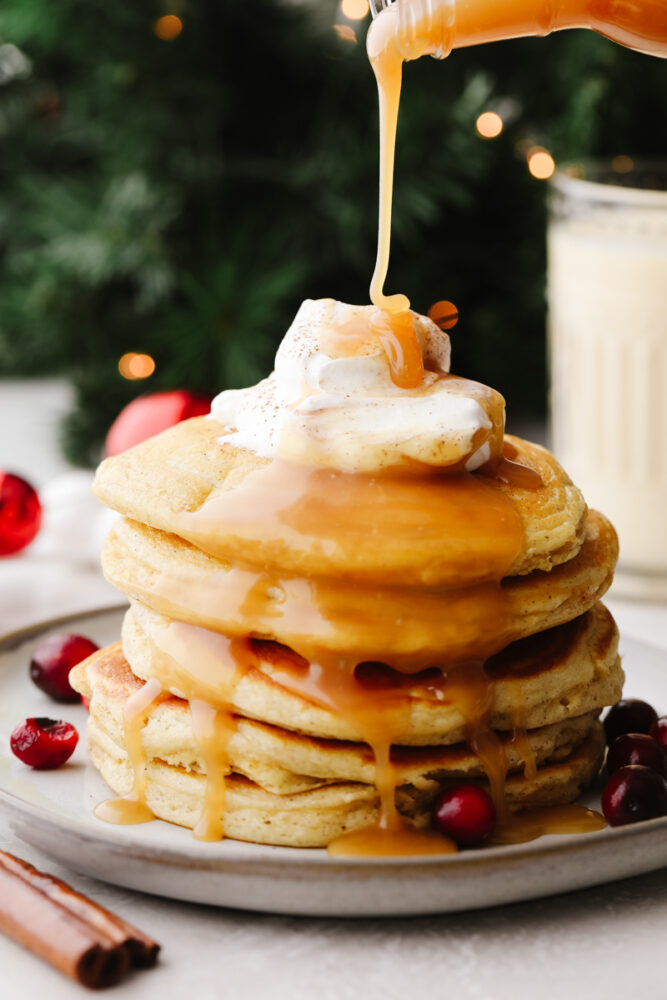
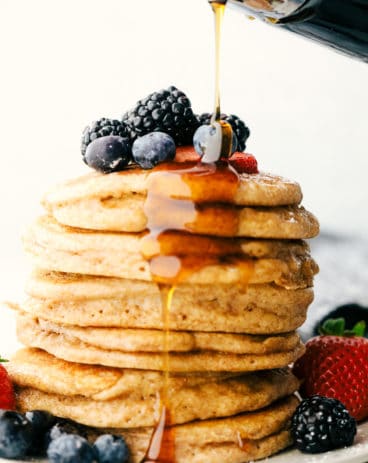
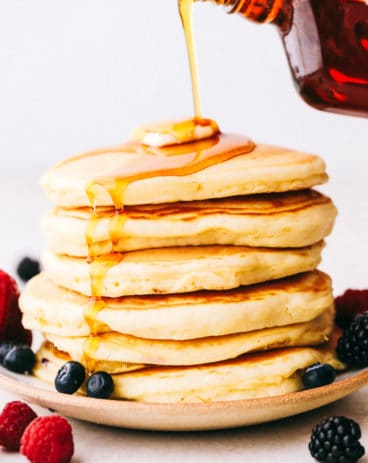
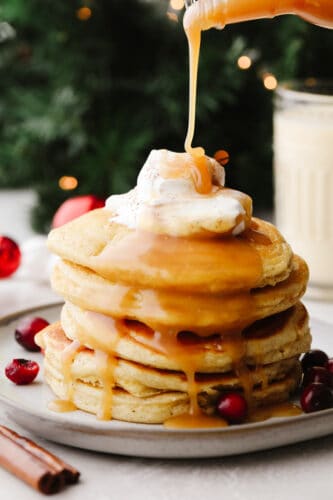
Caramel sauce being drizzled onto a stack of eggnog pancakes.

How to Store Leftovers

If you have a few of these eggnog pancakes leftover there are a couple of ways that you can store them!

  • Refrigerate: Once the pancakes have cooled then put them in an airtight container and place it in your fridge! They will last 3-4 days.
  • Freezer: If you want to make an extra batch to save for later then you can! Once your cooked pancakes have cooled then put them all on a baking sheet so that they aren’t touching. Then, put them in the freezer for about 30 minutes or until they are frozen. Take them out and place them in a ziplock bag (that’s labeled with the date!) and seal it up tight. They will last up to 2 months!
  • Reheat: Place your frozen pancake in the microwave for about 30 seconds or until heated through. Enjoy!
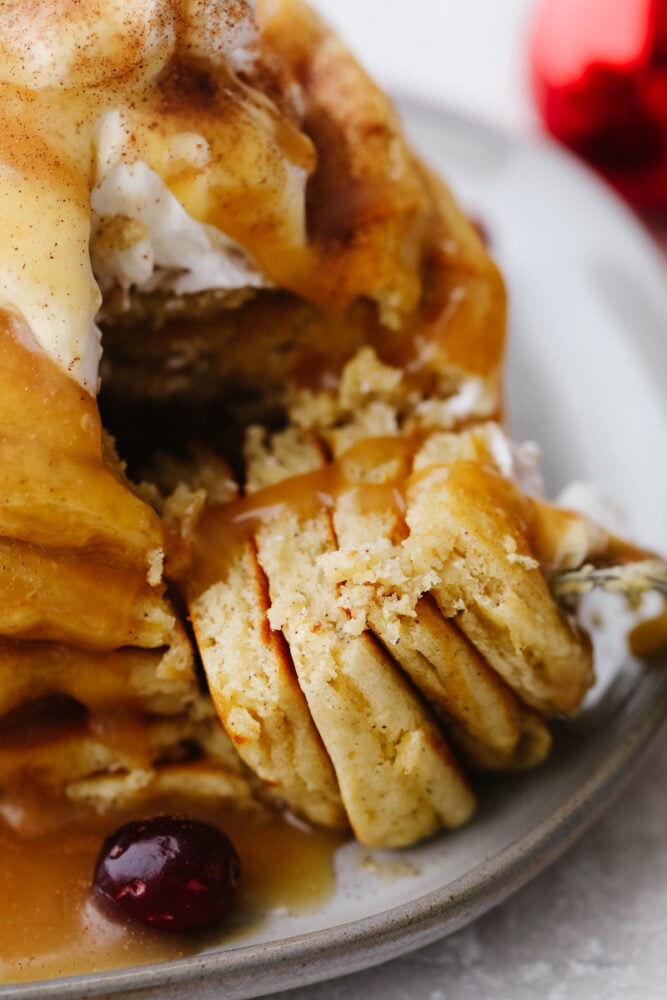
Eggnog pancakes being sliced with a fork.
Print

Eggnog Pancakes

These eggnog pancakes are a MUST TRY this holiday season! They are soft and sweet and will melt right in your mouth. The hint of eggnog will have everyone coming back for more! 
Course Breakfast
Cuisine American
Keyword eggnog pancakes
Prep Time 5 minutes
Cook Time 15 minutes
Total Time 20 minutes
Servings 12 pancakes
Calories 78kcal
Author Alyssa Rivers

Ingredients

  • 1 large egg
  • 2 Tablespoons oil I used canola oil
  • 1 1/4 cup eggnog
  • 1 teaspoon vanilla
  • 1 cup flour
  • 1/4 teaspoon salt
  • 2 Tablespoons sugar
  • 2 Tablespoons baking powder
  • 1/2 teaspoon cinnamon

Instructions

  • In a medium-sized bowl whisk together egg, oil, eggnog, and vanilla. In a separate bowl combine flour, salt, sugar, baking powder, and cinnamon. Add the dry ingredients into the wet ingredients and combine.
  • Preheat a skillet or griddle over medium heat. Spray with cooking spray and drop about ⅓ cup of the batter onto the warm skillet. Once it forms bubbles then flip to the other side and cook until golden brown.

Nutrition

Serving: 1pancake | Calories: 78kcal | Carbohydrates: 13g | Protein: 3g | Fat: 2g | Saturated Fat: 1g | Polyunsaturated Fat: 1g | Monounsaturated Fat: 1g | Trans Fat: 1g | Cholesterol: 31mg | Sodium: 71mg | Potassium: 263mg | Fiber: 1g | Sugar: 4g | Vitamin A: 77IU | Vitamin C: 1mg | Calcium: 126mg | Iron: 1mg


from The Recipe Critic https://ift.tt/3nQmu8L
https://ift.tt/3DUl2aX
गुरुवार, 25 नवंबर 2021

Orange Cranberry Muffins

These sweet and zesty orange cranberry muffins are going to become your new favorite holiday breakfast! It’s the perfect easy treat to start your day out with.

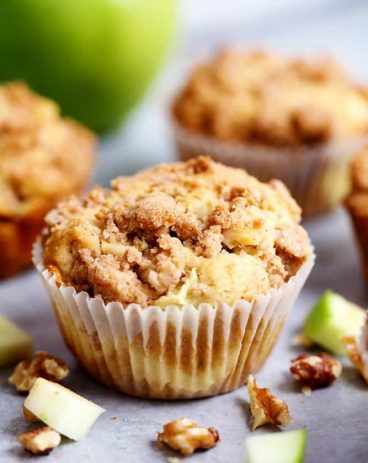
Muffins are one of my favorite things to grab in the morning. They are so soft and sweet! You’ll have to give my lemon poppyseed, pumpkin cream cheese, and apple streusel muffins a try!

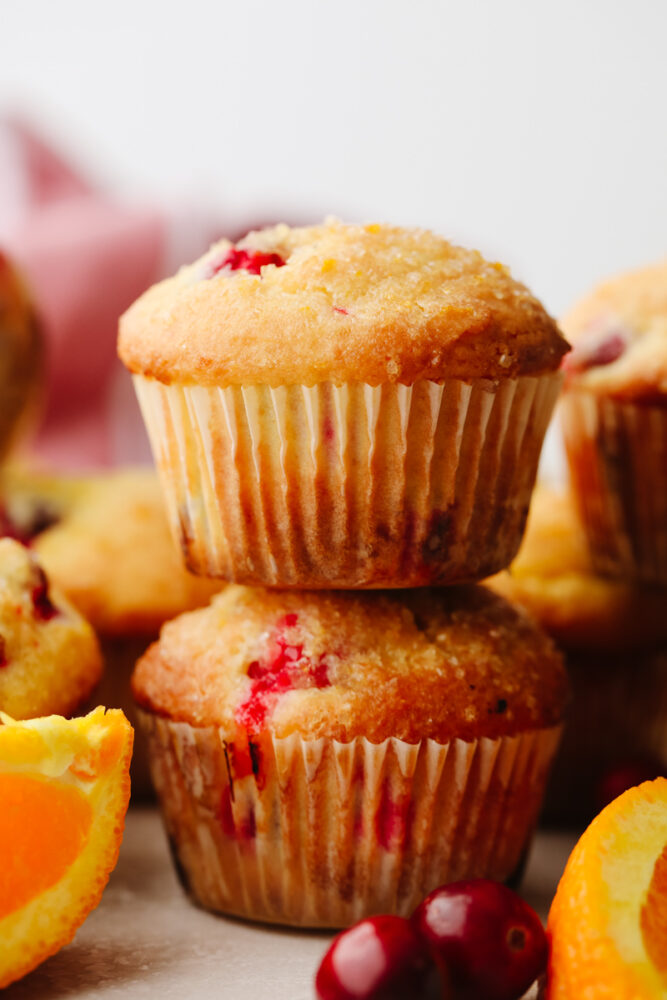
2 cranberry orange muffins stacked on top of each other.

Fluffy and Delicious Orange Cranberry Muffin Recipe

With Thanksgiving in just a few days and Christmas around the corner, it’s time to break out all the delicious holiday recipes! These orange cranberry muffins are some of my favorites and are SO good. Honestly, there’s so much focus on holiday dinners, but why not breakfasts? This easy homemade muffin recipe is the perfect thing to start your day off with! I love the flavors of both cranberry and orange. Together, they create a flavor that is sweet, zesty, and tart!

Each soft and fruity muffin is topped with a citrus sugar glaze which makes them even better! And the best part is, these muffins use simple, staple ingredients! They come together in a pinch and taste so absolutely delicious! Whether you make them for Christmas morning or just breakfast to take on the go, orange cranberry muffins will not disappoint! Need more cranberry goodness in your life? You’ll have to try my cranberry cheesecake fluff and white chocolate cranberry macadamia cookies, too!

Ingredients for Orange Cranberry Muffins

Just a few simple ingredients make muffins that taste better than anything you can buy! Once you’ve got your pantry staples ready, all you need are cranberries and orange zest for that signature fruity flavor! All measurements can be found below in the recipe card.

  • All-Purpose Flour: Give your muffins a light, fluffy structure.
  • Baking Powder: Added to help your muffins rise when baked.
  • Salt: A pinch of salt enhances the overall flavor of the muffins.
  • Unsalted Butter: Adds a tasty richness and fat content to your muffins. This is what makes them soft and moist!
  • Granulated Sugar: Sweetens up your muffins and balances the tart and tangy flavors.
  • Orange Zest: Added in for a little flavor and aroma!
  • Large Eggs: Needed to bind everything together.
  • Vanilla Extract: Vanilla helps to deepen the flavor of your muffins.
  • Sour Cream: Sour cream will make your muffins extra moist! It adds a bit of tang, too, which I think is absolutely delicious.
  • Orange Juice: Orange juice is needed for the batter and citrus glaze added on top.
  • Cranberries: You can use either fresh or frozen cranberries.
  • Course Sugar: I like to add a little course sugar to the tops of the muffins for added sweetness and texture.

Let’s Make Muffins!

Orange cranberry muffins are super easy to make. With just a little bit of prep, you’ll have tasty muffins baking in no time! You’re going to love how they turn out!

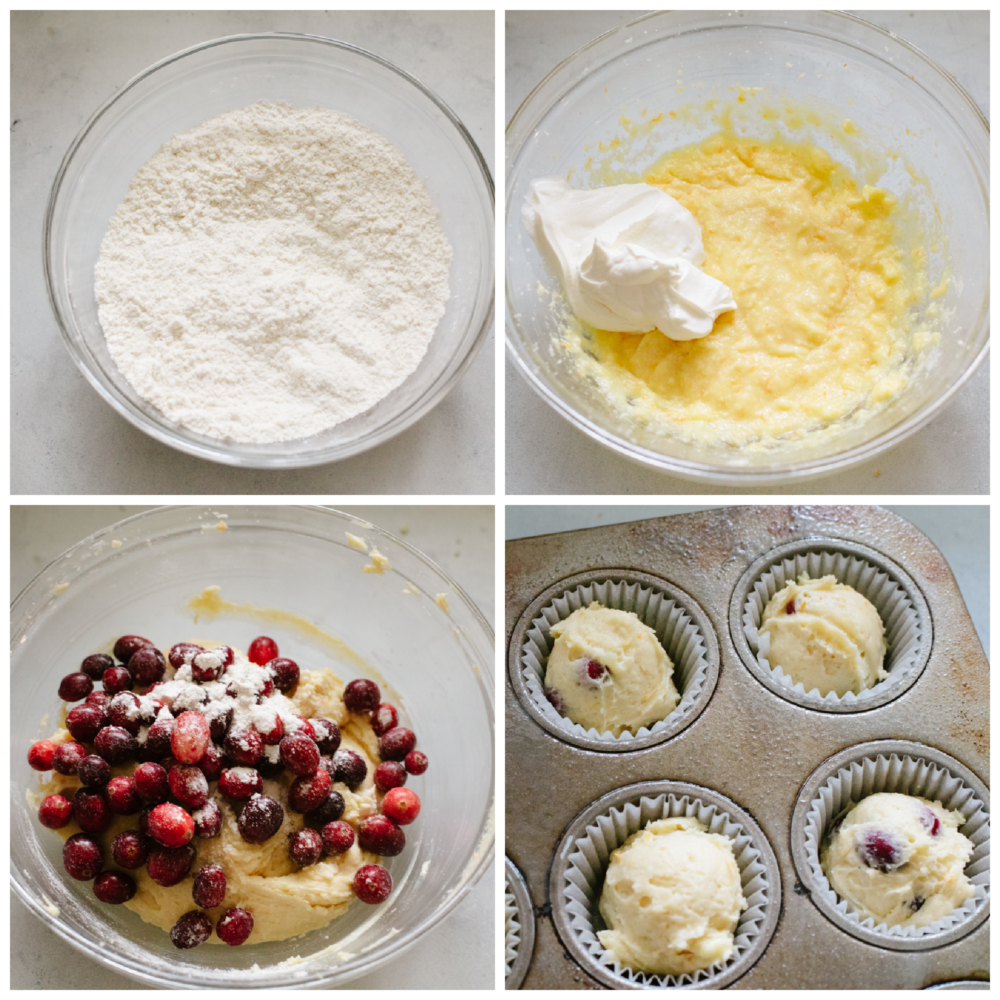
  1. Preheat Oven, Prep Pan: Let’s begin! First, preheat the oven to 400°. Line a muffin pan with muffin liners and lightly spray with baking spray.
  2. Sift Dry Ingredients: In a large bowl, sift together the flour, baking powder, and salt. Remove 1 tablespoon of the flour mixture and toss it with the cranberries in a medium bowl. Set aside.
  3. Mix in Butter: In the bowl of a mixer, use the paddle attachment to beat the butter, sugar, orange zest and vanilla. Beat on medium for 2-3 minutes, until light and fluffy.
  4. Add Eggs: Next, add the eggs and beat until fully combined. Mix in sour cream.
  5. Mix Together: Add half of the dry ingredients to the mixer and mix on low until just about combined. Add the orange juice and mix on low for 10 seconds. Then, add in the second half of the dry ingredients and mix until just barely combined. Add the cranberries and any loose flour left in the bowl and fold into the batter by hand until just barely combined.
  6. Bake: Scoop the batter into the prepared muffin pan filling the cups 2/3-¾ of the way full. Sprinkle the tops with course sugar. Bake for 25-30 minutes, until the tops are lightly golden brown and a toothpick comes out clean from the center of a muffin. While the muffins are baking, combine the sugar, orange juice and lemon juice for the glaze.
  7. Top With Glaze: Brush the tops of the hot muffins with the glaze. Allow cranberry orange muffins to cool for a few minutes in the pan before removing to a cooling rack.
Process shots of preparing muffin batter.

How to Make Successful Muffins

Here are some of my favorite tips and tricks on making muffins like a pro! I hope you love these muffins just as much as I do. They’re so festive and delicious!

  • Room Temperature Ingredients: Like many other baked goods, the key to a smooth batter is to use room temperature wet ingredients! Set eggs, butter, and sour cream out on your counter for about 10 minutes before adding to batter.
  • Don’t Thaw Cranberries: No need to thaw frozen cranberries! You can add them straight to your batter.
  • Don’t Overmix: Mix your batter together gently, only until combined. If you overmix your batter you may end up with muffins that are too dense.
  • Let Muffins Cool: It’s important to let your muffins cool down completely so they set. If you try to serve them too early, they may break apart.
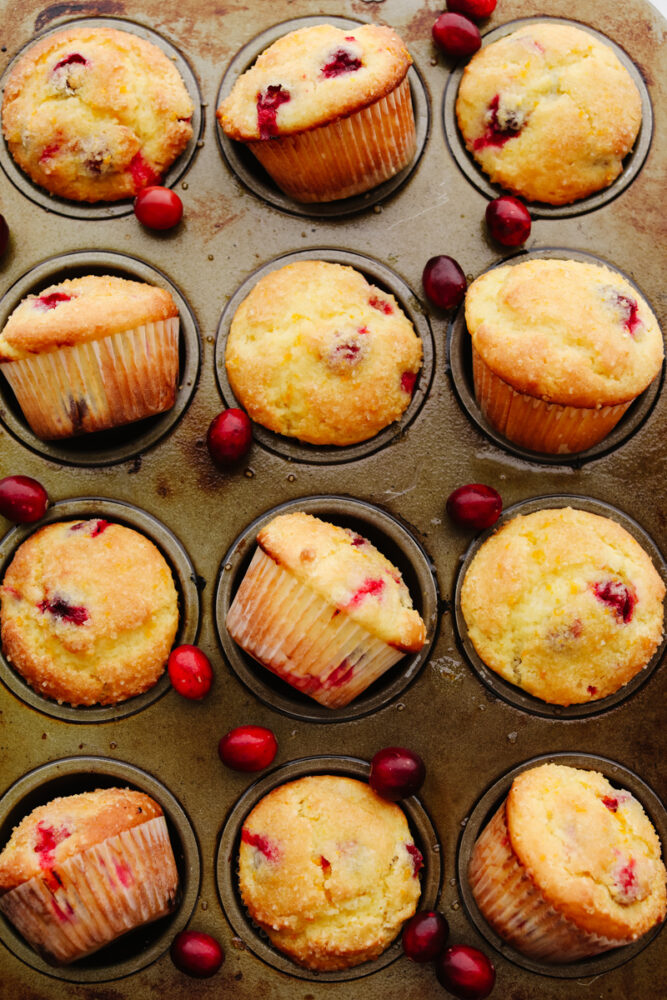
Baked orange cranberry muffins in a muffin tin.

Storing Leftover Orange Cranberry Muffins

These flavorful muffins can be stored and enjoyed days later! They’re perfect for having on hand for a quick breakfast. You and your family will love them!

  • At Room Temperature: Store muffins in an airtight container for 3-4 days.
  • In the Freezer: Baked muffins can also be stored in the freezer! Place in a freezer-safe bag and store for 2-3 months. Thaw overnight in the fridge before serving. To reheat, pop muffins in the oven at 300 degrees Fahrenheit for 10-15 minutes.
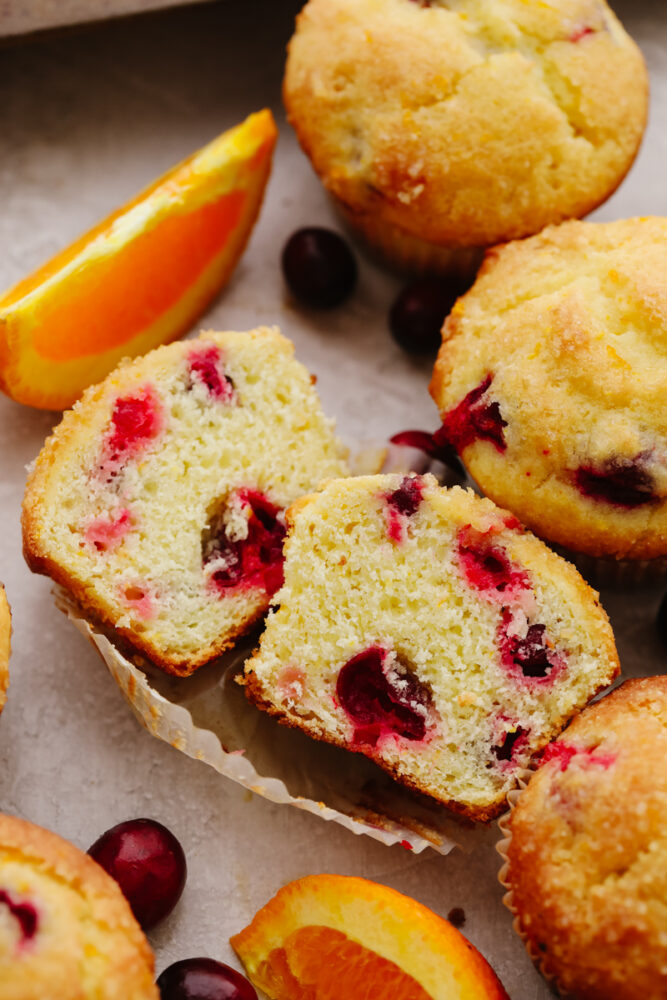
A cranberry orange muffin cut in half.
Print

Orange Cranberry Muffins

These sweet and zesty orange cranberry muffins are going to become your new favorite holiday breakfast! It's the perfect easy treat to start your day out with.
Course Breakfast
Cuisine American
Keyword cranberry orange muffins, orange cranberry muffins
Prep Time 25 minutes
Cook Time 30 minutes
Total Time 55 minutes
Servings 12 Muffins
Calories 348kcal
Author Alyssa Rivers

Ingredients

  • 3 Cups All-purpose Flour
  • 1 Tbsp Baking Powder
  • ½ Teaspoon Salt
  • ½ Cup Unsalted butter room temperature
  • 1 1/3 Cup granulated sugar
  • 1 Tbsp Orange Zest
  • 2 large eggs room temperature
  • 2 teaspoons vanilla extract
  • 1 cup Sour cream
  • 1/3 cup orange juice
  • 2 cups cranberries fresh or frozen
  • Course Sugar for topping

Orange Glaze

  • ¼ Cup granulated sugar
  • 1 Tablespoon Orange juice
  • 1 Tablespoon lemon juice

Instructions

  • Preheat the oven to 400°. Line a muffin pan with muffin liners and lightly spray with baking spray. Set aside.
  • In a large bowl sift together the flour, baking powder, and salt. Remove 1 tablespoon of the flour mixture and toss it with the cranberries in a medium bowl. Set aside.
  • In the bowl of a mixer use the paddle attachment to beat the butter, sugar, orange zest, and vanilla. Beat on medium for 2-3 minutes, until light and fluffy.
  • Add the eggs and beat until combined. Scrape down the sides and bottom of the bowl and mix for a few seconds more to make sure everything is fully combined. Add in the sour cream and mix until just barely combined.
  • Add half of the dry ingredients to the mixer and mix on low until just about combined. Add the orange juice and mix on low for 10 seconds. Add in the second half of the dry ingredients and mix until just barely combined. Add the cranberries and any loose flour left in the bowl and fold into the batter by hand until just barely combined.
  • Scoop the batter into the prepared muffin pan filling the cups 2/3-¾ of the way full. Sprinkle the tops with coarse sugar. Bake for 25-30 minutes, until the tops are lightly golden brown and a toothpick comes out clean from the center of a muffin. While the muffins are baking, combine the sugar, orange juice, and lemon juice for the glaze.
  • Brush the tops of the hot muffins with the glaze. Allow the muffins to cool for a few minutes in the pan before removing them to a cooling rack.

Nutrition

Serving: 1muffin | Calories: 348kcal | Carbohydrates: 55g | Protein: 5g | Fat: 13g | Saturated Fat: 7g | Polyunsaturated Fat: 1g | Monounsaturated Fat: 3g | Trans Fat: 1g | Cholesterol: 61mg | Sodium: 127mg | Potassium: 210mg | Fiber: 2g | Sugar: 28g | Vitamin A: 430IU | Vitamin C: 8mg | Calcium: 80mg | Iron: 2mg


from The Recipe Critic https://ift.tt/313TnGm
https://ift.tt/3CPll5J

बुधवार, 24 नवंबर 2021

Grandma’s Sausage Herb Stuffing

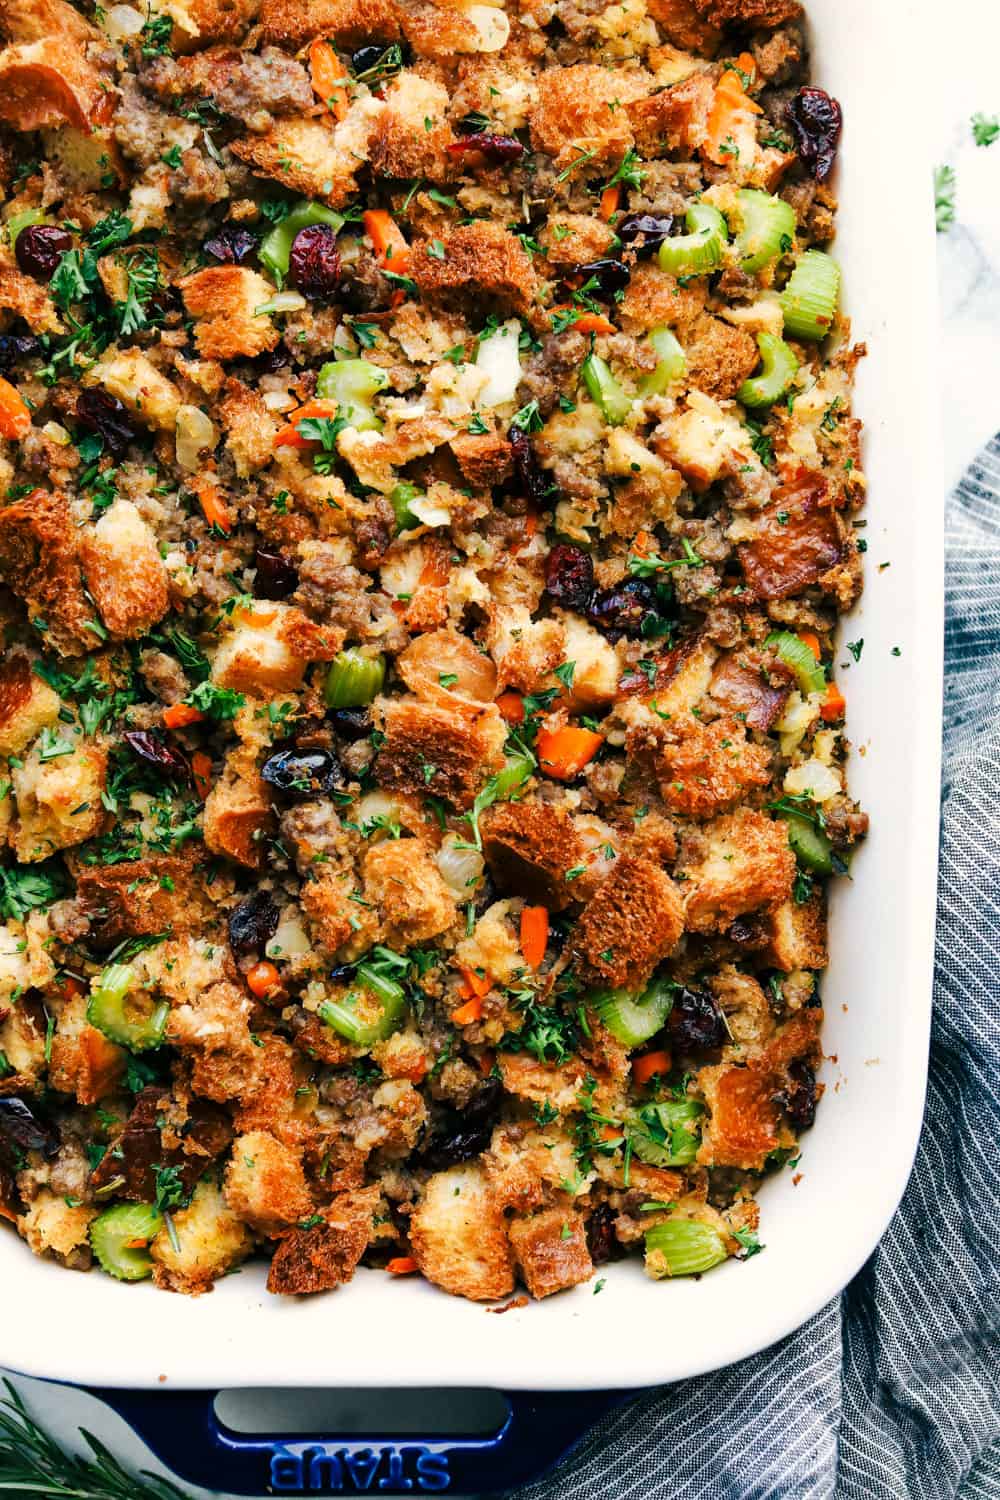
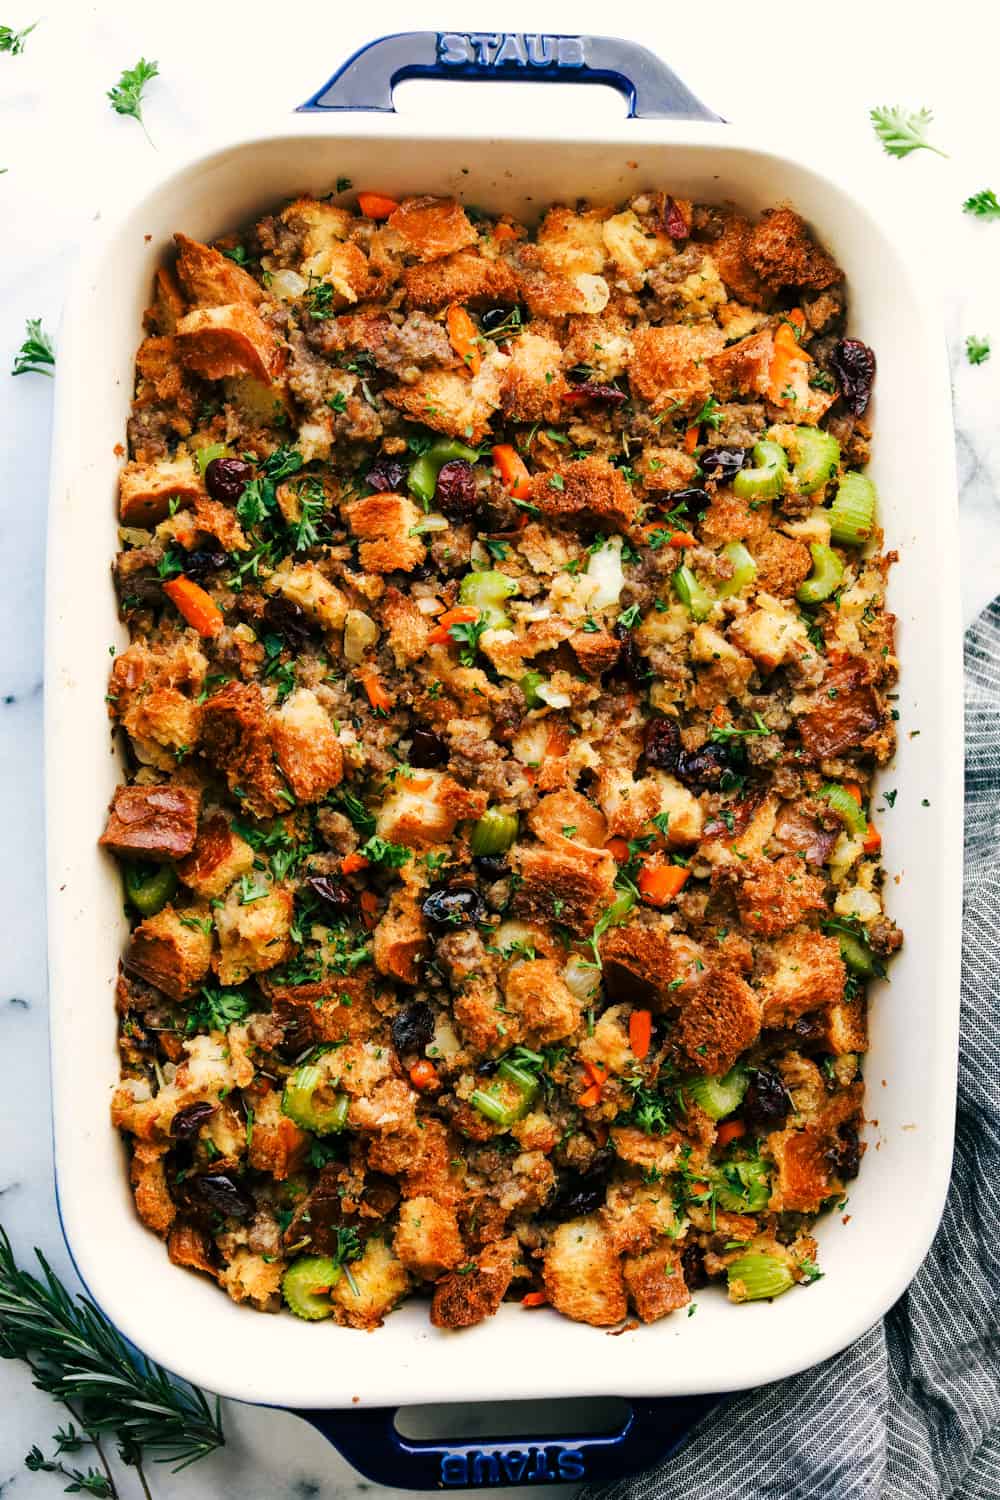
Grandma’s sausage herb stuffing is a classic side dish! Baked bread, tender sausage, and crunchy vegetables are all mixed with flavorful herbs and baked until golden brown. It makes my mouth water just thinking about it!

Stuffing is a MUST at our Thanksgiving table! If you love stuffing as much as we do try this Vegetable or Slow Cooker Stuffing.

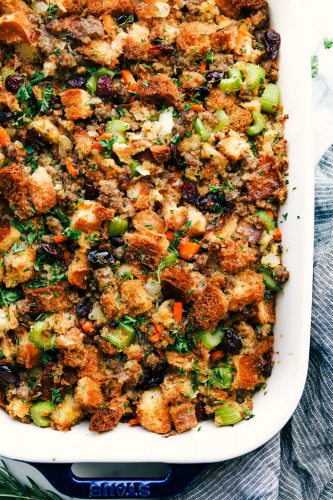
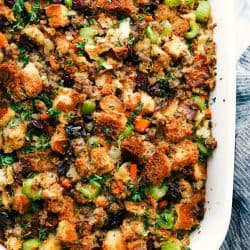
Sausage Herb Stuffing in a dish

Grandma’s Sausage Herb Stuffing

You can’t go wrong with a good stuffing at the dinner table! It is a family tradition that is always a favorite and loved by all. We love to make Grandma’s sausage herb stuffing because it is a classic, hearty dish that goes well with any type of cooked turkey. (If you are looking for a turkey recipe, try this Juicy Butter Herb Turkey Recipe (Step by Step Instructions) or Slow Cooker Turkey Breast!)

This is a MUST for our family and is gone before you know it. I love cooking this stuffing over all of the other recipes, not just because it’s my grandma’s, but because it is delicious AND easy. And let’s be honest, Thanksgiving cooking already takes too long and there are so many moving parts… easy is needed every once in a while! Give it a try! It will pair well with everything on your Thanksgiving table.

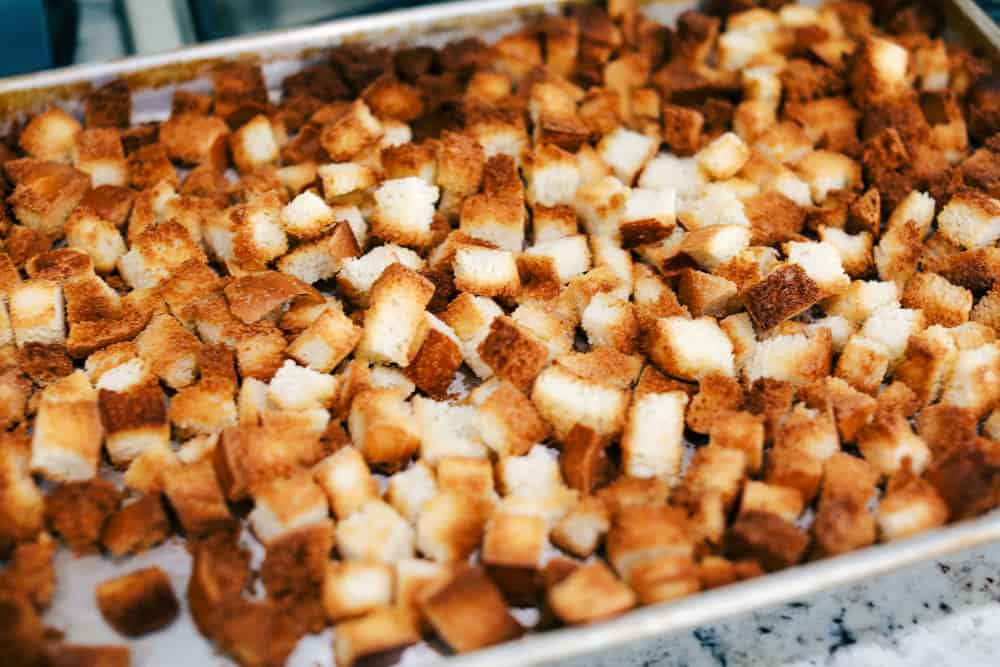
baked bread

Ingredients to Make Grandma’s Sausage Herb Stuffing

Mixing all the ingredients together gives you a tried and true stuffing that will be remembered! Be careful though… If you cook everything too well then you will have to host again next year! See the recipe card for a list of exact ingredient measurements.

  • French Bread: Cube a loaf of bread. I like to use fresh french bread from my local grocery store.
  • Sausage: I prefer to use Italian sausage for extra flavor! But you can use turkey or pork as well.
  • Butter: You will divide this up to use at different times in the recipe.
  • Celery: Slice these up as thin or thick as you prefer.
  • Carrots: Chop the carrots to your liking.
  • Onion: Diced these up as small or big as you like.
  • Fresh Thyme: Remove the stems on your thyme.
  • Parsley: This is used for its beautiful color and added flavoring!
  • Fresh Rosemary: Fresh resemary should have the stems removed before you chop it up.
  • Cranberries: Dried cranberries work the best! I mixed them in as a sweet and soft texture and flavor.
  • Chicken broth: This keeps it moist and adds flavor!
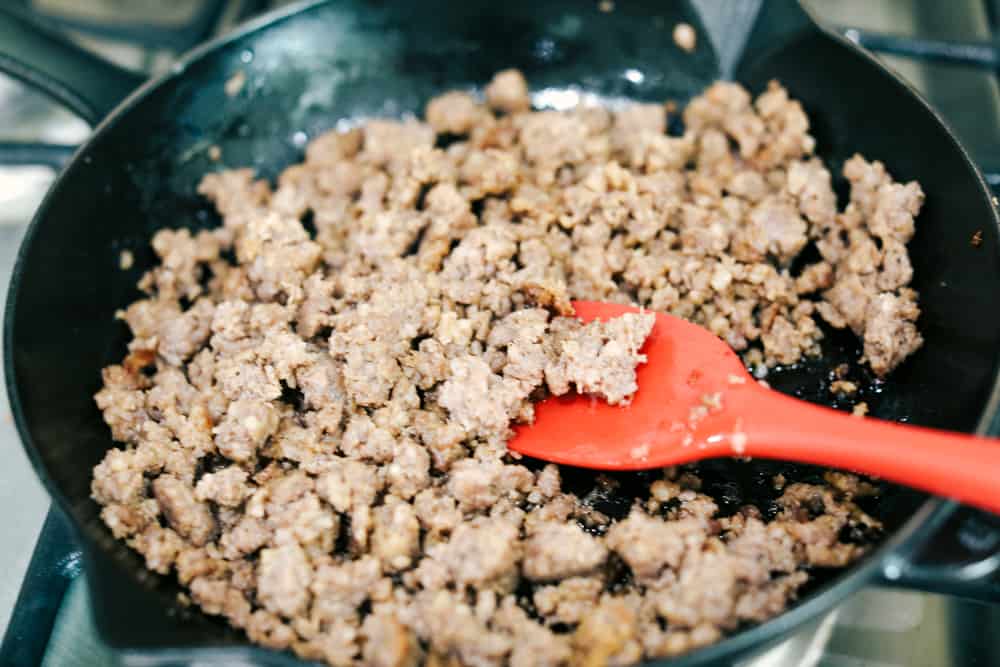
ground sausage cooking

Let’s Make Some Stuffing!

Grandma’s sausage herb stuffing is a recipe that you will come back to over and over every year. Your family and guests will love it!

  1. Bake bread: Preheat the oven to 350 degrees. Butter a 9×13 inch pan and set aside. Place the bread on a baking sheet and toast until lightly brown and crisp about 10-12 minutes. Remove and set aside.
  2. Cook sausage and vegetables: In a medium size skillet over medium high heat, cook and crumble the sausage. Remove and set aside. Add 3 Tablespoons of butter and add celery, carrot, and onion. Sauté until almost tender.
  3. Mix all together: In a large bowl add the sausage, bread cubes, vegetable mix, thyme, parsley, and dried cranberries. Add the chicken broth stirring the ingredients until the bread is moist.
  4. Bake stuffing: Spread evenly into your 9×13 inch pan. Bake for 60 minutes or until it is deeply golden.
Vegetables in a skillet.

Variations on Grandma’s Sausage Herb Stuffing

My Grandma’s sausage herb stuffing is a classic! It’s also a great base to add in different ingredients. You can make it sweet, spicy or maybe even add in some fruit or nuts. There are so many flavorful combinations that will help take your stuffing to the next level!

  • Bread: Pick your favorite type of bread. It can have cheese or even nuts inside. Just ensure that it is large, has a hard crust and softer inside. Try focaccia, asiago cheese, sourdough or ciabatta bread.
  • Sausage: Try a sweeter pork like apple sausage for a lighter taste. Or, use sausage with some spice in it for added heat.
  • Vegetables: Sweet potatoes or butternut squash will add color and some sweetness.
  • Dried or fresh fruit: If you want to make it a little sweeter then add some diced apples, pears, apricots or raisins.
  • Nuts: Some nuts that you can add to it are walnuts, chopped pecans or hazelnuts.
  • Broth: You can replace the chicken broth with chicken stock if needed.
  • Add ins: Some favorite things that I like to add in often are mushrooms, bacon or cooked wild rice!
Vegetables and stuffing in a glass bowl.

Tips on Making Stuffing

Grandma’s sausage herb stuffing is simple to make and comes together quickly and effortlessly. Here are some tips to help you make the best Thanksgiving dinner.

  • No french bread? If you do not have French bread you can use day-old cornbread or sliced bread.
  • Store bought stuffing cubes: Prepared unseasoned stuffing cubes are also available at local grocery stores that will work for this stuffing recipe.
  • Use turkey sausage: Turkey sausage is a quicker way of cooking sausage and still adds in the Thanksgiving flavors.
  • Use a slow cooker! Place your stuffing in a slow cooker with a liner. This will help with cleanup afterwards and helps cook it through. Cook the sausage through as well as the vegetables and add them all to a slow cooker. Cook it on low for 6 hours or high for 4 hours.
  • Don’t overcook it: Just in case your stuffing was overcooked in the oven, add in more chicken broth at the very end to help with the soft texture.
  • Dry stuffing: While baking, if you notice the top start to brown quickly, place a foil overtop of the stuffing dish to finish cooking without drying out.
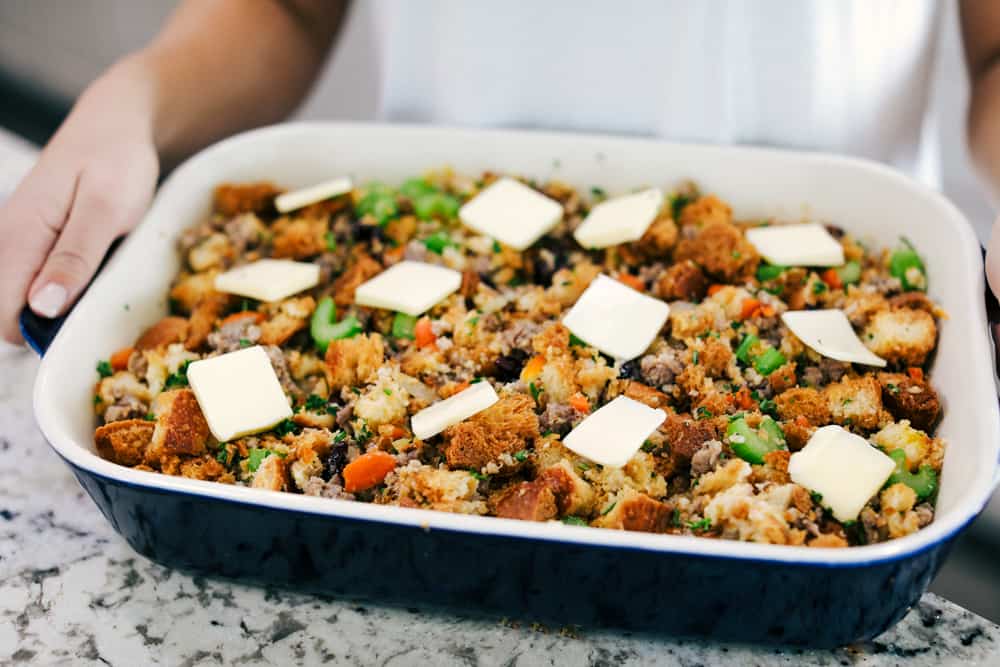
sausage herb stuffing in a baking dish with butter overtop

Storing Grandma’s Sausage Herb Stuffing

This is a great side dish that easily can be made ahead of time or even kept in the refrigerator or frozen. Here are some great tips to keeping it fresh and delicious before, during, and after Thanksgiving!

  • Making ahead: Prepare all your ingredients ahead of time and before baking let it all cool completely. Assemble your dish and be ready to bake it. Place an airtight lid or plastic wrap tightly around the dish. Refrigerate up to 3 days ahead of time. When ready to bake take out and bake for allotted time in the instructions.
  • Refrigerating: Just like making ahead of time you can refrigerate all the ingredients in your baking dish. If you are needing to make the ingredients separate that works well too. Cook your sausage and let cool. Then add it to a ziplock baggie until ready to mix together. You can also do this with your vegetables until you are ready to bake together. Mix them together and add in other ingredients to make grandma’s sausage herb stuffing.
  • Freezing: Once thanksgiving dinner is complete, set the sausage herb stuffing in an airtight container or ziplock freezer bag. Then, lay it flat and freeze for 1 month. When you are ready to eat it then you can either thaw it overnight in the refrigerator or place in a baking dish and bake until cooked through.
  • Warming Up: Preheat your oven to 350 degrees Fahrenheit. Place your thawed, frozen or refrigerator stuffing in and bake until it is heated through. To lock in moisture you can add a foil cover or more chicken broth to keep the flavor and soft moisture.
baked sausage herb stuffing
Print

Grandma’s Sausage Herb Stuffing

Grandma's sausage herb stuffing is a classic side dish! Baked bread, tender sausage, and crunchy vegetables all mixed with flavorful herbs and baked until golden brown… It makes my mouth water just thinking about it! 
Course Side Dish
Cuisine American
Keyword sausage stuffing
Prep Time 20 minutes
Cook Time 1 hour
Total Time 1 hour 20 minutes
Servings 12 people
Calories 306kcal
Author Alyssa Rivers

Ingredients

  • 1 loaf French bread cubed
  • 1 pound sausage
  • 1/2 cup butter divided
  • 1/2 cup celery sliced
  • 1/2 cup carrot chopped
  • 1/2 medium onion diced
  • 1 Tablespoon fresh thyme stems removed
  • 2 Tablespoons parsley finely chopped
  • 1 Tablespoon fresh rosemary stems removed and chopped
  • 1/2 cup dried cranberries
  • 2 1/2- 3 cups chicken broth

Instructions

  • Preheat the oven to 350 degrees. Butter a 9×13 inch pan and set it aside. Place the bread on a baking sheet and toast until lightly brown and crisp about 10-12 minutes. Remove and set aside.
  • In a medium-size skillet over medium-high heat, cook and crumble the sausage. Remove and set aside. Add 3 Tablespoons of butter and add celery, carrot, and onion. Sauté until almost tender.
  • In a large bowl add the sausage, bread cubes, vegetable mix, thyme, parsley, and dried cranberries. Add the chicken broth stirring the ingredients until the bread is moist.
  • Spread evenly into your 9×13 inch pan. Bake for 60 minutes or until it is deeply golden.

Notes

Updated on November 24, 2021
Originally Posted on November 2, 2019

Nutrition

Serving: 1cup | Calories: 306kcal | Carbohydrates: 25g | Protein: 10g | Fat: 19g | Saturated Fat: 8g | Cholesterol: 48mg | Sodium: 881mg | Potassium: 265mg | Fiber: 2g | Sugar: 5g | Vitamin A: 1263IU | Vitamin C: 10mg | Calcium: 35mg | Iron: 2mg


from The Recipe Critic https://ift.tt/2JHXKeA
https://ift.tt/2NLO04j