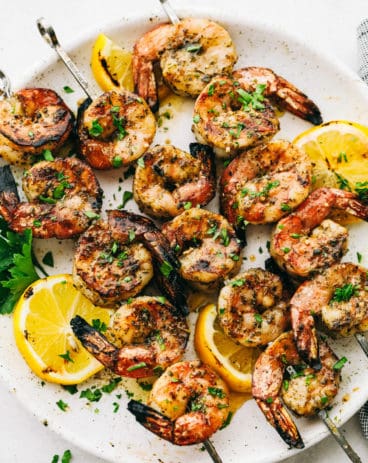
Layer this amazing marinade onto your shrimp for a perfectly rich, savory flavor with a pop of lemon your taste buds will LOVE! The drool-worthy flavor combinations and ease of preparation make this Shrimp Marinade a recipe to come back to over and over again.
A marinade can really make or break grilled meat and seafood. For your barbecues this summer, I recommend also trying my steak, chicken, and Asian-inspired marinades to count on for flavorful, mouth-watering meat every time!

Easy Shrimp Marinade Recipe
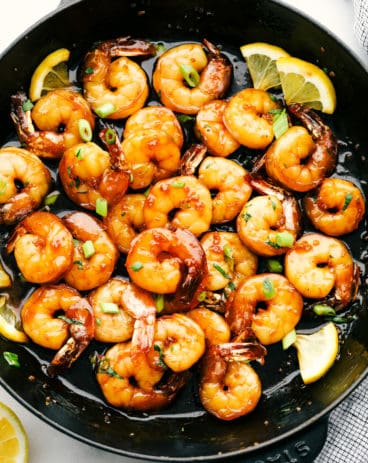
Grilling season is in full force and it’s time to enhance your meats! Sauces are great, but for truly impactful flavor that your family will go crazy over, you have got to start with a delicious marinade as a foundation. Flavor your shrimp from the inside-out with this marinade made with soy and Worcestershire sauce, Dijon Mustard, garlic, red wine vinegar, and Italian Seasoning. These pantry-ready ingredients create the most perfect savory, tangy marinade with just a pinch of zip and sweetness.
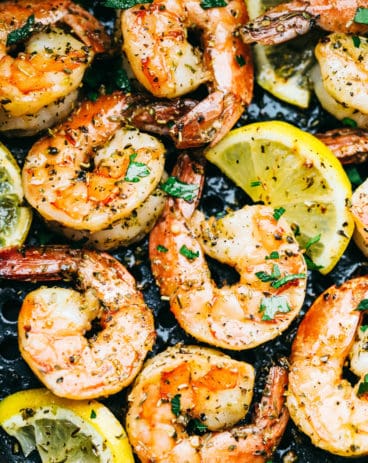
You are going to love the way this marinade makes your shrimp taste. Each bite bursts with amazing flavor and texture. Whether you are cooking on the grill, in a skillet, or in the oven, this marinade delivers! Simply whisk together a few ingredients, cook your shrimp to perfection, and you have a winning dinner on your hands!
Shrimp Marinade Ingredients
The best part about this recipe is that it only requires a blend of a few sauces that you probably already have on hand! All individual measurements are found in the recipe card below.
- Olive Oil: Pulls fat-soluble ingredients together and really helps to infuse your shrimp with flavor. You can also substitute olive oil for melted butter.
- Red Wine Vinegar: Adds a tangy flavor with a hint of sweetness.
- Garlic: 3 cloves, minced.
- Italian Seasoning: Adds a zesty flavor and texture. You can use packaged Italian seasoning, but I recommend using my homemade seasoning for extra fresh flavor.
- Lemon Juice: You can use bottled or fresh lemon juice.
- Soy Sauce: Makes your marinade more savory. Also adds a beautiful, caramelized color to your shrimp when cooked.
- Dijon Mustard: Adds a sharp, tangy flavor to the marinade.
- Worcestershire Sauce: Adds a blend of sour, sweet, and slightly spicy flavors to your marinade.
Making Your Marinade
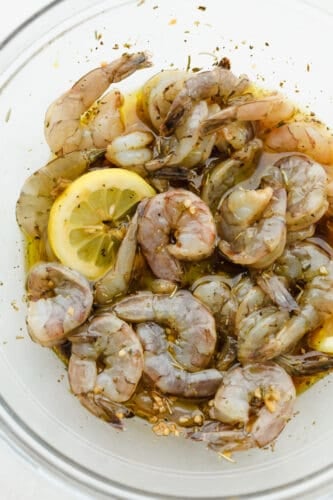
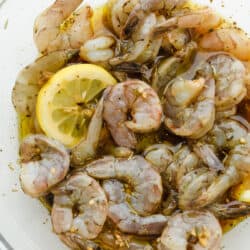
With only one step, this is the easiest way to add insanely delicious flavor to shrimp. Using a medium-sized bowl, combine olive oil, red wine vinegar, garlic, Italian seasoning, lemon juice, soy sauce, Dijon Mustard, and Worcestershire sauce. Add the shrimp and let marinate for at least one hour or overnight.

Shrimp Marinade Pro Tips
As the building block of grilling, marinating is important! Use these tips and tricks to make sure your meat and seafood turns out perfectly!
- Not Marinating Too Long: If using a lot of citrus in your marinade, make sure not to let your shrimp sit in it too long. The acid in the marinade can actually start to eat through your shrimp and make it mushy. 30 minutes to an hour is plenty of time for a citrus-based marinade to work.
- Pat Shrimp Dry: Before marinating shrimp, make sure to pat it dry. This helps the marinade stick better.
- Fresh or Frozen: You can use either fresh or frozen shrimp when marinating, but fresh shrimp absorbs flavor better. Let frozen shrimp thaw in the marinade for 30 minutes before cooking.
- Always Marinate in Fridge: Marinating at room temperature can cause harmful bacteria to grow.
- Using Marinade as Glaze: You can save some of your marinade to top your shrimp with as a glaze after cooking. Make sure you set aside extra marinade before adding raw shrimp to avoid foodborne illnesses.
- Using Other Meats: This marinade also tastes great when cooked with chicken, steak, and fish. It is so versatile and delicious.
- Serve With: This shrimp tastes great paired up with so many different things. You can put it on a bed of pasta, serve it alongside delicious garlic mashed potatoes, or even stick it on a skewer with vegetables for a gorgeous summer treat!

Storing Leftover Shrimp Marinade
- In the Refrigerator: Homemade marinade will last up to 2 weeks in the fridge in an airtight container. Make sure you store leftover marinade that hasn’t had any raw meat in it yet.
- In the Freezer: Marinade can be stored in ziplock bags and kept for 3-6 months.

More Tried and True Shrimp Favorites

Shrimp Marinade
Ingredients
- 1/2 cup olive oil
- 1/4 cup red wine vinegar
- 3 garlic cloves, minced
- 1 Tablespoon Italian seasoning
- 1 Tablespoon lemon juice
- 2 Tablespoons soy sauce
- 1 teaspoon dijon mustard
- 1 Tablespoon Worcestershire sauce
Instructions
-
In a medium sized bowl combine olive oil, red wine vinegar, garlic, Italian seasoning, lemon juice, soy sauce, Dijon Mustard and Worcestershire sauce. Add the shrimp and let marinate for at least one hour or overnight.
Nutrition
from The Recipe Critic https://ift.tt/3doE5iz
https://ift.tt/3hgjqOP