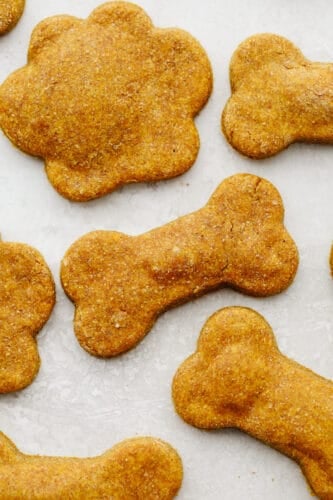
These homemade dog treats are going to be your pup’s new obsession. They’re super easy to throw together and full of healthy ingredients!
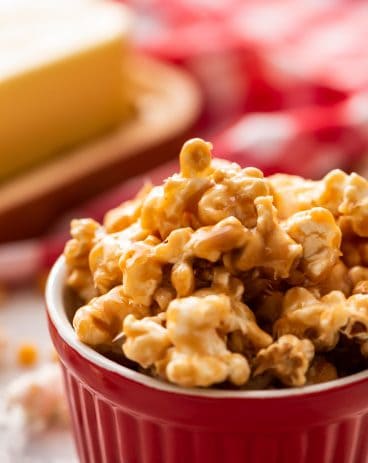
Recipes like this are the perfect activity for the family. Have bored kids at home? Try making ice cream in a bag, fruit leathers, or caramel apples!

Pumpkin Peanut Butter Dog Treat Recipe
I am so excited for the first dog-friendly recipe to be up on the blog! We humans get so many tasty baked goods, it’s time that our pups do, too! It’s hard to know what dog treats are healthy or not. Unfortunately, so many prepackaged treats are loaded with fillers and preservatives. Today, we’re making dog treats with just a few simple ingredients. Pumpkin purée, peanut butter, eggs, whole-wheat flour, and cinnamon are all you need! Honestly, it’s a relief knowing what exactly goes into these dog treats so we don’t have to worry! My girls are obsessed with making these. It’s a fun activity for all of us! And most importantly, our Portuguese Water Dog, Leia, gives them a 10/10.
The foundation of these treats is a mix of peanut butter and pumpkin purée. Peanut butter, in moderation, is a great source of healthy fats and protein for your dog! Similarly, a pumpkin is great for regulating your dog’s digestive system. It’s full of fiber! Eggs, whole-wheat flour, and cinnamon are all completely healthy for dogs to consume, and create the cookie-like texture of the treat once baked. Heads up: these are also safe for humans to consume. I’m not going to judge if you munch on a couple! They are essentially a pumpkin spice biscuit.
Homemade Dog Treat Ingredients
Only 5 human-grade ingredients are needed for these cute little treats! All are easy on your dog’s stomach. I tested these treats on a few of our family’s dogs with flying colors. Yours will love them, too!
- Pumpkin Purée: Adding pumpkin purée helps these treats to be easily digestible!
- Peanut Butter: What dog doesn’t like peanut butter? It is full of proteins and healthy fats for your pup. Just make sure there isn’t any xylitol in the brand you choose. Xylitol is an artificial sweetener that is toxic to dogs.
- Eggs: Used as a binding agent to give these treats their cookie-like form!
- Whole-Wheat Flour: I like to use whole-wheat flour for its health benefits. If your dog has a gluten intolerance, opt for a gluten-free flour!
- Cinnamon: In small quantities, cinnamon is a perfectly safe ingredient for dog treats. It will add extra flavor!

How to Make Dog Treats at Home
Making treats for your dogs at home is a cinch. It’s fun, too! You can use any shape of cookie cutter you like! With Halloween coming up, some spooky dog treats would make an awesome gift for your loved ones with furry friends!
- Preheat Oven, Prep Baking Sheet: To start, preheat the oven to 350° and line a baking sheet with parchment paper.
- Mix Wet Ingredients: In the bowl of a mixer, use the paddle attachment to combine the pumpkin, peanut butter and eggs on medium high speed.
- Add Flour and Cinnamon: Next, add in the flour and cinnamon and mix until a stiff dough has formed.
- Roll Out Dough and Cut: Turn the dough out on a lightly floured surface and roll out to ¼ inch thick. Then, use cookie cutters to cut your desired shapes!
- Bake: Bake for about 20-25 minutes, until the edges begin to turn golden brown. Allow to cool completely.
- Serve: Your treats are ready for your favorite pups!

Tips for Successful Dog Treats
Homemade dog treats have to be made with the right ingredients to avoid feeding your furry friend something that could potentially make them sick. This recipe is pretty simple, but there are a few tips to help you make these perfectly canine-friendly!
- Natural Peanut Butter: Quite a few peanut butters contain xylitol as a sugar substitute. It’s perfectly fine for human consumption, but it’s very poisonous for dogs! Be sure to check the ingredients on your peanut butter before using it in this recipe. I prefer an all natural peanut butter that doesn’t contain any sweetener at all.
- Whole-Wheat Flour: Whole wheat has more nutrients in it and is more beneficial for your dog, but if you don’t have whole wheat flour you can substitute all-purpose flour instead.
- NO Nutmeg: If you want to get creative and add a few spices to the recipe, be sure not to add nutmeg. Nutmeg is toxic to dogs and should not be included in this recipe. This includes any sort of pumpkin pie spice since it almost always has nutmeg in it.

Storing Homemade Dog Treats
Homemade dog treats are free of all the preservatives you find in store-bought dog treats. The only downside to them is their shelf-life being shorter than typical treats. By storing them in the fridge or freezer instead of at room temperature, you can extend their shelf life!
- At Room Temperature: Store in an airtight container or ziplock bag at room temperature for up to 7 days.
- In the Refrigerator: Your dog treats will keep in the fridge for up to 3 weeks. Store in an airtight container or ziplock bag for best results!
- In the Freezer: When stored in a resealable freezer bag, your treats will last 3 months. Allow to thaw before serving to your pup.

Kid-Friendly Recipes
Breakfast
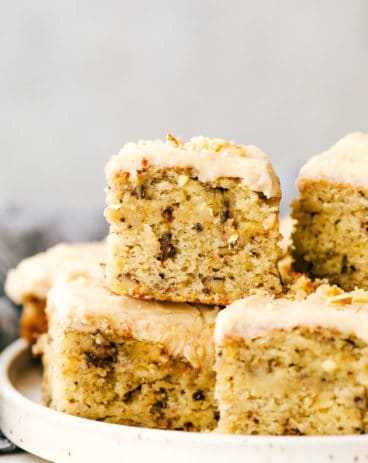
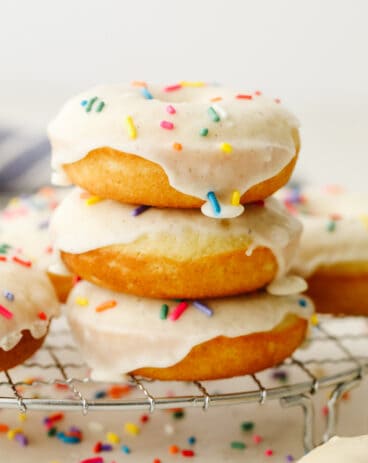
The Perfect Cake Donuts
Desserts
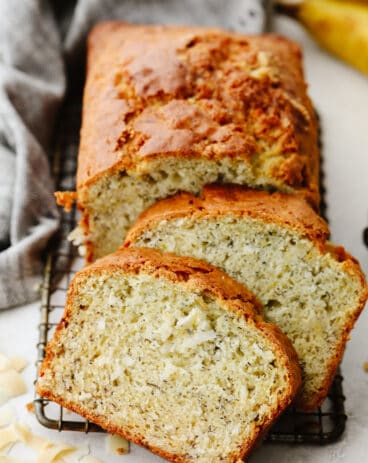
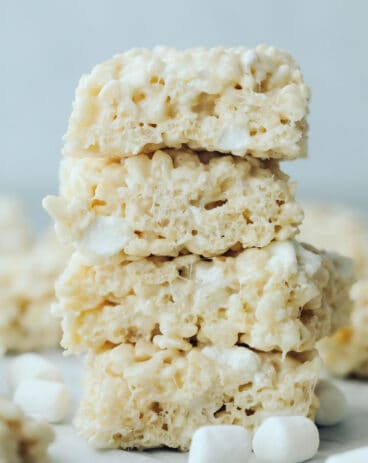
Perfect Rice Krispie Treats

Desserts
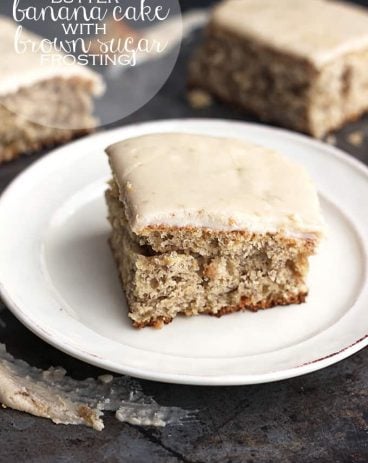
Funfetti Cheesecake Pudding Cookies

Homemade Dog Treats
Ingredients
- 1 Cup Pumpkin Puree
- 1/3 Cup Peanut Butter No Xylitol
- 2 large Eggs
- 2 1/2 Cups Whole Wheat Flour
- ¾ Teaspoon Cinnamon
Instructions
-
Preheat the oven to 350° and line a baking sheet with parchment paper.
-
In the bowl of a mixer use the paddle attachment to combine the pumpkin, peanut butter, and eggs at medium-high speed.
-
Add in the flour and cinnamon and mix until a stiff dough has formed.
-
Turn the dough out on a lightly floured surface and roll out to ¼ inch thick. Use cookie cutters to cut your desired shapes.
-
Bake for about 20-25 minutes, until the edges begin to turn golden brown. Allow cooling completely.
Nutrition
from The Recipe Critic https://ift.tt/3EZiLwg
https://ift.tt/3CPQwOE