रविवार, 23 जनवरी 2022

BBQ Chicken Salad with BBQ Cilantro Lime Dressing

This BBQ chicken salad is healthy and packed to the brim with flavor! It has everything you want in a salad like veggies, shredded chicken, and crispy tortilla chips. Topped with the most delicious dressing, this salad is the best of the best!

If you love flavorful salads like this one, then you have got to try this antipasto salad, this beef taco salad, and this spaghetti salad. They are so good that they could even be the main course too!
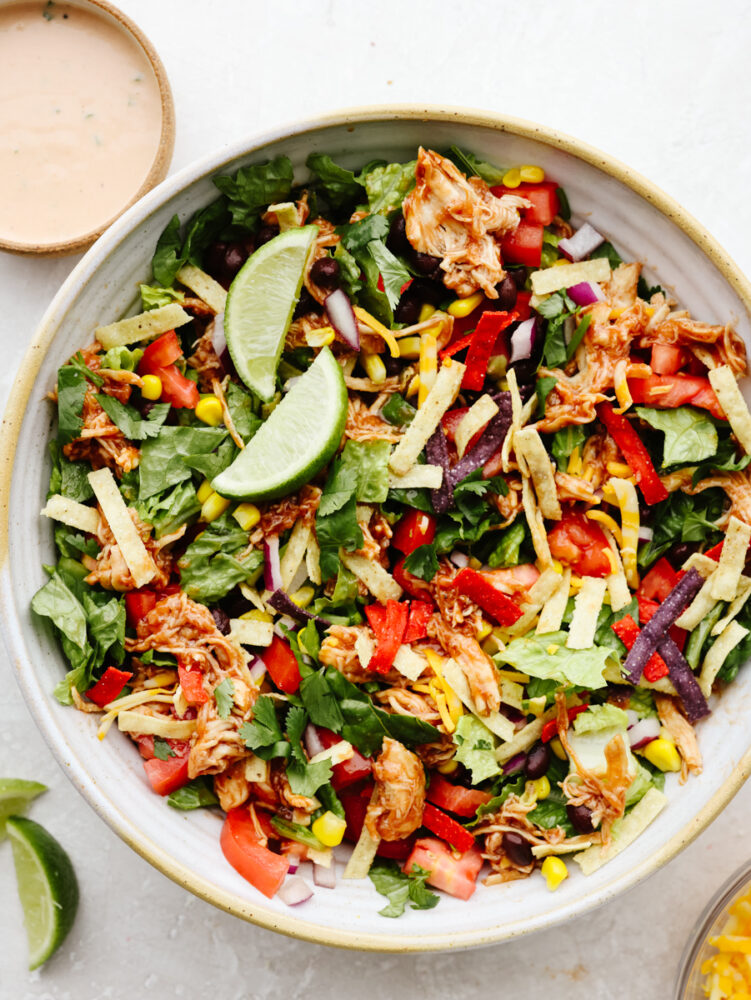
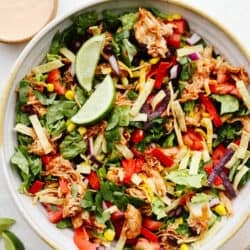
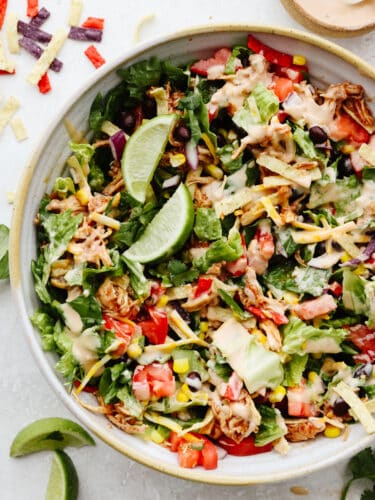
A bowl of BBQ chicken salad.

BBQ Chicken Salad

I love a good salad that is so packed with ingredients that I can barely stir in the dressing without making it spill! This BBQ chicken salad is quick and easy to make and filled with so many veggies that it’s perfect as a side or even your main dish. When you mix the BBQ sauce with your chicken, it brings a deep taste to the salad. I love that mixed in with the fresh vegetables.

I see this salad all the time on restaurant menus, and now that I’ve come up with this recipe, you can have it in the comfort of your own home! It’s hearty and when you have leftovers, this even tastes good the next day. I always like to make extra so that I can have it for lunch for a day or two after. It’s loaded with so many delicious toppings that it’s a salad I never get sick of! The fresh tortilla strips on top give it the perfect crunch and make this salad a home run!

Ingredients in BBQ Chicken Salad

I love that this salad has so many things in it that I feel nice and full for a long time after eating it. Plus, I usually have all of these ingredients at home to make this anytime I want! See the recipe card at the bottom of the post for exact measurements.

Salad Ingredients

  • Chicken: Cooked and shredded chicken is what I used but you could also grills up chicken and slice it up instead.
  • BBQ sauce: You can use homemade or storebought (I highly recommend Sweet Baby Ray’s)
  • Romaine hearts: Chop these up. They will be the base of your salad.
  • Vegetable toppings: Red onion, fresh cilantro, corn, black beans (rinsed and drained), tomatoes
  • Cheese: I like to use this sharp cheddar cheese and Monteray Jack cheese and cut it up into cubes or shred it.
  • Tortilla strips: These add in the best texture and crunch to this BBQ chicken salad!

Salad Dressing

  1. Mayonnaise: This is the base of the dressing. 
  2. Buttermilk: You can use store-bought or homemade buttermilk. Whichever is easiest! 
  3. Fresh cilantro: Chop the cilantro up into fine pieces. 
  4. Lime juice: You can use this from a lime or from a bottle. If it’s fresh it will bring a brighter taste. 
  5. White vinegar: This adds to the flavor of the dressing. 
  6. Granulated sugar: The sugar will add a bit of sweetness to counteract the lime and vingar. It will give the dressing some balance. 
  7. Garlic clove: If you don’t have a fresh garlic clove then you can use minced garlic. ½ tsp equals about 1 garlic clove. 
  8. Salt and pepper: These are added for flavor. 
  9. Cayenne pepper: This gives it a little bit of heat without too much kick. 
  10. Ground cumin: Cumin will make the sauce have more flavor.
  11. BBQ sauce: You can use homemade or storebought (I highly recommend Sweet Baby Ray’s)

How to Prepare This Salad

BBQ chicken salad is a recipe that everyone will love. It’s a great way to sneak in all of those veggies and have them full of flavor from the BBQ sauce!

  1. Cook chicken and add BBQ sauce: Cook chicken, mix in with sauce Cook and shred your chicken. I always throw it into the crockpot with some chicken broth and let it slow cook all day. Then I will drain the juices and shred it. Once you shred your chicken, add the 2 cups of BBQ sauce to the chicken. Set aside until ready to use.
  2. Make dressing: If you are making the salad dressing, whisk together the mayonnaise, buttermilk, chopped cilantro, lime juice, white vinegar, sugar, garlic, salt, cayenne pepper, black pepper, cumin and BBQ sauce. Set aside until ready to use.
  3. Toss with veggies: In a large bowl, toss the romaine, red onion, cilantro, corn, and black beans. You can either add about ½ cup of the salad dressing to this, or serve it on the side.
  4. Garnish: Top salad with the cheese and tortilla strips. Enjoy!
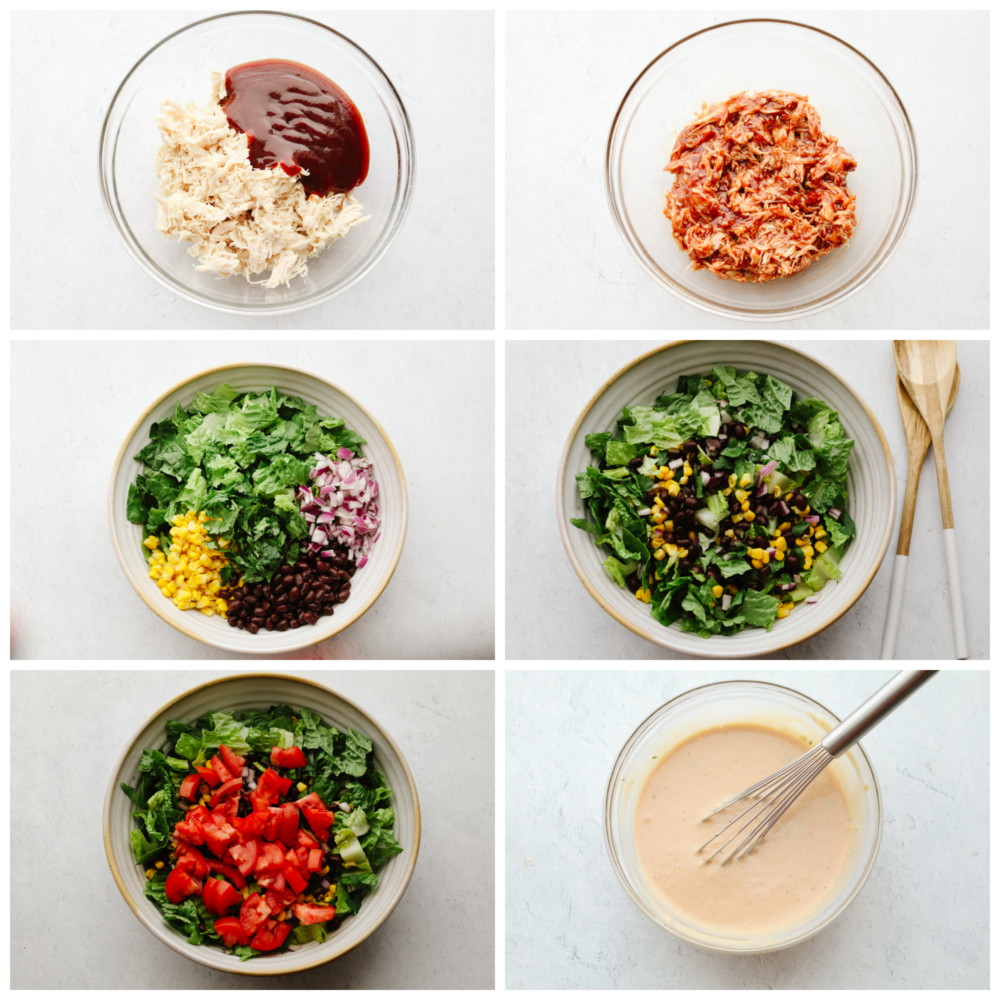
6 pictures showing how to mix the chicken and BBQ sauce, add in the lettuce and veggies and mix the dressing.

Variations

There are many different ways to add to or change up this BBQ chicken salad. Here are a few ideas in case you have other ingredients at home!

  • Lettuce: I use hearts of romain for this salade but you can use iceburg lettuce or really any green leaf base that you prefer.
  • Dressing: If you don’t have all of the things at home to make this dressing from scratch then you can try out ranch dressing (homemade or store-bought). Or you can try any variety of dressings that you see at the store and like! Go crazy and get creative!
  • Toppings: I used the classic toppings that you typically see in a chopped BBQ salad but feel free to change these up and add in your own. Cucumbers, peppers or olives would taste great in this salad too!
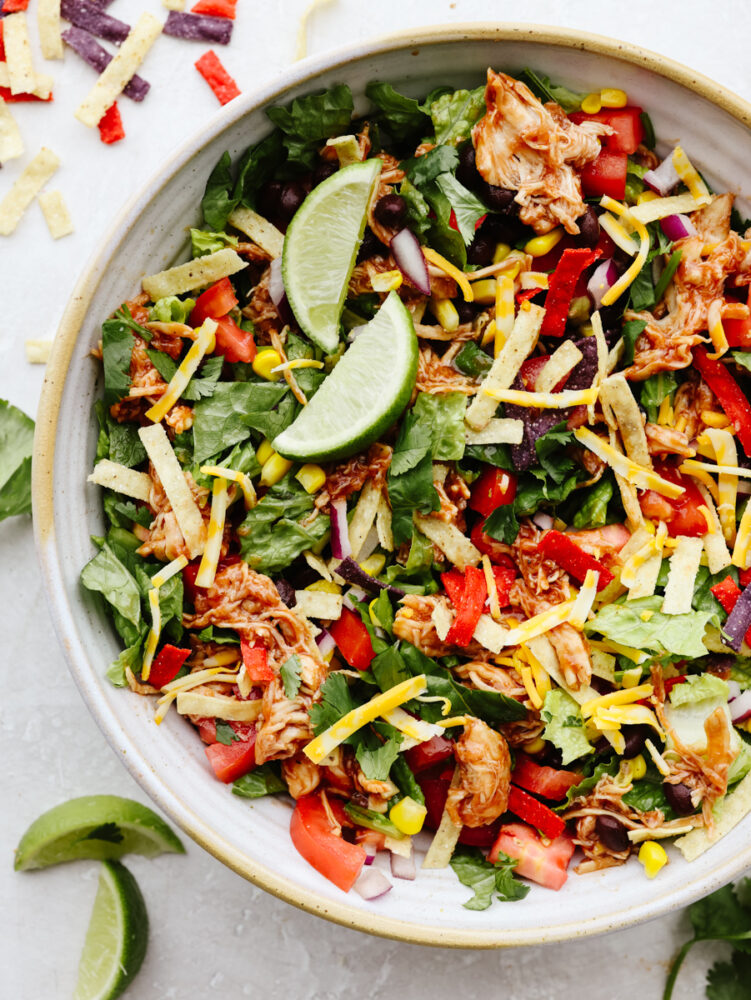
A bowl of BBQ chicken salad.

How to Store Leftover BBQ Chicken Salad

Salads with greens tend to not store well because they get soggy overnight from the dressing. Here is how you can prevent that from happening!

  • Serve individually: If you know you want to have extra of this then don’t add the dressing or tortilla strips to the entire bowl. Toss your salad together, serve it up and add these things to each individual serving.
  • Store seperately: Store your salad and dressing in your fridge in seperate, airtight containers. They will last 2-3 days. When you’re ready to eat, add the dressing and tortilla strips to your salad and it will taste as good as new!
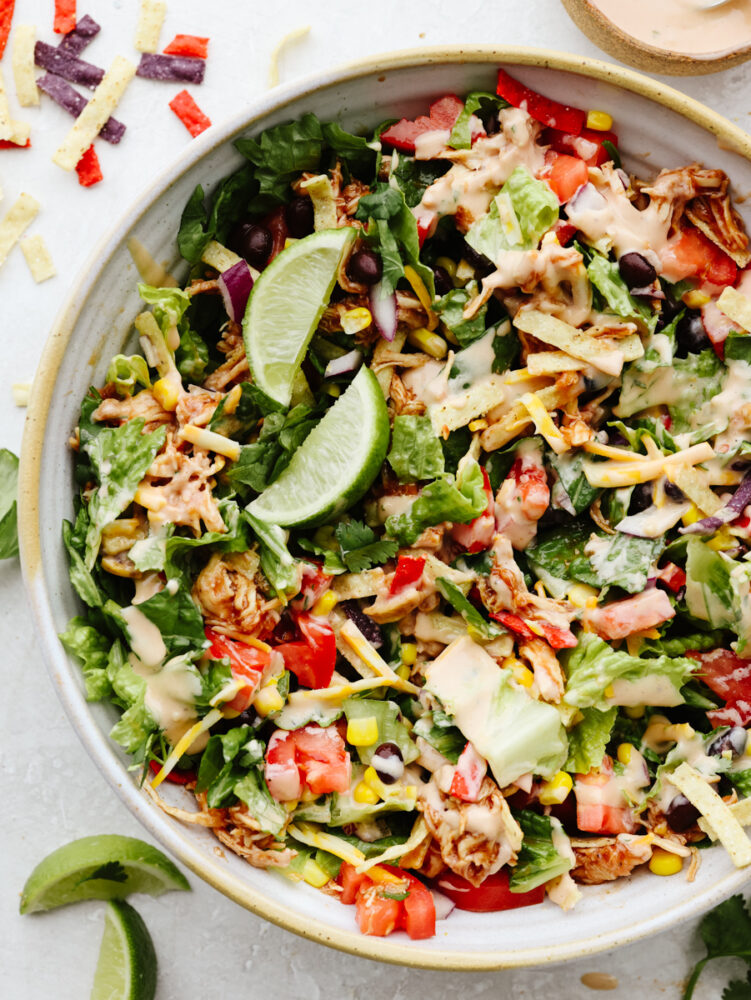
BBQ chicken salad with dressing and topped with fresh limes.
Print

BBQ Chicken Salad with BBQ Cilantro Lime Dressing

This BBQ chicken salad is healthy and packed to the brim with flavor! Filled with veggies, shredded chicken, and crispy tortilla chips, this salad really takes off when you add in the dressing. It's to die for! 
Course Dinner, Salad
Cuisine American
Keyword bbq chicken, chicken salad
Prep Time 1 hour 20 minutes
Total Time 1 hour 20 minutes
Servings 6 Servings
Calories 690kcal
Author Alyssa Rivers

Ingredients

  • 3 cups chicken cooked and shredded
  • 2 cups BBQ sauce homemade or storebought (Highly recommend Sweet Baby Ray’s)
  • 2 romaine hearts chopped
  • 1/2 red onion diced
  • 1/4 cup cilantro chopped fresh
  • 1 1/2 cups corn
  • 1 (15 ounce) can black beans, rinsed and drained
  • 1/2 cup tomatoes, chopped
  • 4 ounces sharp cheddar cheese cubed or shredded
  • 2 ounces Monterey Jack Cheese cubed or shredded
  • tortilla strips

Salad Dressing:

  • 1 cup mayonnaise
  • 1/3 cup buttermilk
  • 1 tablespoons fresh cilantro finely chopped
  • 1 tablespoon lime juice
  • 1 teaspoon white vinegar
  • 1 teaspoon granulated sugar
  • 1 garlic clove finely minced
  • 1/2 teaspoon salt
  • 1/8 teaspoon cayenne pepper
  • 1/8 teaspoon black pepper
  • 1/4 teaspoon ground cumin
  • 1/2 cup BBQ sauce

Instructions

  • Cook and shred your chicken. I always throw it into the crockpot with some chicken broth and let it slow cook all day. Then I will drain the juices and shred them. Once you shred your chicken, add the 2 cups of BBQ sauce to the chicken. Set aside until ready to use.

Salad Dressing

  • If you are making the salad dressing, whisk together the mayonnaise, buttermilk, chopped cilantro, lime juice, white vinegar, sugar, garlic, salt, cayenne pepper, black pepper, cumin and BBQ sauce. Set aside until ready to use.
  • In a large bowl, toss the romaine, red onion, cilantro, corn, and black beans. You can either add about ½ cup of the salad dressing to this, or serve it on the side.
  • Top salad with the cheese and tortilla strips. Enjoy!

Notes

Updated on January 23, 2022
Originally Posted on March 18, 2013

Nutrition

Calories: 690kcal | Carbohydrates: 61g | Protein: 16g | Fat: 43g | Saturated Fat: 12g | Cholesterol: 66mg | Sodium: 1860mg | Potassium: 570mg | Fiber: 3g | Sugar: 44g | Vitamin A: 4058IU | Vitamin C: 7mg | Calcium: 282mg | Iron: 2mg


from The Recipe Critic https://ift.tt/3GU7vlb
https://ift.tt/3u7A8bp
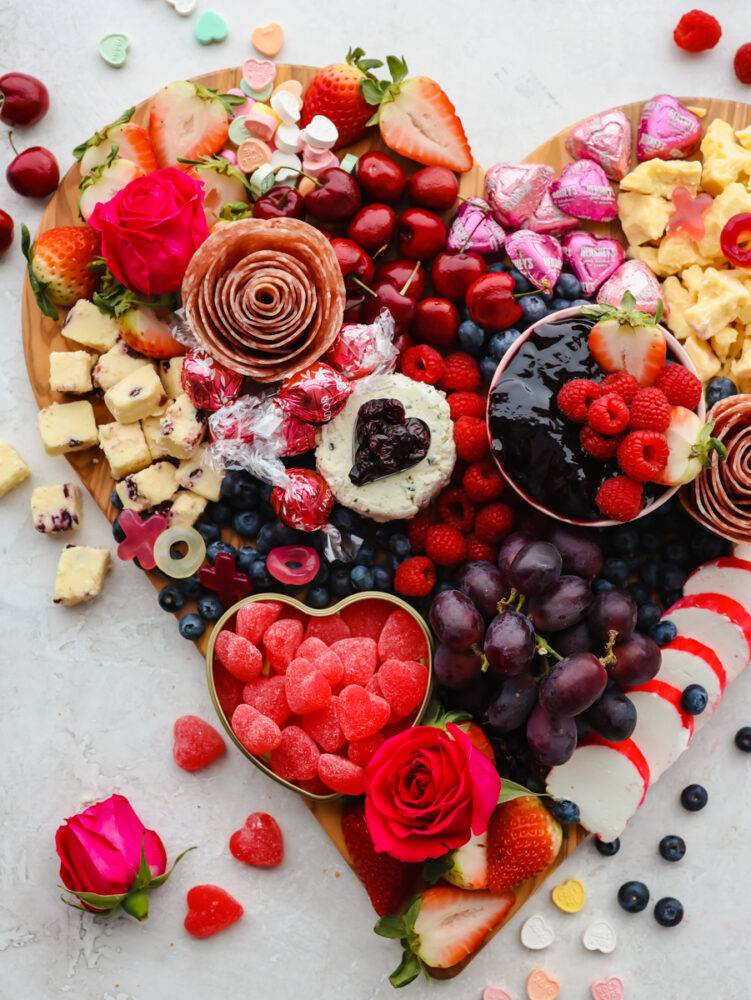
Valentine’s Charcuterie Board

The holiday of love is just around the corner, and you need to try out this Valentine’s day charcuterie board! It’s packed with meat, cheeses and all sorts of festive red and pink fruits and candy to start the holiday off right.

A charcuterie board has something for everyone! If you want to try some more delicious Valentine’s treats, then go ahead and make these cookies, cheesecake, or these delicious brownies.

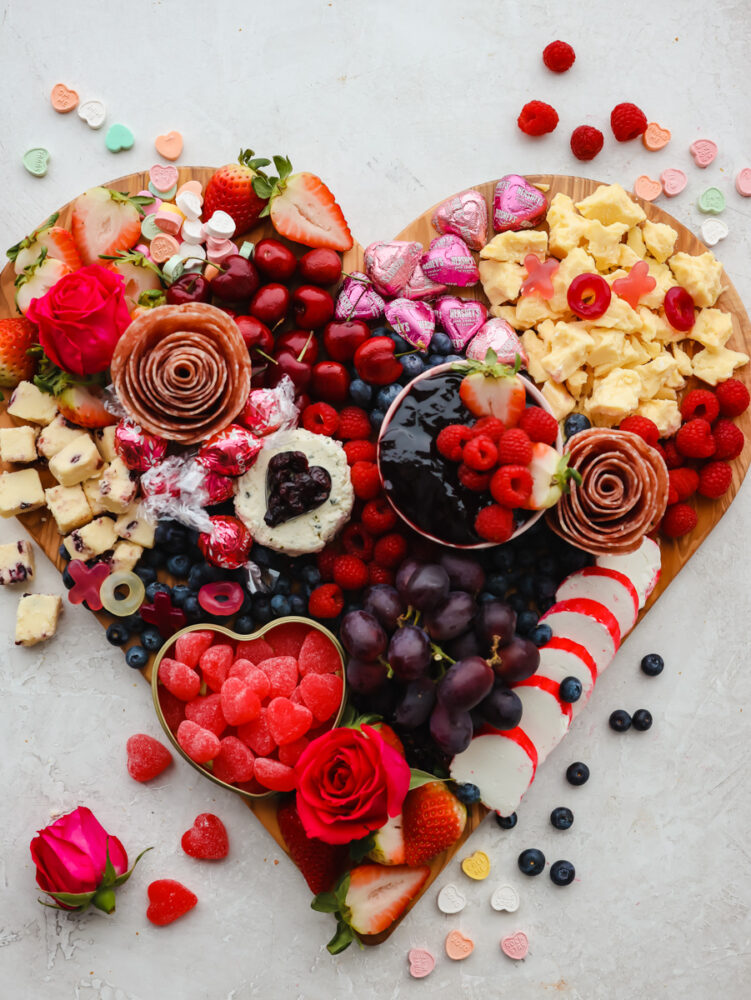
Meats, cheese, fruit and candy on a heart shaped wood cutting board.

Valentine’s Day Charcuterie Board

A classic charcuterie board (pronounced shar-koo-tuh-ree) board is made of meats and cheeses. You can serve this as an appetizer, as a snack, or even fill it with a few more hearty slices of meat and make it a fun meal! But because these platters are becoming so popular, I’ve decided to add in a few fruits and candies to not only add in some color and texture but to make it festive for the holiday!

My kids love it when I make a charcuterie board! They think it’s so fun to help me decide what to put on and then tell me where to put it. This Valentine’s charcuterie was filled with so many delicious spreads and fruits. It made it hard not to eat it all up before I made it! The best part about these is that you can easily switch things out to your favorite foods and make them your own! I make them for all of the holidays because they are such a hit with friends and family!

The Recipe Critic Recommendation

Perfect Valentine’s Day Charcuterie Board

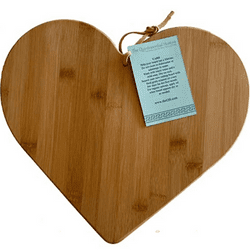
Heart Shaped Cutting Board Full Size 12" x 13" Charcuterie Board
This wooden board is perfect for adding fruits, candy, cheese, and chocolate for your favorite Valentine’s board.

Start with the Cheese and Meats

Cheese is part of all classic charcuterie boards, so you can’t skip this step! It not only lends itself to a savory taste, but the texture of cheeses is just so different than anything else on the board. Plus, this is where you can get really creative with the flavors that you choose and then introduce your guests to new flavors. Here is a list of the cheese that I used for this Valentine’s charcuterie board:

Cheese

  • Garlic and Herb Boursin
  • Wensleydale with cranberries
  • Sharp cheddar
  • Plain Goat Cheese with Pink Food Coloring

Meat

  • Italian Dry Salami

Spread

  • Grape Jelly

I didn’t use a ton of meat and cheese on this board because I knew that I would be mixing in many other things like fruit and candy. If you are doing a board with only meats and cheeses, then you will need more. Some other ones that you can try are Dutch Spicy Kaas Red, green and white square cheese, Creamy Toscano Cheese, Beemster Cheese, Peppered Salame, and Proscuitto.

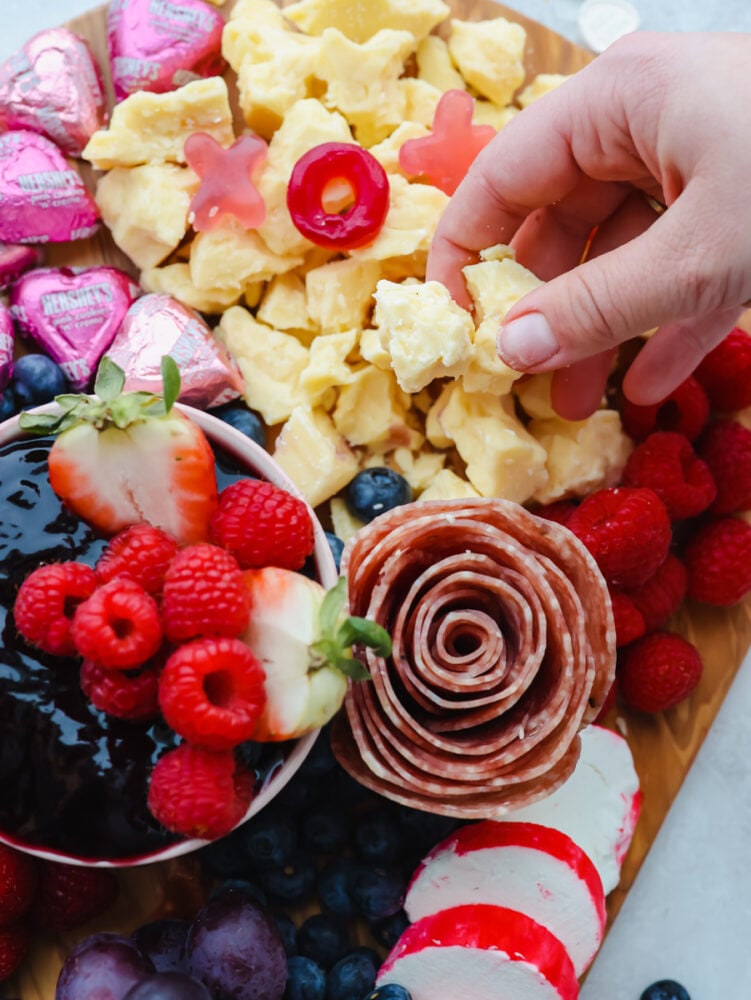
A close up shot of a salami rose and someone picking up a piece of cheese.

What Fruits Do I Use for a Valentine’s Charcuterie Board?

The fruit may be my favorite part of this charcuterie board! This is where I can get a huge variety in color, texture, and taste so that I can bring in a little something for everyone! When I am making a charcuterie board for a holiday, like this Valentine’s Day one, then I especially like to bring in all the fruits in those holiday colors. Everything that I used on this board is pinks, reds, and purples.

  • Cherries
  • Blueberries
  • Strawberries cut into half
  • Raspberries
  • Grapes

Think about whatever occasion you are making this board for and then cater your ideas to that occasion! Fruits that I have used on other boards are apples, bananas, blackberries, green grapes, pineapple, and oranges. Add whatever you want into these and then arrange them in different places on the board so that they are spread out.

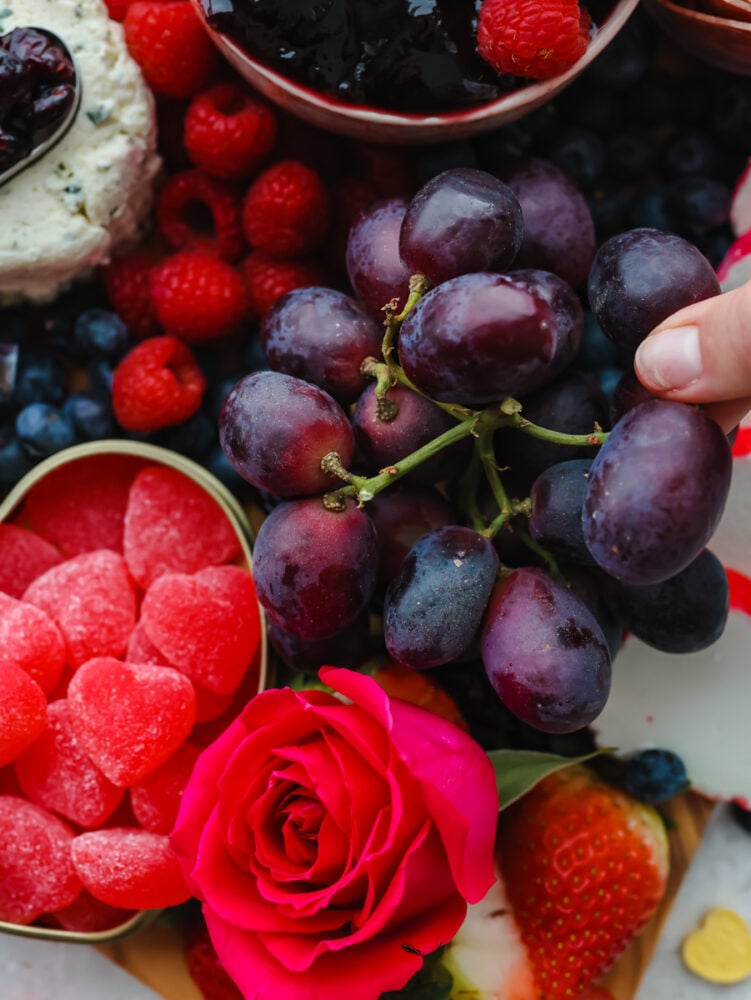
A close up of a hand picking some grapes off of the board.

It’s Time for the Candy!

This is my kids’ favorite part of any holiday charcuterie board that I make… The treats! The candy on this board brings in so much color and then just takes the fun level up a notch. You can go crazy and use whatever kind that you love! Because you are making this during a holiday time then it will be super easy to find themed candy in your seasonal aisle at your grocery store.

  • Lindor Chocolate Truffles
  • Conversation Hearts 
  • Cinnamon Hearts
  • Chocolate Hearts wrapped

Let’s Make a Valentine’s Charcuterie Board!

Putting this together is so much fun, and I love that they are different every single time. Get creative and change things up if you want. Make this your own!

  1. Start with the cheese: Over the heart shape charcuterie board, start assembling your board by adding the cheeses.
  2. Arrange salami: Next, add the salami. I used a small cup and arranged the salami like a flower.
  3. Add fruit: Then, you will want to add in your fruits and fruit jam. 
  4. Put on the treats: Fill in the board with candies and chocolates.
  5. Garnish: Add roses for an extra touch and then you can serve this up to all of your guests!
A Valentine's charcuterie board.

Charcuterie Board Tips

Charcuterie boards change every time you make them which is why this Valentine’s Day board is so fun! I love making these for holidays because they are so festive. Here are a few ideas on how to make this board your own!

  • Use different shapes: Using cookie cutters to make different shapes on the board really takes it up a notch! Cut out some cheese using cookie cutters. On this one, I cut some spread in the shape of a heart on the cheese.
  • Add in decorations: I added in some roses for Valentine’s Day but you can also add in other things like a lace doily or any other heart themed decorations that you have on hand.
  • Switch up the treats: For a charcuterie board that your kids will love, add in some cookies or crackers. Around the holiday you can even find some that are heart shaped or colored!
Print

Valentine’s Charcuterie Board

The holiday of love is just around the corner, and you need to try out this Valentine's day charcuterie board! It's packed with meat, cheeses and all sorts of festive red and pink fruits and candy to start the holiday off right.
Course Appetizer
Cuisine American
Keyword charcuterie board, valentines charcuterie board
Prep Time 15 minutes
Total Time 15 minutes
Servings 8 people
Calories 173kcal
Author Alyssa Rivers

Ingredients

  • 1 package Italian Dry Salami made into flowers
  • 1/2 cup Grape Jam

Fruit

  • 1 bag Cherries
  • 1 package Blueberries
  • 1 package Strawberries cut into half
  • 1 package Raspberries
  • 1 bag Red Grapes

Cheese

  • 1 package Garlic and Herb Boursin
  • 1 wedge Wensleydale with cranberries
  • 1 brick Sharp cheddar
  • 8 ounce Plain Goat Cheese with Pink Food Coloring

Candy

  • i package Lindor Chocolate Truffles
  • 1 bag Conversation Hearts
  • 1 bag Cinnamon Hearts, found at Trader Joe's
  • 1 package Chocolate Hearts wrapped

Instructions

  • Over the heart shape charcuterie board, start assembling your board by adding the cheeses.
  • Next, add the salami. I used a small cup and arranged the salami like a flower.
  • Add in your fruits and fruit jam.
  • Fill in the board with candies and chocolates.
  • Add roses for an extra touch!

Nutrition

Calories: 173kcal | Carbohydrates: 28g | Protein: 4g | Fat: 5g | Saturated Fat: 2g | Polyunsaturated Fat: 1g | Monounsaturated Fat: 2g | Cholesterol: 12mg | Sodium: 330mg | Potassium: 251mg | Fiber: 4g | Sugar: 19g | Vitamin A: 40IU | Vitamin C: 39mg | Calcium: 28mg | Iron: 1mg


from The Recipe Critic https://ift.tt/3FUydJo
https://ift.tt/32rQW1g

Homemade Corn Tortillas

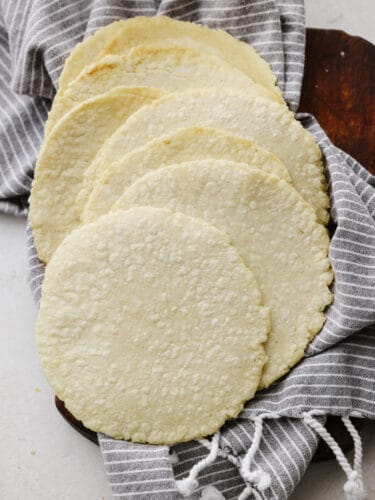
Homemade corn tortillas only have three ingredients and are a cinch to make! These guys are crispy on the edges, soft on the inside, and full of corn flavor.

Corn tortillas can be used in so many recipes! Pair them these with these street tacos, shrimp tacos, or these delicious breakfast enchiladas and you will elevate any recipe.

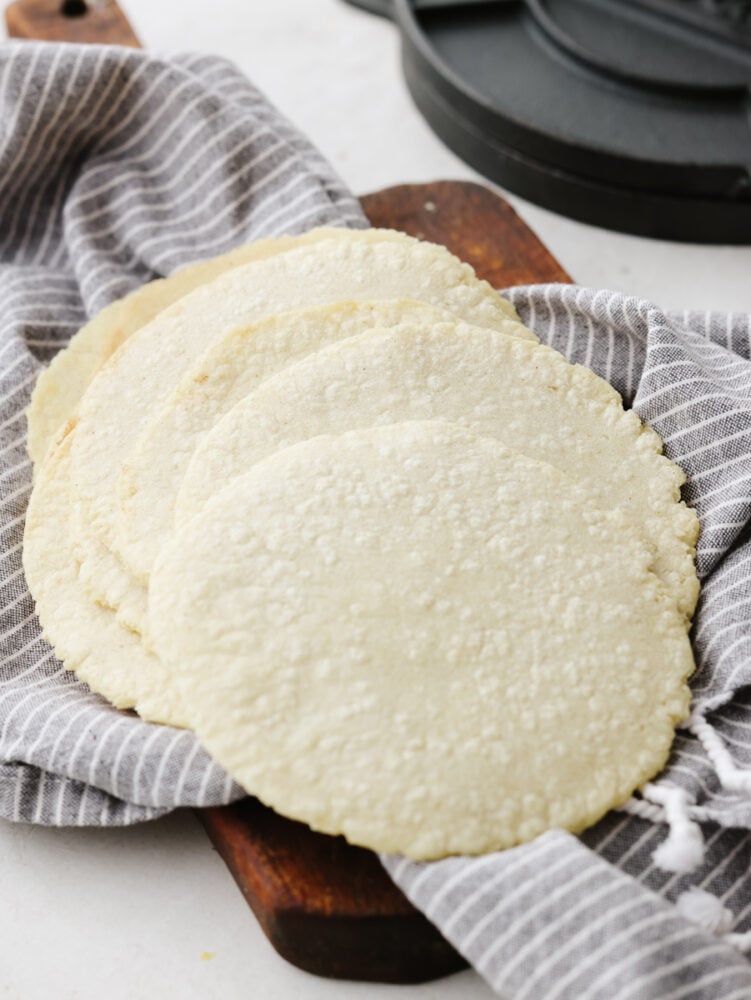
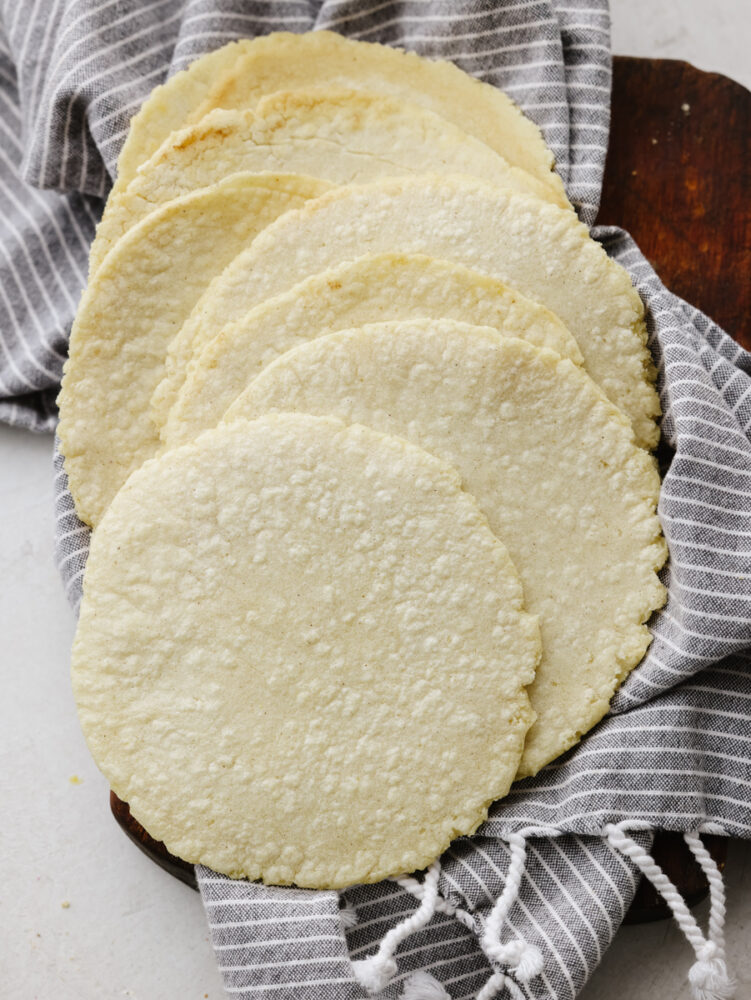
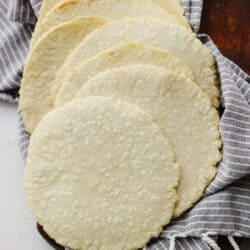
A stack of corn tortillas on a dish towel.

Corn Tortillas Recipe

Do you know the best thing about eating at a great Mexican restaurant (besides the queso)? Homemade corn tortillas! Seriously, there is nothing like a freshly made corn tortilla that’s charred and crisp but soft and pliable at the same time. I love to serve them with tacos, but they’re also great with enchiladas or served alongside a hearty taco soup as well.

One might think homemade tortillas are difficult to make, but I’m happy to report they are super easy to whip up. They take less than 30 minutes to make and you will be one step closer to the most delicious part of your homemade dish. So throw away all of your tortillas from the store. After these, you will never want to buy store-bought tortillas again!

Ingredients in Homemade Tortillas

There are only 3 ingredients that you need to make these tortillas. Once you get your hands on the special corn flour (masa harina) then it’s smooth sailing! See the recipe card below for a list of exact measurements.

  • Masa Harina: The key to authentic corn tortillas is masa harina. Masa harina at its simplest explanation is corn flour. The corn granules are dried, and then soaked in lime water which helps to soften the kernels and give them additional starch. While we’re using masa harina today to make corn tortillas, you can also make tamales, arepas, or empanadas as well. I used white corn masa, but yellow corn masa works as well. They both taste the same, so really, it’s whatever color your prefer.
  • Salt: Like any flour, masa harina has no seasoning, so you’ll have to add a little bit of kosher salt. I find a ¼ teaspoon is enough.
  • Water: You want to make sure your water is very warm, and almost hot. This will help to combine the ingredients a little bit easier.

How to Make Easy Corn Tortillas

Trust me when I tell you that you MUST make these tortillas. They will take any dish to the next level and have all of your guests coming back for more!

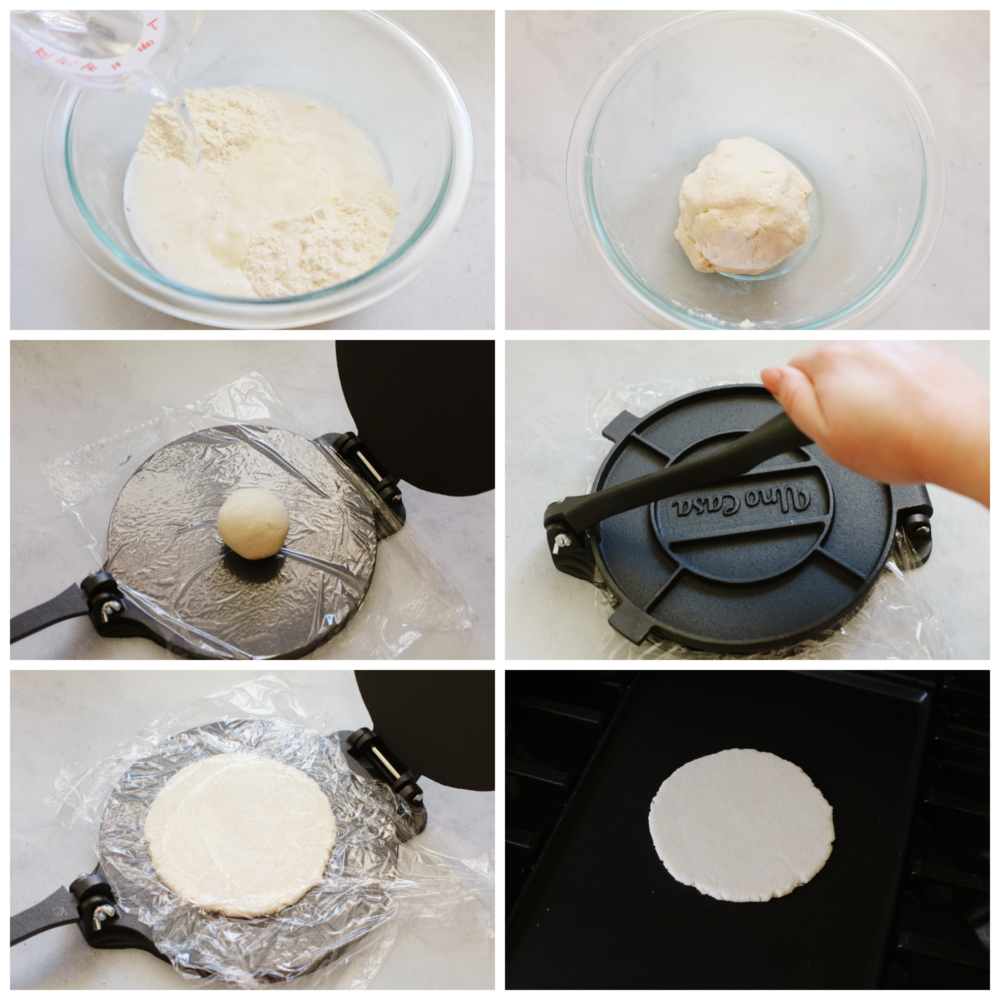
  1. Mix the dough: Add the masa harina to a large bowl. Add salt. Whisk to combine. Slowly add the water while stirring with a spatula or wooden spoon. Once the water is almost all the way mixed in, start to use your hands to form the dough.
  2. Gently knead the dough until you can form it into a ball.
  3. Let it rest: Place the dough ball back into the bowl and cover with plastic wrap. Let the dough sit for 5-10 minutes.
  4. Form into balls: Use your hands to form the dough into scant ¼ cup balls. Make sure the balls don’t have any cracks.
  5. Form into tortillas: The easiest way to make corn tortillas is to use a tortillas press. We love this basic one. Place a piece of plastic wrap on the bottom of the tortilla wrap. Put the ball of dough on the press. Put another piece of plastic on top of the dough. Press down. That’s it! Your tortilla is done.
  6. Cook! When all the tortillas are made, heat a large griddle to a medium heat. Add the tortillas. Cook until golden brown, about 2-3 minutes. Flip and do the same.
6 pictures showing how to form tortilla dough and press it flat.

Do I Need a Tortilla Press?

No! It just makes the process MUCH easier. You can also put the dough balls between two pieces of plastic wrap and roll them out with a heavy rolling pin. Both methods work great!

A stack of corn tortillas.

Variations

  • Water: Make sure to use hot water. This will help the dough to come together quicker.
  • Frying Tortillas: If you want them to be more like a tostada, fry the tortillas in oil.
  • Plastic Wrap: Don’t forget to use plastic! If you don’t use plastic wrap in the tortilla press, the dough will stick.
  • Seasoning: After you whisk the flour and salt together, give it a taste. Season to taste with a little more salt if needed.
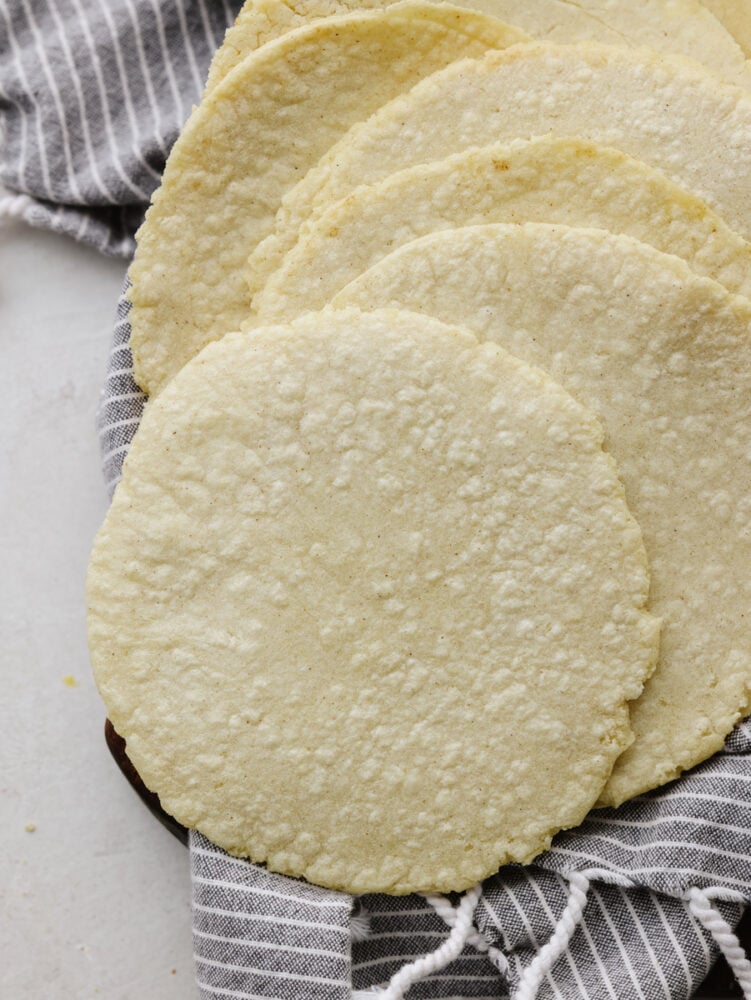
Corn tortillas in a stack on the counter.

Can I Make Corn Tortillas in Advance?

Yes, these corn tortillas will keep at room temperature for up to three days. Store in a plastic bag or airtight container.

Print

Homemade Corn Tortillas

Homemade corn tortillas only have three ingredients and are a cinch to make! These guys are crispy on the edges, soft on the inside, and full of corn flavor.
Course Main Course
Cuisine Mexican
Keyword corn tortillas, homemade tortillas
Prep Time 15 minutes
Cook Time 5 minutes
Rest Time 10 minutes
Total Time 30 minutes
Servings 9 tortillas
Calories 92kcal
Author Alyssa Rivers
Cost $7

Equipment

  • Tortilla press
  • Mixing Bowl

Ingredients

  • 2 cups masa harina
  • 1/4 teaspoon kosher salt
  • 1 1/2 cups warm water (plus more if needed)

Instructions

  • Add the masa harina to a large bowl. Add salt. Whisk to combine. Slowly add the water while stirring with a spatula or wooden spoon. Once the water is almost all the way mixed in, start to use your hands to form the dough. Gently knead the dough until you can form it into a ball. Place the dough ball back into the bowl and cover with plastic wrap. Let the dough sit for 5-10 minutes.
  • Use your hands to form the dough into scant ¼ cup balls. Make sure the balls don't have any cracks.
  • The easiest way to make corn tortillas is to use a tortillas press. Place a piece of plastic wrap on the bottom of the tortilla wrap. Put the ball of dough on the press. Put another piece of plastic on top of the dough. Press down. Repeat with remaining balls.
  • When all the tortillas are made, heat a large griddle to a medium heat. Add the tortillas. Cook until golden brown, about 2-3 minutes per side.

Notes

Updated on January 21, 2022
Originally Posted on November 18, 2020

Nutrition

Calories: 92kcal | Carbohydrates: 19g | Protein: 2g | Fat: 1g | Saturated Fat: 1g | Sodium: 66mg | Potassium: 67mg | Fiber: 2g | Vitamin A: 54IU | Calcium: 34mg | Iron: 2mg


from The Recipe Critic https://ift.tt/3lJ1dum
https://ift.tt/3fODCao