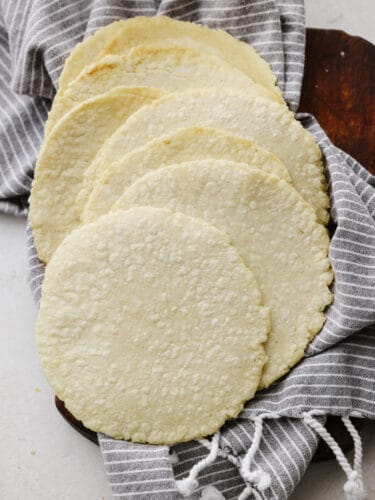
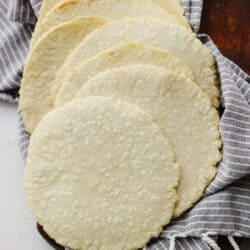
Homemade corn tortillas only have three ingredients and are a cinch to make! These guys are crispy on the edges, soft on the inside, and full of corn flavor.
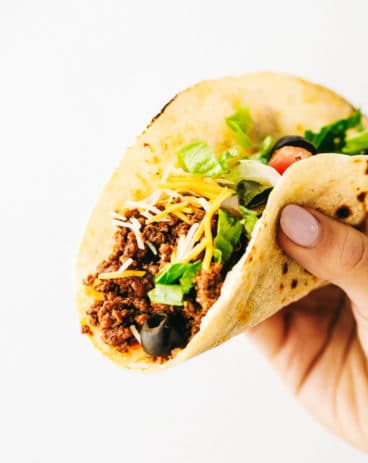
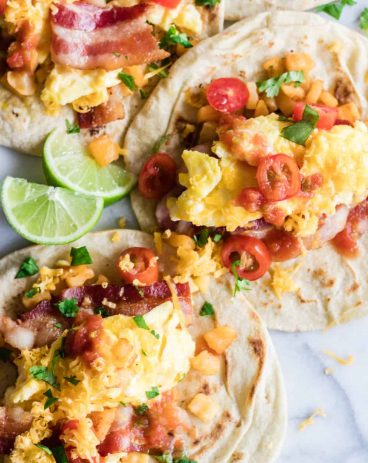
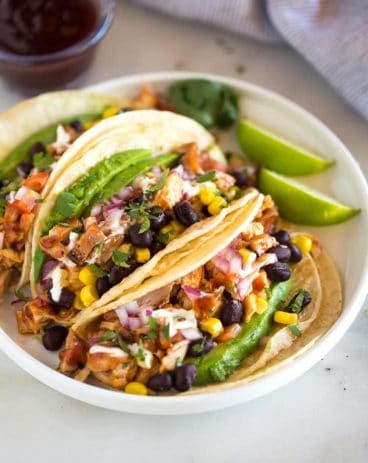
Corn tortillas can be used in so many recipes! Pair them these with these street tacos, shrimp tacos, or these delicious breakfast enchiladas and you will elevate any recipe.

Corn Tortillas Recipe
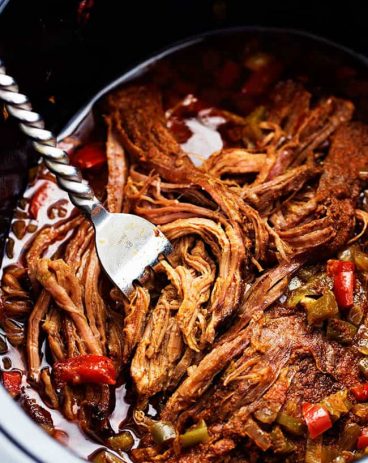
Do you know the best thing about eating at a great Mexican restaurant (besides the queso)? Homemade corn tortillas! Seriously, there is nothing like a freshly made corn tortilla that’s charred and crisp but soft and pliable at the same time. I love to serve them with tacos, but they’re also great with enchiladas or served alongside a hearty taco soup as well.
One might think homemade tortillas are difficult to make, but I’m happy to report they are super easy to whip up. They take less than 30 minutes to make and you will be one step closer to the most delicious part of your homemade dish. So throw away all of your tortillas from the store. After these, you will never want to buy store-bought tortillas again!
Ingredients in Homemade Tortillas
There are only 3 ingredients that you need to make these tortillas. Once you get your hands on the special corn flour (masa harina) then it’s smooth sailing! See the recipe card below for a list of exact measurements.
- Masa Harina: The key to authentic corn tortillas is masa harina. Masa harina at its simplest explanation is corn flour. The corn granules are dried, and then soaked in lime water which helps to soften the kernels and give them additional starch. While we’re using masa harina today to make corn tortillas, you can also make tamales, arepas, or empanadas as well. I used white corn masa, but yellow corn masa works as well. They both taste the same, so really, it’s whatever color your prefer.
- Salt: Like any flour, masa harina has no seasoning, so you’ll have to add a little bit of kosher salt. I find a ¼ teaspoon is enough.
- Water: You want to make sure your water is very warm, and almost hot. This will help to combine the ingredients a little bit easier.
How to Make Easy Corn Tortillas
Trust me when I tell you that you MUST make these tortillas. They will take any dish to the next level and have all of your guests coming back for more!
- Mix the dough: Add the masa harina to a large bowl. Add salt. Whisk to combine. Slowly add the water while stirring with a spatula or wooden spoon. Once the water is almost all the way mixed in, start to use your hands to form the dough.
- Gently knead the dough until you can form it into a ball.
- Let it rest: Place the dough ball back into the bowl and cover with plastic wrap. Let the dough sit for 5-10 minutes.
- Form into balls: Use your hands to form the dough into scant ¼ cup balls. Make sure the balls don’t have any cracks.
- Form into tortillas: The easiest way to make corn tortillas is to use a tortillas press. We love this basic one. Place a piece of plastic wrap on the bottom of the tortilla wrap. Put the ball of dough on the press. Put another piece of plastic on top of the dough. Press down. That’s it! Your tortilla is done.
- Cook! When all the tortillas are made, heat a large griddle to a medium heat. Add the tortillas. Cook until golden brown, about 2-3 minutes. Flip and do the same.

Do I Need a Tortilla Press?
No! It just makes the process MUCH easier. You can also put the dough balls between two pieces of plastic wrap and roll them out with a heavy rolling pin. Both methods work great!

Variations
- Water: Make sure to use hot water. This will help the dough to come together quicker.
- Frying Tortillas: If you want them to be more like a tostada, fry the tortillas in oil.
- Plastic Wrap: Don’t forget to use plastic! If you don’t use plastic wrap in the tortilla press, the dough will stick.
- Seasoning: After you whisk the flour and salt together, give it a taste. Season to taste with a little more salt if needed.

Can I Make Corn Tortillas in Advance?
Yes, these corn tortillas will keep at room temperature for up to three days. Store in a plastic bag or airtight container.
What to Serve with Corn Tortillas
Homemade Corn Tortillas
Equipment
-
Tortilla press
-
Mixing Bowl
Ingredients
- 2 cups masa harina
- 1/4 teaspoon kosher salt
- 1 1/2 cups warm water (plus more if needed)
Instructions
-
Add the masa harina to a large bowl. Add salt. Whisk to combine. Slowly add the water while stirring with a spatula or wooden spoon. Once the water is almost all the way mixed in, start to use your hands to form the dough. Gently knead the dough until you can form it into a ball. Place the dough ball back into the bowl and cover with plastic wrap. Let the dough sit for 5-10 minutes.
-
Use your hands to form the dough into scant ¼ cup balls. Make sure the balls don't have any cracks.
-
The easiest way to make corn tortillas is to use a tortillas press. Place a piece of plastic wrap on the bottom of the tortilla wrap. Put the ball of dough on the press. Put another piece of plastic on top of the dough. Press down. Repeat with remaining balls.
-
When all the tortillas are made, heat a large griddle to a medium heat. Add the tortillas. Cook until golden brown, about 2-3 minutes per side.
Notes
Nutrition
from The Recipe Critic https://ift.tt/3lJ1dum
https://ift.tt/3fODCao