Bolognese Gnocchi is everything that you would hope for in an amazing Italian dish! Flavorful, bold, and full of delightful texture, this tried and true recipe is something that will definitely get you a “WOW!” from your family and friends!
Completely homemade from start to finish, this bolognese gnocchi will knock your socks off! It is a recipe that is so yummy and less common than your typical, go-to pasta dishes, and one that will set you apart as a cook! If you love this pasta, try my homemade spaghetti, this delicious alfredo, and my favorite pasta.

Gnocchi Bolognese
When it comes to recipes, I really love to branch out and create something out of the norm. A dish that is so tasty that everyone (including kids!) will love. This bolognese gnocchi is one of those recipes. It is rich and creamy in texture but unlike traditional marinara sauce, the flavor isn’t that of tomatoes but a sweet sauce. It sets itself apart with the carrots and celery and the different kinds of meat and its secret ingredient: milk! Not only does the sauce taste delicious but the homemade gnocchi is easy and quick. All of this together totally make this dish one of a kind and will impress even the toughest of judges!
Bolognese Gnocchi sounds so fancy and complicated but it’s not hard! While it is a dish that takes some time to make, anyone can do it. I will even share with you some tips on making and storing this beforehand! That simple preparation will you will save you a lot of time and effort! That way, when it comes time to whip up a delicious meal for your family and friends, you will be able to pull this one out and look like you’ve been cooking for them all day! I absolutely love this recipe and I know that once you try it, you will absolutely love it as much as I do!!
What Ingredients Do I Need?
To make this homemade bolognese gnocchi, you will need the sauce and some gnocchi (a dumpling that is made out of flour and potatoes). You can make both of those beforehand! See the recipe card below for a list of ingredient measurements.
- Butter: Use unsalted butter in this dish
- Gnocchi: Here is my recipe for homemade gnocchi that you can make beforehand.
- Bolognese sauce: This delicious bolognese sauce is something that you will want to prepare ahead of time and use in this recipe.
- Parmesan cheese: Fresh, shredded parmesan cheese is my favorite!
- Basil: Chop up some basil and use it as a garnish.
Let’s Make Bolognese Gnocchi!
Once you have taken the time to prepare and make your sauce and gnocchi, this part is an absolute breeze! It’s simple and quick and will have your meal ready faster than you can say dig in!
- Fry: In a medium sized skillet over medium high heat, add the butter and gnocchi. Fry the gnocchi until golden for about 3-4 minutes.
- Mix: Toss with Bolognese sauce and top with cheese and chopped basil.

Making Your Gnocchi and Sauce Ahead of Time
The key to making this bolognese gnocchi quick and easy is going to be how you prepare ahead of time! The sauce and the gnocchi are a little bit time-consuming but you can totally make them beforehand! If you double or triple each recipe (especially the sauce!) then you will have extra for leftovers or you can use either of them in any other recipes that you want! Once you have these two parts cooked, you can make this dish from start to finish in just a few minutes! Preparation beforehand is your friend when it comes to this recipe. Here is how you can do that!
- Prepare and refrigerate: Make the bolognese sauce and gnocchi a few days beforehand and place in airtight containers in your fridge. They will last for 2 days in your fridge and when you are ready to cook, you just take them out, reheat them and follow this recipe!
- Prepare and freeze: If you know that you are going to need some quick freezer meals, this one is fantastic! You can prepare the sauce and gnocchi ahead of time. After making those two things, place them in separate airtight containers in your freezer. They will last up to 3 months frozen.
- Thaw and reheat: Take your bolognese sauce and gnocchi out of your freezer and thaw overnight in your fridge. When you are ready to cook this recipe, simply reheat the sauce in a pan on the stovetop or in the microwave. Stir every 15-20 seconds until heated through. Cook your gnocchi as directed in this recipe and add the reheated sauce. Garnish and enjoy!!

Variations
This recipe is delicious as is or you can make it your own! Here are a couple of variations ideas on what you can do to get creative and make this work best for your family!
- Add spinach: Instead of garnishing with basil, you can add some spinach into this sauce and let it cook and heat through. It’s an easy and delicious way to add some extra healthiness to the dish!
- Buy pre-made gnocchi: If you want to save some time, you can buy a bag of pre-made gnocchi instead of making it at home. Just make sure that you thaw it before you begin cooking!

Make it a Meal!
Side Dishes
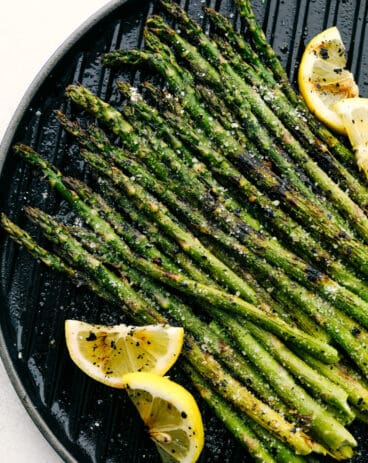
Grilled Asparagus Recipe

Bread
Homemade Breadtwists
Desserts
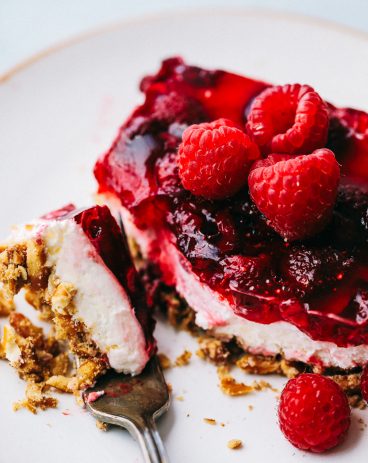
The Famous Raspberry Pretzel Salad

AMAZING Bolognese Gnocchi
Ingredients
- 1 Tablespoon Butter
- 1 Gnocchi
- 1 Bolognese sauce
- 1/2 cup parmesan cheese
- chopped basil for garnish
Instructions
-
In a medium-sized skillet over medium-high heat, add the butter and gnocchi. Fry the gnocchi until golden for about 3-4 minutes.
-
Toss with Bolognese sauce and top with cheese and chopped basil.
Nutrition
from The Recipe Critic https://ift.tt/2WjK4zG
https://ift.tt/2W6Fbdv