Alyssa Rivers August 28 लेबलों वाले संदेश दिखाए जा रहे हैं. सभी संदेश दिखाएं

शनिवार, 28 अगस्त 2021

MUST Try Cream Cheese Frosting

Cream cheese frosting that is insanely delicious and piped to perfection is exactly what this recipe is! It tastes amazing, looks beautiful AND it’s super easy to make!

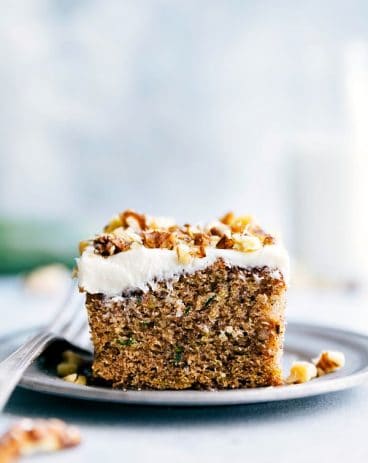
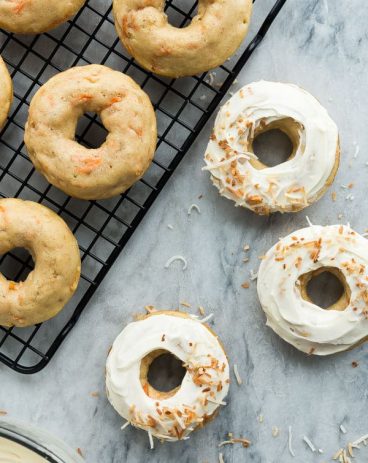
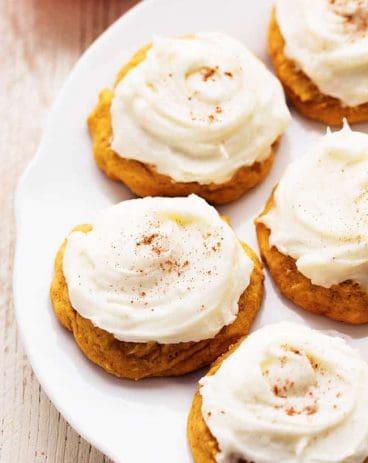
A cupcake is only as good as its frosting. Let me tell you, this frosting is SOOO GOOD! It is sweet and the texture is creamy and smooth! If you want some ideas for what to use this frosting on, try my favorite Strawberry Cupcakes, Carrot Cake Cupcakes, and Pumpkin Cake.
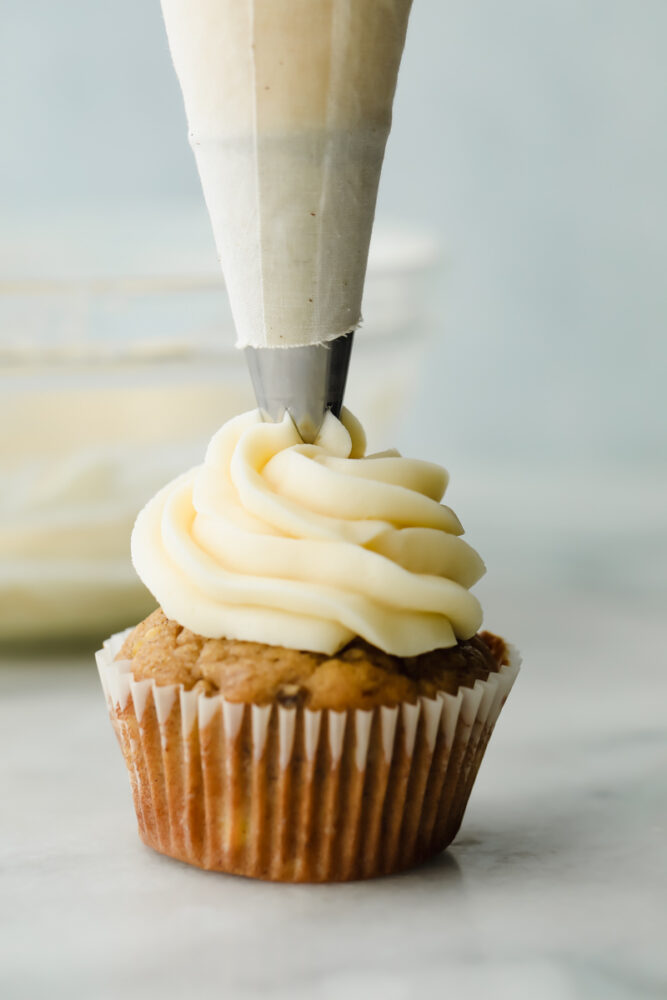
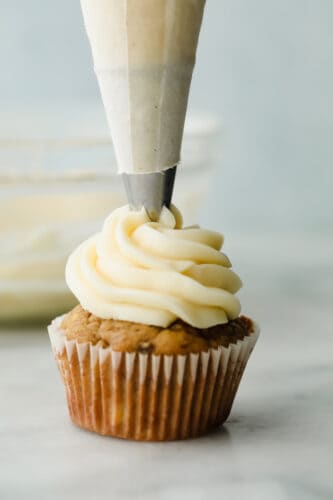
Cream cheese frosting being piped onto a cupcake.

Why Cream Cheese Frosting is the BEST

If I’m being completely honest, this cream cheese frosting is so delicious that I could eat it with just a spoon! But… I will settle for heaping amounts of it on cakes and cupcakes too! It is my absolute favorite frosting of choice for every cake, cupcake, or cookie that I make. The flavor has more depth than buttercream. It is sweet with that tiny tangy flavor of cream cheese, which is what makes it delicious! The texture is thicker and it tastes SOOO GOOD without being overly sweet! I always have the ingredients at my house so it’s a no-brainer why I choose it every time!

Because this cream cheese frosting is so simple, you don’t have to plan ahead and you can whip this up at the last minute! Recipes like this are so nice to have on hand for that very reason! It takes 5 minutes to gather up and put these 5 ingredients together. The part that takes the longest is spreading or piping it onto your dessert! And as a bonus, you can even make it ahead and store it in your fridge or freezer! This makes it even easier because you can have it ready to go for whenever you might need it! Since you can use it on so many desserts, you should make some extra just in case!
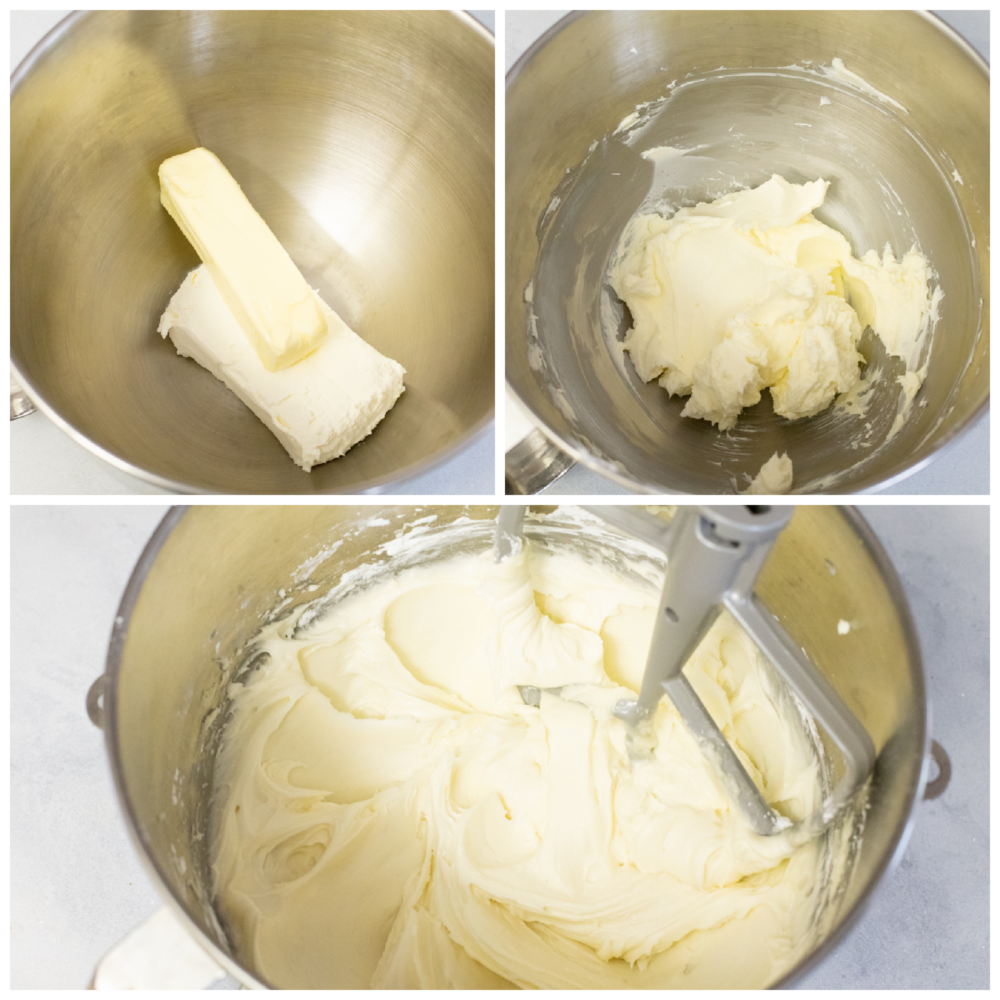
3 images showing how to mix frosting.

Ingredients for Cream Cheese Frosting

You only need a few, simple ingredients and this cream cheese frosting will completely transform anything that you using it on! It is SO easy and takes less than 5 minutes! See the recipe card below for a list of exact measurements!

  • Cream cheese: Make sure that you eave your cream cheese out on your counter for a few minutes to soften it first.
  • Butter: Use unsalted, softened butter. Adding the salt later keeps you in control of the flavor of the frosting!
  • Vanilla extract: This will add in a bit of vanilla flavoring without it being overpowering.
  • Salt: This will draw out your other flavors and keep the frosting from getting TOO sweet.
  • Powdered sugar: You use powdered sugar instead of granulated sugar because this dissolves quickly and without heat!

How to Make Frosting

Making this cream cheese frosting is quick and it mixes up in no time! You will definitely want to make some extra while you are at it to store for later!

  1. Beat: In the bowl of a mixer, beat the cream cheese and unsalted butter together until smooth. Scrape down the bowl and beat again for about 10 seconds to make sure everything is completely incorporated.
  2. Add and mix: Add the vanilla, salt and powdered sugar. Mix on low until the powdered sugar is moistened enough for you to increase the speed without it making a mess. Beat until smooth.
  3. Pipe or spread: Use to frost cupcakes, cakes, cinnamon rolls and so much more!

Cream Cheese Frosting Tips

Cream cheese frosting is a huge hit at my house! We love it on everything! To make the texture and taste just perfect, I have come up with a few helpful tips that will perfectly complement an endless amount of desserts!

  • Room temperature ingredients: Make sure you start with cream cheese and butter that is room temperature. This will help the two combine to make a smooth, creamy frosting without any clumps of butter or cream cheese.
  • Mix it slowly: When adding the powdered sugar make sure you start slowly! Go slow until it’s moistened and then begin to increase the speed.This way, you don’t end up with a cloud of powdered sugar in the air covering everything in your kitchen!
  • Thicker frosting: If you decide that you want the frosting to be a little thicker, add 2 tablespoons of powdered sugar at a time until you reach your desired consistency!
  • Piping the frosting: This cream cheese frosting is perfect for piping onto cupcakes! Just make sure that you mix it extrememly well so that you don’t have any clumps that will clog up your piping tips.
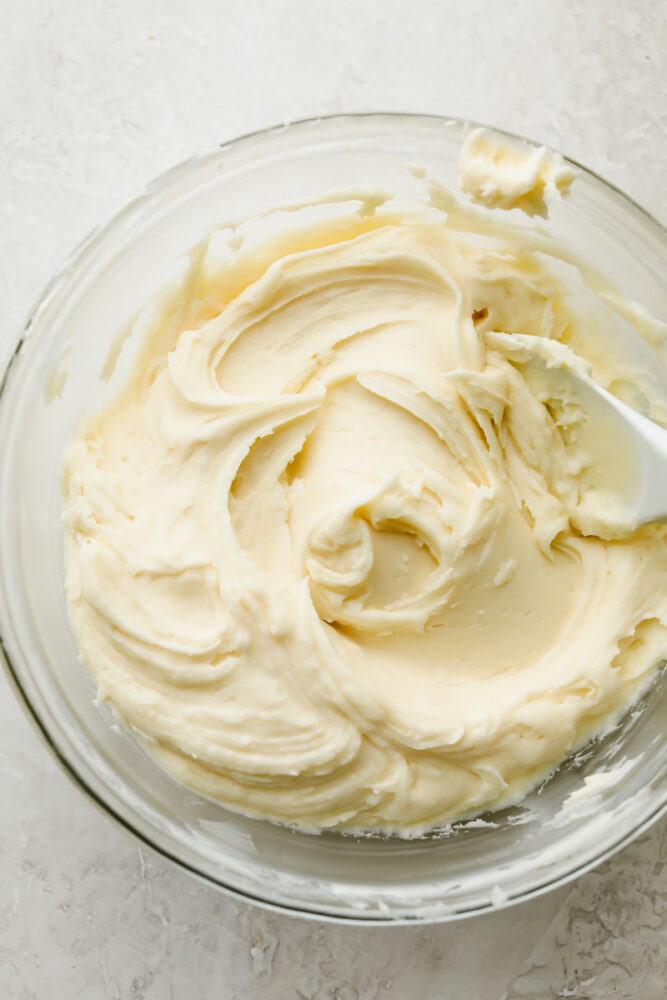
Cream cheese frosting in a bowl with a spoon.

Storing Your Frosting

Cream cheese frosting is super tasty but susceptible to heat and melting. Because of this, it needs to be kept in the fridge until just about time to use. Whatever you have frosted will also need to be stored in the fridge!

  • Refrigerator: Store in an airtight container for up to 7 days. Bring to room temperature before use.
  • Freezer: You can freeze cream cheese frosting for up to 3 months in an airtight container. Allow it to thaw in the fridge before bringing it to room temperature on the counter. If it is a little too soft, mix more powdered sugar into it until it is as stiff as you would like!
Print

Cream Cheese Frosting

Cream cheese frosting that is insanely delicious and piped to perfection is exactly what this recipe is! It tastes amazing, looks beautiful AND it's super easy to make!
Course Dessert
Cuisine American
Keyword cream cheese frosting
Prep Time 15 minutes
Total Time 15 minutes
Servings 20 ounces
Calories 173kcal
Author Alyssa Rivers

Ingredients

  • 8 ounces cream cheese softened
  • ½ cup unsalted butter softened
  • 1 teaspoon vanilla extract
  • ½ teaspoon salt
  • 4 cups powdered sugar

Instructions

  • In the bowl of a mixer, beat the cream cheese and unsalted butter together until smooth. Scrape down the bowl and beat again for about 10 seconds to make sure everything is completely incorporated.
  • Add the vanilla, salt, and powdered sugar. Mix on low until the powdered sugar is moistened enough for you to increase the speed without it making a mess. Beat until smooth.
  • Use to frost cupcakes, cakes, cinnamon rolls and so much more!

Nutrition

Calories: 173kcal | Carbohydrates: 24g | Protein: 1g | Fat: 8g | Saturated Fat: 5g | Polyunsaturated Fat: 1g | Monounsaturated Fat: 2g | Trans Fat: 1g | Cholesterol: 25mg | Sodium: 96mg | Potassium: 18mg | Sugar: 24g | Vitamin A: 294IU | Calcium: 13mg | Iron: 1mg


from The Recipe Critic https://ift.tt/2WyX983
https://ift.tt/2WrzQ02

शुक्रवार, 28 अगस्त 2020

Slow Cooker Mongolian Beef

This Mongolian beef slow cooks to tender, melt in your mouth perfection. This takes minutes to throw into the crock-pot and has such amazing flavor! One of the best things that you will make in your slow cooker!

If you love restaurant Mongolian Beef, this super easy make at home rendition will make take-out obsolete. For a perfect meal serve over rice with these Egg Rolls and Better Than Take Out Ham Fried Rice.

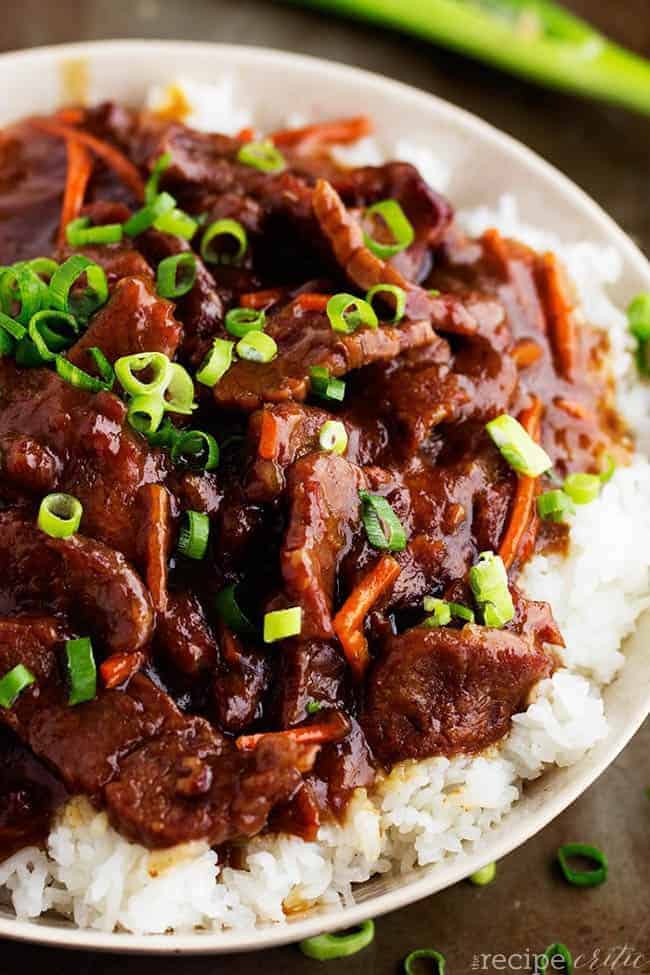
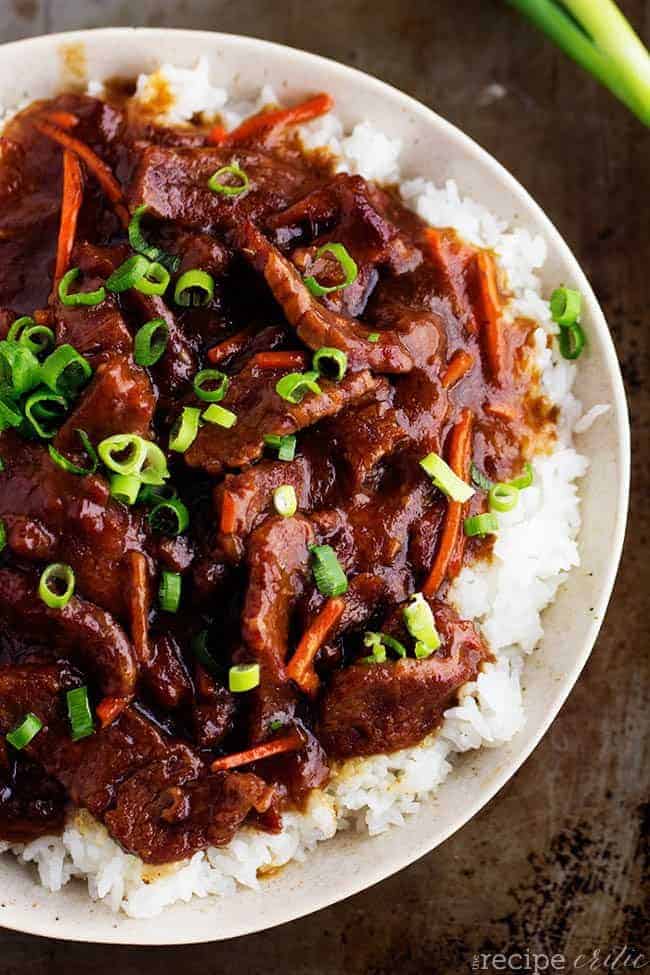
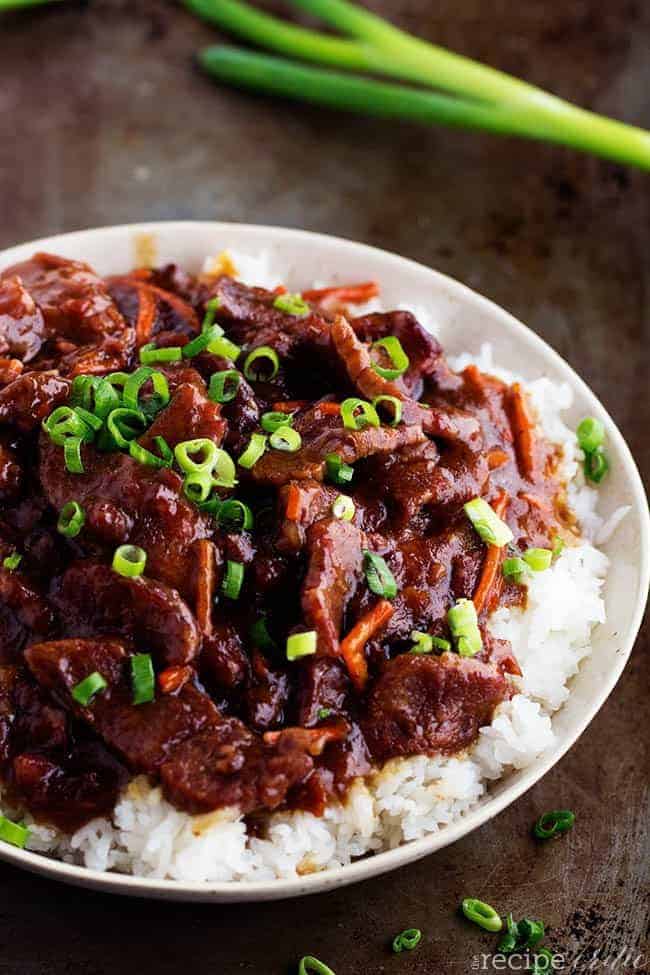
Slow cooker mongolian beef on rice and a white plate.

Slow Cooker Mongolian Beef

Garlic, soy-sauce and brown sugar come together to create a caramelized sauce that coats tender juicy pieces of steak for uncompromising flavor.  Slow cooking the beef ensures that it’ll be delicate and succulent. Mongolian Beef is known to be sweet and savory in every bite!

This is hands down one of the BEST things that I have ever made in my slow cooker. EVER. I love having such an easy meal that I can throw in the crock pot in the morning and have a restaurant worthy meal for the family in the evening. This slow cooker Mongolian Beef is one of my go-to recipes.

Mongolian Beef Ingredients:

First of all this is SO easy to make with minimal ingredients. It is simple yet full of so much flavor! It took me less than 5 minutes to throw it in the slow cooker.

  • Flank Steak: Sirloin can be substituted here but stay away from stew meat.
  • Corn Starch: This acts as a natural tenderizer for the beef.
  • Olive Oil: Canola can be used here as well.
  • Garlic: Minced or chopped will give the most flavor.
  • Soy Sauce: Low sodium soy sauce can be used here with no compromise to flavor.
  • Water: This will help make it saucy.
  • Brown Sugar: Light or dark brown sugar are both great in the sauce.
  • Carrots: Grate the carrots making sure not to make them too small or they turn to mush.
  • Green Onions: Optional garnish, but make a stunning topping.

How to Make Mongolian Beef in a Slow Cooker:

The beef literally just melts in your mouth! It cooks so tender in the slow cooker. And then the sauce is incredible. As I was eating this I kept thinking… there is no way that you could make this and not fall in love!

  1. Cut and Coat: Cut the flank steak thinly and across the grain to ensure a tender bite. Place in a ziplock bag with the cornstarch and shake, making sure to coat the beef evenly.
  2. Add ingredients to the Slow Cooker: Mix the oil, garlic, soy sauce, water, brown sugar and carrots in the slow cooker.
  3. Coat the Beef: Stir the beef into the slow cooker making sure it’s well coated
  4. Cook: Set on high for 2-3 hours or on low for 4-6 hours.

Slow cooker mongolian beef on rice and a white plate.

Tips and Variations:

Everything about this Mongolian recipe is perfect and I know that it will become a family favorite at your house just like it did at ours!

  • Chicken or Pork: This recipe is very flexible. You can use Chicken Breasts or Pork Tenderloin. Again cut evenly and thinly.
  • Veggies: Roast broccoli, green beans or asparagus then stir in at the end before serving over rice to add texture and nutrition.
  • Instant Pot: This is easily converts to a quick Instant Pot recipe. Saute the steak on high before adding the sauce ingredients and cooking on manual for 10 min. Quick release pressure and enjoy!

Slow cooker mongolian beef on rice and a white plate.

How to Store Leftovers:

If you have any leftovers, you can have this 5 star restaurant dish at your table now and again later.

  • Fridge: Sealed container for up to four days
  • Freezer: Put leftovers in an air-tight container or freezer ziplock bag for up to 4 months.
  • Lunch: Break into single servings for  a quick warm up in the microwave for lunch.

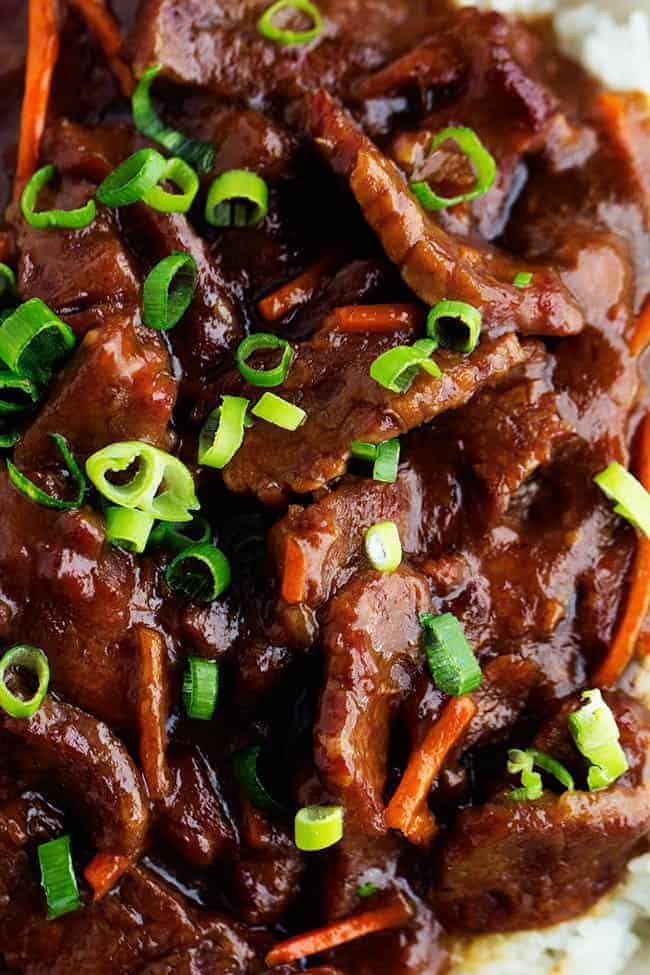
Close up of finished mongolian beef.

More Savory Slow Cooker Recipes:


Print

Slow Cooker Mongolian Beef

Beef that slow cooks to tender melt in your mouth perfection.  This takes minutes to throw into the crockpot and has such amazing flavor!  One of the best things that you will make in your slow cooker!
Course Dinner, Main Course
Cuisine Asian American
Keyword Mongolian beef, Mongolian Beef Recipe, slow cooker Mongolian beef
Prep Time 10 minutes
Slow Cooker 4 hours
Total Time 4 hours 10 minutes
Servings 6 Servings
Calories 348kcal
Author Alyssa Rivers

Ingredients

  • 1 ½ pounds Flank Steak
  • ¼ cups cornstarch
  • 2 tablespoons Olive Oil
  • ½ teaspoons Garlic mince, Cloves
  • ¾ cups Soy Sauce
  • ¾ cups Water
  • ¾ cups Brown Sugar
  • 1 cup Carrots grated
  • green onions for garnish

Instructions

  • Cut flank steak into thin strips. In a ziplock bag add flank steak pieces and cornstarch. Shake to coat.
  • Add olive oil, minced garlic, soy sauce, water, brown sugar and carrots to slow cooker. Stir ingredients. Add coated flank steak and stir again until coated in the sauce.
  • Cook in a slow cooker for high 2-3 hours or on low 4-5 hours until cooked throughout and tender. Can serve over rice and garnish with green onions.

Notes

Updated on August 27, 2020
Originally Posted on August 17, 2015

Nutrition

Calories: 348kcal | Carbohydrates: 36g | Protein: 28g | Fat: 10g | Saturated Fat: 3g | Cholesterol: 68mg | Sodium: 1705mg | Potassium: 553mg | Fiber: 1g | Sugar: 28g | Vitamin A: 3564IU | Vitamin C: 1mg | Calcium: 59mg | Iron: 3mg

Save


from The Recipe Critic https://ift.tt/2JlNGci
https://ift.tt/3b5sItq