Chocolate buttercream frosting is creamy, smooth, rich, and mouthwatering! The chocolate flavor is absolutely incredible and you will want to add it to every single treat that you bake up this fall!
Thick and silky, this rich frosting simply melts in your mouth. This chocolate buttercream will satisfy your chocolate cravings and leave you wanting to try more! So if you are a chocolate lover like me, try out these other chocolate recipes like Double Chocolate Zucchini Brownies, No-Bake Chocolate Pie, and Chocolate Truffles!

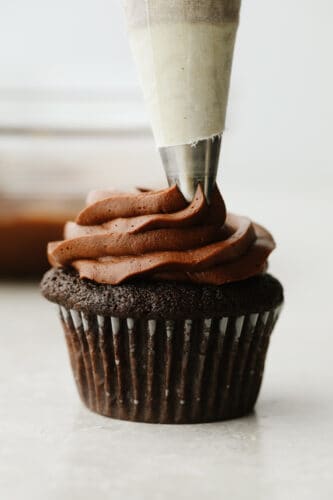
Homemade Chocolate Buttercream Frosting
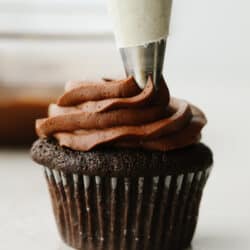
I knew that when I wanted to lick this bowl clean because this chocolate buttercream was so good that I just couldn’t keep this recipe a secret anymore! It is that good! Like, you will want to eat it plain with a spoon good. And maybe you do! No judgment here! It is wonderfully creamy and if you want to take it to the next level, try it out on these chocolate cupcakes. Not only does this frosting taste like heaven, but it also looks absolutely incredible piped into that beautiful swirl onto your cupcake. A thick, creamy layer of frosting is exactly what takes any cupcake to the next level!
If you are familiar with buttercream frosting then you know that it is fast and simple! It can be combined with literally any type of cake. That’s what makes it an excellent go-to! Whether I am baking cupcakes or cake, it has become our most requested topping for any birthday cake in our house. This recipe will make enough for about 24 cupcakes or 1 sheet cake so your options are totally open! In fact, because I know that you will be using this SO often, I have included below some ways that you can make this ahead and store it! So not only do you now have the secret recipe to chocolate heaven, but this tried and true favorite that you can make ahead will make your life a little bit easier. And I know that we all want that!
Chocolate Buttercream Ingredients
Buttercream frosting is something that is easy to make and simple to love! Most of the ingredients you will already have around in your kitchen so there is no excuse to be buying premade frosting at the store! See the recipe card below for a list of exact ingredient measurements.
- Butter: I like to use unsalted and softened butter to make sure that the taste and consistency is perfect!
- Powdered sugar: unlike granulated sugar, this will dissovle quickly without any heat so it creates that silky smooth texture!
- Cocoa powder: Unsweetened cocoa powder is exactly what you need to achieve that amazing chocolate taste!
- Milk: Any kind of milk (skim,1% or 2%) will do!
- Vanilla extract: This will add just the right amount of extra sweetness without being to overpowering.
- Salt: A must have incredient that will keep this from being overly sweet and will enhance the flavor of the other ingredients!
How to Make Chocolate Frosting
If you have 5 minutes, then you have enough time to whip up this amazing homemade topping! It will make all the difference in your baked goods and everyone will be raving about it after they try it!
- Beat: Beat the butter in the bowl of a mixer until fluffy. Add the powdered sugar and beat slowly until incorporated, increasing the speed to beat it more fully.
- Mix: Scrape down the sides and the bottom of the bowl and add the cocoa powder, milk, vanilla and salt. Mix on medium high until completely smooth and combined. If the frosting is too stiff, add more milk one tablespoon at a time until it is a pipeable consistency.
- Pipe: Use this frosting to frost cupcakes, cakes or whatever dessert your heart desires.

Tips for the Best Chocolate Buttercream
Buttercream is simple and easy to make! It tastes SOO good on just about anything. To make sure that this is as easy as possible for you, I have a few tips to make sure that your buttercream turns out perfectly! Read these through before you whip it up and I know that it will!
- Room temperature ingredients: Make sure you start with butter that is room temperature. This will help the butter beat into a smooth, glossy frosting without any clumps of butter.
- Mix slowly: When adding the powdered sugar make sure you start slowly! Go slow until it’s moistened and then begin to increase the speed. That way, you don’t end up with a cloud of powdered sugar in the air and covering everything in your kitchen!
Simple Varitations
There are a few things that you can do to make this chocolate buttercream recipe your own! Here are a few ideas for some variations that you can try to make it fit exactly what you need!
- Darker chocolate: If you prefer dark chocolate go ahead and substitute the cocoa powder for a dark cocoa powder, such as Hershey’s Special Dark.
- Add ins: Try adding in some peppermint extract or some citrus flavors such as lemon, lime or orange! Just do a small bit at a time until it reaches your desired taste. This will switch things up and open the door to so many more tasty desserts!
- Filling: You can not only use this to top off your beautiful cupcakes but you should try filling them with this! Cut a hole out of your cupcakes and put this frosting inside AND on top!

Storing Buttercream
Chocolate Buttercream is rich, sweet, and can be made ahead of time! I know that you are going to love this it so I recommend that you double the recipe! Make a big batch and freeze it to make sure that you always have some on hand. You won’t regret it!
- Room temperature: Place your frosting in an airtight container and it can be stored at room temperature for 2-3 days.
- Refrigerator: Store in an airtight container for up to 14 days. Bring to room temperature before use.
- Freezer: You can freeze chocolate buttercream for up to 3 months in an airtight container. Allow to thaw in the fridge and then bring it to room temperature on the counter. If it is a little too soft, mix more powdered sugar into it until it is as stiff as you would like.
More Chocolate Recipes to Love
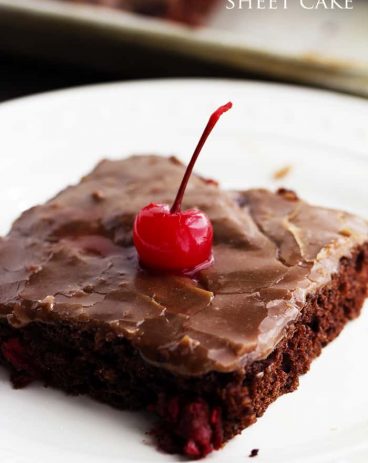
Desserts
Cherry Chocolate Sheet Cake
Desserts
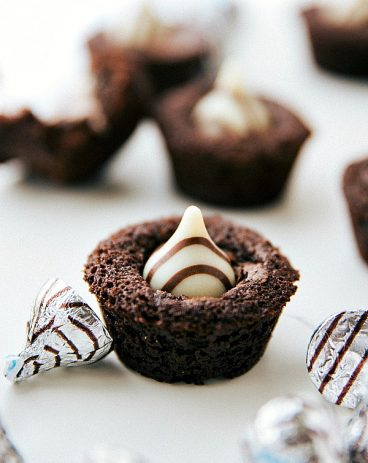
Chocolate Filled Mini Brownie Bites
Cheesecake
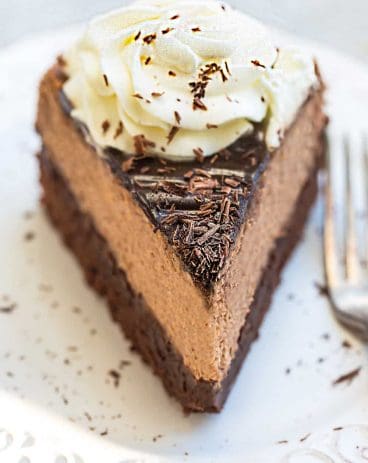
Chocolate Brownie Cheesecake
Chocolate Buttercream Frosting
Ingredients
- 1 cup unsalted butter softened
- 3 cups powdered sugar
- 1/2 cup unsweetened cocoa powder
- 3 tablespoons milk more as needed
- 1 teaspoon vanilla extract
- ¼ teaspoon salt
Instructions
-
Beat the butter in the bowl of a mixer until fluffy. Add the powdered sugar and beat slowly until incorporated, increasing the speed to beat it more fully.
-
Scrape down the sides and the bottom of the bowl and add the cocoa powder, milk, vanilla, and salt. Mix on medium-high until completely smooth and combined. If the frosting is too stiff, add more milk one tablespoon at a time until it is a pipeable consistency.
-
Use this frosting to frost cupcakes, cakes, or whatever dessert your heart desires.
Nutrition
from The Recipe Critic https://ift.tt/38pxd1w
https://ift.tt/3BrY89c