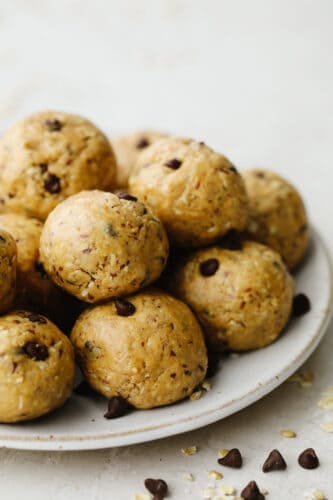
Protein balls are a delicious no-bake treat! Start your new year right by snacking on these tasty, healthy bites loaded with chocolate chips and peanut butter!
Looking for more tasty treats that won’t break your diet? I’ve got you covered! Healthy oatmeal cookies, apple raisin cookies, and no-bake energy bites are all so delicious and will help power you through your day!

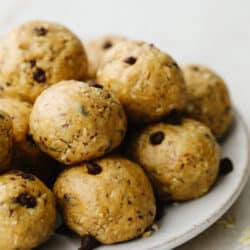
Chocolate Chip Protein Ball Recipe
Now that the holidays are over, I’ve been trying to get back to eating healthy. Everyone talks about healthy meals, but what about healthy snacks? Finding things that will give me energy throughout the day but aren’t a million calories is tricky. Finding healthy snack recipes that taste good is even trickier! These amazing protein balls are the best of both worlds. You’re going to love them!
These yummy protein balls are made up of a handful of pantry staples. As long as you’ve got rolled oats, peanut butter, honey, and your favorite protein powder on hand, you can make yourself some! From there, you can add whatever flavors and fillings you’d like! I’ve included a few ideas in my tips section below to get you started. One flavor I always find myself coming back to is chocolate chip! It’s a great way to satisfy a sweet tooth while giving your body the nutrients it needs. Let’s make some!
Protein Ball Ingredients
With an ingredient list this short and sweet, you can’t go wrong! A lot of these ingredients can be swapped out or substituted to create a variation that works for you. It’s fun to come up with new flavors!
- Peanut Butter: Not only does peanut butter taste good, but it’s good for you, too! Peanut butter is a great source of protein and healthy fats. You can swap this out for other nut butters like almond or cashew.
- Honey: Honey is a delicious healthy sweetener! Its thick texture also helps to form your protein balls.
- Oat Flour: This is added to give your protein balls structure. If you don’t have oat flour on hand, you can use blended rolled oats.
- Protein Powder: I use vanilla protein powder in this recipe, but you can use whatever flavor you like! Try switching it up with chocolate, cookies and cream, or even strawberry protein powder! The options are endless- and delicious!
- Vanilla Extract: I add a little vanilla extract to give the protein balls more flavor.
- Cinnamon Extract: Adding cinnamon is a great way to give your protein balls a little warm spice. It’s so tasty!
- Mini Chocolate Chips: For all the chocolatey goodness! For the healthiest treats possible, opt for dark chocolate chips instead of milk. They’re half the calories and loaded with antioxidants!
Making Chocolate Chip Protein Balls
It takes less than 10 minutes to prepare these yummy treats. I love throwing them together in the morning and having them to munch on throughout the day! You’re going to love how simple they are to make.
- Prepare Dough: In a medium bowl, add all of the ingredients except the chocolate chips. Stir and mix ingredients until combined. The mixture should resemble cookie dough.
- Add Chocolate Chips: Next, fold in the chocolate chips.
- Shape: Roll dough into 12 balls. It will be about 1-2 tablespoons per ball.
- Chill and Serve: Place the balls on a plate or baking sheet. Chill in a single layer in the refrigerator for 20 minutes or the freezer for 10 minutes before serving.

Variations and Tips
You’re going to love these delicious, healthy treats! Try these other tasty flavor additions in your next batch!
- Adding Nuts: I love the bit of crunch that nuts add to protein balls. Chopped pecans, walnuts, and cashews are all sooo good in these. You can even add almond slices for an Almond Joy version!
- Dried Fruit: Adding dried fruit is a great way to boost flavor and get your daily dose of fiber! I love making oatmeal raisin protein bites. Dried apples, apricots, and bananas are tasty in these, too.
- Spices: Just because fall is gone doesn’t mean pumpkin spice has to be! For a pumpkin chocolate chip version of these protein balls, add a little pumpkin pie spice to your mixure.

Storing Leftovers
The best part about these tasty protein balls is that they have a long shelf life! I like to make a big batch at the beginning of the week so I have them to munch on during busy weekdays! My kids love these, too, so it’s a great snack to throw into lunches!
- At Room Temperature: Keep protein balls stored in an airtight container in the refrigerator for up to 1 week.
- In the Freezer: In an airtight container, protein balls can be stored for 1-3 months. Thaw overnight in the fridge before consuming.

Tried and True Healthy Recipes
Breakfast
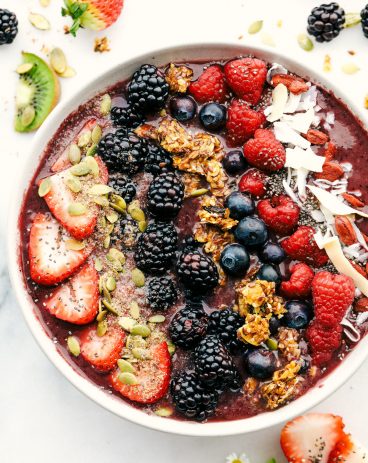
The Best Acai Bowls (Three ways!)
Bread
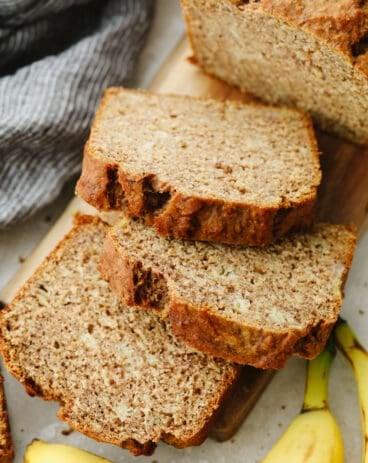
Healthy Banana Bread
Beverages
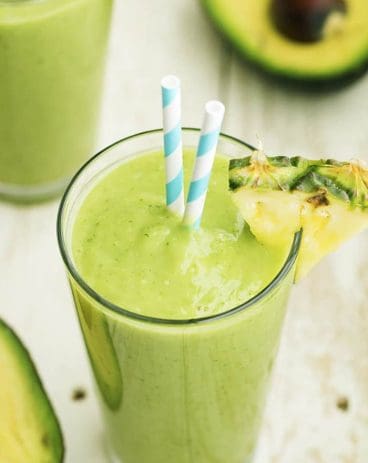
Creamy Avocolada Smoothie
Breakfast
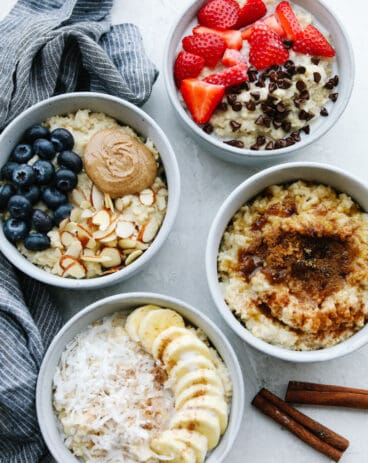
Homemade Oatmeal – 4 Ways
Protein Balls
Ingredients
- 1 cup peanut butter
- 1/3 cup honey
- 1 cup oat flour (or blended rolled oats)
- 1/4 cup vanilla protein powder (or chocolate)
- 1 teaspoon vanilla extract
- 1/4 teaspoon cinnamon extract
- 3 Tablespoon mini chocolate chips
Instructions
-
In a medium bowl, add all of the ingredients except the chocolate chips. Stir and mix ingredients until combined. The mixture should resemble cookie dough.
-
Fold in the chocolate chips.
-
Roll dough into 12 balls. It will be about 1-2 tablespoons per ball.
-
Place the balls on a plate or baking sheet. Chill in a single layer in the refrigerator for 20 minutes or the freezer for 10 minutes before serving.
-
Keep balls stored in an airtight container in the refrigerator for up to 1 week.
Nutrition
from The Recipe Critic https://ift.tt/3K4Agh3
https://ift.tt/3tgZ3IZ