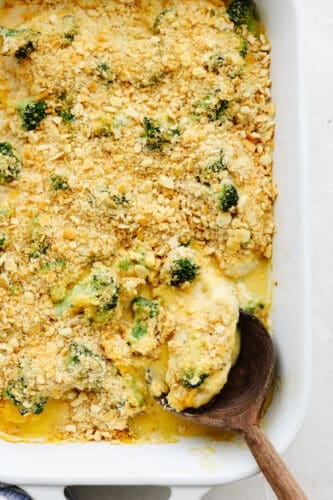
Comfort food at its finest, this broccoli cheddar chicken will fill you right up! Insanely delicious and straightforward to make, this is a dinner your entire family will go crazy over!
Chicken is a go-to dish for us, and you can count on being on our menu a least once or twice a week. Some other favorite chicken recipes are air fryer chicken, crockpot chicken, or this fantastic chicken gnocchi soup.

Broccoli Cheddar Chicken
I know that there are a million broccoli cheddar chicken recipes for you to try, but… Trust me when I tell you how amazing this one is! The sauce is so creamy and delicious! Once you combine it with some broccoli and crisp ritz cracker crumbs, it just takes this recipe over the top. It’s fantastic to eat it on your own but add it on top of some rice or serve it with some rolls and potatoes, and you have yourself a meal!
I’m always looking for ways to make easy and delicious recipes, and this one hits the jackpot! Made from simple ingredients that you probably already have in your pantry, this broccoli cheddar chicken only takes about 10 minutes to throw together,r and then you cook it. In less than an hour, you will have a steaming hot dinner on the table, ready to go!
Ingredients You Need to Make Broccoli Cheddar Chicken
Like I said, simple is the name of this game! The ingredients aren’t complex, and as long as you have some fresh chicken on hand, you are probably just about ready to go! See the recipe card at the bottom of the post for exact measurements.
- Chicken breasts: Use boneless, skinless chicken breasts (about 2 lbs)
- Salt and pepper: You can use these to season up the sauce.
- Cheddar cheese soup: One can of this soup is all that you need.
- Milk: I used 1% milk but you can use whatever you have on hand, including almond milk.
- Cheddar cheese: Fresh cheddar cheese is the best!
- Paprika: This adds a sweet spice to the mix.
- Onion powder: This enhances the flavors of the other ingredients while also adding a bit more taste.
- Broccoli florets: I use frozen broccoli florets. Defrost them before using them in this recipe.
- Ritz crackers: These will be crushed up a sprinkled on top.
- Butter: Use unsalted butter in this recipe.
Let’s Cook Some Chicken!
In less than, an hour you and your family can be devouring up this delicious broccoli cheddar chicken! It’s a great one for those on-the-go, busy night’s and it’s so filling that it will keep you from needing to snack right before bed!
- Preheat oven and spray dish: Preheat oven to 350°F. Spray a 9X13 inch casserole dish with non-stick cooking spray and set aside.
- Season the chicken: Place the chicken in the prepared pan, and season the chicken with the salt and pepper.
- Mix: In a mixing bowl, add the milk, cheddar cheese soup, paprika, and shredded cheddar cheese.
- Pour the cheese sauce: Pour half of the cheese mixture over the chicken.
- Add broccoli: Next, top with the defrosted broccoli florets.
- Pour cheese sauce: Pour the remaining cheese mixture over the broccoli.
- Sprinkle crushed crackers: In a small bowl, mix together the crushed crackers and melted butter. Sprinkle over the top of all the ingredients.
- Bake: Bake in preheated oven for 45-50 minutes, or until chicken is cooked through and sauce is bubbly.

Cooking with Chicken
This broccoli cheddar chicken is delicious, and I’m sure that everyone at your table is going to love it! Here are a few tips to make sure that it turns out just right for you.
- When is the chicken done? Chicken is done and ready to eat when the internal temperature is at 165 degrees farenheit. You can stick a meat thermometer in to make sure that it’s done!
- Thick chicken breast: If you have thick chicken breasts then go ahead and slice them in half for this recipe. This will help them cook faster and more evenly.
- Let it rest: Once you pull your chicken out of the oven, it’s almost time to eat but not quite! Let your chicken rest for about 5 minutes. This allows all of the juices and sauces to be absorbed into the chicken making it super moist and juicy!

How to Store Leftovers
This broccoli cheddar chicken makes fantastic leftovers! Here is how you can store it and heat it up the next day.
- Refrigerate: Once your chicken has cooled down then place it in an airtight container. Put it in your fridge and it will stay good for about 3-4 days.
- Reheat: Preheat the oven to 350 degrees. Once it has reached temperature then put your leftover broccoli cheddar chicken in a cassserole dish and place it in the oven to cook for abot 20-30 minutes or until heated throughout. It is ready to eat when the chicken reaches 165 degrees!

Make it a Meal!
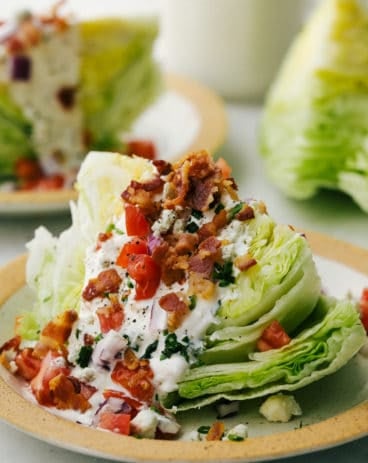
Salads
Wedge Salad
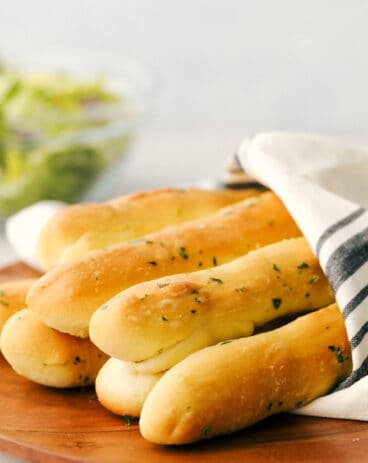
Side Dishes
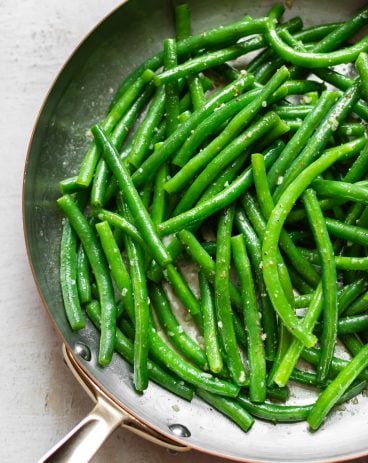
Garlic Butter String Beans
Side Dishes
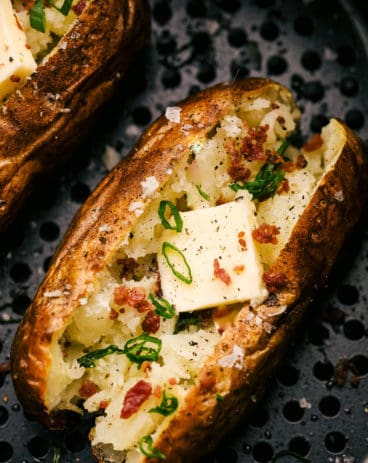
Perfect Air Fryer Baked Potatoes

Broccoli Cheddar Chicken
Ingredients
- 4 boneless skinless chicken breasts (2 lbs)
- 1/2 teaspoon salt
- 1/2 teaspoon pepper
- 10.5 ounces cheddar cheese soup, condensed
- 1 cup milk (almond milk can be used)
- 1 cup cheddar cheese, shredded
- 1/2 teaspoon paprika
- ½ teaspoon granulated onion powder
- 12 ounces broccoli florets (frozen) defrosted
- 1 cup Ritz style crackers (crushed)
- 2 Tablespoon butter, melted
Instructions
-
Preheat oven to 350°F. Spray a 9X13 inch casserole dish with non-stick cooking spray and set aside.
-
Place the chicken in the prepared pan, and season the chicken with salt and pepper.
-
In a mixing bowl, add the milk, cheddar cheese soup, paprika, and shredded cheddar cheese.
-
Pour half of the cheese mixture over the chicken.
-
Next, top with the defrosted broccoli florets.
-
Pour the remaining cheese mixture over the broccoli.
-
In a small bowl, mix together the crushed crackers and melted butter. Sprinkle over the top of all the ingredients.
-
Bake in preheated oven for 45-50 minutes, or until chicken is cooked through and sauce is bubbly.
Notes
Nutrition
from The Recipe Critic https://ift.tt/3fsOTg2
https://ift.tt/34XAuXp