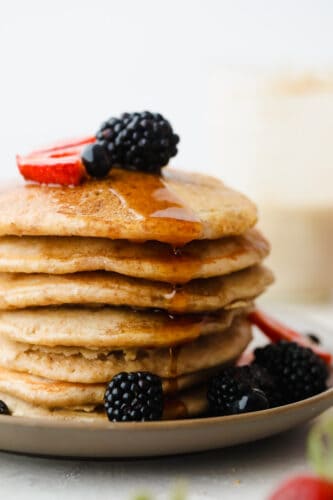
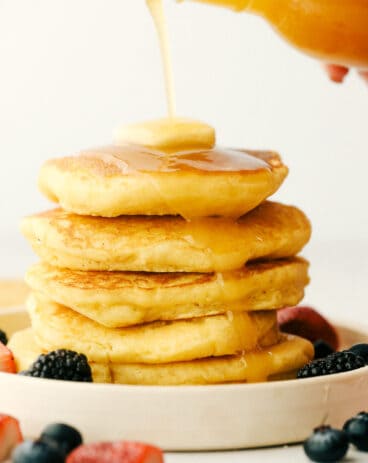
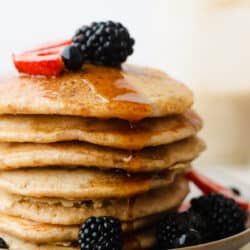
These tried and true sourdough pancakes are fluffy and delicious! They pair well with just about any toppings that you have on hand and they have just a touch of sweetness making adding maple syrup the final touch of heaven!
If you are looking for a super easy and delicious sourdough pancake recipe then you have come to the right place! These are quick and easy to make (once you have your sourdough starter ready!) Pair this with our scrambled eggs and our heavenly bacon and you are set for a breakfast that is sure to impress!

Simple Sourdough Pancakes
If you are looking for a recipe to help ease your fear of baking sourdough, then you have come to the right place! Sourdough is less intimidating than you think and can create some of THE most delicious recipes that you will make. Sourdough breathes life into a dish and helps it develop its flavor. These pancakes are light and fluffy with a hint of sweetness that will make you keep coming back for more.
Because you will need a sourdough starter (or discard), these pancakes take a bit of prep work beforehand but once you are in the kitchen baking them, it’s a fast and easy recipe that we know you will love!! We loved these pancakes so much. Try topping them with our maple syrup and these will easily become a family favorite!!
What You Need For Sourdough Pancakes
Once you make this recipe, you will want to thank us later! It uses all of your pantry staples and is one of those delicious meals that just stays constantly on your meal rotations. Trust us when we say you won’t be able to cook these fast enough on the griddle to keep up with the demand! See the recipe card below for full measurements.
- Flour: The flour binds all of the ingredients together
- Baking powder, Baking soda, Salt: Combined, these three help to create fluffiness in pancakes.
- Sugar: Adding sugar in this recipe keeps things sweet.
- Sourdough starter or discard: This is a key ingredient to this recipe. Acting as a natural yeast, it greatly adds to the flavor and texture.
- Milk: Milk is necessary to dissolve the flour and start creating the whole mixture.
- Egg: Eggs in the recipe allow for bubbles and helps the pancakes to rise. It is best to leave your eggs out at room temperature and beaten.
- Butter: It’s best to use unsalted, melted butter.
How to Make Easy Sourdough Pancakes
Don’t let the use of sourdough intimidate you! This recipe is quick and easy to make! You’ll wonder why you were ever nervous to bake with sourdough in the first place!
- Start with the dry ingredients: Grab a large mixing bowl and whisk together the flour, baking powder, baking soda, salt, and sugar. These are all of your dry ingredients and will create the base for the recipe!
- Wet Ingredients are next: After you have whisked all of the dry ingredients together, in a separate medium bowl or liquid measuring cup, combine the sourdough starter, milk, eggs, and butter and whisk until combined.
- Combine the wet and dry ingredients: Pour the wet ingredients over the dry and mix until combined. Don’t overmix! It should still be a little lumpy.
- SOURDOUGH TIP: If you would like to gain a little bit more of a sourdough flavor, stop here and store this mix on your counter overnight and it will ferment and have more of a distinct sourdough flavor. If you don’t want this, skip this step and continue mixing!
- Let’s flip those pancakes: Spray a preheated griddle (325°-350°) with some nonstick cooking spray. Pour ⅓ cup pancake batter on and cook until bubbling on top, about 2 minutes. Once the bubbles begin to pop and the pancake turns a golden brown, flip and cook for an additional 1-2 minutes. They are done once they are golden brown on the bottom.
- Serve and Enjoy! Its time to top with your favorite pancake toppings and enjoy the fruits of your labors!

The Best Sourdough Pancake Tips
There are a few things that can take this recipe to the next level and we have some tips that will help you with that! These pancakes are so delectable that you will want to make sure to follow these extra tips and you will be baking like a true chef in no time!
- How to mix: Make sure that once all of the ingredients are together that you don’t over mix the batter. This will result in gooey or sticky pancakes.
- Melting the Butter: After you have melted the butter, let it sit until it is cooled (but still liquid). This will make it so that your batter doesn’t have large clumps!
- Sourdough starter (or discard!): Make sure to prepare this beforehand. The sourdough starter is a necessary base for the batter that you will need ready as you begin to mix all of the ingredients together!
- Cooking Surface: It’s best to cook the pancakes on a nonstick griddle or flat surface.
- Cooking Temperature: Try to cook these pancakes on low heat. This will keep you from burning the outside of the pancake while the inside remains uncooked.
- Toppings: Adding different toppings will make this dish taste new every time! Try adding maple syrup, strawberry sauce, buttermilk, fresh fruit, and chopped nuts. Add whatever you want to make this recipe your own!
How to Easily Store Homemade Sourdough Pancakes
The best part about these sourdough pancakes is that you can make some extra to store in either your fridge or freezer to enjoy later! They taste just like the day you made them and are an easy way to prepare 2 meals in 1!
- Refrigerate: Once cooked, place them in an airtight container and they can last in the refrigerator for 2-3 days.
- Freezer: Lay each pancake flat on parchment paper on a tray and place in the freezer for 2 hours (don’t stack them). Take them out and place them all together in a airtight ziplock bag. Or, you can individually wrap each pancake with plastic wrap and place them together in a bag and then freeze. You can freeze them for up to 3 months.
- Reheat: To reheat your pancakes, you can simply microwave them for 30 seconds to 1 minute until heated through, add your toppings and enjoy!

More Breakfast Recipes to Love

Breakfast
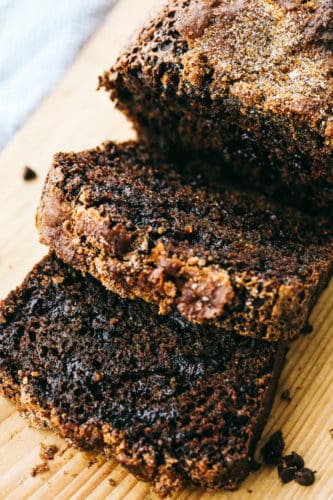
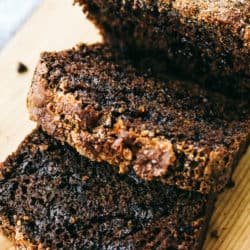
Grandma’s Perfect Fluffy Pancakes
Breakfast
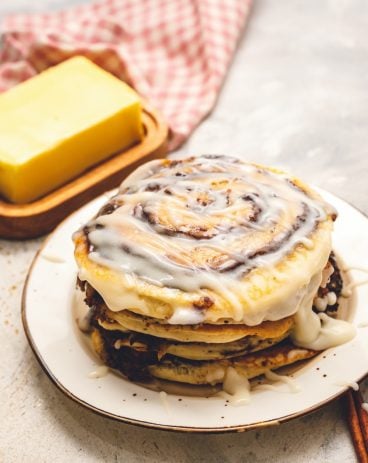
Delicious Cinnamon Roll Pancakes Recipe

Breakfast
The Best Breakfast Casserole
Sourdough Pancakes
Ingredients
- 2 cups all purpose flour
- 2 teaspoons baking powder
- 1 teaspoon baking soda
- ½ teaspoon salt
- 3 Tablespoons granulated sugar
- 1 cup sourdough starter or discard
- 1 1/4 cup milk
- 2 large eggs beaten
- 3 Tablespoons unsalted butter melted
Instructions
-
In a large bowl whisk together the flour, baking powder, baking soda, salt, and sugar.
-
In a medium bowl or liquid measuring cup, combine the sourdough starter, milk, eggs, and butter and whisk until combined. Pour the wet ingredients over the dry and mix until just combined. It should still be a little lumpy.
-
From here you have the option to cook the pancakes right away, or you can cover the dough and leave it on the counter overnight to ferment and have more of a distinct sourdough flavor.
-
On a griddle preheated to 325°-350° and sprayed with cooking spray, pour ⅓ cup pancake batter on and cook until bubbling on top, about 2 minutes. Flip and cook for an additional 1-2 minutes, or until golden brown on the bottom.
-
Serve with your favorite pancake toppings and enjoy.
Nutrition
from The Recipe Critic https://ift.tt/3xbAXh5
https://ift.tt/3zStBkr