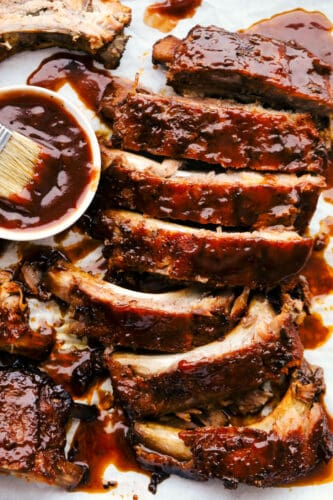
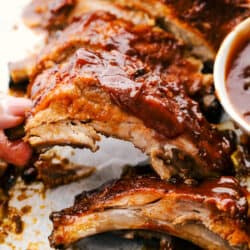
These Slow Cooker ribs are going to melt in your mouth and fall off the bone! They are cooked low and slow so they are perfectly tender and then covered in a sauce that’s absolutely to die for!
Ribs, whether short or baby back are fall off the bone tender and absolutly delecatable. You have to try these recipes that prove it, Instant Pot Short Ribs, Slow Cooker Short Ribs, and Sticky Asian Ribs.

Slow Cooker Ribs
These slow cooker ribs are seriously the BEST ribs you will ever have! Done in the slow cooker you get that super tender, fall off the bone texture that is divine. Then it’s finished off in the oven with your favorite BBQ sauce for a taste that’s right out of the restaurant, only better! These take a little bit of time but they are so worth it and once you place them in the slow cooker, it’s hands off. The crockpot does all the work. Your whole family is going to devour these.
The dry rub creates flavor that will penetrate below the surface of the meat as it cooks. Helping to tenderize and flavor it. Then you will layer it with even more BBQ flavor that you are going to lick your fingers clean, it’s so good. These slow cooker ribs are so good you are going to put them on your list to make again and again. And the best part, they are super easy to make!
What You Need For Slow Cooker Ribs
- Pork baby back ribs: I bought one that was 4lbs.
- Brown sugar: Helps to caramelize the ribs.
- Paprika: Adds color and taste with a little bit of heat.
- Garlic Powder: Much needed garlic flavor that is yummy.
- Onion Powder: Gives a great onion flavor to the ribs.
- Salt and Pepper: Add to taste.
- Homemade Bbq Sauce: use your favorite store-bought sauce.
How to Make Fall Off The Bone Ribs
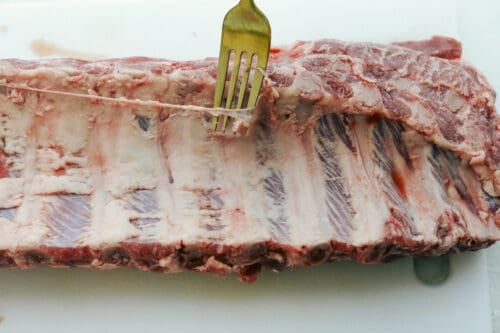
- Prep Ribs: Prepare your ribs by removing the membrane and patting dry with a paper towel.
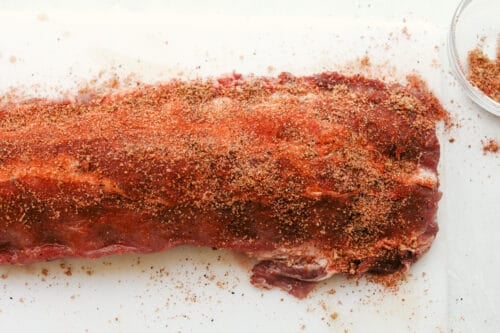
- Dry Rub: Prepare the rub by combining brown sugar, paprika, garlic powder, onion powder, salt, and pepper. Rub evenly on top of the ribs.
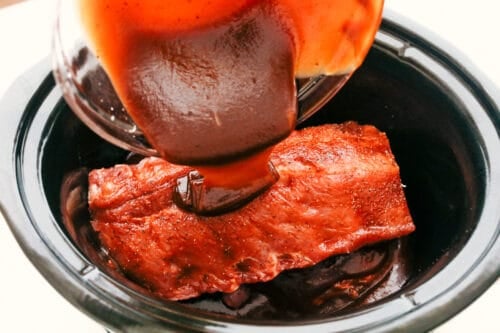
- Cut in Half: Cut the ribs in half. Add half of the rack of the ribs into the bottom of the slow cooker. Pour half of the sauce on top and layer with the other rack with the remaining sauce. You can also wrap the ribs around the slow cooker if the top will fit on.
- Slow Cook: Cook the ribs on low for 6-7 hours or high for 3-4.
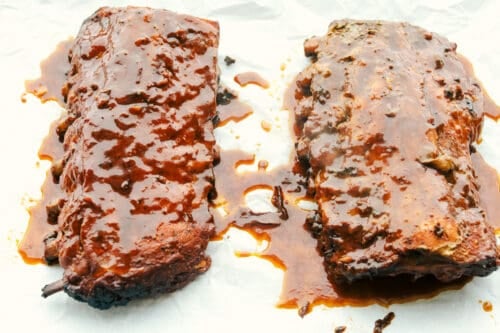
- Crisp: Preheat oven to 425 degrees. Remove the ribs and set them on a baking sheet. Pour the sauce on the top. Cook for 10 minutes until the tops get crispy. Brush with additional sauce if needed.

All About Ribs!
Ribs are the main event for this slow cooker dinner! Tender, juicy fall of the bones ribs are just what you will get when picking and preparing the right set up ribs.
- What Kind of Ribs: This recipe is for baby back ribs, but if you want to use St. Louis style ribs, you can. They are meatier and longer so make sure they fit your slow cooker. They also need a longer time to cook, so do not cook them on high. Low and slow is the only way to go for them.
- Remove the Membrane: Use a fork, knife to get under the membrane. If it seems a bit slippery use a paper towel to grab a hold of it and pull it off. Once in a while, the butcher will have taken it off, so if you can’t find it, it’s ok.

Slow Cooker Rib Tips
These are going to be some of the best ribs you will ever have! Slow cooker ribs are tender and juicy every time!
- Dry Rub: Be generous with the dry rub, if you need to double the recipe and make sure the ribs are well coated on both sides. You really want the rub everywhere so that you have great flavor.
- Cooking: The ribs will be best cooked slow and low, so if you have time do that. If you don’t they will still be tender and delicious on high.
- Broil: Putting them in the oven after you have slow-cooked them will caramelize the BBQ Sauce giving them an absolutely delectable crispy skin but still tender and juicy inside.

How Long to Cook Ribs in the Slow Cooker
Ribs are tender and juicy all on their own when using a slow cooker. I recommend cooking them low and slow for 6 to 7 hours or until their eternal temperature reaches 145 degrees Fahrenheit. This will ensure that fall off the bone deliciousness!
- Slow Cook Ribs on High: If you are short on time or just remembering to make dinner cook for 3 to 4 hours long.
- Slow Cook Ribs on Low: Make time to cook for 6 to 7 hours if possible. It is super simple to make but so worth the wait!

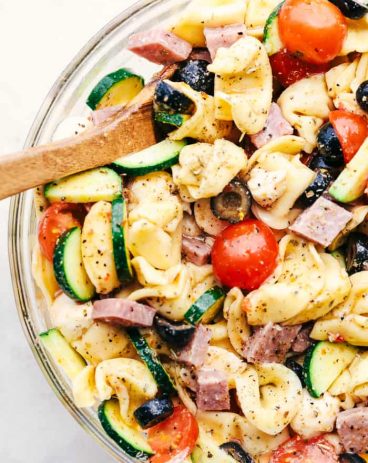
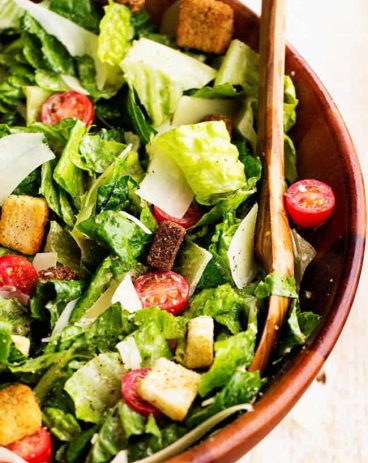
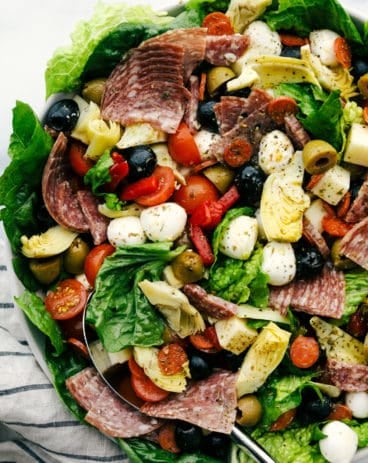
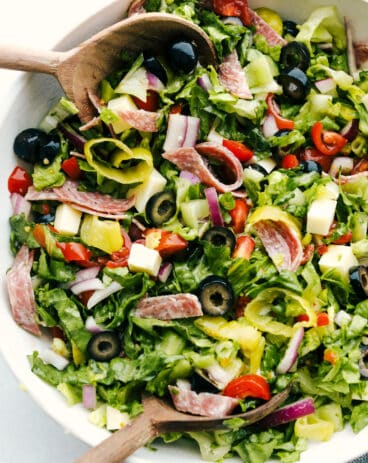
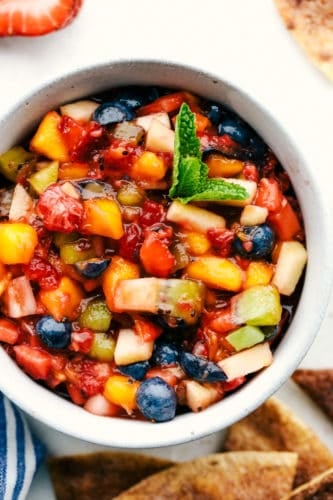
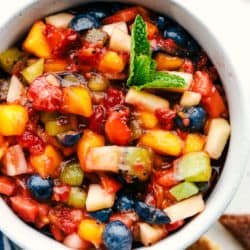
What to Serve with Fall off the Bone Ribs
I would love to just sit and eat my weight in ribs, really, these are that good! But it is important to have a well-balanced meal. A great side dish can make this meal taste like you are at a restaurant but, trust me, it will be way better! This is going to be a meal your loved ones are going to rave over. Perfect for special occasions such as Father’s Day, Graduation party, or a special birthday. this is the ideal meal!
Side Dishes
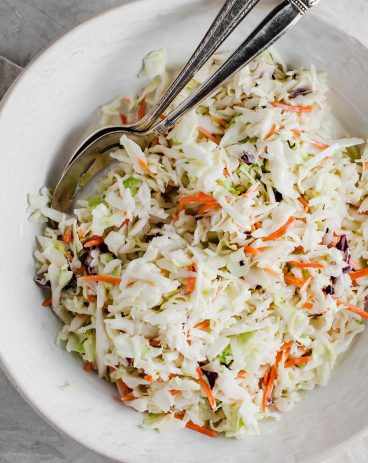
Copycat KFC Coleslaw
Side Dishes
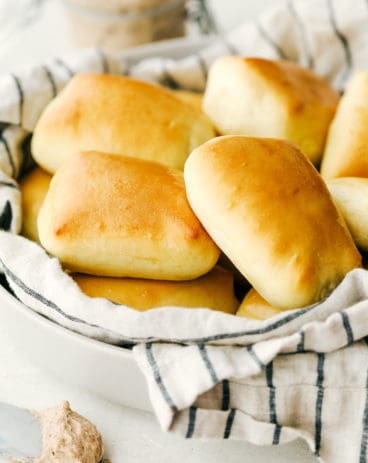
Copycat Texas Roadhouse Rolls
Side Dishes
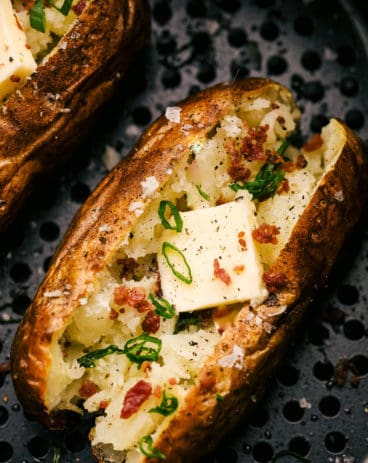
Perfect Air Fryer Baked Potatoes
Side Dishes
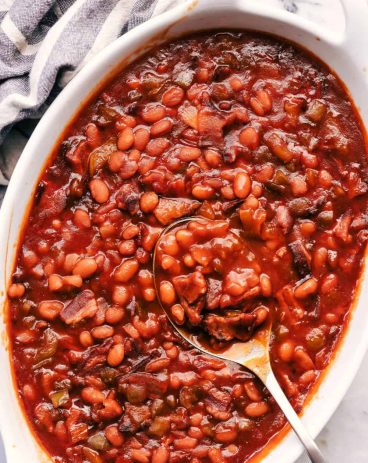
World’s Best Baked Beans

Storing Your Rib Leftovers
These are a great leftover meal, warm them up for lunch at the office and everyone will be jealous!
- Fridge: These will keep in an air-tight container or tightly wrapped in the fridge for 5 days. Warm them up in the microwave for 30-second intervals, or on a lower power level. You do not want to re-cook the ribs, just warm them, otherwise, they’ll become tough.
- Freezer: Tightly wrap leftover ribs in plastic wrap, then foil and freeze for up to 2 months. Let them thaw overnight in the fridge and heat them as you desire.

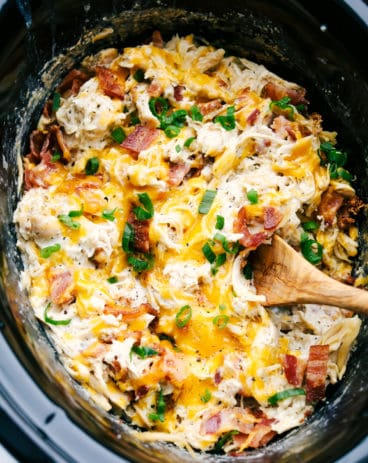
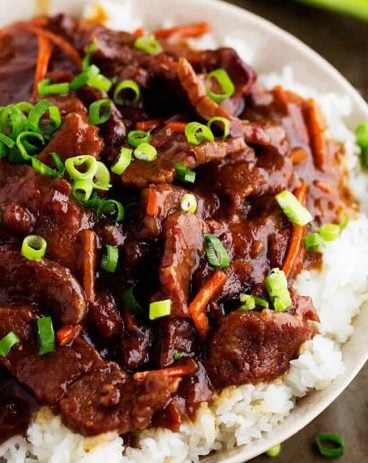
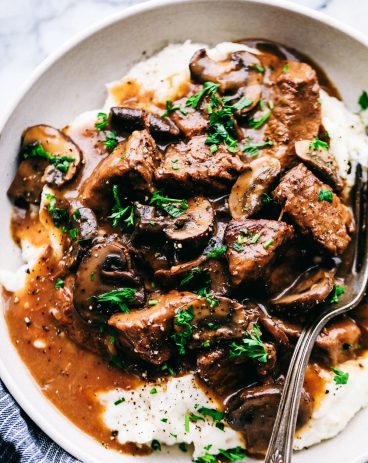
More Slow Cooker Recipes
Slow Cooker Ribs
Ingredients
- 4 pounds pork baby back ribs
- 1 Tablespoon brown sugar
- 2 teaspoons paprika
- 1 teaspoon garlic powder
- 1 teaspoon onion powder
- 1 teaspoon salt
- 1/2 teaspoon pepper
- 2 cups Homemade BBQ Sauce or Store Bought
Instructions
-
Prepare your ribs by removing the membrane and patting dry with a paper towel.
-
Prepare the rub by combining brown sugar, paprika, garlic powder, onion powder, salt and pepper. Rub evenly on top of the ribs.
-
Cut the ribs in half. Add half of the rack of the ribs into the bottom of the slow cooker. Pour half of the sauce on top and layer with the other rack with remaining sauce. You can also wrap the ribs around the slow cooker if the top will fit on.
-
Cook the ribs on low for 6-7 hours or high for 3-4 hours.
-
Preheat oven to 425 degrees Fahrenheit. Remove the ribs and set on a baking sheet. Pour the sauce on the top. Cook for 10 minutes until the tops get crispy. Brush with additional sauce if needed.
Nutrition
from The Recipe Critic https://ift.tt/3xdPtp3
https://ift.tt/3v9mJMF